O.K., so you have tongue and groove hardwood floors and you need to remove one piece. How do you do it? Like this ...

Please enjoy the strained, pretend blog smile I use on the outside when I'm a home renovation mess on the inside.
The reasons for needing to pull up a single piece of tongue and groove flooring are varied. You might want to see what the floor underneath is like. Your cat may have peed on it and you want to replace a section without wrecking all the floor around it. Or maybe, just maybe, you do it for no reason at all, other than your undiagnosed home renovating mental illness known as You Might as Well Trychosis.

I'm not sure if you know this or not but I'm in the midst of a design decision. Whether to rip up my old floors to go down to the older floors, or whether to just let everything be. This is where Trychosis gets me in trouble every time.
My floor refinisher pulled up a small piece of my hardwood oak flooring while he was here assessing what my flooring options were. He cut out a small portion of my floor in such a way that if I wanted to put the piece back no one would ever EVER know it had been removed.
I wanted to try.
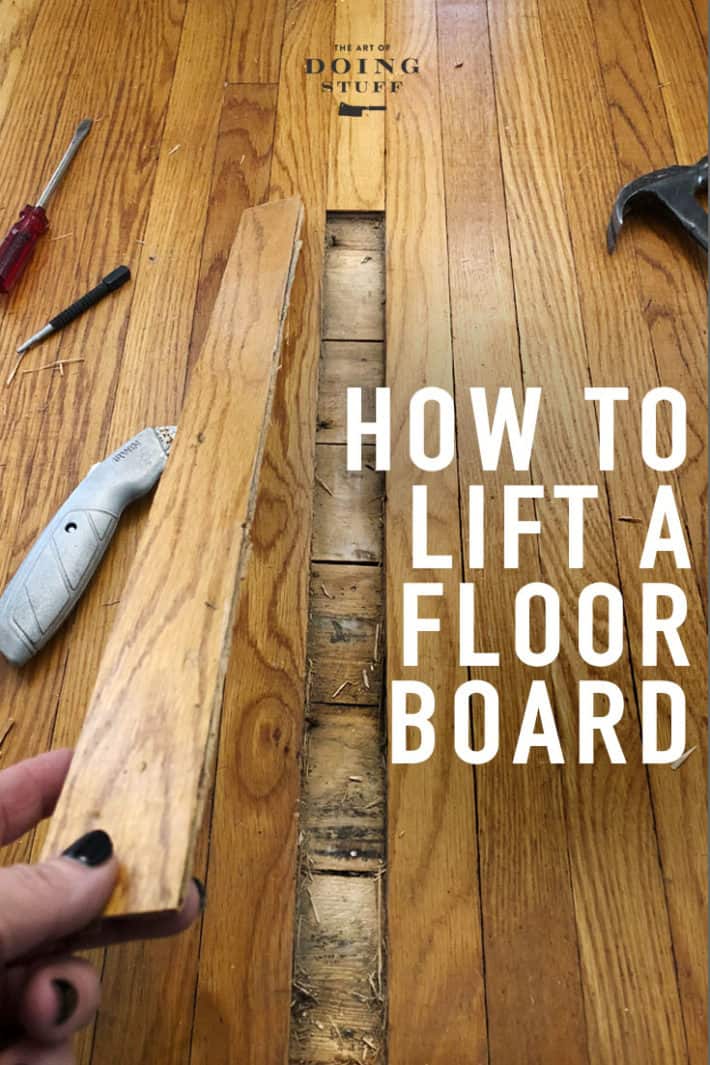
How to Lift a Floor Board
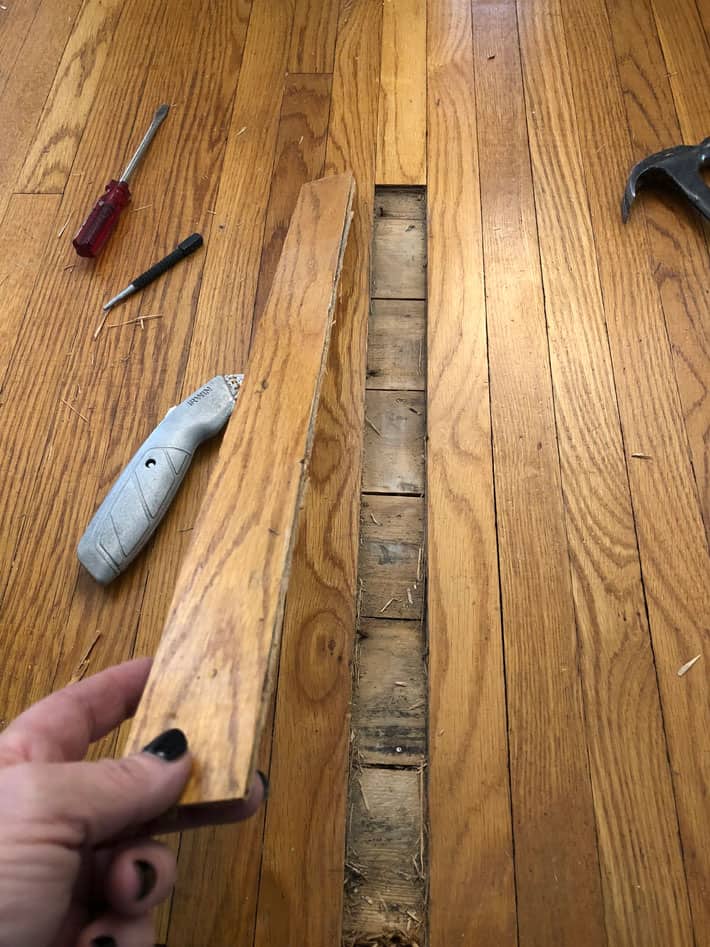
- Pick the board you want to remove. The shorter the board, the easier it will be to lift.
- Slowly run a sharp box cutter along the cracks on either side of the board.
- Continue cutting with the box cutter getting progressively deeper into the tongue underneath.
- When you feel no resistance you're through the tongue.
- Gently lift the board, using a pry bar if needed.

So I did. And now I'll show you how to do it in case you want to try it. Due to your Trychosis.
The reason I couldn't lift up a piece of this hardwood flooring easily is because of how tightly it is laid down. If the floor has spaces in between the boards you can get a saw in there to cut between the boards. Not so when it's so tight.
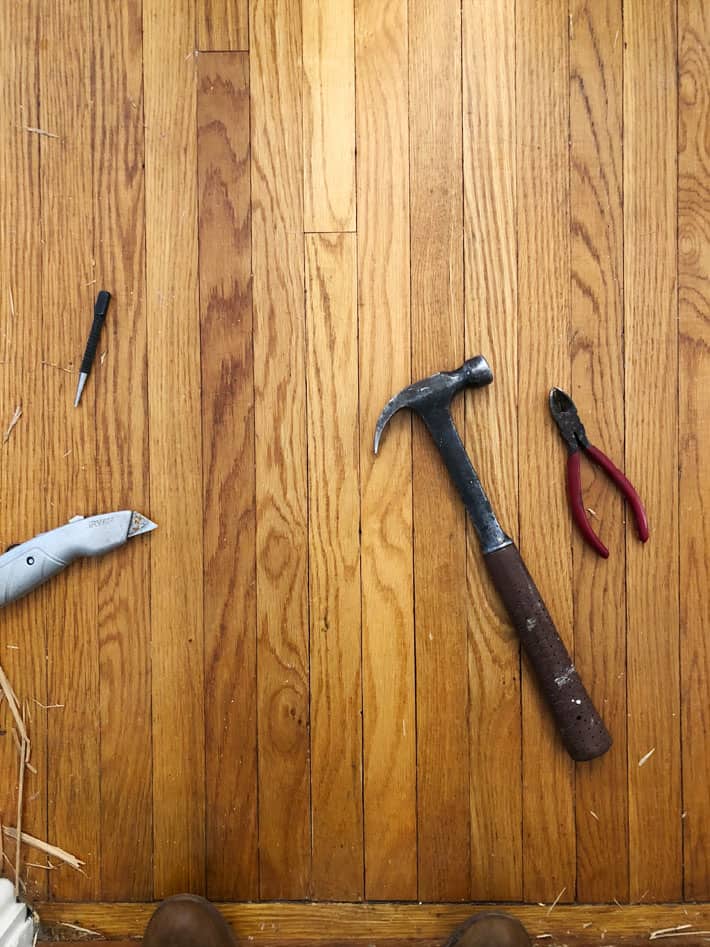
The first thing I had to do was knock down a couple of finishing nails that were sticking up. If you have any any nail sticking up just using a nail punch and a hammer to hammer it down. If you do any DIY and you don't have a nail punch I'm gonna let you know right now your disorder isn't nearly as bad as you think. Also you should buy a nail punch.

Your second step to removing a single piece of tongue and groove hardwood is to run a box cutter down the seam between two boards. Just gently pull it through. Keep doing that, going deeper and deeper until you can feel you've cut through the entire tongue of the hardwood.

This is not a fast process. It probably took me 45 minutes to cut through both sides of one 2' board. You have to go carefully so you don't cut yourself or slip and cut the hardwood.

The sharper your boxcutter, the easier this will be.
TIP:
Don't pull towards any part of your body. Make sure your hands, legs and feet are out of the way in case you slip.

Once you've cut through the tongue there may still be nails holding the strip down. Gently pry it up with a prybar or hammer.

Once it gives loose pull your board out.
This technique cuts through both tongues on either side of the board you removed.
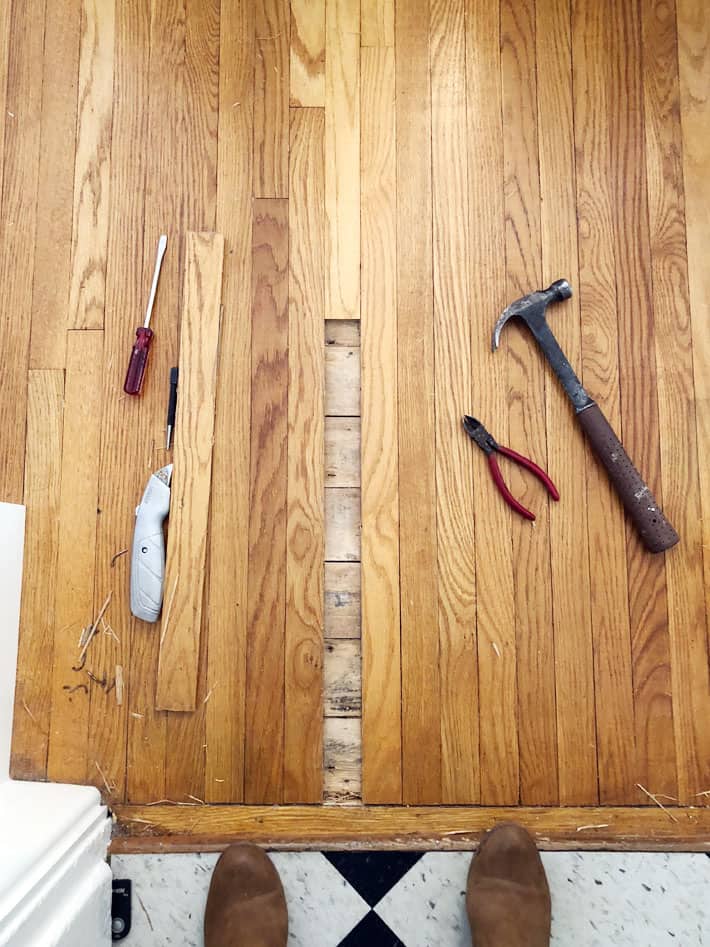
You can now take a moment to stare at whatever is underneath the floor you removed. If your lucky it will be money. You'll be staring down at gobs and gobs of money. Or a hidden Renaissance painting. Me? I was staring down at another floor.
Once you've satisfied your Trychosis, simply wipe the sawdust and shavings away and place the board back down. If it's going down for good, just drizzle the back with some wood glue before you put the wood back in place.
You can't tell at all that one of those floorboards was removed and put back down.
If your floors are up against built in cabinets or baseboards use a multisaw to cut through the end of the board.
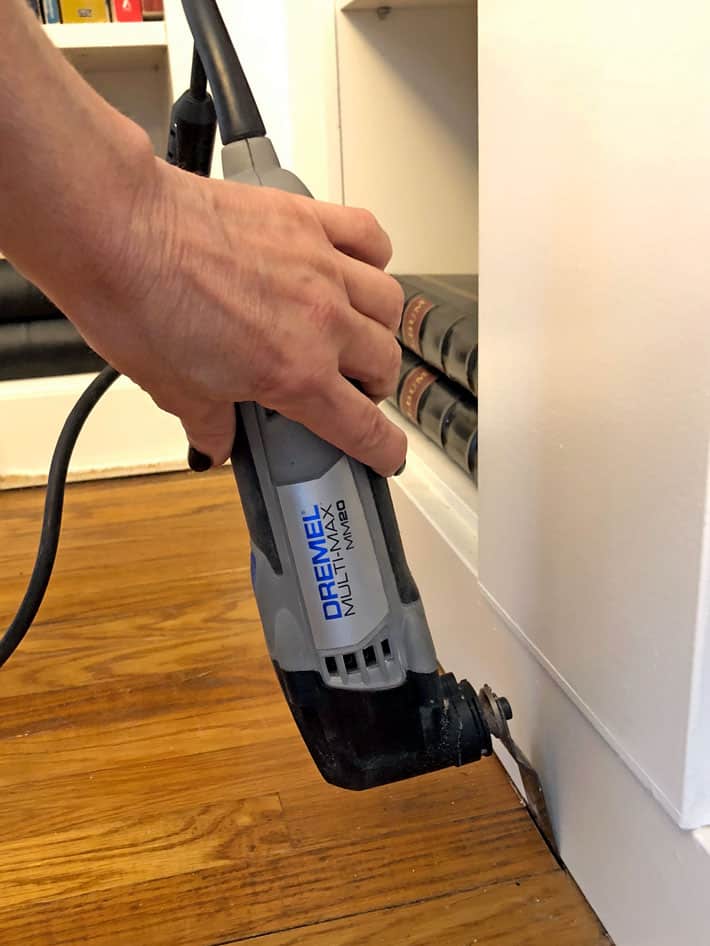
The reason you wouldn't use this to cut through the sides of the flooring also is because even though the cut it makes is very thin, it's still thicker than the seams between the boards. In other words, if you put the flooring back, the cuts wouldn't be invisible like they are if you use a boxcutter.
Again, if you're a DIYer and you don't own one of these tools you really should. Mine is the Dremel Multi-Max, but there are a few different makes of them.
So now that I've seen another section of the pine flooring under my dining room floor am I closer to making a decision about whether to pull the floors up?
Yes. Yes I am.
→Follow me on Instagram where I often make a fool of myself←


Accidents happens and this is something really useful to know how to DIY. Great post.
Will there be a way to donate or re-use the beautiful oak planks that you will undoubtedly be tearing up? That is what always gets me during a rehab - how can this or that still be used or donated. Can't wait to see it, we all know you are ripping them up.
Nope. ~ karen!
I am betting you will go down to the pine. Because you can. I think it'll be awesome.
What a clever idea to allow some reconnaissance!!
You are so pulling up your floors. I knew it a month ago.
Go for it! You will LOVE the pine floor!
We’re behind you!!!
Far, far behind you, looking on with interest.
I hope I never catch that trychosis disease, I'll be calling my doctor for the preemptive drugs!
Another comment/question from me.. why do you have a pair of binoculars next to you. ????
Just by chance. I had done some closer rearranging. Nothing nefarious, lol. ~ karen!
my guess ... you'll go all the way down to the beginning of time on those floors because you can and because you don't do things in halfsies. All or none. Go for it Karen !! i'll support your decision.
Totally off topic.Aberfoyle had some leftover(?) Christie stuff for way lower prices.Not as much quality but still great stuff.Unfortuneatly the french fry line was way too long.
Didn't go to Christie this time but went to Aberfoyle and was wondering about the comparative prices. Maybe the vendors pay less there for a stall? Maybe a different target market, less trendy/hipster? I did lust after some carpets and a plaid blanket and a tamarack twig goose but bought a sausage......
eek, Karen. Your friendly proofreader is here because I know you’ll want to fix this: “If your lucky it will be money.”
I do have an incurable case of Trycosis. I am so relieved to finally have been properly diagnosed.
I so want this to be in the new Merriam Webster dictionary next time they add new words.
Trycosis aka Bertelsen Syndrome
…...and I thought I was alone! Your, You're!
Yes I understand the difference between your and you're. Sometimes while typing at 160 wpm my fingers predict faster than my brain. ~ karen!
That old pine floor would look amazing... as i'm into more of the rustic style. Not to mention, "it came with the house"! :-)
Of course you will get to the bottom - it's part of owning an old home with charm. The real question is will it be done by Thanksgiving? or even Christmas? I think the guy that you called and exposed you to this conundrum will be part of your Christmas present to yourself. I can't wait to see results - but surely not as much as you can't wait. Happy DIY'ing. Tell your Mom hello from an old admirer. It makes me smile to think of her videoing you redoing your kitchen. She is another older original with lots of charm.
I'd heard of trichosis but never trychosis. Thanks for introducing me to a new word. It's so apt for so many 21st century folks. (Like the cliff-hanger at the end of the blog post: Will Karen rip up the rest of the floor boards? Or not?...)
LOL, *of course* old floor uniformity and lots of work to the final reveal of this buried treasure is the answer!
Greetings from another serial DIYer. Lots of laughs in your posts. Thanks for the inspiration and motivation!
I vote NOOOOO - DON'T DO IT! The pine floor underneath looks in bad shape, and your oak floor is lovely! Who knows what problems you'll uncover? Sometimes, enough is enough!
Looks in bad shape, lol? It's hard to tell I guess if you don't have an understanding of floors, but it's in perfect shape. It just needs to be sanded. :) ~ karen!
sure in great shape(?) then why did the cover it?
I have 22" wide pine planks in my upstairs that were also covered up when I moved in. People cover things up simply because they don't like them. Not necessarily because they aren't in good shape. ~ karen!
I say you just gave us a clue as to what you'll be doing!
Cool. There is an even better tool for getting rid of those nails, called straight pin punches. A 'regular' nail punch gets wider the deeper you go (fine for your thin flooring, but on thicker stuff...) but a straight one doesn't. Like these.... https://www.homedepot.com/p/Dasco-Pro-Pin-Punch-Set-6-Piece-22/100155966
The most difficult part is levering the piece out without damaging the sides. The wider the 'blade' on the chosen implement the better. I like a 3" paint scraper.
Looking forward to seeing what you run with...
I have three nail punches in different sizes. That's because my DIY illness is much older than yours (I think it's even older than you). I may have only used one of them, but I don't remember. I'm fine with that. I hope you decide soon what you're going to do about your floors -- I'm not going to pull mine up, so I want to watch you do it.
Nail punches come in sets of three. The only reason to own one nail punch is because you lost the other two. Either in a wall, or down a heat vent, or the dog took it outside to bury it.
The suspense is killing me.
I hope you will tell us what kind of wood that old floor is and other Interesting Details.
And: NAIL PUNCH? So many things I don't know exist and then I WANT THEM.
You pull up flooring in a ruffled, lavender shirt and high heeled boots and clean jeans? That’s why I can’t do my own floors! I don’t own the right clothes!
Hah! That's exactly what I was gonna post! Talk about a fake blog eh? lol
😂
That's exactly what I wore! This is by far the least messy job I've done in the past year, lol. I could have worn a chiffon dress to do it. ~ karen!