Screen printing at home isn't as hard as you might think. If super-high hippies can do it then you can too. It's an easy technique, and kind of the gold standard of DIY.
You want to try screen printing. Or at least see how hard it is. Rest easy.
As long as you have a 250v generator and a counterfeiting machine in your house you'll be good to go.
Just kidding. You will need a few things though like a screen, fabric paint, emulsion ... it's all in the post.
I've printed onto tee shirt blanks, flour sack tea towels, and even wood over the years and you can too.
How to Screen Print at Home
In this how-to I'm going to show you:
- How to make your own screen printing frame.
- How to burn an image onto your frame.
- How to use your frames to screen print on any fabric.
Table of Contents
The Basics of How To Do it
Screen printing is a series of steps:
- picking an image
- burning that image onto a framed screen using light sensitive photo emulsion
- finally the actual process of running a squeegee down the screen, pushing ink into the fabric underneath (and running in circles with joy.)
You can make this as DIY as you want. I made everything that I used in this tutorial, but you can make screen printing even easier by buying the things that I made.
Materials
Click below to buy the item. At the bottom of the post there are links to buy an entire Screen Printing Kit which is the most economical way to try this little hobby out.
- Screen printing frame
- photo emulsion
- 150 watt lightbulb (or LED equivalent)
- screen printing squeegee
- printer
- fabric paint (for screen printing)
- 2 pieces of glass (like those from a cheap picture frame)
Pick & Print an Image
These are your basic steps on how to screen print. I'll have a full step by step tutorial at the bottom of the post.
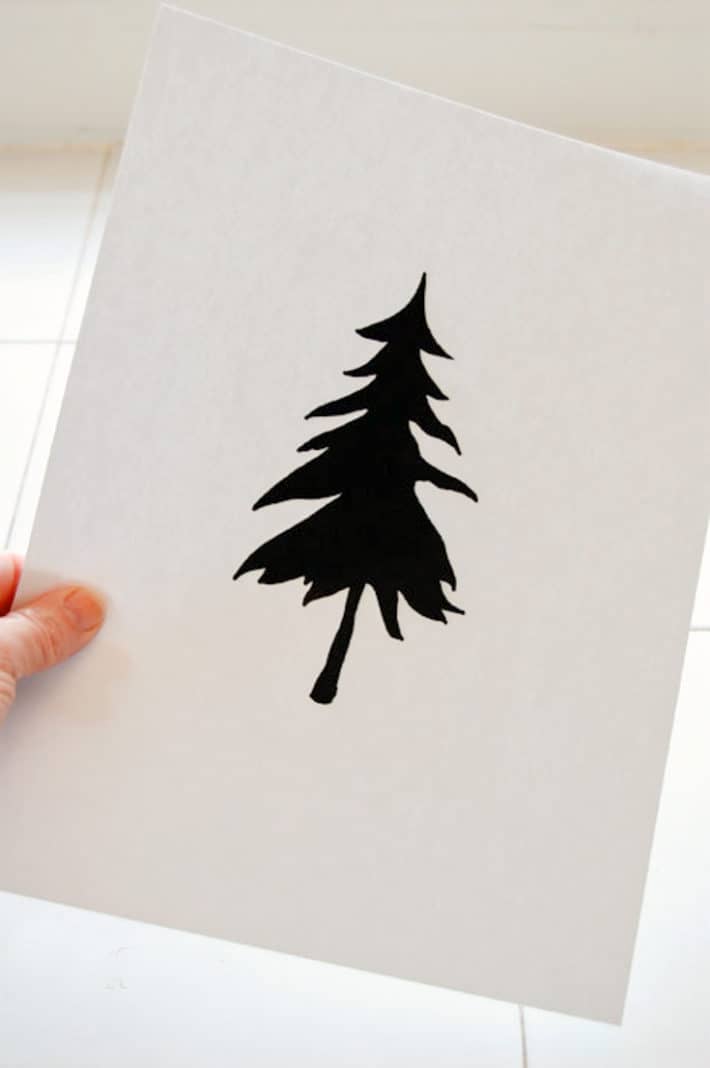
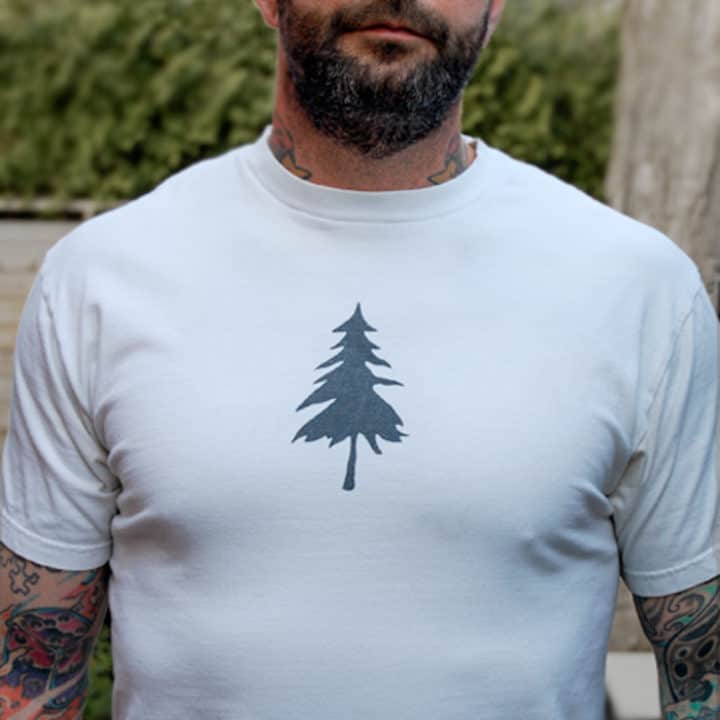
1. Decide on an image you want to print. For this tutorial I'm using a basic tree. For your first screen printing subject try something that's just a silhouette and one colour. Something like my tree or simple lettering is perfect.
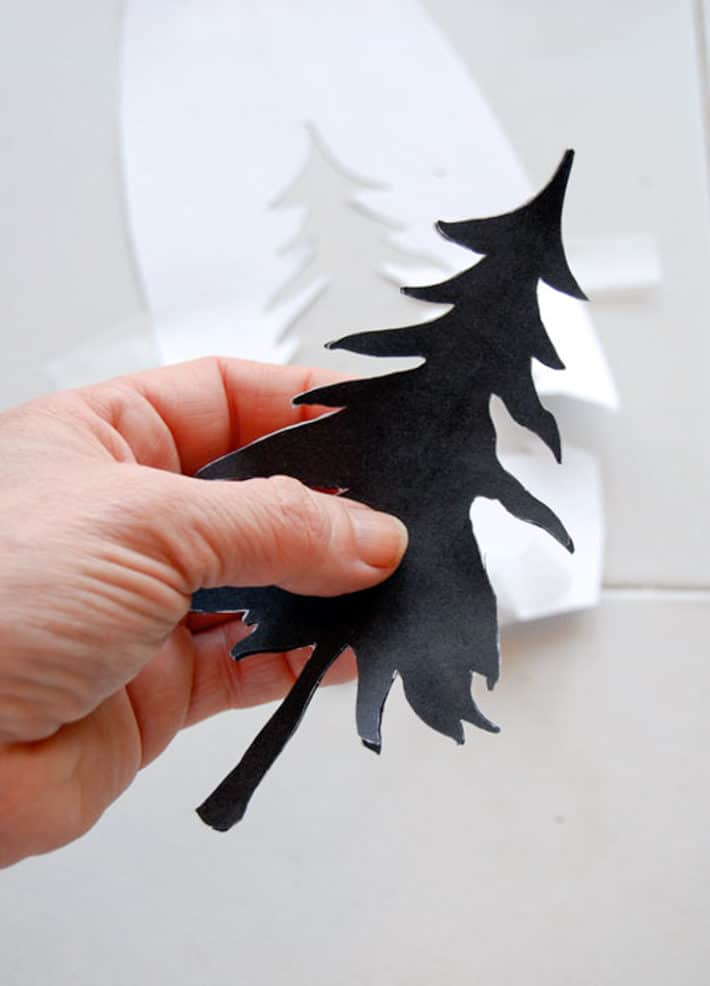
2. Print your shape or letters onto a regular piece of paper. You can also print it on transparency paper but that's not necessary until you get to more detailed images. Carefully cut out the image with an Exacto knife.
TIP
When you get into more detailed images you'll want to invest in the transparency paper which you can buy on Amazon or at Staples. The image you print has to be OPAQUE because it needs to block all light from going through it.
If you're unsure as to whether it's dark enough, hold your image up to the light. If light comes through, it isn't dark enough. Either print another copy and double them up on top of each other, or colour in your paper with a black marker.
Make a screen printing frame
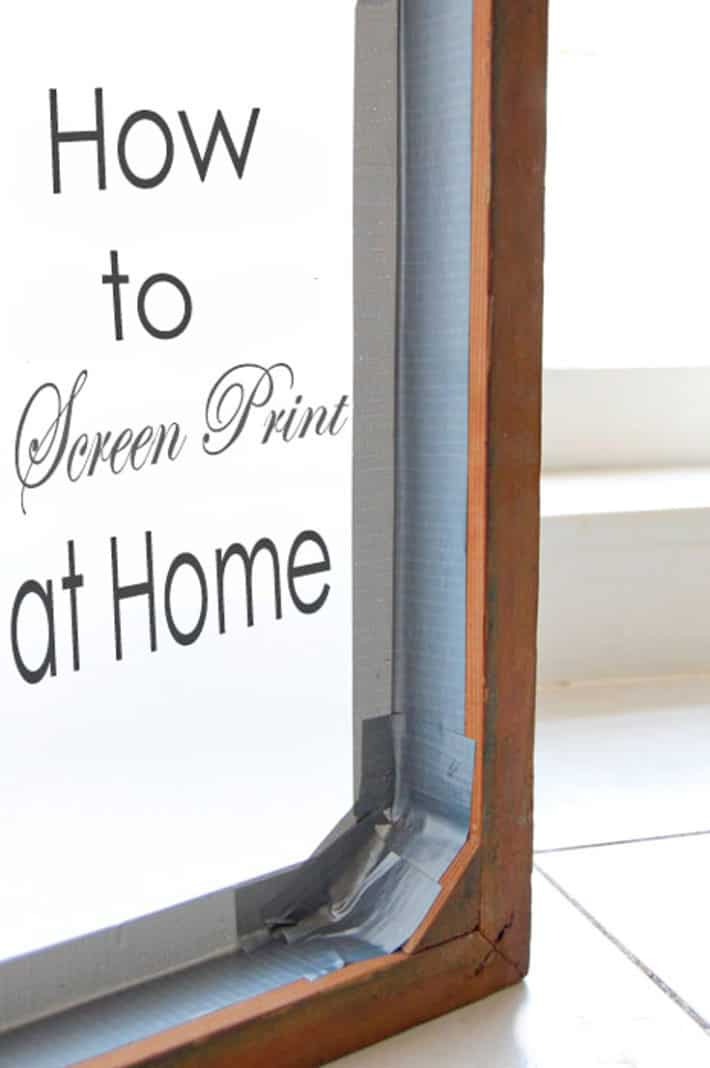
Now you need to grab your frame. A screen printing frame is a wood or metal frame with "silk" on it. The silk is actually polyester. I recommend you buy your screen and frame pre-made, but you CAN make your own by stapling "110" polyester mesh to a square wood frame.
You can buy 110 polyester mesh on Amazon or at a craft or art supply store store.

- To make your own screen printing frame screw 2x2's into a frame. It doesn't need to be perfect, just solid and flat. This isn't the time to use up your warped wood.

- Then you staple your "silk" onto it so it's very tight.
To apply the silk just use a regular staple gun. Pull it tight, but not so tight that the silk rips through the staples. You can also fold the silk under so it isn't as likely to rip.
Make sure your staples are pressed right in because your screen needs to lay flat when you flip it over. Staples that aren't pushed right in will make the screen wobble.
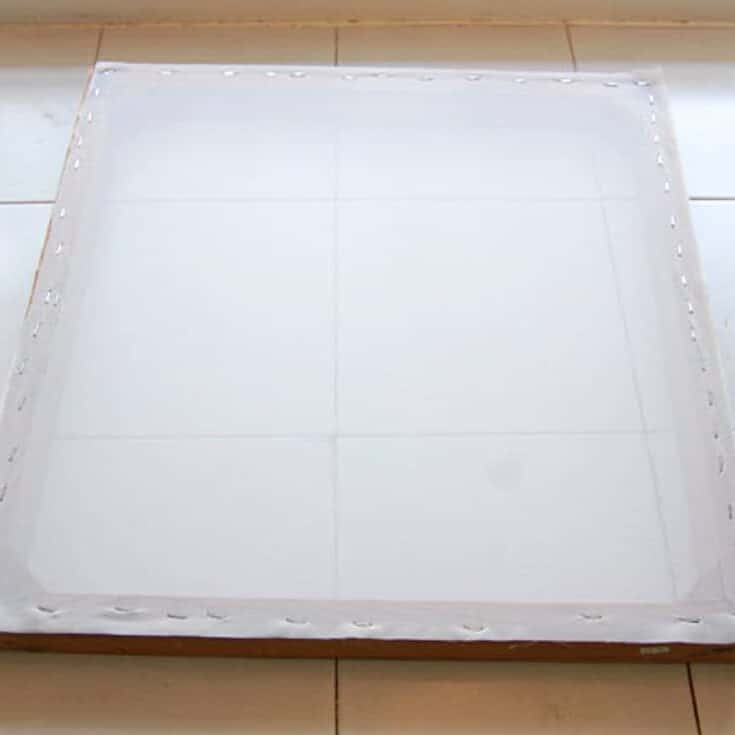
- Once your screen is stapled, trim the edges.
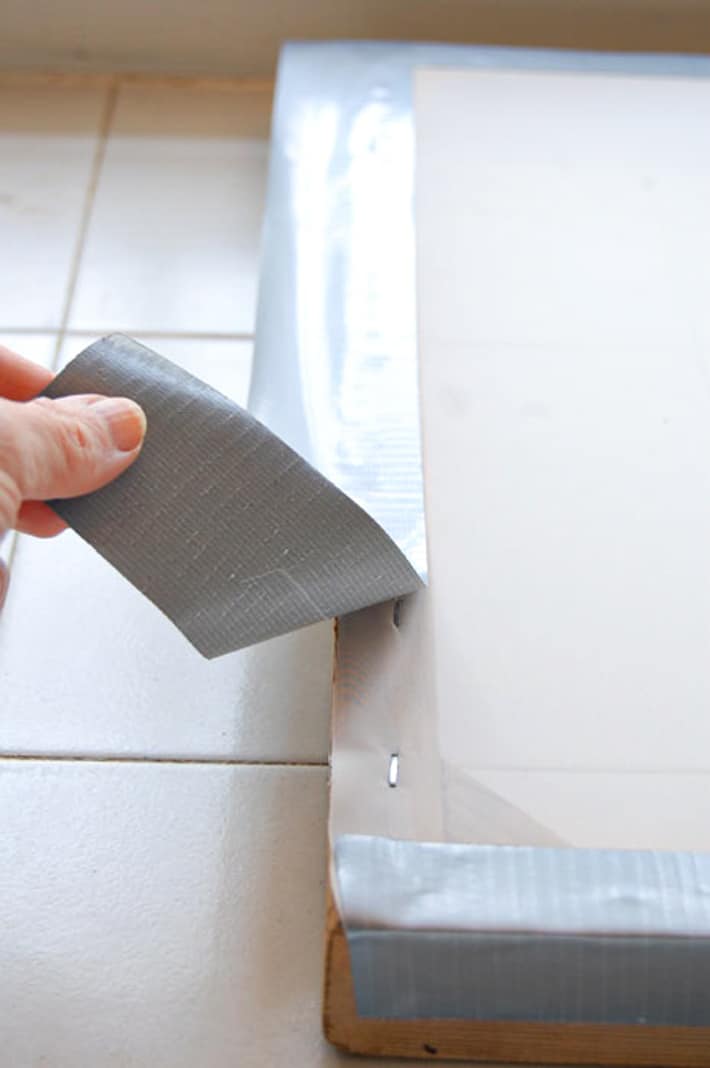
- Tape the outside and inside of the silk so paint can't drip through. USE PAINTER'S TAPE. It's the best choice. I was out and had to use duct tape. (not a great alternative but it will work)
Prepare and Burn Your Screen
Preparing and burning your screen is a 4 step process:
- Painting the screen with emulsion (done in a completely dark room) and letting it dry for a couple of hours.
- Placing your cut out image onto the prepared screen once dry.
- Turning on a light to cure all of the photo emulsion. The emulsion on the screen that is exposed to light will become permanent. The emulsion that's UNDER the image you printed won't receive any light, and will be washed away at the end of the screen burning.
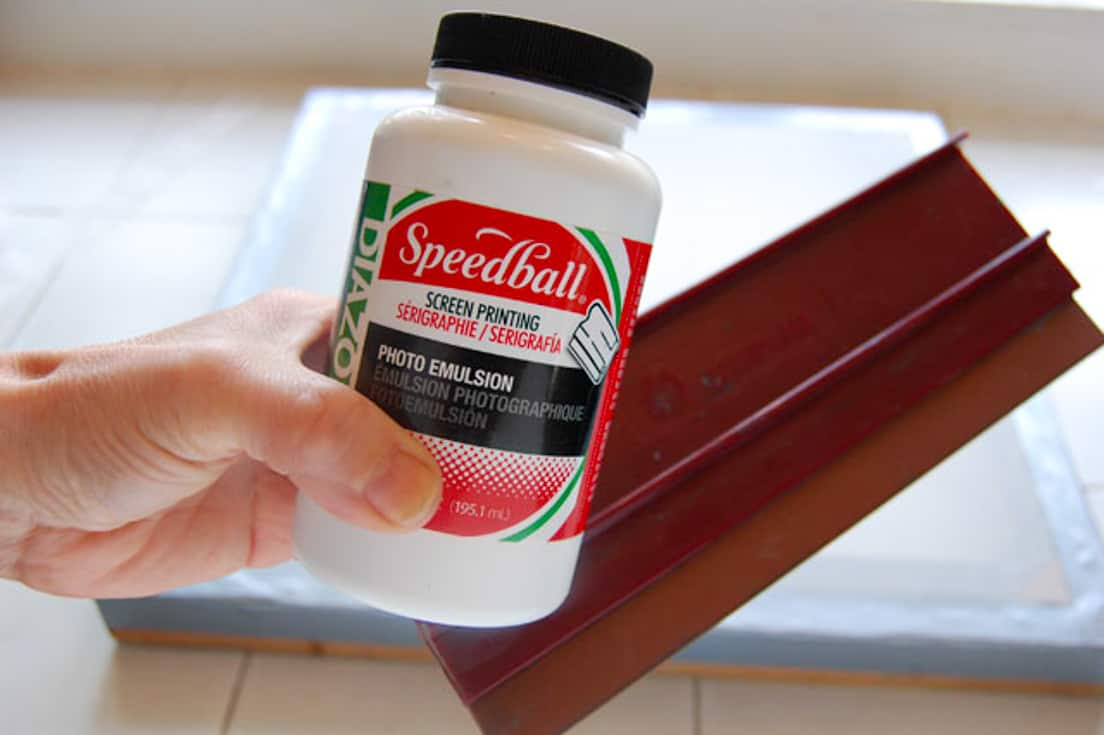
- Get your screen, squeegee and mix your photo emulsion according to the package directions.
(photo emulsion comes in 2 parts, one bottle of emulsion and 1 bottle of activator)
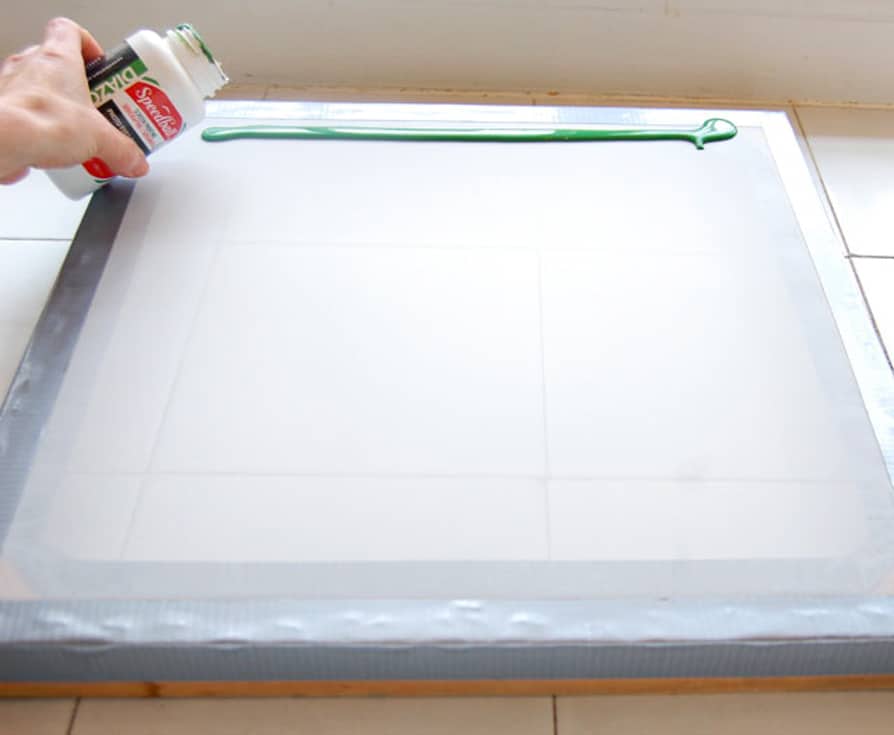
- In a dark room, run a bead of emulsion across the top of your screen.
The photos of the process were taken in a bright room so you can see what I'm doing.
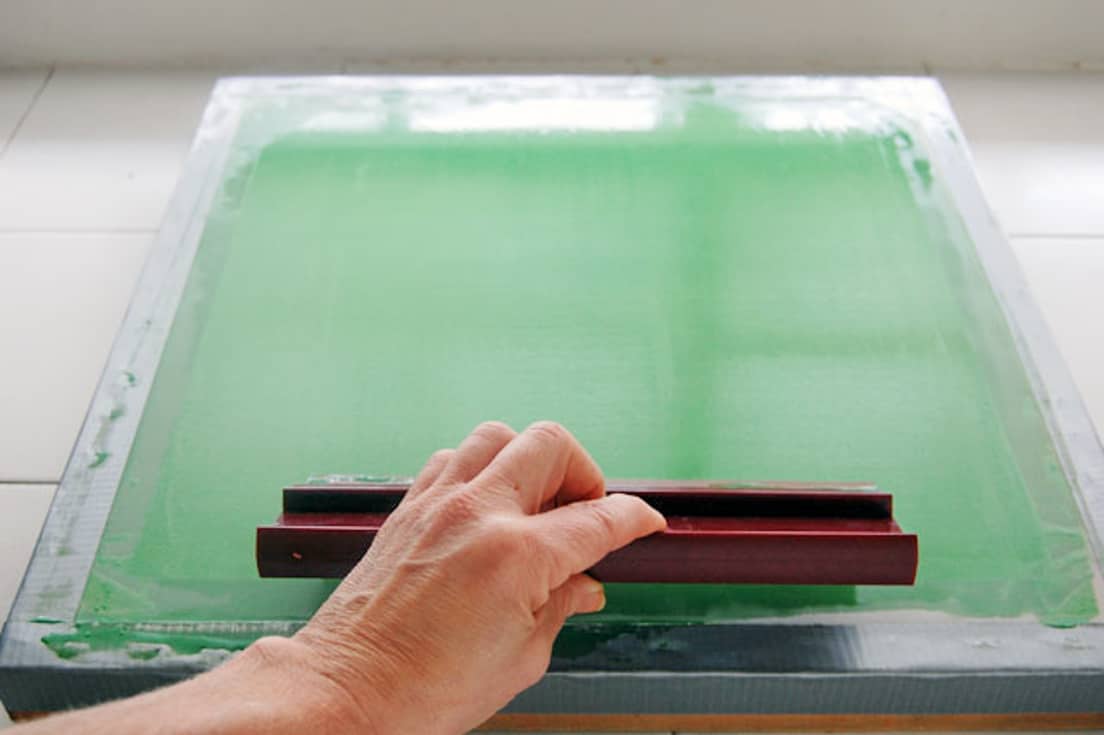
- With your squeegee, draw the emulsion down over the entire screen on both sides. You want the thinnest coat possible. Make sure you have a nice even coat, but work quickly. Do one side, then the other and then immediately put the screen in a dark area to dry.
Work quickly if you're in an area that has light so the emulsion doesn't start to cure. As soon as you have covered the screen get it into a dark room to dry.
WARNING: You need a completely dark room for your screen to dry in. I do my screens in a closet with no windows then I hang a towel on the door so no light can come in any cracks.
- Set the frame down horizontally, not vertically in a completely dark room to dry. Depending on how thin you put your emulsion on, drying will take 1-3 hours.
(update: Since taking an advanced screen printing course I've learned you can also turn a fan on low pointed at the screen to speed the drying time. With a fan it will take around half an hour to dry)
Exposing Your Screen
Once the screen has dried you can now transfer the image you want to screen print onto it. THIS is where people usually get stuck because most tutorials recommend you use a lightbox. You DON'T NEED A LIGHTBOX.
The easiest way for you to expose the screen if you're just starting out is with a 150 watt lightbulb. This can be a regular 150 watt incandescent bulb or a 20 watt LED bulb which is the equivalent.
Your photo emulsion jar will tell you how long you should expose your image depending on the size of your screen. It will also give you the distance your light source should be from your screen.
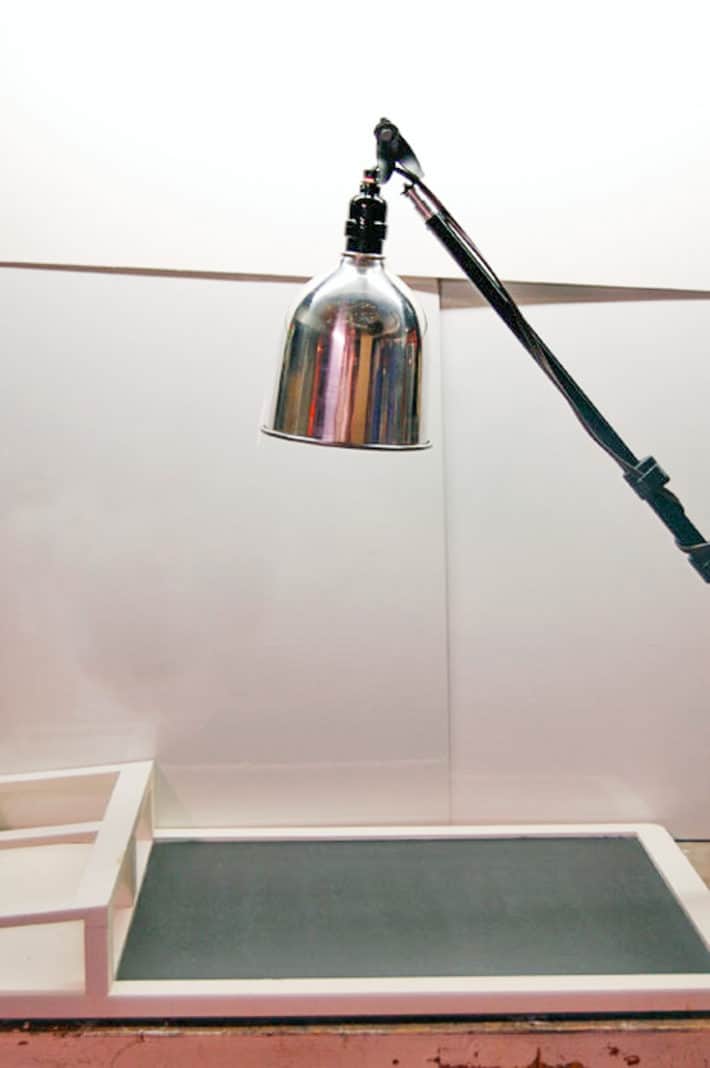
I've rigged up one of my photography lights to use as my light source. It has a reflector on it, so this helps focus the light where I want it - on the frame, instead of spilling out to the sides.
If you do not have a reflector to concentrate your lightbulb you can either McGyver one out of a tin pie plate, or expose your image for 3 minutes longer.
You also need something that's matte black to put your screen on for the exposure. I've used an old chalkboard. A black piece of cardboard or bristol board would work well too.
1. Place a light with a 150 watt incandescent lightbulb or a 20 watt LED bulb shining down onto a black matte surface. Bristol board would work well.
2. Carry your prepared screen over to your light area. Keep the screen covered with a towel to prevent light from hitting it until the second you're ready to expose it.
3. Place the prepared screen on your black matte background. The "back" of the screen (the non recessed part) will be facing up.
4. Place your cut out (or transfer paper printed) image onto the screen IN REVERSE.
TIP
Hold the image in your hand so you're looking at the image how you want to see it on your tee shirt, then flip it over and place it on the screen.
5. Place a clean piece of glass over the image to hold it tight against the screen.
6. Turn your light on. Expose for the required time.
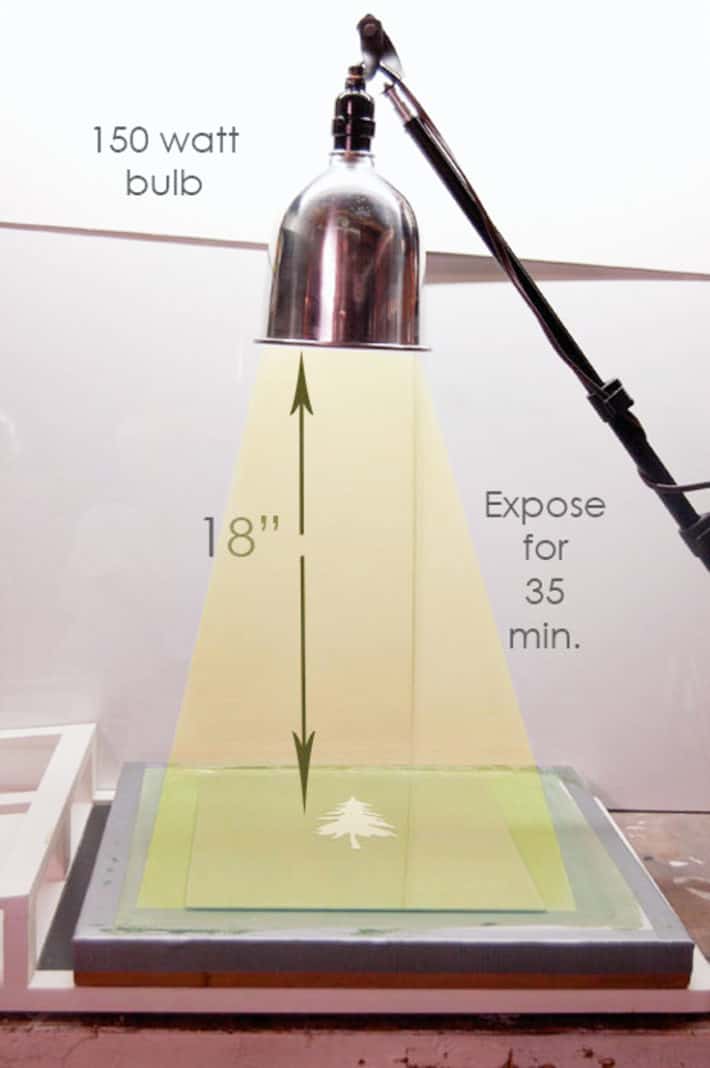
You'll notice my tree image looks white now. That's because I've flipped it over and the dark portion of it is now touching the screen.
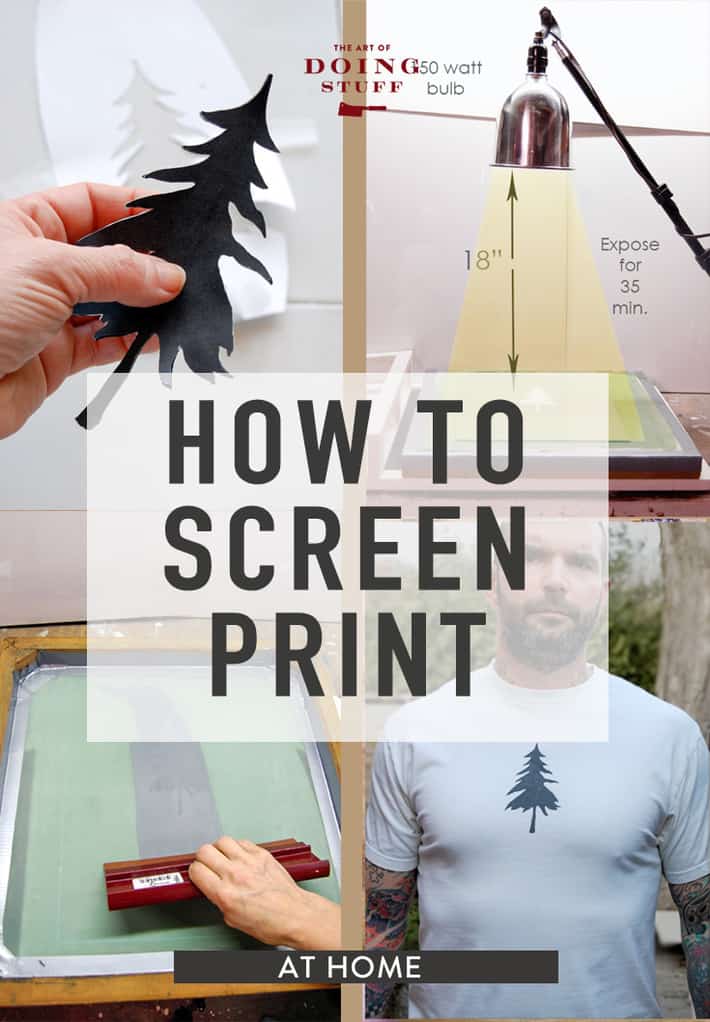
Because of the screen size my image required 35 minutes of exposure with a 150 watt lightbulb set to 18" away from the image. Yours may be different, but if your screen and image are around the same size as mine this exposure time and distance should work for you too.
Set your timer and leave your image alone. Don't push, prod or bother it. Just go away and forget about it.
Once the time is up, remove your glass and paper cutout (or transparency if you're using one). You'll see a faint image right away.
All of the emulsion surrounding your image is now cured hard. The spot where your image covered it up has not been cured and therefore will wash away.
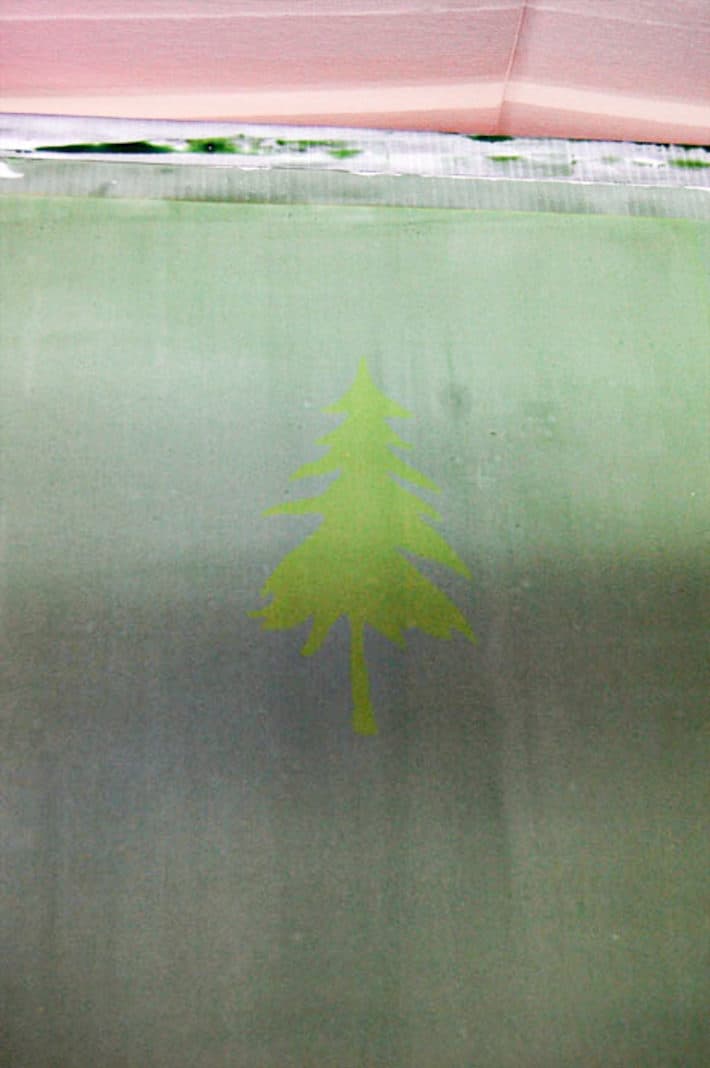
7. Wash your screen with any high pressure tap. Your shower head or outdoor garden hose work well. Spray the screen with luke warm water focusing on the image area. Not hot, not cold.
Just keep spraying and eventually you'll see the image start to appear more and more as the emulsion washes away. You've just made your first silkscreen. You're very impressive. Eat a cookie.
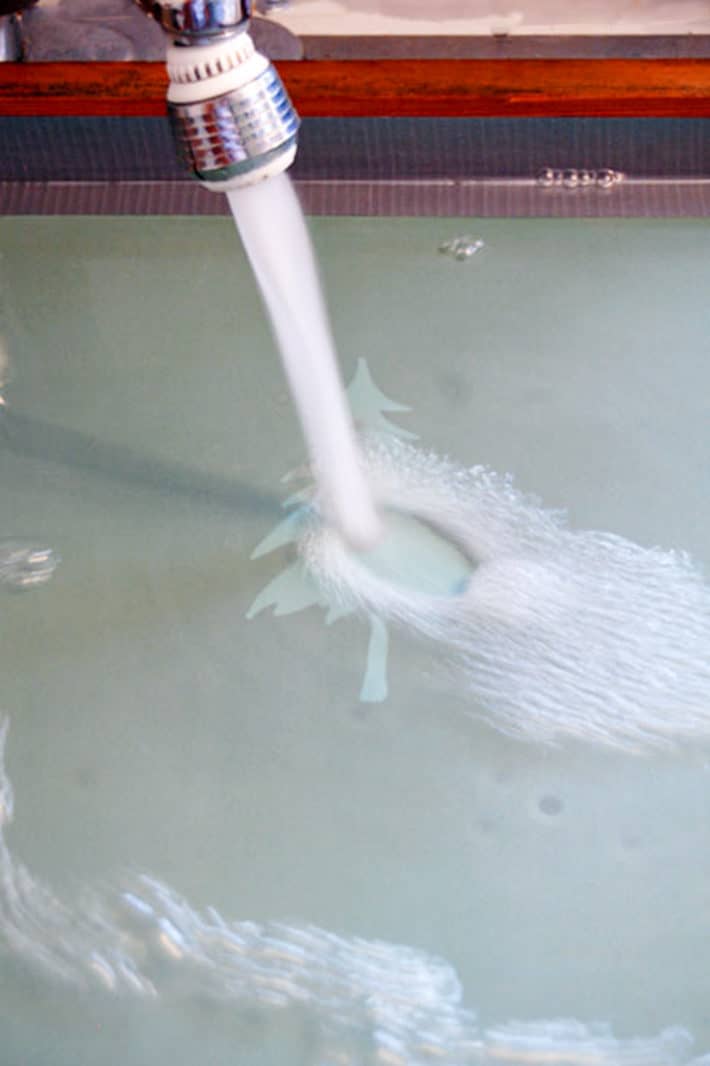
How to Screen Print (the fun part)
NOW IT'S THE FUN PART! You're going to lay your tee shirt (or whatever) out, place your newly burned screen onto it, run a line of paint and squeegee your first item. It's all very exciting.
Video
Since this is your first time and maybe you don't have your technique down perfectly yet, plan to do a few test runs before. Practice over and over on an old tee shirt until you feel like you've got it under control. THEN move onto your real tee shirt.
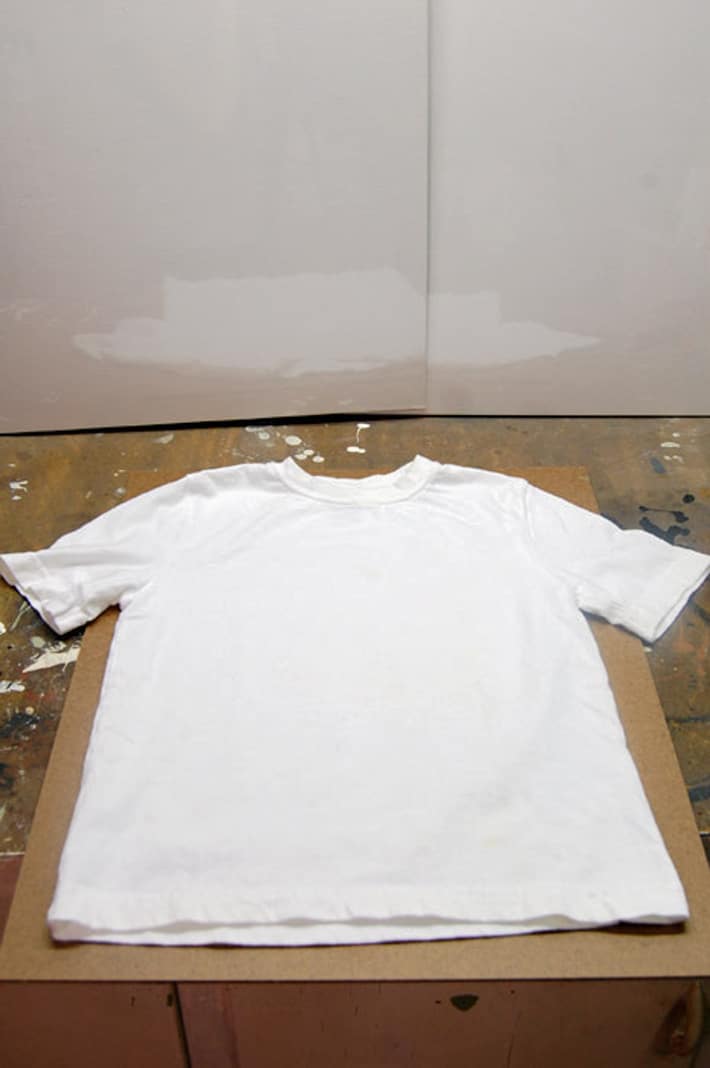
- Lay your tee shirt out and smooth it.
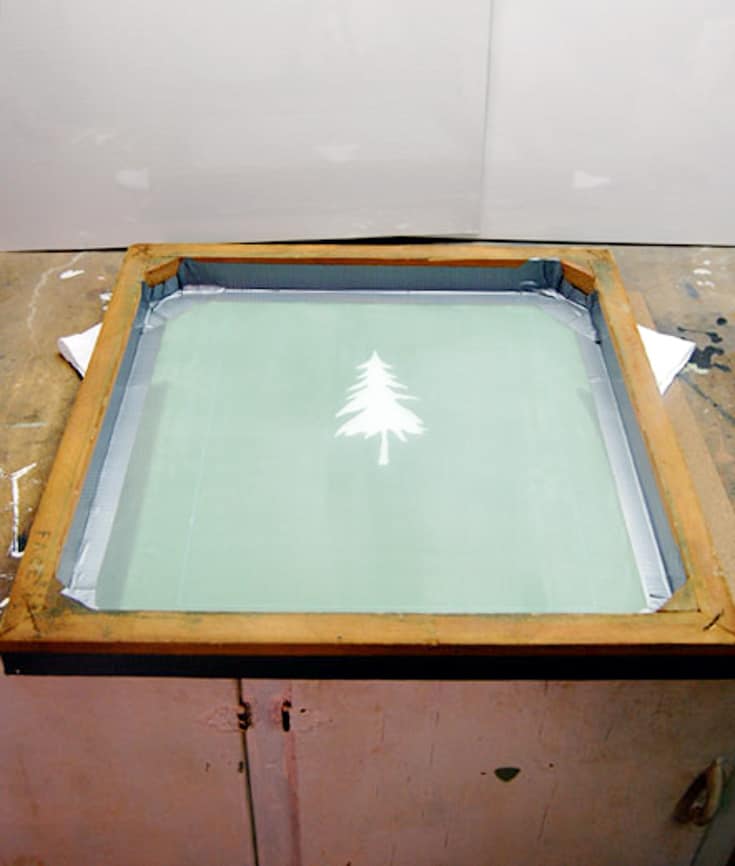
- Put your newly created silk screen over your tee shirt so the recessed side of the screen is facing upwards.
You can see in this photo that I also taped the inside of my screen. That isn't necessary on a store bought screen. I only did it because I had a few gaps.
IMPORTANT TIP - Taping your screen
Before printing, hold your screen up to a light source. If you see any pinholes where emulsion is missing from parts of the screen cover that area with a small piece of tape. Otherwise ink could seep through the hole and
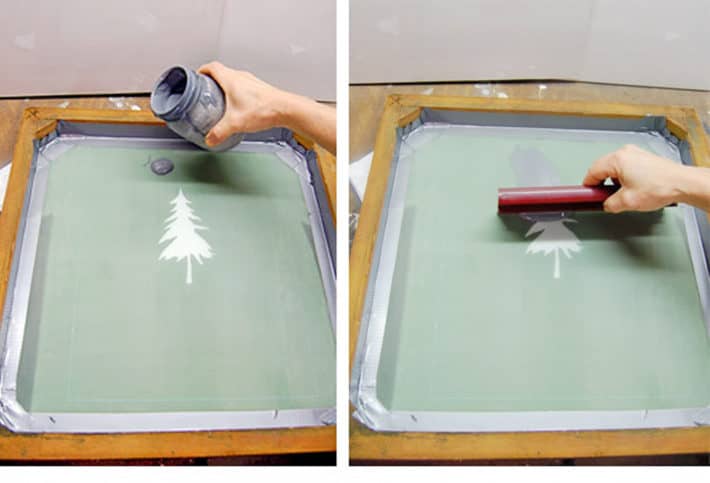
- Run a glug of paint across the top of your screen. My paint/ink is a mix of black and white to make a very, very dark grey. Your paint will dry MUCH darker than it appears when wet.
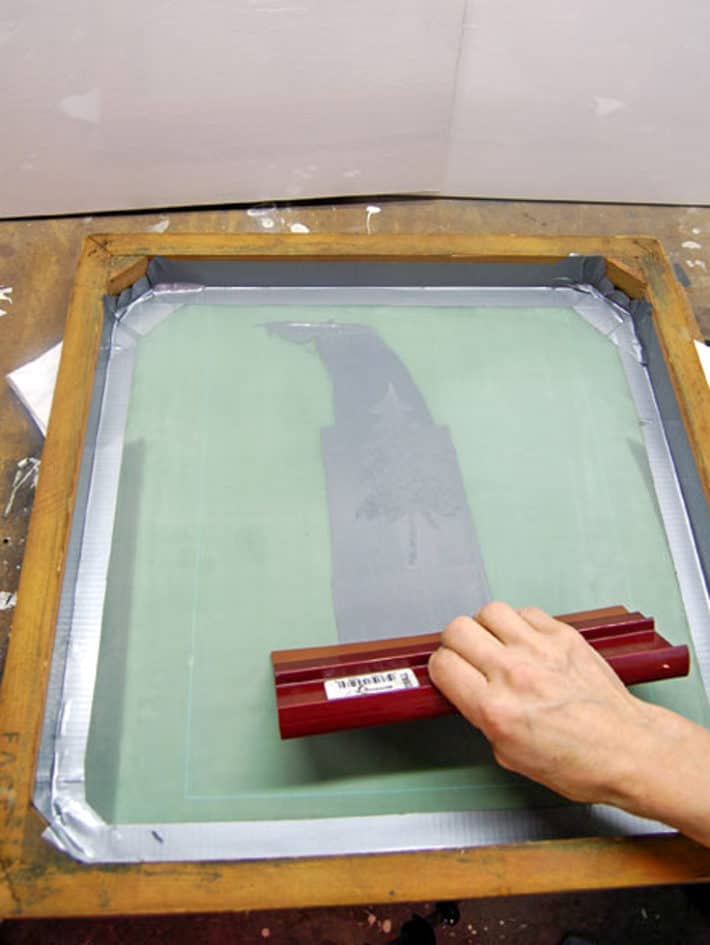
- Drag the paint over your image with your squeegee without applying pressure . This is called flooding the image.
5. Then, going in the same direction, run over the image with the squeegee again with some pressure to push the ink through the screen on to the fabric.
6. You're done! CAREFULLY remove the screen from the tee shirt (it'll stick a little bit) by lifting it up.
7. Hang your piece to dry.
8. When you're done printing all your items, wash your screen right away by running cool water over it.
9. When the ink is very dry, heat set the image by pressing it with a dry iron.
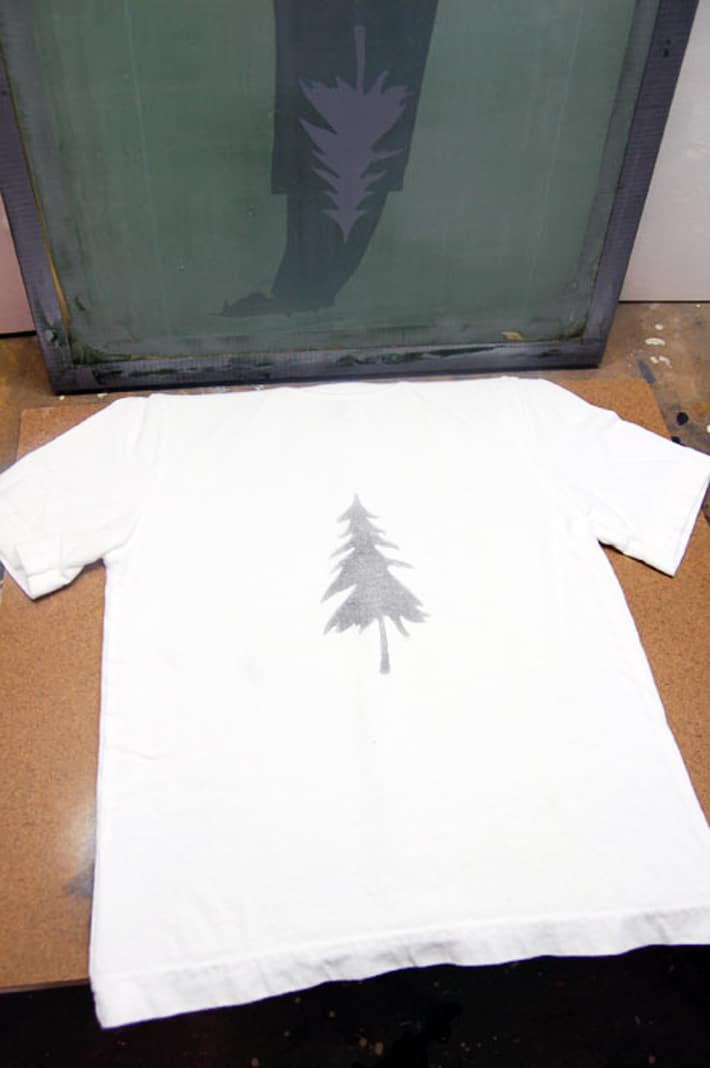
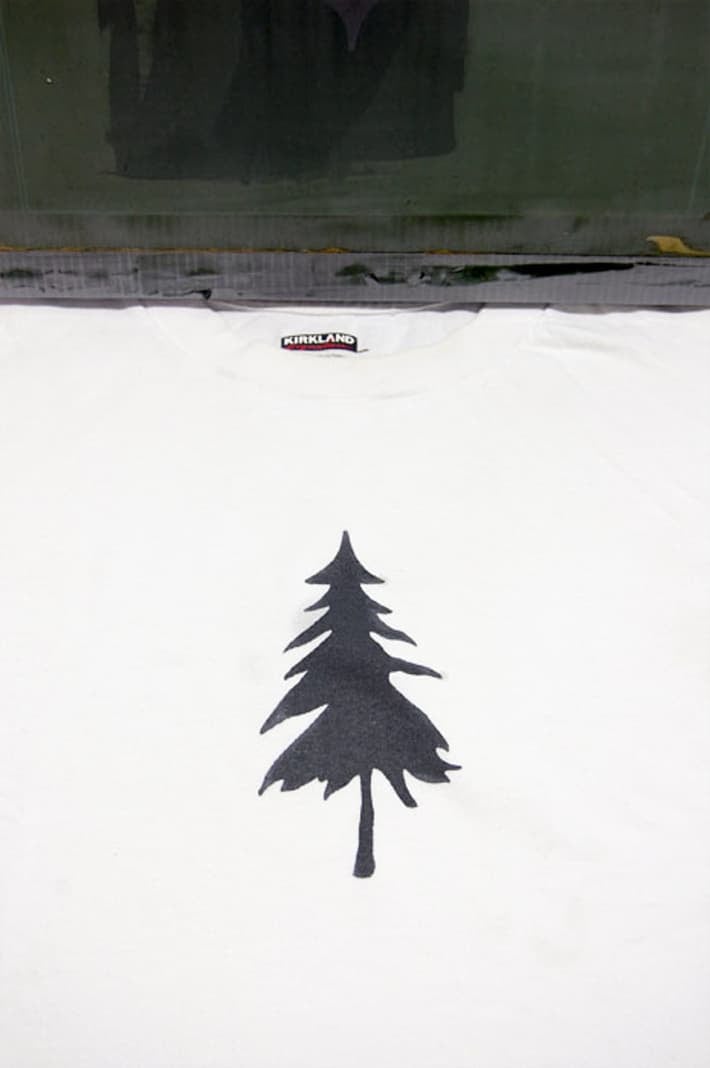
If your print looks faded like this, just add more pressure to your squeegee the next time you print.
More pressure will get you a more solid image.
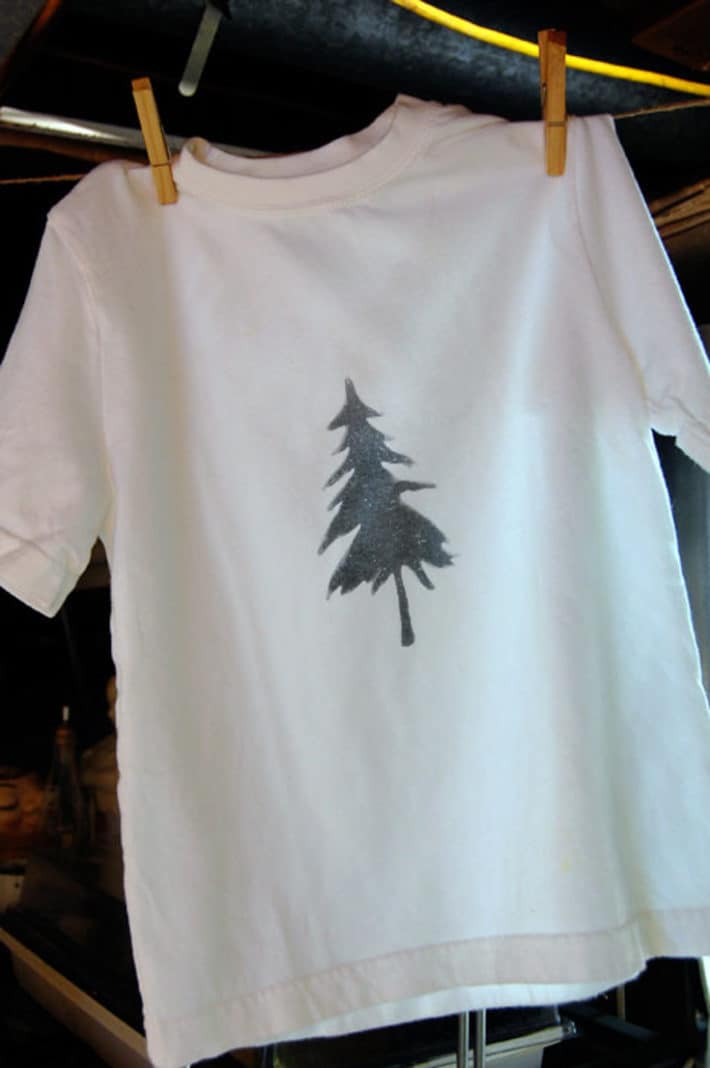
Here it is in video.
And that's it. How to screen print in 742 steps or less. It really isn't all that difficult and for what it takes in energy it more than gives back in fun.
Much like Dodgeball. Or shoving a lima bean up your friend's nose.
How to Screen Print at Home
Screen Printing tutorial for the beginner.
Materials
- Squeegee – $9
- Photo Emulsion – $10 (good for many, MANY screens)
- Ink – $8.00 (good for many, MANY tee shirts)
- Frame with screen – $20
- 150 watt lightbulb – $3
- Tee shirt - $5
Instructions
PICK AN IMAGE
- Decide on an image you want to print. For this tutorial I’m using a basic tree. For your first screen printing subject try something that’s just a silhouette and one colour. Something like my tree or simple lettering is perfect.
- Print your shape or letters onto a regular piece of paper. You can also print it on transparency paper but that’s not necessary until you get to more detailed images. Carefully cut out the image with an Exacto knife.
- Now you need to grab your frame. A screen printing frame is a wood or metal frame with “silk” on it. The silk is actually polyester. I recommend you buy your screen, but you CAN make your own by stapling “110” polyester mesh to a square wood frame. You can buy 110 polyester mesh on Amazon or at a craft or art supply store store.
MAKING A FRAME
- To make your own screen printing frame screw 2×2’s together like I’ve done below. It doesn’t need to be perfect, just solid and flat. This isn’t the time to use up your warped wood.
- Staple your silk onto the frame with a regular staple gun, so it’s very tight.
- Trim the edges the silk.
- Tape the outside of the silk onto the frame with painter's tape.
COATING WITH PHOTO EMULSION
Mix the 2 parts of the photo emulsion together.
In your dark room, run a bead of emulsion across the top of your screen.- With your squeegee, draw the emulsion down over the entire screen on both sides. You want the thinnest coat possible. Make sure you have a nice even coat, but work quickly. Do one side, then the other and then immediately put the screen in a dark area to dry.
- Set it down horizontally, not vertically. Depending on how thin you put your emulsion on, drying will take 1-3 hours.
EXPOSING YOUR SCREEN
- Place a light with a 150 watt lightbulb shining down onto a black matte surface. Bristol board would work well.
- Carry your dried screen with the emulsion on it over to your light area. Keep the screen covered with a towel to prevent light from hitting it until the second you’re ready to expose it.
- Place the prepared screen on your black matte background. The “back” of the screen (the non recessed part) will be facing up.
- Place your cut out (or transfer paper printed) image onto the screen IN REVERSE.
- Place a clean piece of glass over the image to hold it tight against the screen.
- Turn your light on. Expose for the required time. (instructions for required time will be on your box or bottle of photo emulsion)
- Wash your screen with any high pressure tap. Your shower head or outdoor garden hose work well. You're washing away the emulsion over your image. Use lukewarm water.
PRINTING!
- Lay your tee shirt out and smooth it.
- Put your newly created silk screen over your tee shirt so the recessed side of the screen is facing upwards.
- Run a glug of paint across the top of your screen. My paint/ink is a mix of black and white to make a very, very dark grey. Your paint will dry MUCH darker than it appears when wet.
- Drag the paint over your image with your squeegee without applying pressure . This is called flooding the image.
- Then, going in the same direction, run over the image with the squeegee again with some pressure.
- You’re done! CAREFULLY remove the screen from the tee shirt (it’ll stick a little bit) by lifting it up.
- Hang your piece to dry.
- When you’re done printing all your items, wash your screen right away by running cool water over it.
- When the ink is very dry, heat set the image by pressing it with a dry iron.
Notes
- When you get into more detailed images you’ll want to invest in the transparency paper which you can buy on Amazon or at Staples. The image you print has to be OPAQUE because it needs to block all light from going through it. If you’re unsure as to whether it’s dark enough, hold your image up to the light. If light comes through, it isn’t dark enough. Either print another copy and double them up on top of each other, or colour in your paper with a black marker.
- You’ll have two choices when buying a screen printing frame. Wood, or aluminum. Buy an aluminum frame. They’re only a few more dollars and infinitely better. This is a good, inexpensive starter frame.
- If your print looks faded just add more pressure to your squeegee the next time you print.
IF all this DIY seems like a lot of work you can buy an entire starter screen printing starter kit that includes THE SCREEN, PHOTO EMULSION, FABRIC PAINTS, A SQUEEGEE and more.
The Easiest and Most Economical Way to Start is with a Screen Printing Kit
Get the starter screen printing kit for on Amazon US.
Get the starter screen printing kit for on Amazon in Canada.
If you have any questions feel free to ask me. I probably won't answer them but I might chase you down and shove a lima bean up your nose.
→Follow me on Instagram where I often make a fool of myself←

Hi
Why all that trouble for beginners? Screen printing can be done in just half an hour in the initial stages. How? When you cut the stencil throw away the picture and reserve the negative area we call it that is the paper surrounding the picture. Put this on the Tshirt lower the frame and using ink as detailed above print. The ink passes thru' the "empty' area and voila a tree is printed. No emulsion no nothing.
Hi Joe. Yes, that's a good trick for something similar to screen printing, but this tutorial is for someone who wants to learn how to actually screen print. ~ karen!
Hi Karen,
Great diy post....took a workshop last fall that used pretty much the same set up and process.
Dollar store art canvas on frames with the canvas torn off is what we used for frames...if you know anyone who works for Paint Nite...they accumulate a ton of frames.
One word of caution though...I was taught to put a non absorbent layer of something flat behind the top layer of Tshirt...otherwise you run the risk of it transferring to the back too.
I gathered weeds and exposed the emulsion to create a screen for printing on my grocery bags...turned out beautifully.
So many projects...so little time!
I'm glad you posted this again, as it's something I've always been interested in doing. Your explanation has lifted the mystery from the process, and I might actually do this. Thank you!
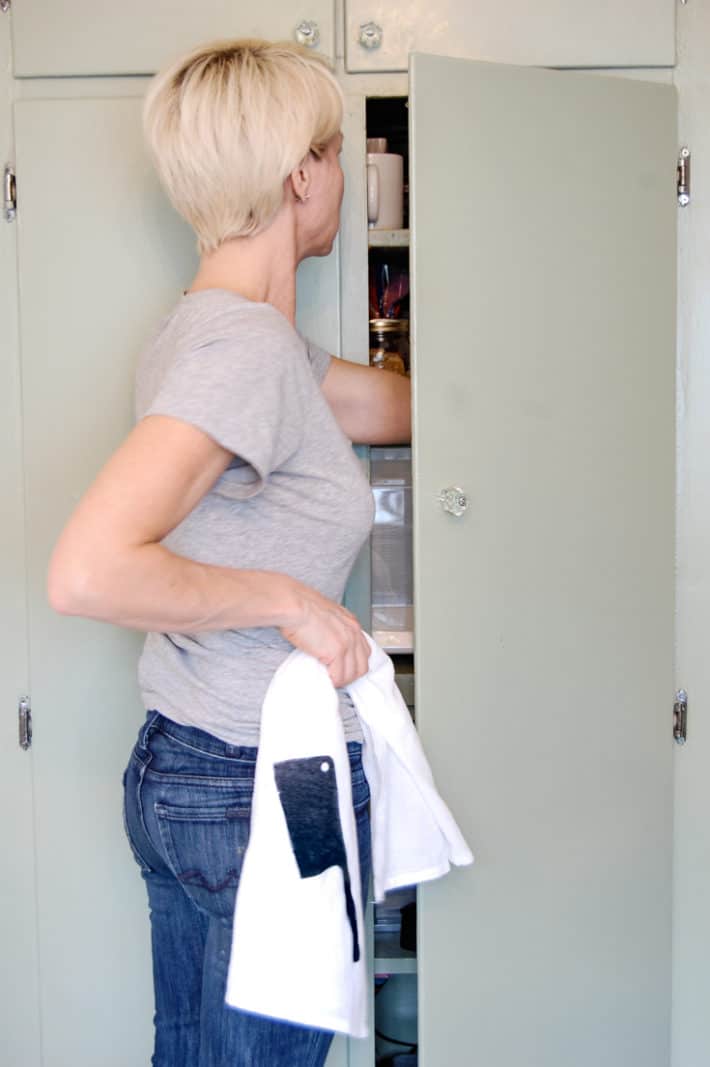
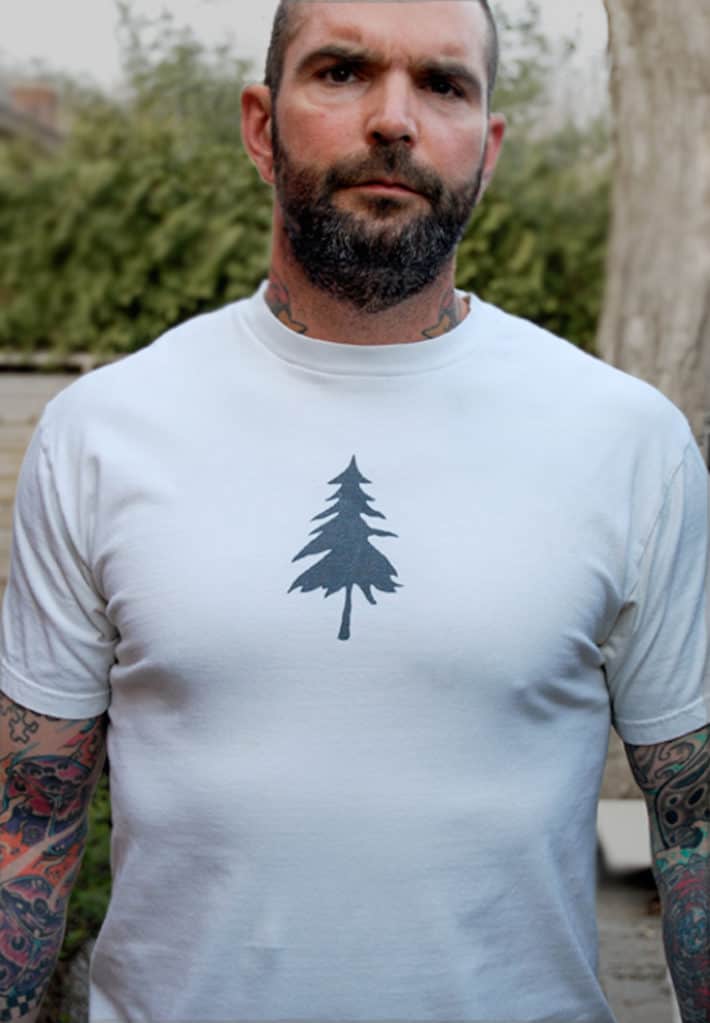
Photo of the fella made my eyes pop out of my head. Next time, a little warning? LOL. Do you still have your cleaver screen? You're pitching screen printing as quick and easy... so... I'll take two tea towels! Or just the cleaver screen. You don't mind if I make money off all your hard work, do you? <3
Hmph, the fella. Nothing is more likely to elicit an involuntary sneer first thing on a Monday morning, especially pre-coffee.
But this sounds doable (talking about the screen printing here, obvi)! I think my only issue will be the photo emulsion coating process. There are very few things I can do well in complete darkness. Maybe I'll try the red light that another poster commented and see how that works. Or not... I can imagine all kinds of fun results (à la the "I ran into Tammy Faye Bakker" t-shirts that were all the rage back in the 80s).
LOL! ~ karen
Hi Karen
Was your fella a narcissist? Mine was and he often had that expression.
LOL! He was a lot of things but a narcissist wasn't one of them.😂~ karen!
2/16/2020
Do you still sell your towels with your cleaver logo on it?
HI Cathy! I'm afraid not. I just don't have time to do them and sell them. To do it again, I'd have to have the tea towels with my logo done by someone else and sell them. ~ karen!
Hi Karen- I just wanted to tell you that I saw an article you wrote for the Garden issue published by The Old Farmer's Almanac. I was paging through it on our way home from NH and thought the pics of the plants looked lovely. Then I saw your back and your hair! There was not a smidgen of doubt in my head that it was YOU! So, I went back to the beginning and there it was. Karen R. Bertelsen! Beautiful projects and they would make a lovely spring/Easter tablescape. I just had to tell you.
Oh great! I haven't even seen it yet. :) ~ karen!
Looks very easy to do, the way you described it.
Thank you for this post. Im trying to understand what happens to the silkscreen afterwards, do you throw out the screen? (or keep it for future stencilling uses)? Or do you scrape off the photo emulsion and start over again.
Also, how many times can you silkscreen. The same pattern over and over again?
Fabulous, thank you & thank you for your humour, you made me smile. I've always been intrigued with the concept, you have certainly inspired me ???
t content with it, now the world was unveiled in home automation: controlling all the things you want to be controlled inside your house having an all-in-one easy to use
control interface. After all, this is the company that introduced classic
rpg experience to gamers (Guys and Girls) across the gamign universe
with titles including Knights of the Old Republic and Mass Effect.
When browsing through the various canvas art styles art enthusiasts
often order, the following art types seem to be the
most popular.
Get everything you need to know and will never run out of ideas on things to say to your boyfriend to
turn him on all hot and thinking about you anytime you want when you visit.
Many concerned companies are looking to take some strong measures against this lethal threat, however, the situation still does not look too pleasing.
These are women that will place greatest emphasis on keeping their family and husbands happy
and so are an excellent choice for men from the west.
Getting those FREE Spins will unlock the full
mode of the casino software. And there are the hidden object scenes that
come standard with this sort of game. And, there is a lot more to expect for Royal Rumble 2012.
LOVE your blog! you made me realised perhaps I can do it at home! I live in a small 2 bed flat and worried I need a lot of room for the frames etc .... I can try to use my spare room as the dark room. I love your little jokes on the blog as well, not the boring instruction type.
I sell baby clothes and tote bags on Etsy and I don't really like the to order it from my printers because is set to print in a certain area or just A4 size, perhaps I can try this now!
my shop in Etsy is https://www.etsy.com/uk/shop/JafNMac if anyone would like to check it out :P
Karen, do you have tutorials about using the expensive transparency paper for more "complicated" designs ? Also just wondered if you have a tutorial about multi colours as well ?
thanks! LOVE your blog, feel like making eveything :D
Hi May, I haven't done any tutorials on making the patterns for more complicated prints and multi colours. Basically to do multi colours you have to make as many screens as you have colours. So if you want a 4 colour print, you do 4 screens, each having on the portion of the print that you want in a specific colour. Then you just lay one done, screen that colour, let it dry a bit, lay the next screen down, screen that colour and so on. That sort of thing is difficult to do at home only because you need it to be exact. Most people who do multi colours have a set up where they have something like a windmill fitted with all the screens that will spin around into position. If you search screen print on my site you will find a couple of other posts on screen printing in general. :) ~ karen!
Two comments:
I did this same thing back in the 60s, when I was in high school and "offered" to make 3 color vegetable bags for my mother to send as Xmas cards. By the time I was half through with the 50 she wanted, I had decided I would NEVER screen print again! Now you make me want to do a new project!
And the fella was cute. And your posts about him were nice. But you deserve the best, cute or not. He wasn't the best.
Hi Karen
Thanks for all of this. I am a non-commercial collector and restorer of vintage tube audio amplifiers. I can do all of the work required to make them 'new' again, including their electronics and re-painting them by airbrush in their original colours.
Most of these old amps have ordinary 12pt type applied in black ink on their paintwork showing for example which tube goes where or ID'ing their controls.
The main problem is that the two identical amplifiers cannot be stripped or dismantled completely so a large flat screen on a bare chassis cannot be used.
There are too many descriptive texts required for re-application the type which will require a gazillion individual small framed screens.
It will certainly possible for me to make a few smaller screens to fit inbetween non-removable amplifier parts. The smaller screens (possibly made from aluminium plate) I can make in my home workshop.
I have lots of pics of the two identical amplifiers but I'm not sure if I can upload the pics here.
How would you go about doing this work.
Thanks and kind regards
andre
cape town
Hi Andre. You can send a photo to karen@theartofdoingstuff.com But I'm not sure how effective screen printing will be for you, mainly because it's a lot of work to do a screen if you're only going to use it on one tube. If you can do multiple tubes with it, you might find it's worthwhile though. ~ karen!
hi good article im from manila and im on this printing business for about a decade i just want to add something on light exposure for faster result i use 6 200watts fluorescent lamp its about 24 inches long and im doing it in reverse i mean i put my light on down position with at least 9 inches distance from the image or design .. it will only takes a minute and half for my process and then wash with water ..by the way i use glass where i put my acetate or lay out..im sorry for my bad english but i hope it makes sense :D thank you
It does. Thanks Glenn! ~ karen
Thank you so much for this post. I want to learn how to do this yet I don't have a place to make a dark room. Our home was built in the 60's so the closets are small as are the bathrooms. What would you suggest to use instead? Thanks for any help or advice you can give, take care.
i suggest to make a wooden box or plywood big enough to put the screen like 36 inches by 36 inches but the bigger the better .. hope it helps.
Good blog you have got here.. It's hard to find quality
writing like yours nowadays. I truly appreciate people like you!
Take care!!
There excel reasons for everyone to mix their coins, but also for those that use Darknet Markets in particular, it is a requirement.