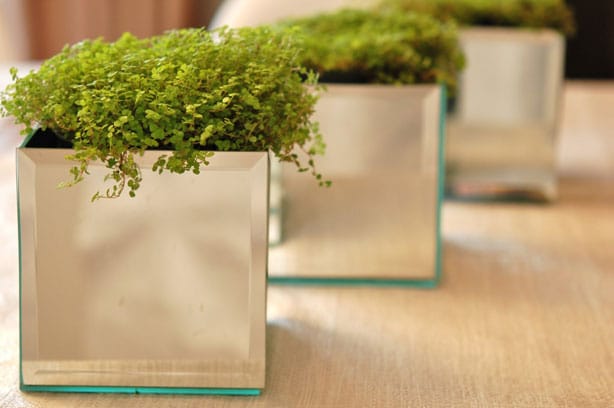
A cute little mirrored planter to hide all those ugly plastic pots. An easy DIY that'll take 15 minutes and about $5.
I am sitting here at my computer with a faint, goofy smile on my face thinking back to the first time I had a Dollarama revelation. The first time I looked at something in one of their aisles and thought hmm ... I could make something out of that.
I don't know if it was the buzzing of the fluorescent lights or the hypnotic drone of the soft rock, but something in me came alive that day. My body seemed like it was on fire. I had an electric sensation from my head to my toes as right there in the Dollar Store my innards gave birth to a something entirely new. In the blink of an eye I developed the Dollarama DNA. Which is wayyyyy cooler than a Y chromosome by the way.
So allow me to introduce you to my first born; my first project ever made out of Dollarama crap.
Oh and by the way, in case any Dollarama head honchos who have the ability to ban me from all Dollarama stores happen to be reading this blog ... "crap" is actually a term of endearment.
Here we go ......... !
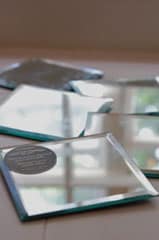
with this ...
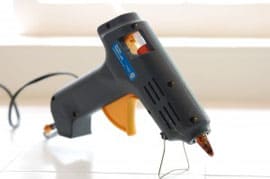
Gives you this!

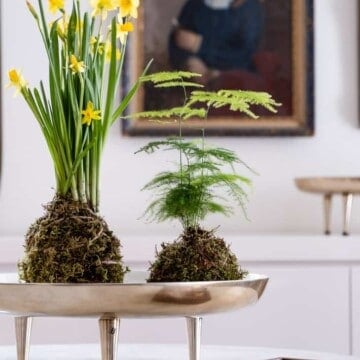
Now, the observant among you may recognize these mirrored boxes from yesterday's post on the always classy garbage bag table runner. I probably made these boxes for the first time 5 or 6 years ago. Since that time both my sister and my niece have also made them. My niece uses hers in her kitchen for her car keys and pens and such. As you can see the mirrored box also makes quite a fetching planter. Total Cost? Five dollars. Plus whatever a squirt of Windex and a paper towel will cost every time you pick them up to marvel at their beauty.
And here's how you do it!
How to Make a Mirrored Planter
Update: I apologize for the weirdly small photos, but this is one of the VERY first posts I ever did and somewhere over the years the larger ones were lost.
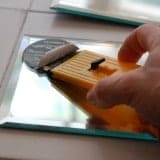
scrape the stickers off with a razor squeegee. Trying to peel them off will only end in tears and pill popping.
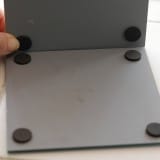
lay your base, mirror side down and hold one of the mirrored pieces up to the edge of the base.
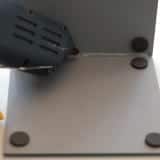
once you're sure everything is even and level run a bead of hot glue along the seam where the edges meet.
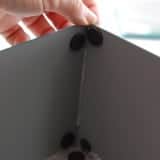
wait patiently for the glue to dry before moving onto the next piece of mirror. This is exactly when the bottom of your foot will feel like it needs to be scratched.
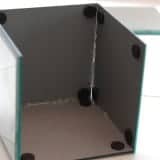
Continue lining up and gluing the bottom and side edges of the mirrored pieces. My glue gun broke mid-craft so mine is messy.
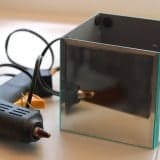
Done! If you think you're going to see inside the boxes, remove the round felt pads on the bottom of each square.
Oh! And, if you're looking to eat up the majority of the hours in a day while also making yourself crazy, try taking multiple pictures of a mirrored box. Please send all cards of sympathy to me. At my house. Thanks in advance.
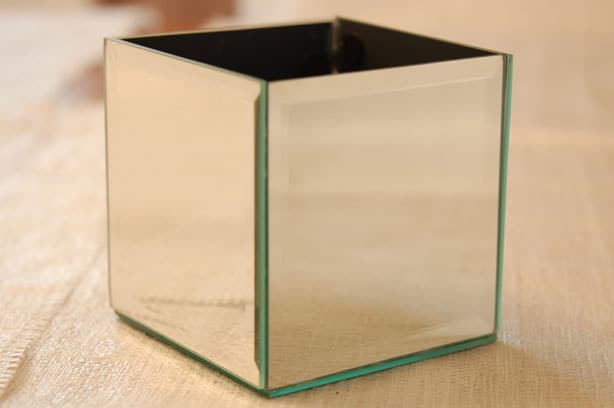
It took me 3 hours and a 2 calls to a mental health facility to take this photo.


lovely idea
Thank you! It's an oldie but a goodie from my bag of Dollarama tricks. ~ karen
Fantastic!! I can't wait to do this for my little succulent collection!
These are adorable. I liked the idea of using them as wedding centerpieces. As an interior designer, I can see them as pedestals for lightweight artifacts. If concerned about them collapsing from the weight, could glue a 2 x 4 or several 1" dowels cut to size inside to support extra weight.
I helping out a bride do her wedding (she has champaign taste or a beer budget) and I am totally doing these for the tables! AWESOME! Thanks for making this and to whoever thought of wedding centerpieces GENIUS!
this IS neat, but how do you do the last step? It looks like a glue gun would be longer than the box is wide, so how do you get the glue in the box? Or do you put the glue on the sides and then stick the last mirror on?
This post instilled me with a sudden urge to visit the Dollar Tree... If these end up happening to be wedding centerpieces (like the voices in my head are shouting that they should be) I'll send you some photos.
Too cute! Thanks for the tips!
This is fantastic! And seems so easy. Can't wait to make it!
Just saw this post on Design Sponge. Love your blog, so entertaining. I originally thought you attached them to a box, now that I see what you did, it is even more amazing! They are beautiful.
You could do this with colored tile too! Can't wait to try it...
Good idea! - Karen
oh em geee. this is great. lol i totally have a little stash of these mirrors from the dollar store because i too thought to myself,hey i could use these for something! originally the idea was a mirrored headboard DIY i'd seen in sunset magazine.
but it turns out im too lazy for large-scale projects lol
so now they just sit in my house waiting around until guests come where i use them as coasters.
but i lovee them with little plants! so cute.
thank you for sharing :)
Thanks Rachel! Happy glue gunning! - Karen
What an awesome idea! I'm going to have to give this a go!
That is just too darn cool!! Sitting wishing my Dollarama DNA had kicked in that one then again that's why I have you :)
Oh the delight, the sheer delight! This just gets better every day. I am so inspired. You the bomb girl!
Thanks Karen!
Love it! Now if I could just figure out what to do with all the dollar store flip flops I've bought over the years, I'd be in business.
Personally, I'd make some sort of outdoor chandelier with them. Go!
Cut them in half (or not), insert a metal kabob skewer into the "heel" and viola, fly swatter?! Or keep the flip-flop in your back pocket (or discreatly hidden under your chair) so you can whack your sister-in-law, boyfriend, husband or self upside the head when being a dumb-ass! Just a suggestion!
The best thing to make with all those filp flops is a summer wreath. Glue the heels together and then a second row of smaller ones on top. Very easy. Hope this helps.
oooow, aahhhhh! I love these!
Holy crap, that is beautiful.
Thanks! Yeah, they turn out really well and they only take about 2 minutes to make!
You're a genius! I'm loving these dollar store projects.
Thx Yen! This one is particularly easy so it's fun 'cause in no time you have something GREAT.
I see a cheap and very cute wedding center piece in my near future!!!! Great Idea! Thanks for sharing!
Gasp! You're right. They'd be perfect for a wedding centrepiece! Good thinkin'.
I hope you got help for all your problems while talking to the mental health specialists! Of course, two calls may not have been enough time to get it all in. ;)
Cute idea with the mirrors. And I love that nifty "cloth" underneathe it!