You're wondering if inexpensive at home LED Nail lamps work aren't you? As I sit here trying to pick off the remnants of my month old gel nail polish I can tell you - YES they do.
Skip right to the Quick tutorial.
I was given an LED Nail lamp for Christmas years ago. Through years of experience I can tell you it's one of the rarest beauty products in the world ... it's one that actually DOES what it says it's going to do. The at home LED Nail lights actually work. 🤯
At the end of my forearms I have been blessed with the delicate bone structure of a sparrow. The kind of wrists you'd see being spritzed with floral and candy notes in a Mariah Carey perfume ad.
Protruding from those wrists are two blobs of man hands. The kind you might see splashing on Old Spice or breaking the neck of a Wildebeest.
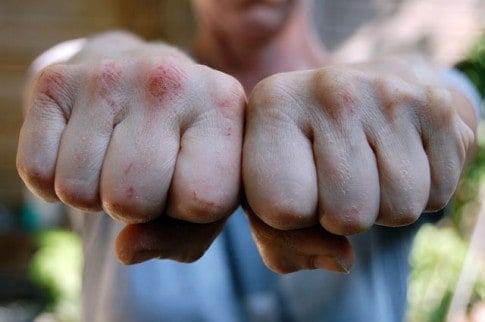
They are the stubby, square palmed, short fingered hands of a doer. I can deal with having man hands; they've served me well holding up to the daily DIY punishment I put them through. What I can't deal with is doing my nails only to have them look like I just used them to claw my way out of an underground prison.
Once I do my nails my hands are elevated from barbarian to "B" level Drag Queen. "A" levels like Ru Paul would chop their hands off before they got on a stage with my stumpy digits.
So I do my nails. Precisely 3 hours later my hands look as though I have indeed snapped the neck of a Wildebeest and then repeatedly filed the tops of my nails with its broken teeth.
I am not the kind of woman who can maintain nice nails.
So, what's a man handed gal to do? Get an LED nail lamp. My sister Fish Pedicure (aptly named for the horror she endured while receiving a Fish Pedicure in Thailand) gave me one of these nail lamps a few years ago for Christmas and I was STUNNED when it actually worked. I did my nails, cured them under the lamp and 2 weeks later they were still PERFECT.
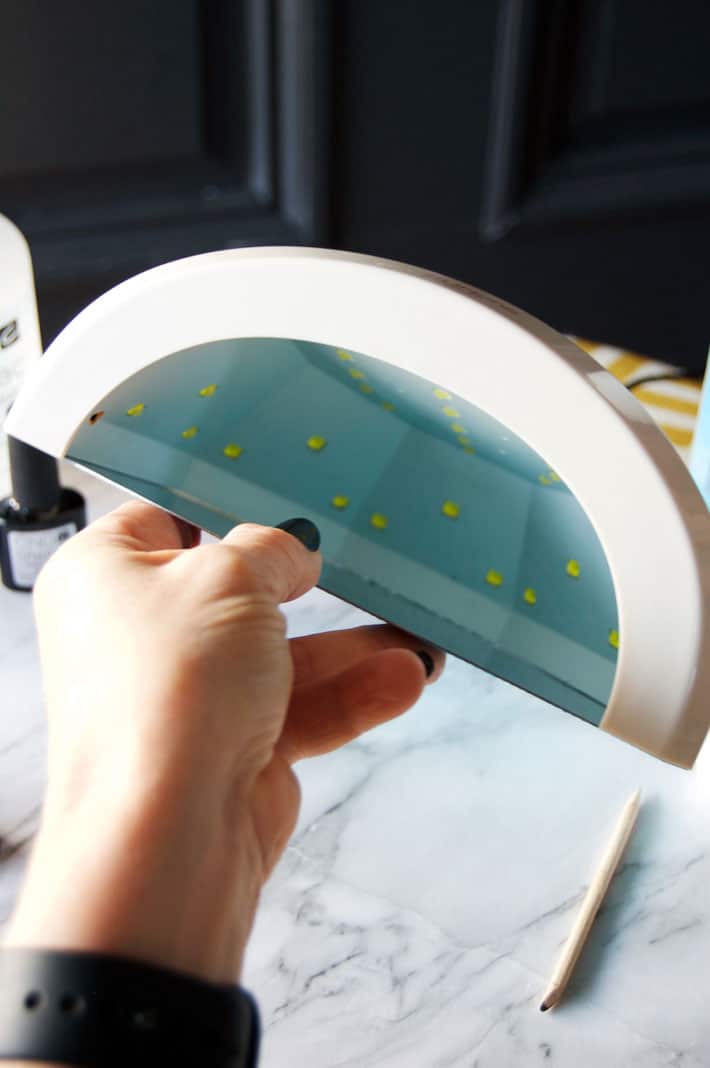
An LED Nail light is just a plastic box with a bunch of tiny LED bulbs inside that emit UV light. There's also a reflector on the bottom of the unit to help bounce the light around. At this point you're afraid of UV light aren't you? Good. You should be.
But ...
Table of Contents
Which is safer: LED or UV Light
Gel nail lamps used to strictly use UV lights when they were first introduced in the early 2000's. Those lamps delivered a much stronger source of UV light over a longer period of time. UV lamps take 8-10* minutes with your fingers under the to cure gel nail polish.
The newer LED lamps deliver a much smaller dose of UV and they do it more swiftly. Your nails only have to be under the LED nail lamp for 1 minute (or less) to cure the gel.*
This means that a nail curing light that uses LED bulbs is safer than one that uses UV bulbs.
- This curing process has to take place for each coat of polish. For a typical manicure this means 3-4 coats: a base, 2 coats of colour and in some cases a top coat.
All the options I'm going to show you, including the unit I use myself, use the safer LED bulbs.
I
How to protect your skin when using the light
- Apply a broad spectrum sun block to your hands (being careful not to get it on your nail beds.)
- Don't overdo curing. Cure for the amount recommended for the nail gel and no more.
- If you have fingerless gloves wear them. Just check your drawer filled with 1983 memorabilia. They should be directly under your massive Madonna hair bow.
Not sure if you can trust me on this? As far as the science goes, it's still iffy, but most medical research concedes that the increased risk of skin cancer from using an LED curing light is minimal. You can read about it in this Harvard Medical article on LED nail lamps.
What I can tell you is the at home units absolutely do work. There's no debate about that.
At home LED nail lamps work.
And they work really well. I'm stunned.
Here's how it works and what it costs.
YOU NEED:
1 LED/UV nail lamp ----------------------------------------- $27 US
Shellac or Gel polish for use with LED nail lamp
- Base coat ---------------------------------------------------- $15 US
- Colour (I used Black Pool) ------------------------------ $15 US
- Top coat ------------------------------------------------------ $15 US
Shellac/Gel polish Remover ------------------------------ $ 5 US
Isopropyl Alcohol 99% (Rubbing Alcohol) ------------- $ 4 US
TOTAL INITIAL INVESTMENT --------------------------- $81 US
(Prices on Amazon vary wildly so this type of kit could end up costing a more or less.)
HOW TO APPLY POLISH WITH LED NAIL LAMP
- Gather everything you need and apply Base Coat of Shellac/Gel polish to one hand.
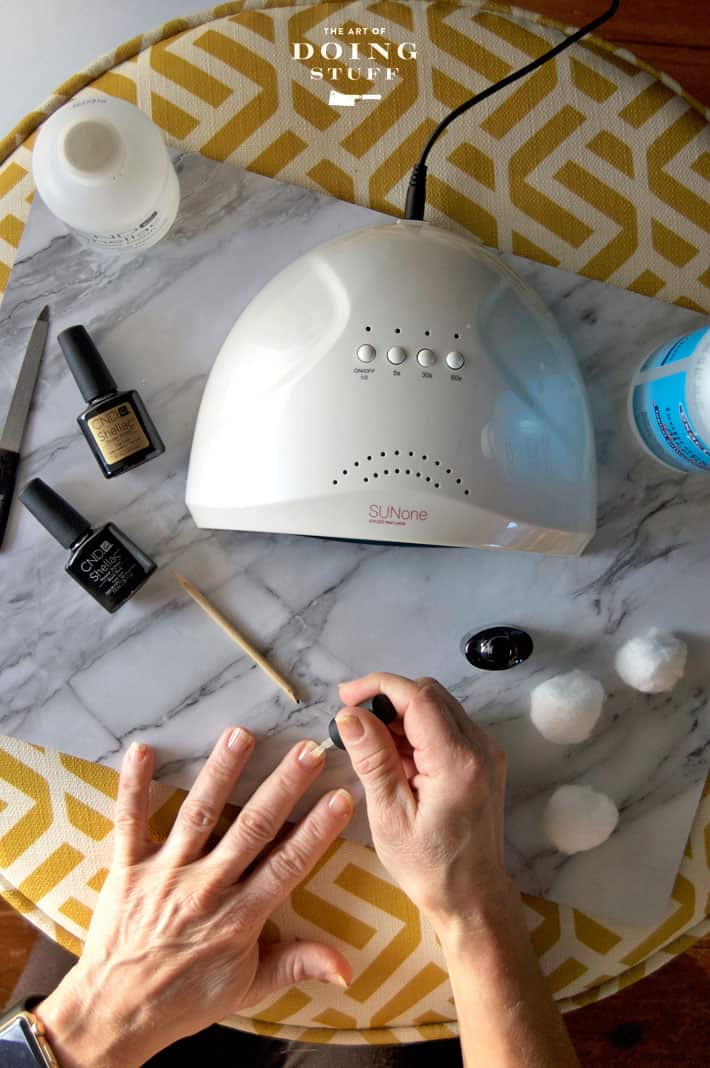
- Cure polish under LED lamp for 45 seconds.
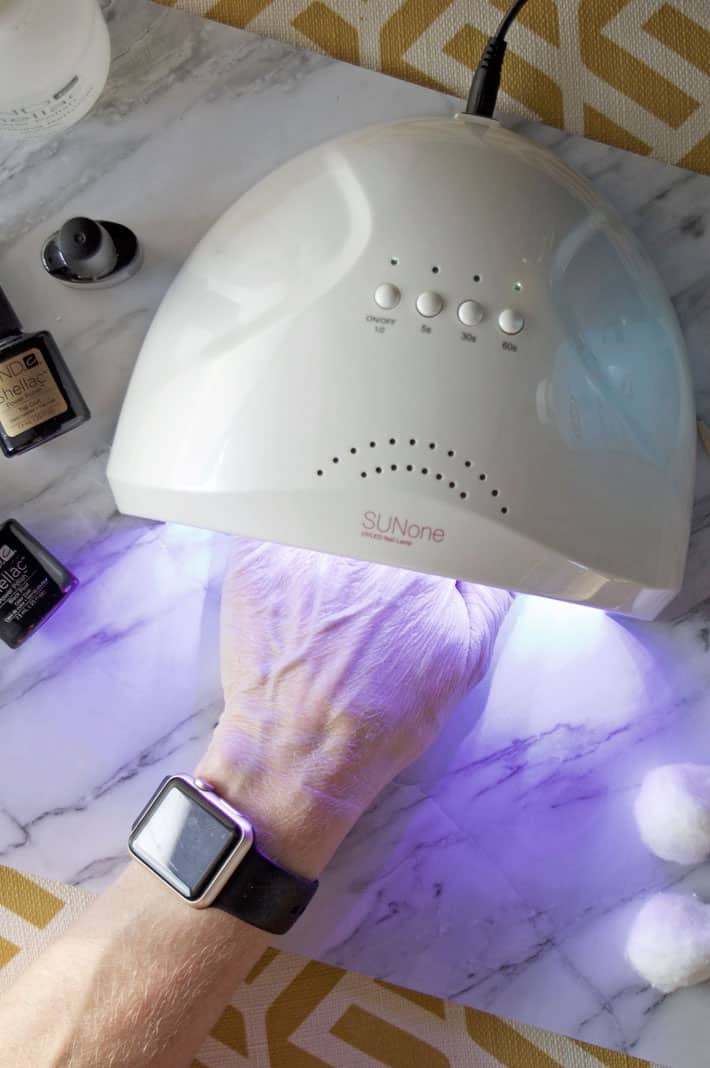
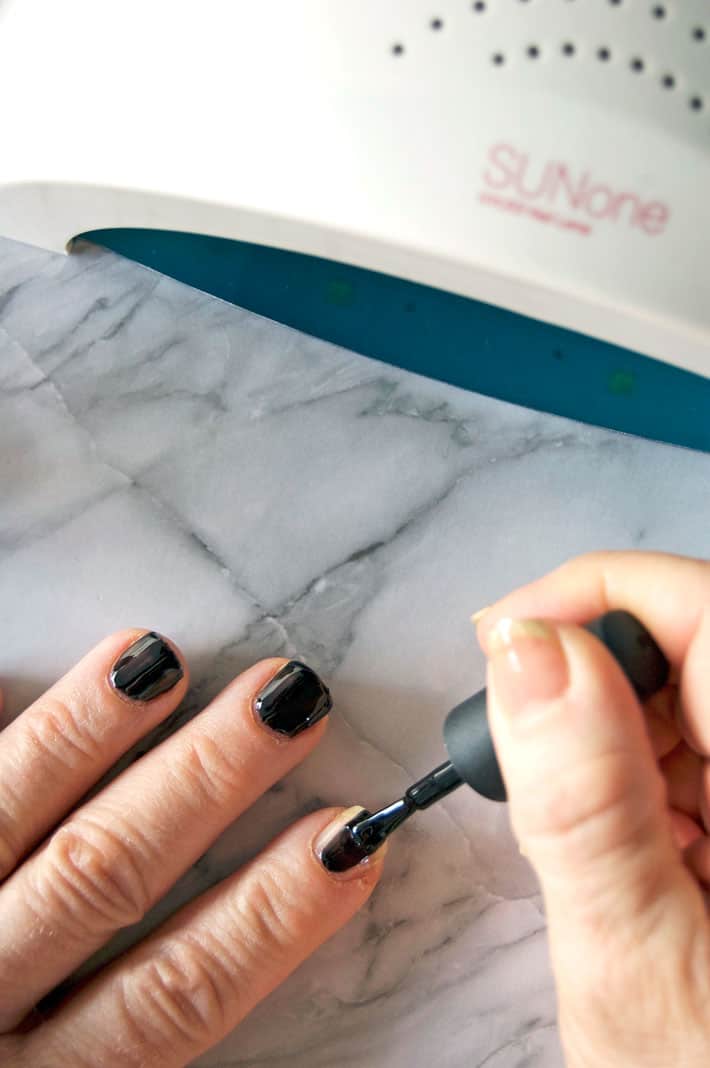
4. Repeat on other hand.
5. Apply 1st coat of colour to one hand, being careful not to touch the cuticle (this will impede the curing process) and cure for 45 seconds.
6. Cure polish for 45 seconds. Repeat on other hand.
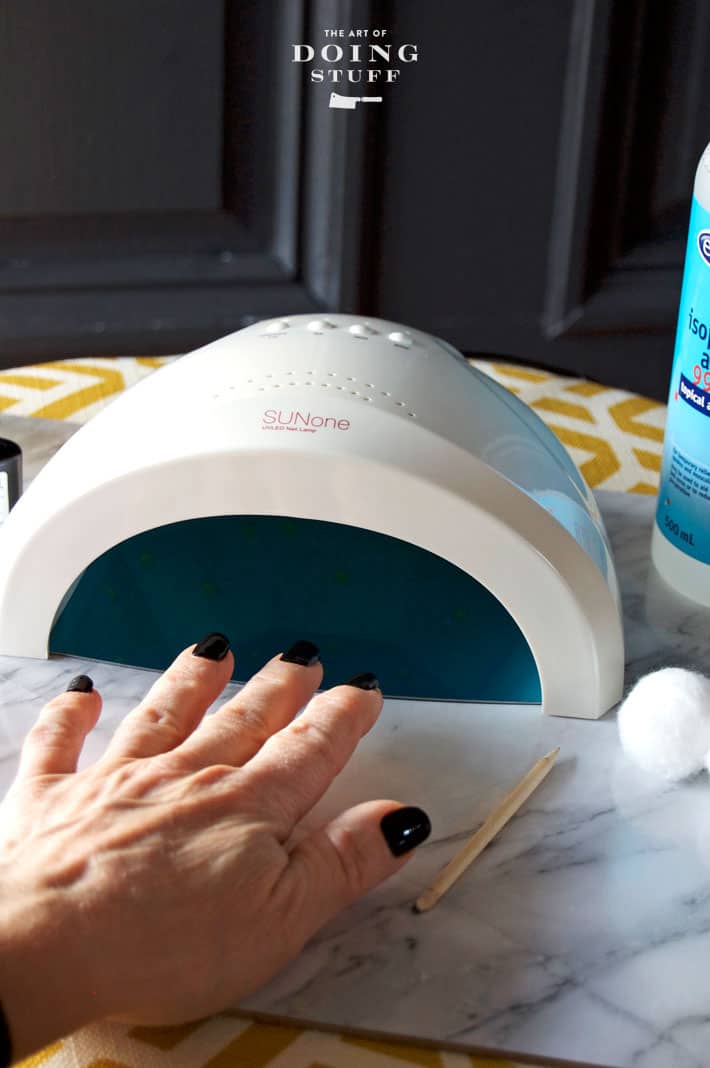
7. Apply a second coat of colour and repeat curing process. (45 seconds each hand)
8. Apply top coat and repeat curing process. (45 seconds each hand)
9. When all coats are applied and cured, wipe each nail with a cotton ball soaked in 99% Isopropyl Alcohol. this removes the sticky finish that will be on your nails. Your nails are done!
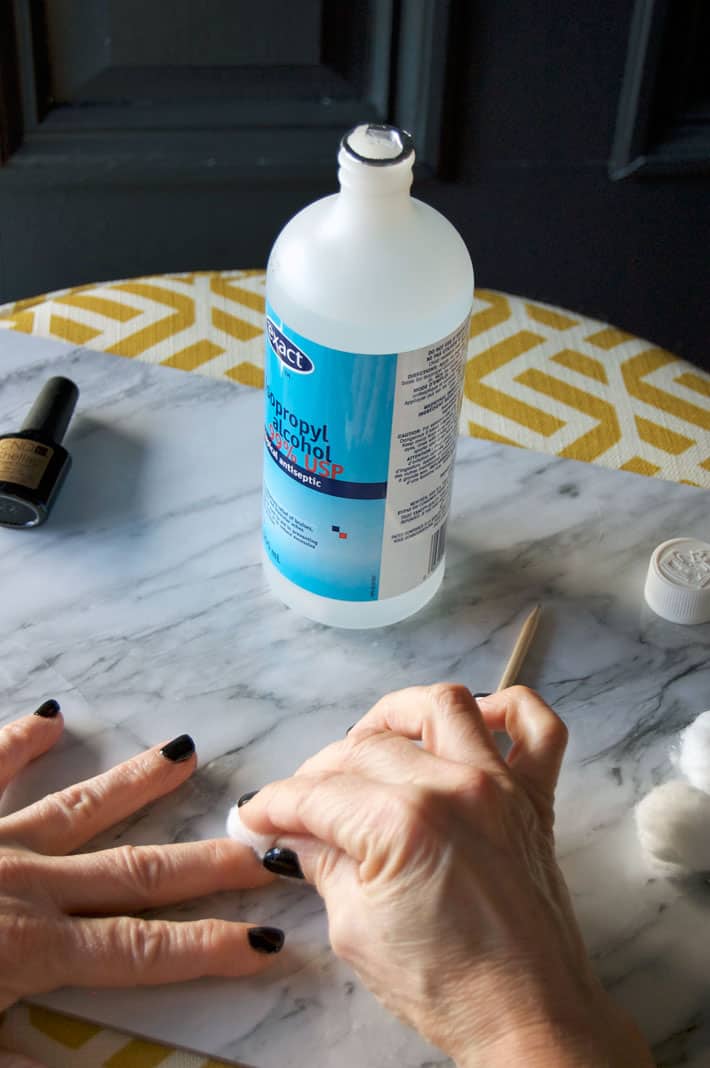
The nails are completely cured and dry - ready for you to do anything. No waiting for them to harden up, no worrying about "just having done your nails". Seriously go scrub some pots or tie your shoes. Nothing's gonna happen.
These are my nails immediately after doing them and then 2 weeks later. Yes. Dry hands in the first photo. I know.
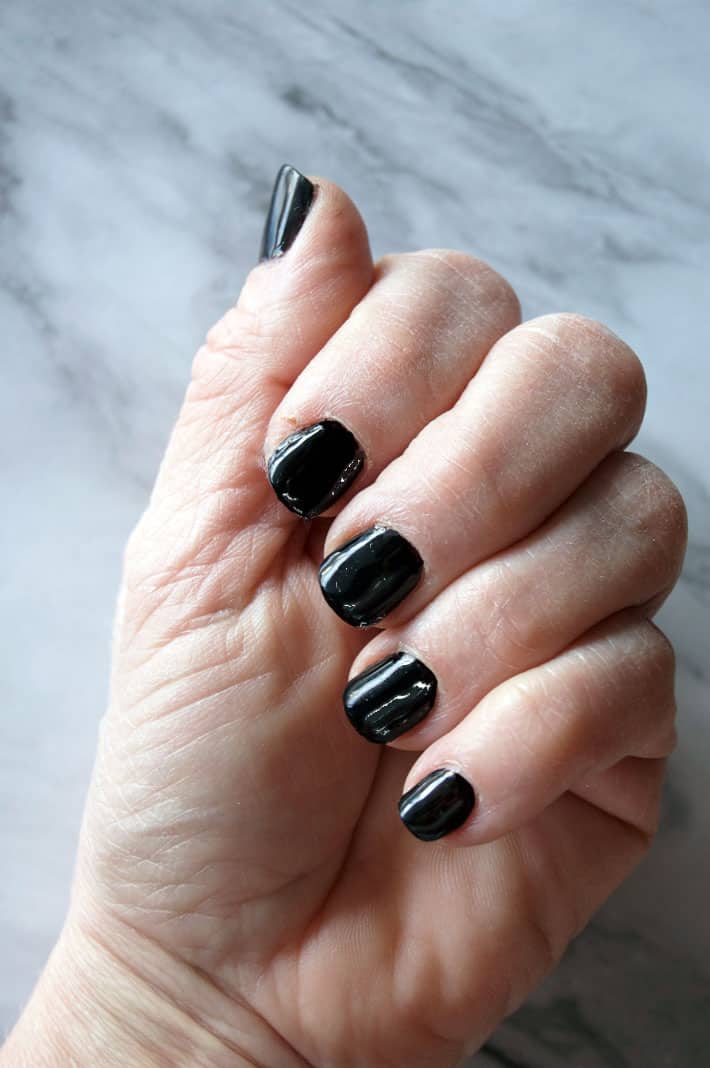
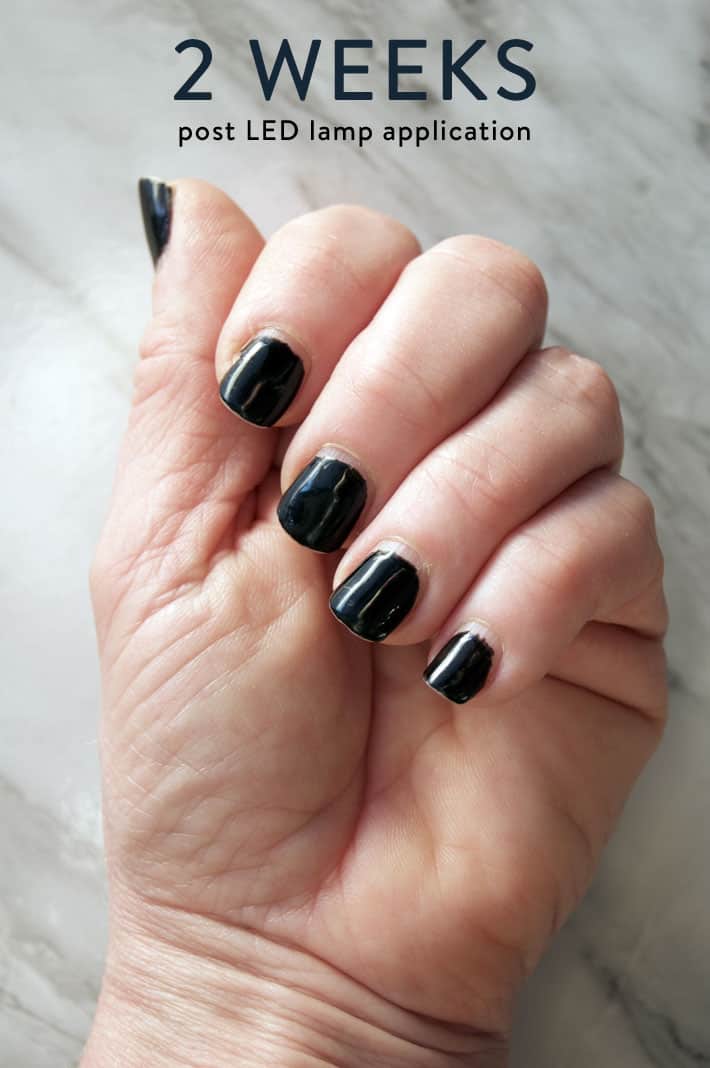
There's a tiny bit of wear on the tips and of course they've grown out from the cuticle.
Quick Reference on how to use an LED nail lamp
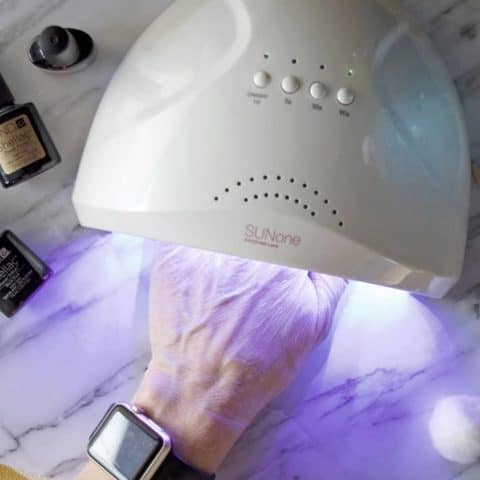
How to Use LED Nail Lamp
A simple guide on how to use an LED Nail Lamp.
Materials
- LED Nail Lamp
- Shellac or Gel nail polish for curing
- 99% isopropyl alcohol
- Cotton balls
- Orange stick (optional for cleaning up edges of nails)
Instructions
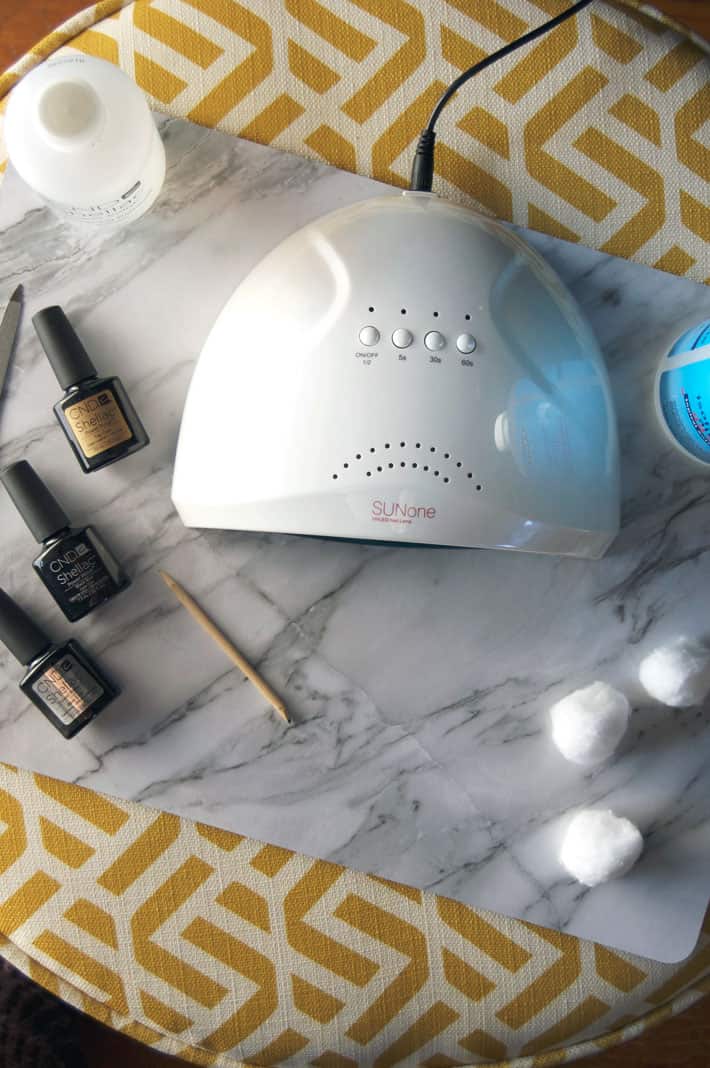
- Lay out your materials: UV light, base coat, colour, top coat, orange stick, cotton balls, 99% isopropyl alcohol
- Clean hands and nails well.
- Apply base coat, cure under LED lamp for 45 seconds
- Apply 2 coats of colour, cure for 45 seconds after each coat.
- Apply your final top coat, cure 45 seconds
- Wipe nails with cotton ball soaked in 99% isopropyl alcohol.
- Done! Your nails are now rock hard and ready to do anything.
Notes
Can you use this with regular nail polish? Yes and no. Regular nail polish won't cure under these lights. But, if you have regular nail polish on, you can apply a top coat of Shellac or Gel and cure it under the lamp to make your manicure last longer.
How do you remove Shellac or Gel? It’s a bit of a thing. Rough up the top of your nails a bit with an emory board to break up the top coat surface. Then put a cotton ball that’s been soaked in the special gel remover (it's just acetone) on each nail. Wrap nails in plastic and leave them for 10-15 minutes. The polish will either wipe off with the cotton ball or it will be softened enough that you can scrape it off with an orange stick.
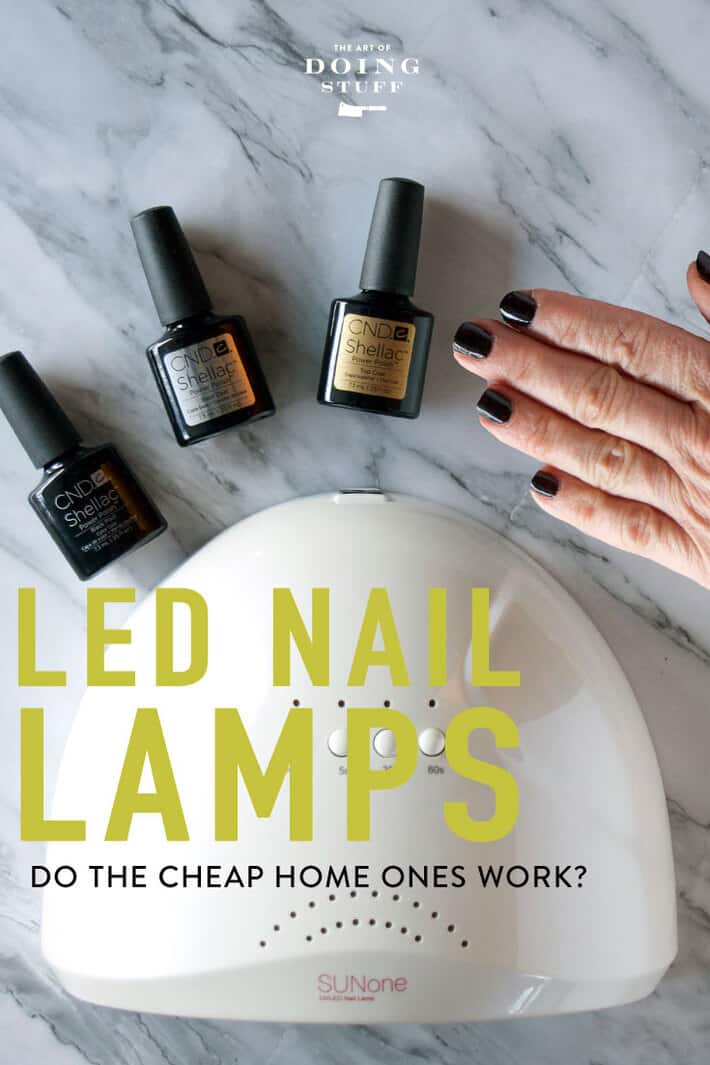
Which LED Nail lamp should I buy? I would get one that's 48 watts or more. Also the more UV lights it has inside the better coverage of light you'll get. ONE really handy thing would be to get one of the larger LED Nail Lamps. They cost a bit more, but you can cure both hands at the same time which cuts the time to do your nails in half.
Recommended Products
I'm an Amazon affiliate some I get a few cents when you buy something I've linked to.
The general recommended time is 30-45 seconds per coat of polish. But check your gel polish for instructions.
This is the $30 LED nail light that I have. But any 48 watt LED lamp would be just fine I'm sure.
Yes and no. You have to use a gel or shellac top coat. So apply your regular polish, waiting for it to air dry between coats and then apply a gel or shellac top coat and cure. It won't last as long as if you're using all gel or shellac products but it'll help extend a regular type of manicure.
It's a bit of a thing.
1. Rough up the top of your nails a bit with an emory board to break up the top coat surface.
2. Dlap some petroleum jelly around your cuticles to protect them from the next step - acetone.
3. Soak a cotton ball in 100% acetone and place it on your nails. You'll just need ¼-1/2 of a cotton ball per nail. Only apply it to the nail not around the whole finger.
4. Wrap in plastic wrap tightly but don't cut off your finger circulation! You can also use these little $4 nail clips made for this purpose. Let your nails soak with the cotton balls for 10-15 minutes.
5. Remove the plastic and wipe with the cotton ball. Technically, your nail should be clean now, but that doesn't actually happen very often. It might take a bit more work.
6. If you have nail polish remaining, carefully use an orange stick to push the softened gel off.
I do NOT baby my fingernails. I do everything I normally do with these gel or shellac nails; paint a room, scrub pots and pans, fixed a broken chair, snap the neck of a Wildebeest.
→Follow me on Instagram where I often make a fool of myself←



Yikes! I tried the isopropyl alcohol trick, & it made dull white streaks on my nails! Sadness! I'm just going to wait until tomorrow, & do another coat over the affected nails.
Hi I’m Cathy and I’m a cuticle picker.
So I decided to have my first gel nails applied at a shop on March 9, 2020. One week later they are trashed!! I’ve been told my fingers might fall off if I remove them at home. Though ugly I’m kinda attached to them. Or vice versa. Anyway any tips for removal at home? This virus/plague has everything shut down and I can’t convince the authorities it’s emergent!! I’d like to share a pic but don’t know how here
Yikes! I don't know. I've only had gel nails a couple of times and it was yearsssssss ago. :/ But if they're trashed after a week, you maybe just have LED cured gel nail polish on? If that's the case you can dip cotton balls in the strongest nailpolish you have and wrap it around our fingernail. Then wrap your fingernail (with cotton ball) with plastic wrap or tin foil. Anything to keep the heat and moisture in so it can penetrate the polish. Leave them for 10 minutes or so then remove the cotton and foil and scrape the gel polis off. (you don't wipe it off like you would a regular polish) ~ karen!
Yes, I have just gel polish on with some topcoats. My hand was heated in the LED lamp at the salon. I trolled Amazon and found some gel polish remover that has pretty good reviews; downside is it won’t get here till Tuesday. There were reviews of bottles arriving empty or product all gummed up but not many. And there’s no need for foil. It seems to work like furniture stripper😝.
Do you still use gel polish? I’ve never had luck with any sort of polish because between that and the remover, my nails are a wreck for a month or more afterwards, they’re just so weak and thin.
Thanks, Cathy
Hi. Try your regular nailpolish remover using the method I outlined. I do wear gel or shellac nail polish, but I never wear it non stop. I'll have it on for 2 weeks, remove it and then leave my nails bare for a couple of weeks. ~ karen!
This is so hilarious! I too have man hands. As a young person I would keep them balled up to hide them. Then one day in college art class, as I leaned on a desk looking at a photo my professor glanced at my hand and said, "now those are the hands of an artist". It totally changed my hand hating life. And now I'm so grateful for my manhands all the wonderful things they allow me to do.
I selfishly bought my girls these LED lights for Christmas a couple years ago and love them!
Man hands. They may not be elegant but they are effective! ~ karen!
Do you find your nails are all messed up when you remove the polish? Do you give them a break between polishes? I had a not so great experience with my first gel manicure. Thanks!!!
Hi Anna. I don't wear it all the time, no, so I definitely give my nails a break. It doesn't ruin your nails if you use the remover to take it off. It will wreck them if you try to peel the polish off when it starts to lift. If you do that, it can take a thin layer of nail with it. ~ karen!
Have you tried other brands of polish?
I have! I've tried Sally Hanson's curing gel nailpolish. It lasts, but not as long as the professional ones I've linked to. ~ karen!
Here to be the Net Nanny and remind everyone who uses these lamps to PLEASE wear sunscreen on your hands before using!! It’s all well and good to have pretty nails but not at the expense of skin cancer on your hands!
Thank you for this reminder!
Sadly, I had no idea why women were wearing tinfoil hats on their fingers b4. I am enlightened!
OMG, you had me laughing literally out loud describing my exact same combo of sparrow bone wrists and square palmed man hands! Also a doer, also never can last beyond a few hrs with a fresh manicure (B level drag queen indeed!). Love your wit and soul.
Also, hearkening back to another post — finally getting new gaskets for my fridge and freezer. Thanks for your inspiration always.
You're welcome EGBethesda! Man hands unite. ~ karen!
Ha, I thought you were going to tell us how to make an LED NAIL LAMP!
Now you have me thinking. ~ karen!
I’ve only had my fingernails done professionally twice. For my wedding, and then 15 years later on the day of my divorce (it became a thing somehow!) and I had the gel nails done. They looked great, but it took literally 4 friggin months for my nails to return to normal and healthy, so I’ll never do that again. Could not believe how completely brittle and peely they got. I do take care of my fingernails, quite proud of them actually, and I’ve always kept my toes painted though, so maybe this would be worth it for them. I tried ColorStreet nails recently, that was kind of slick (peel & stick; it’s real nail polish!), and so much cheaper than a professional manicure, but it only lasted a week. He things we women deal with ;)
Kinda loving the Idea of using this as a top coat.
I'm a doer but I also work in an office so doer hands are not really cool
Doer hands are cool when the office secret Santa gift time comes and everyone is fighting to get the stuff you MADE instead of bought. Nobody had a clue the first year but the second year there was a lot of snitching and swapping to get my bag. Full of preserves, soap, candles, and wooden useful things. All of which cost me well under the $20 limit.
Would love something to strengthen my unpolished finger nails! [ I do polish toe nails. It lasts so really long it's worth it to me.]
I'd seen this in adverts and wondered if it strengthened actual nails.
Love story and photos!!
Over the past few years I've looked down at my hands and said, well, there it is. I have my father's hands.
Raising chickens, organic gardener, builder of all things... My hands are a mess. I've tried to combat that to buy getting my nails done which takes forever and runs around $40 or so. Like a lot of other women have said when you take the gels off you can see how butchered your nails are. And they cut the dickens out of your cuticles which isn't good for your nails. Cuticles get all hard and then you think oh I've got to get my nails done again. Well, if you don't cut them off and just rub oil into them here and there, they look just fine. I've been doing my own gel nails at home for many years. I've learned a lot, like certain formulas don't work with other brands so it can be good to use the same brand of base, color, and top coat. If it doesn't last, you either put it on too thick or too thin. There's a sweet spot and you have to get that right. Lastly, cap the tip of the nail. All that means is every coat from first to last has to be wrapped around the tip of the nail. You can use the brush or the side of the brush to wipe it over the edge. You'll find your manicure lasts much longer that way. And don't get any on the cuticles because then the polish will lift up from there.
I have a cheap crummy LED light from Sally's that still does the trick. It's a 30-second cure. Wipe the lights off once in awhile with a little nail polish remover just to get the schmutz off. It works a lot better when the little bulbs are clean. That's all I know about that.
Now if you want to talk about building a chicken coop, well...
when are you in 48 watt mode - with the on/off button lit up or off?
My gel polish didn't last anywhere near two weeks so I may be in 24 watt mode.
Hi Linda! If you push the button again you'll see the lights go much brighter. You also have to be careful that your nails are really clean before applying any polish. Little things like that make a big difference. ~ karen!
This is good to know. I was just thinking that the price I pay to get gel nails at the salon is starting to be a tad expensive. Granted, I can go 4-6 weeks before needing them done though, soooo that's a plus. PLUS, I get gel on my toes - best decision ever. Went to Maui with gel nails and not a scratch on them through all that sand.
I had my nails done for the past few months - when I finally stopped, my nails were so thin/brittle/spotted, they just looked/felt awful. It's taken me months to get them back to "sort-a" normal; they still feel thin and a little rough. So, loved it while it lasted - didn't love what it did to my nails.
I think you might have had gel nails done. As opposed to gel nailpolish. This is gel nailpolish. ~ karen!
Hi Karen
You need to check out Gelmoment.com. "European-made 5-FREE Gel Polish is solvent-free, lead-free, latex-free, non-toxic, not tested on animals and does not contain animal by-products."
And there is no base or top coat needed!!! A real game changer ! Lasts almost two weeks as well AND they are a Canadian based company!
So . . . I almost skipped this post because I don't wear nail polish because it never lasts. Plus, I have "doer" hands that I try not to draw attention to at any time.
I decided to read it even though I knew it wouldn't apply to me because, honestly, Karen, you're sarcastic and funny so I knew I'd enjoy it anyway.
Now I need to buy the damn thing and do my nails. (sigh) Thanks, Karen! (kinda how we say "thanks, Obama!" in that sarcastic way when we attribute things to President Obama that he had absolutely no control over!)
See? You can't skip a post, lol. Cross my heart, you won't regret buying it. Clearly. I mean, apparently we're the same person. ~ karen!
I agree Karen.
And now that everyone knows our secret they'll get on it too or will be "gel-ish."
That special gel remover is just acetone. So go buy a cheap bottle of acetone nail polish remover. It does the exact same job. I do my own gel nails all the time using this method.
Yes, I second that. The cheap 100 per cent acetone works well. The staff at the nail supply store tell me that's all the special shellac remover is.
I was so excited when I saw this product but darn it won't serve my purpose. Could you ask the manufacturer to make one that illuminates the grim grotesque toenails that develop on the feet of us ancient humans. I may be morphing into some kind of alien creature cause my toenails are truly weird but when I bend over to clip then with my handy dandy dog clipper-yep gotta use a dog clipper they are so knarly and tough . I can't see them and very often blood and pain is involved. If I could see the darn things maybe I could keep them under control-that is before they start walking me instead of vice versa. maybe delete this-it's yucky
The Dremel works really well on the knarly toenails but you do have to be able to bend and you still have to see what you are doing. Luckily, despite over six decades of rings, I can still do both pretty well. I resorted to the Dremel out of desperation/inspiration but suspected maybe it was unhealthy so went to a chiropodist and, guess what he used on my toenails. A Dremel!!! And, he charged me $80 to boot. So now I'm back to DIY. He did tell me that too-tight shoes were the cause of the ugly toenails. I think he might have been onto something because the knarly only appears where the shoes pinch or rub.
And, I use plain, old Castor oil on my man hands and find it very soothing on dry, cracked skin. It's considered a dry oil, meaning it will soak in without leaving a greasy slick. I even use it on my face on top of my regular moisturizer if my skin is really dry or if I'm going to be outdoors in very cold weather. You can add essential oils to it for achy joints too. A drop or two of frankincense essential oil added to the Castor oil is nice for both sore skin and sore joints.
thanks what do you use with the Dremel? a sander disk or something else?
I have a cylindrical stone that works well with the Dremel but the little sanding drums are good too. Disks or oddly shaped stones are NOT good. They gouge and cause more harm than good.