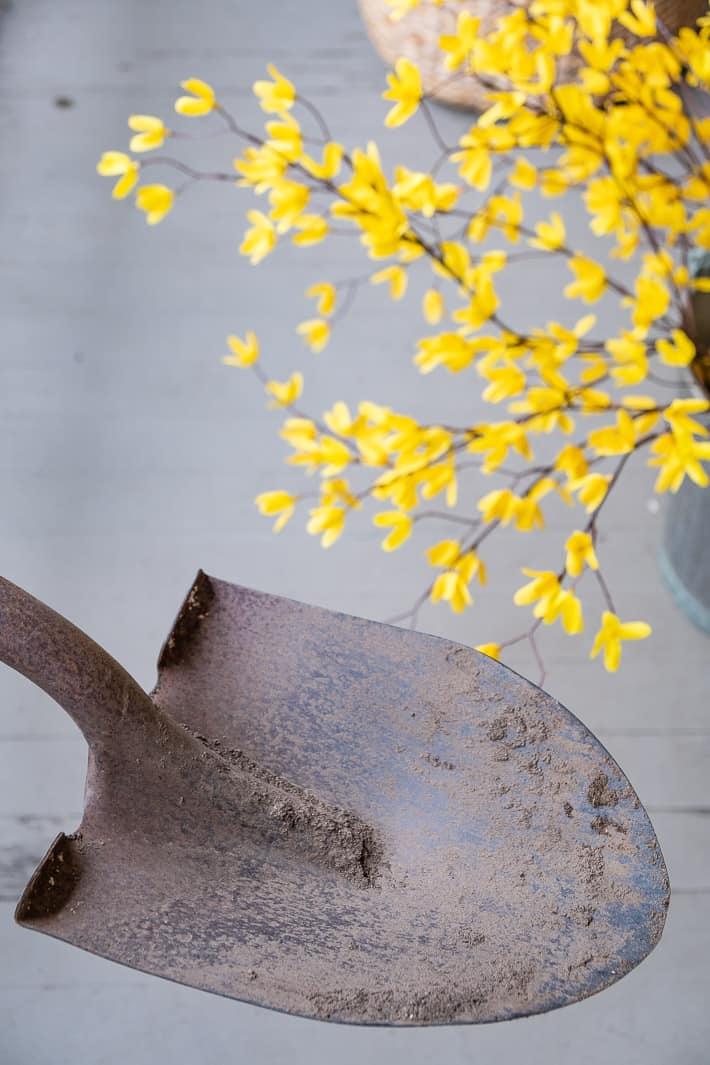
A beginner's guide to cleaning up your dirt tools. From how to clean your shovel to how to sharpening your hoe.

I like to pretend I'm one of those people who cleans off, shines up and sharpens her tools after every use - but I'm not. I'm the kindda gal who drops them in the dirt, walks 2 feet in another direction and then can't find them again for 4 days. I just consider it an un-amusing game of hide & seek.
Often they're found when I trip over them and injure myself. Just ask my nose and it will tell you all about the rake it found last week.
Table of Contents
How to Maintain Garden Tools
What You’ll Need:

- Wire brush
- Steel wool
- Pocket sharpener or Speedy Sharp
- Bastard file (a regular coarse file)
- 3-in-1 oil (optional but encouraged)
Everything I use is on my Amazon Shop page .
How to Use a Bastard File
Video below
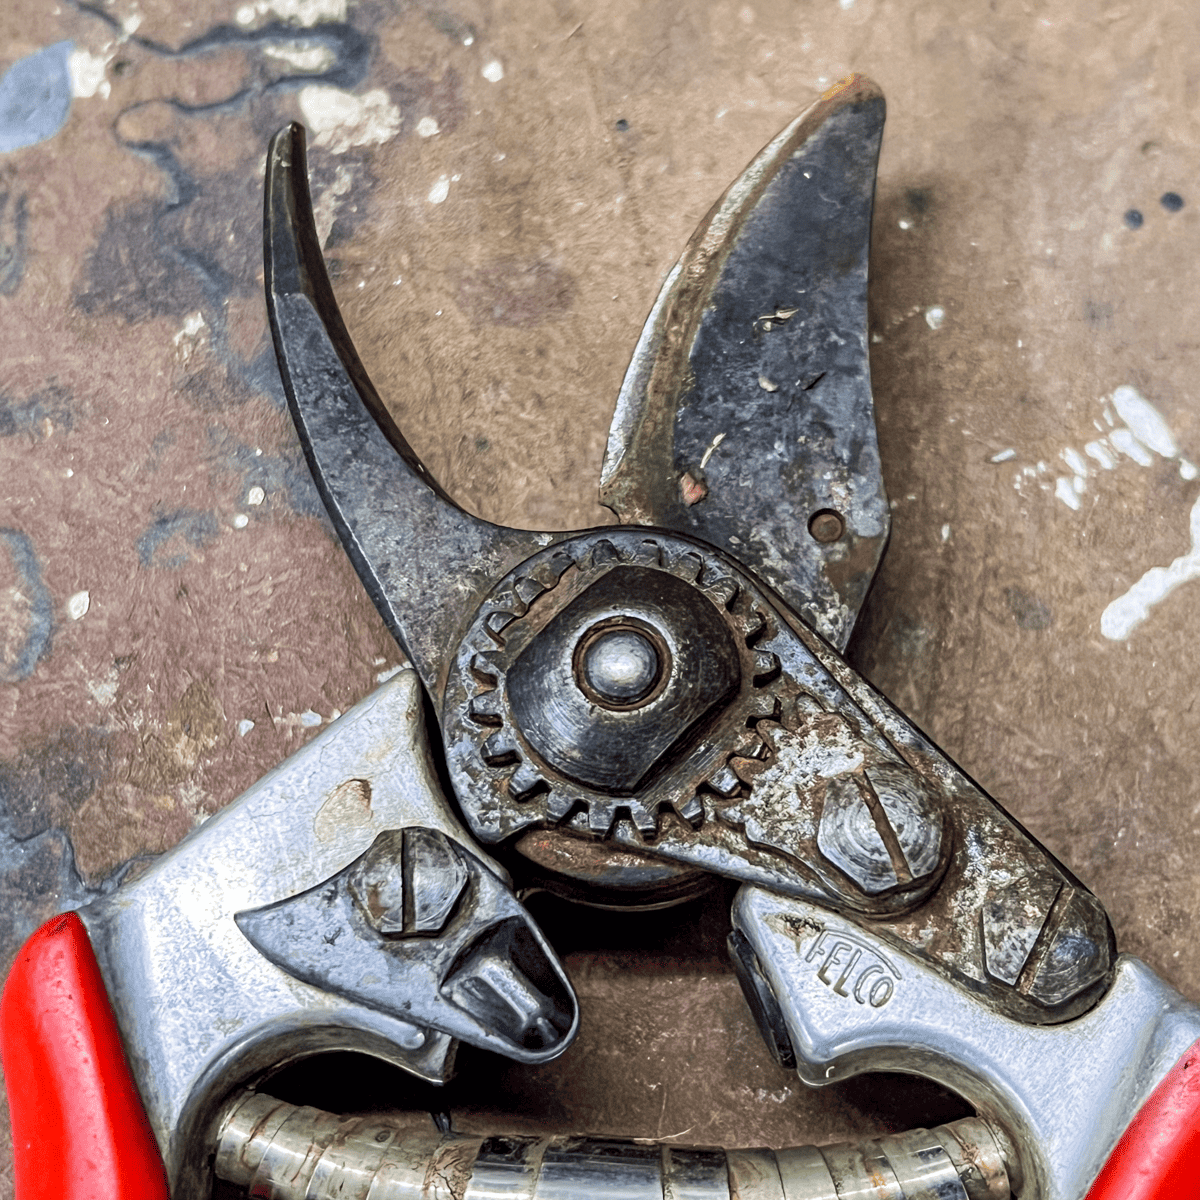
Step 1: Assess the Damage
Pick up your poor, neglected tool and take a good look. Chances are it’s covered in soil, rust, sap, and—if you garden like I do—more than a trace of DNA. That rust around the spring? The caked-on soil? All of it needs to go.
Important reminder: Never leave soil on your tools. It’s worse than rain because moisture gets trapped between the metal and the dirt, and that’s what causes rust. If it rains on a clean tool? It’ll dry. If it rains on a dirty one? It rots. Like this. And this. (Yes, I’m showing you my own tools. I do not follow my own advice. I am tired.)
This is one season's worth of desperation and triumph.
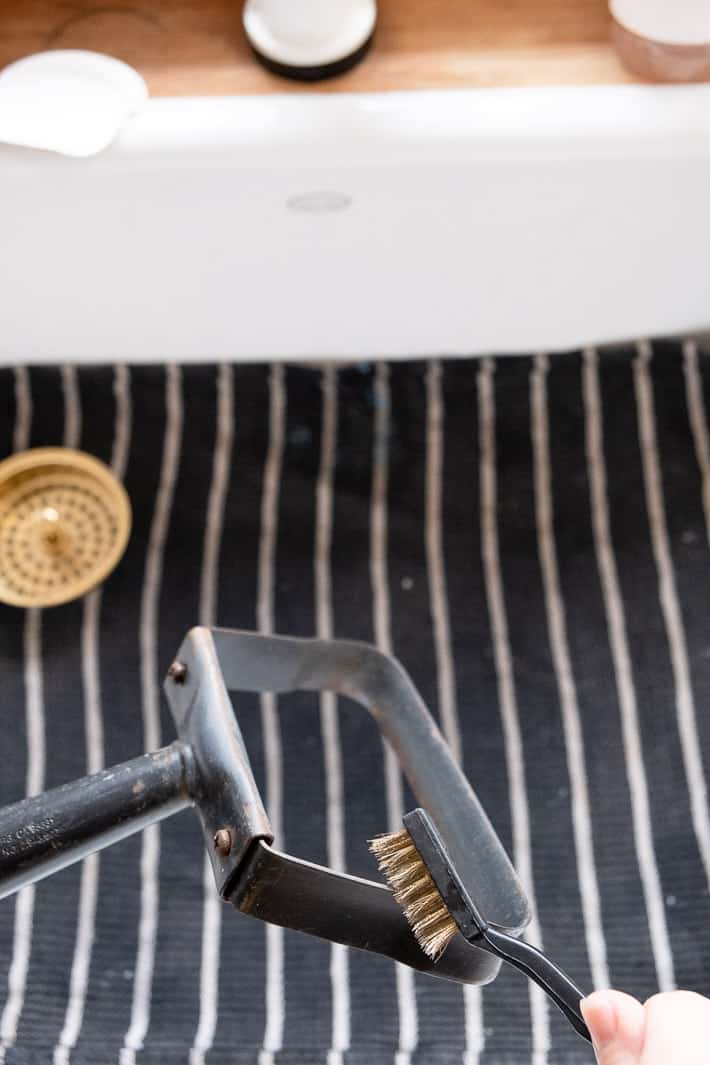
Step 2: Clean Off the Rust
- Use steel wool for light rust.
- Switch to a wire brush if the rust is stubborn.
- If you’re feeling ambitious use a drill or Dremel with a wire brush attachment. I usually do. This time I didn’t. Character growth?
Once the rust is off, wash the tool with soap and water, then dry it thoroughly. Thoroughly as in towel-dry and let it sit in the sun like a lizard on vacation.
Step 3: Sharpen That Thing
Tools that need a bastard file:
- Shovels
- Hoes
- Edgers
Would you like to save this stuff?
Hold your tool securely—either in a vise or jammed against your body in a way that feels stable but not like you're about to stab yourself.
Look for the bevel—the angled edge that was there when the tool was new. You’re going to copy that angle. Run the file along the bevel in long, even strokes, always in the same direction. No back-and-forth sawing. File forward, lift, repeat.
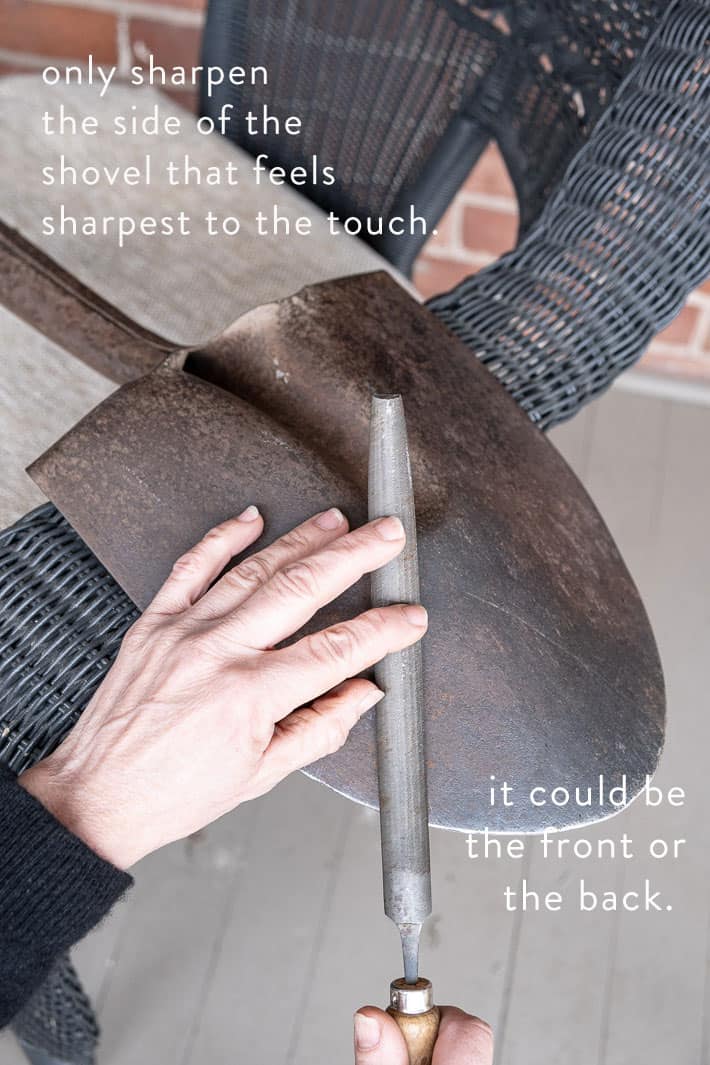
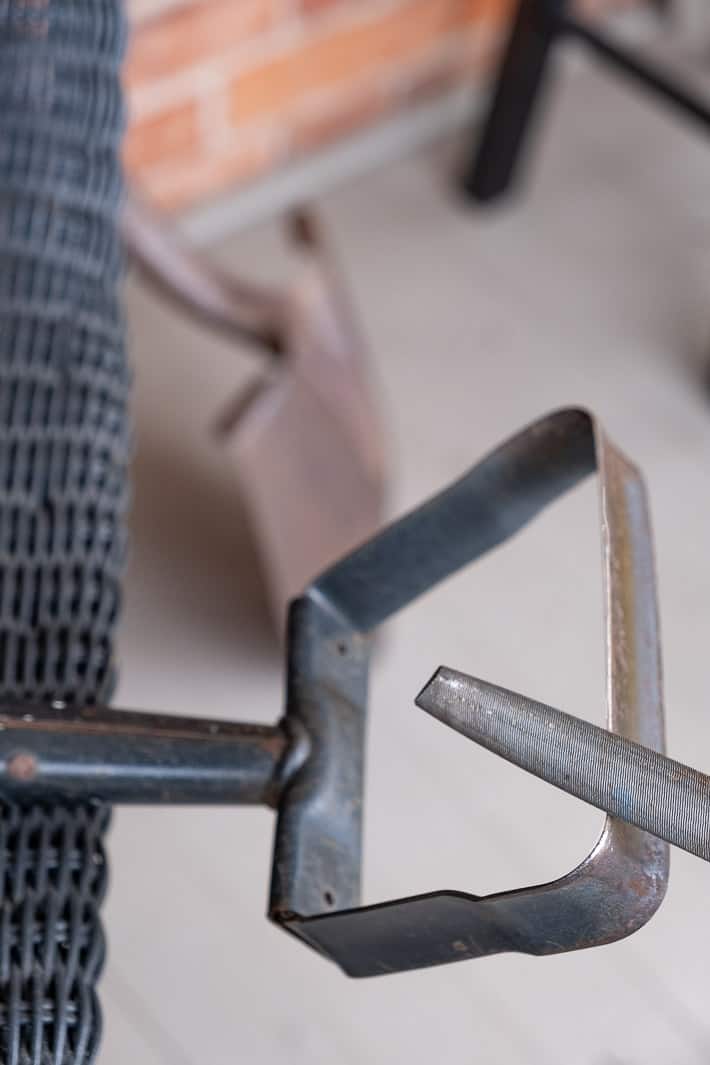
When the entire edge is gleaming from top to bottom, you’re done. Feel the underside (gently!) for burrs—those tiny, raised shavings of metal. If you find any, a light pass with the file on the back side will smooth them off.
Tools for a pocket sharpener:
- Pruners
- Scissors
- Garden knives
- Loppers
- Any tool that just needs a bit of love, not full blade rehab
For full blade rehab see here.
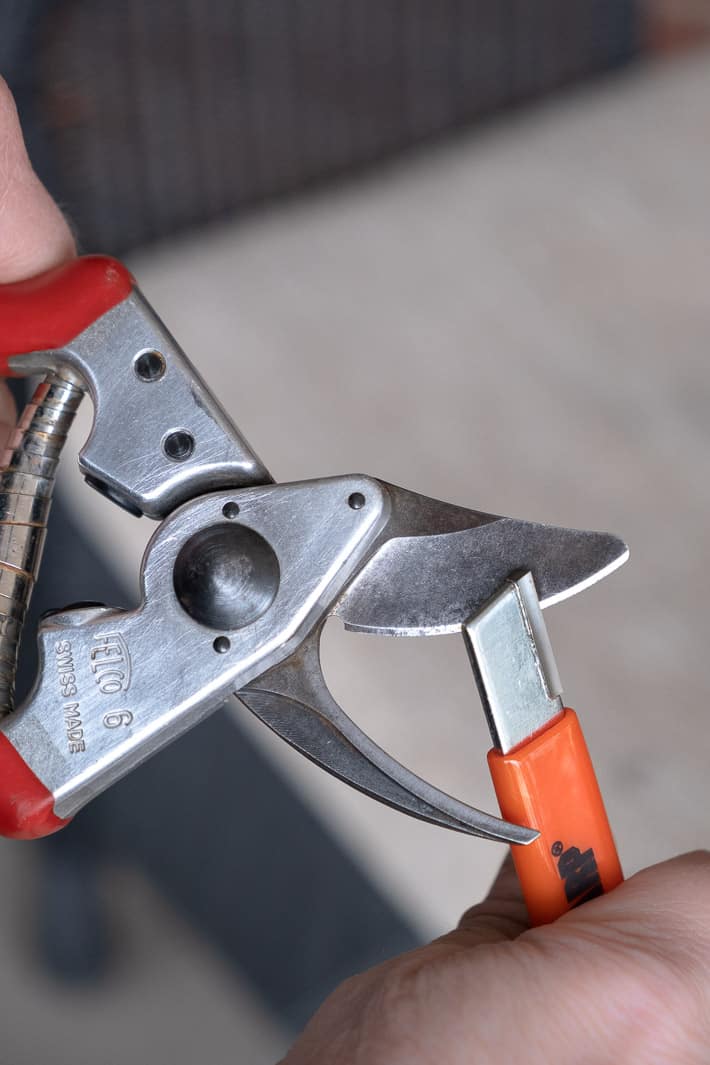
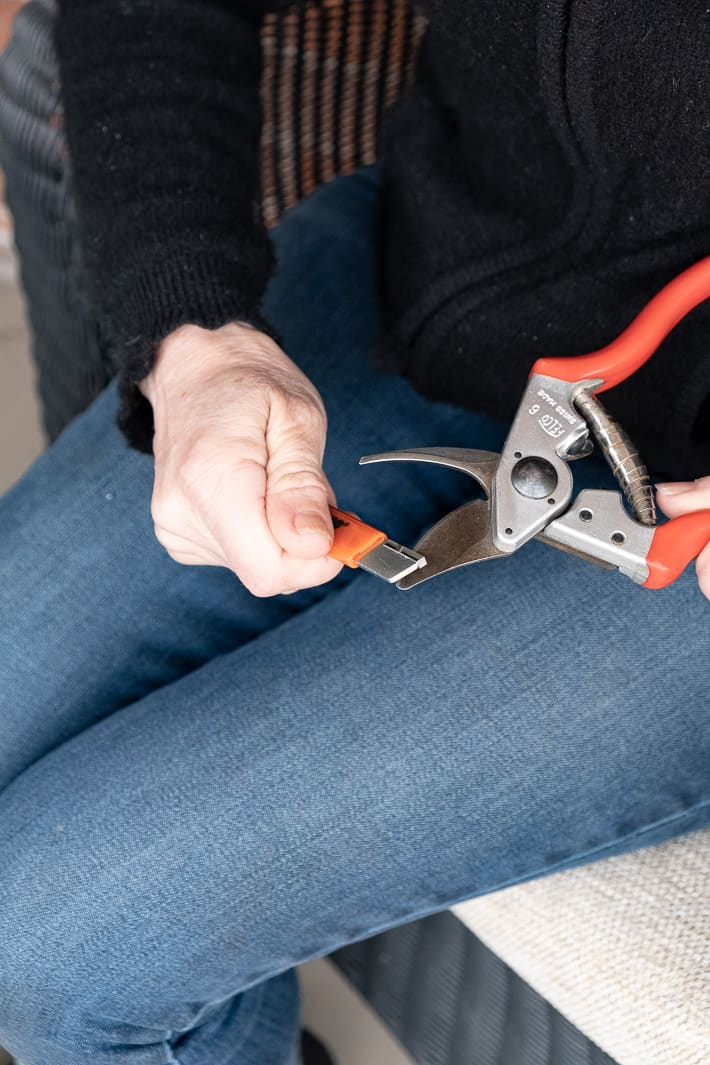
I use a Speedy Sharp—a tiny carbide-tipped sharpener that lives in my pocket like a secret weapon. One side sharpens, the other hones.
Run it along the bevel a few times in one direction until you see a shiny, clean edge. Then flip it and use the honing side to refine the edge. That’s it. Done.
Final Touches
- Spray the metal with vegetable oil or 3-in-1 oil to prevent rust.
- Oil the joints of your pruners or loppers, then wipe away any excess.
- Sand wooden handles and seal them with varnish or Thompson’s Water Seal.
- Or paint them bright yellow so you stop losing them in the garden like I do.
Extra Advice from Someone Who Barely Follows It:
- You don’t need to over-sharpen. A shovel isn’t a chef’s knife. It just needs to cut into soil—not your foot.
- Always wear eye protection when filing. Eye patches aren’t universally flattering.
- If you’re yelling “Come out, come out, wherever you are” to your tools—you’re too late. Paint them neon next time.
Sharpening garden tools isn’t an art form. It’s not a test. It’s not a ritual. It’s a small way to make your life easier. Just do your best—and keep your fingers out of the way.
Garden Tool Sharpening Tips
- Don't over sharpen. Over sharpening wears your tool edge out before its time. Also, a super-sharp shovel can be dangerous. You don't need it to be as sharp as an axe. You just need it to easily go through soil. If you slip you don't want the edge of the shovel to be so sharp it'll cut through your boot or foot.
- Really do try to remove soil from your tools after using them. Even if I don't.
- Wood handled tools can be sanded and varnished, painted or protected from the elements with a waterproofing material like Thompson's Water Seal.
- Wear eye protection whenever you're filing metal. You don't want a metal sliver in your eye because eye patches aren't sexy on everyone.
- Don't want to lose your tools like I do? Paint them a bright colour so you can see them in the garden.
I personally think a well used, slightly mangled garden tool is the sign of a real gardener but every once in a while you do need to Martha them up a bit if you expect them to actually work.
→Don't follow me on Instagram because honestly, who can be bothered?←


Judith
Last summer I took my much abused clippers and trowels soaked them in a coffee can partially filled with vinegar and after a day or two of soaking was really surprised with rust free tools.
Katie
do you sharpen the sides of the shovel to the point (like from the back to the point) or same way with the bastard all the way around? I am going to get my butt in gear this year! (fingers crossed!) K
Hazo
When my dad, who had huge gardens, started showing signs of dementia he would lose his tools in the garden and get quite frustrated. We came up with the idea of spray painting the handles of the rake, shovels, hoes etc with fluorescent colored paint. Worked wonders and he was always able to find the tool. I still do it whenever possible with my tools...which I inherited!
TucsonPatty
Great advice and visuals! Every once in awhile, I think, I really should file that “thing”, (whatever thing it might be) and then remember - the half-assed ex-husband took every tool he had. A good friend threw a Happy 60th Birthday/Divorce/Tool party, and I received new tools, gift cards to the tool buying places, and my favorite - extra well-loved tools they had laying around. I still need to buy a file. I don’t have any files - not even a bastard. (The bald one is the one with all the tools.) Do you have a suggestion for one favorite multi-use, or a small assortment? P.S. It was always the joke in our family that Dad was planting pliers instead of wheat. :)
Idaho Girl
Thanks again for acting as my conscience and reminding me to give my tools some love. I do keep a bucket of sand and oil in the shed, so things get dipped in there if they make it back to the shed in between jobs. I've always intended to paint my tool handles in bright colors, but I always lose them before I do... I have an attachment for my dremel that I've sharpened my lawn mower blade with, I wonder if it will work on garden tools? If not, I'm definitely going to get the Speedy Sharp. And speaking of hand pruners, I just have to add this... last Spring my sister birthday gifted me a pair of ratcheting pruners and it was life changing! I don't have a lot of hand strength and those have become my very best garden friend, so I highly recommend them to anyone who struggles when pruning shrubs, etc!
Carol
The sand/oil bucket was also in use at my house when my grandfather was taking perfect care of his tools - he dipped them in there and then rubbed the sandy oil into the surface of the tool and then wiped them clean - it also kept the edges sharp for a little longer. After this point, I am endeavoring to clean things up a bit and try to get into the habit of using the sandy oil bucket, because it kept his tools looking like brand-new, even though he used a lot of them when he was a kid - which means they were in use since the 1920s. This is what general care and the sand/oil bucket can do for you! (or, in the case of my actually doing this, me!)
karen
What is honing??
Dalton Thomas
Honing is akin to sharpening, however on a much finer scale. First you shape the edge profile with say, a course file, then sharpen the edge with a fine file or stone. Then *hone* with a fine stone, and if you really want to go crazy, strop on leather or canvas with a stropping compound for that truely polished edge, much like a barber glides a straight razor, (cut throat to the misinformed) against a leather belt. However that it's really only for slicing tools like knifes and hand planes. A shovel or pair of shears should be fine with just a fine file.
Paul Sellers has an excellent video on youtube about this exact process.
As an extra tidbit, to 'Whet' is an archaic term for honing, thus the phrase, "whet your teeth" and why a whetstone is spelled as such. (Not because you use water to make it *wet* without an 'H'; that would be a water stone vs oilstone)
Jonathan Skrine
An angle grinder fitted with a flap disc will clean off all the rust and gunge before oiling tools.
It's how a friend of mine refurbishes all the dead tools he buys at car boot sales..... and then sells them at a profit, gleaming as new.
Karen
True! I suggested a drill because I was assuming most of my readers wouldn't have an angle grinder. :) - karen!
Mary W
Forgot to mention, I made your pumpkin pie last night - easy as pie. It was good and like the old kind, not all fluffy and puddingy, just great pie. My breakfast is waiting, YUM.
Mary W
Dear Sweet Karen, I thought I was doing good to keep my shovel inside but now I see I'm whole assing it. I knock the dirt off and bring it in. It is older than dirt but well loved. I have a lot of kissing up to do on that poor old thing. You have given me another job but so glad it is before the really hot sets in. Thanks for keeping me informed and half-assed.
Karen
You're very welcome. ;) ~ karen!
Karen A
Fantastically useful, as usual, and timely. Thank you.
Elmer Starchuk
Do yourself a favour and sand the wooden handles Follow that with a nice rub down with linseed oil. You will be kinder to you hands and avoid splinters.
Dan Stoudt
There is almost nothing worse in the garden than a tool with a dry wooden handle. As you say, the boiled linseed oil will save you the pain of splinters. Good call.
Karen
I did wax the handle with a beeswax/mineral oil mixture. Forgot to mention that. ~ karen!
Peter Oster
Paint or varnish on a long handle (hoe, shovel) will cause blisters. I scrape all paint off any wooden handle, sand smooth and put oil on them.
I think Karen's beeswax/mineral oil is the most health conscious or just mineral oil. "Boiled" linseed oil is not boiled! A "dryer" added to raw linseed oil is a metallic salt, usually COBALT, that acts as a catalyst aiding in chemical linking of the molecule which is how linseed oil "dries".
Cobalt compounds are considered very toxic things. On a scale 1 to 6, cobalt compounds are considered a 5 according to the Scorecard (www.scorecard.org), a pollution information site
Jan in Waterdown
And that’s why boys and girls, you NEVER use boiled linseed oil on wood cutting boards or salad bowls.
Marie Anne
Hi Karen, why vegetable oil on the shovel and wd40 on the pruners? The only oil I ever have in the house is olive oil
Karen
WD40 or machine oil is for lubricating moving parts. Like hinges etc. The spray vegetable oil is thicker and not good for that sort of thing. It's for preventing rust. ~ karen!
Lynn
Okay, I have been looking at my dull Felco pruners for a while and feeling bad about how I care for them. And my stirrup hoe, etc. I just bought all the shit on Amazon- thanks Karen! Needed that nudge to take care of things since I really do not like buying new things when I could have taken care of the old.
Karen
It's a really simple job! Although if you keep on top of it it's even simpler, lol. Took a bit of work to get my stirrup hoe sharp again. ~ karen!
Marilyn Meagher
I am brutal with my garden tools
..I drive my husband crazy. I want a new pair of felcos for moms day. Mine are at least 20 yrs old. Best product ever.
Karen
They really are! ~ karen
jacqueline
All Felco pruner parts are replaceable...a truly splendid thing about Felcos. Usually it’s just the cutting blade that one needs when the bevel is too worn from sharpening.
SuzNKton
My grandfather was a gardener. He had a tobacco can filled with (as I remember) sand and oil. We had to clean off the tools with a sturdy brush and then stick them into the sand and oil before putting them on a specific hook for each tool, hanging in the garage. Jump 30+ years and I was using his Dutch hoe and his *forged* (now that I know what one is!) Shovel. Both of which are, by now, at least 50 years old. Worth it to take care of tools properly!
Dd51
My grandfather did the same thing! Since I am not as compulsive and am willing to buy new tools as needed, what I did was fill a bucket with sand and poured a can of left over car oil, 20w-50 I think. When I bring my tools in to the the shed I rinse off the most obvious soil then stick the hoe, shovel, whatever, into the bucket. Wiggle it around and up and down and then put it in this grid thing I found and you are good to go. Not perfect but it is better than not doing anything.
Sabina
Well I can tell you that my pruners are sharp...just look under the band aid on my middle finger...
Ina
Pardon my ignorance, I have obviously wandered into a place where I don't have a clue what you're talking about. ?? stamped rather than forged shovel?? Whatever is the difference and how does it matter?
leo muzzin
Karen's shovel is "stamped", and that means it starts off as a flat piece of soft steel which is hit with a press to turn it into the shape of the shovel. Soft steel = weak shovel which eventually will bend out of shape. The part that goes into the handle is open at the back. Apply enough pressure and it will become loose from the handle. A forged shovel is much heavier and will not bend or crack. It is welded to a stong sleeve (tubular i.e. closed at the back) and will not open up and become loose at the handle. For rough jobs the forged one would last much longer.
SuzNKton
Huh! Never would have known that! So cool!
Mary W
Great info! I just examined my much loved smaller shovel. It is stamped but the part going up the handle is really long and a bolt, nail, whatever is through it and both ends of the "pin" look the same as if it were double headed and it has been used for years and is still tight. It is extra short and fits my short fat legs perfectly. I hide it next to my front door behind a chest so that it is always available and out of the weather. Thanks for 'splainen it Lucy'. (I'm old enough to remember Ricky and Lucy talking.) We live in sandy Florida so I didn't need a heavy duty, weightier shovel.
leo muzzin
I do wash off the tools every now and then, but I find that after a bit of vigorous use the rust wears off. Surprises to see you have a stamped rather than a forged shovel ! LOL
Karen
It was free. :) The guys who installed my fence several years ago left it at my house. When I let them know they forgot it, they told me to just keep it. So I did! ~ karen!
Katy
I love the speedy sharp! And it’s made right here in Idaho! Now I need to follow your advice... at least I already have the sharpening tool!
Cathy Reeves
I am the queen of lost garden tools. In fact I feel as though I invented the concept
and I require a royalty from of the rest of the gardening misfits out there in the dirt!