A few years ago I adopted a "wait a week" policy on redoing any DIY I had screwed up. AND YOU SHOULD TOO. Maybe you hung a picture at the wrong height, or made a mess applying patio sealer or ate cat food straight out of the can thinking it was refried beans. Whatever it was, wait a week before redoing it! (and definitely don't redo eating cat food)
Immediately redoing things you bungled might be making your life harder than it needs to be. Chances are if you wait a week ... whatever your screw up was ... it won't bother you anymore.
I made the decision that whatever did something wrong, I was going to wait a week before redoing it. I was allowed to have a temper tantrum over the thought of having to do some stupid project not once, but TWICE, but I couldn't actually redo it. Redoing messed up DIYs is actually where the phrase The Terrible Twos originated by the way. True story.
Most of the time I found that after a week, what I originally thought of as a catastrophic mistake, didn't even bother me.
Last week for instance. Let's talk about that.
I sealed my flagstone patio last weekend (which you'll learn how to do properly in this post) and it went a bit sideways on me.
I've wanted to do it for about a year now because it was looking kind of .... I don't know .... can you describe patio stones as pasty? They were kindda pasty. Maybe anemic is a better word. Or gross. YES! GROSS! THEY LOOKED GROSS!
When I first installed the square cut Indian flagstone when I rebuilt my entire backyard, it was nice and relatively dark but it faded pretty quickly and became kind of dirty over the past decade.
So I went about researching what the best kind of sealant to use on outdoor natural stone is. I knew two things. I did NOT want a glossy backyard but I did want a bologna sandwich.
I now have a glossy backyard and do not have a bologna sandwich.
Trying to fix my glossy backyard could have ended up with me in the hospital with a case of the nerves if I'd tried to fix the problem immediately. Instead I immediately fell to the ground, pounded the pavement with my little fists and whined. Then I got up, walked in the house and vowed not to worry about it for a week.
So how did it all go down?
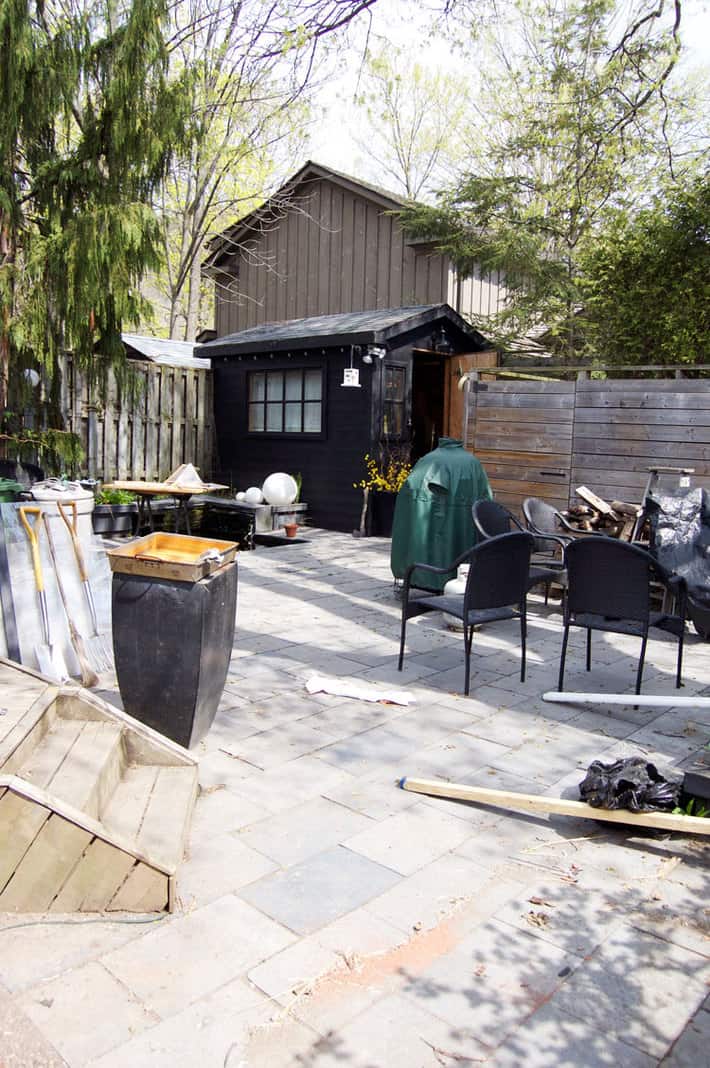
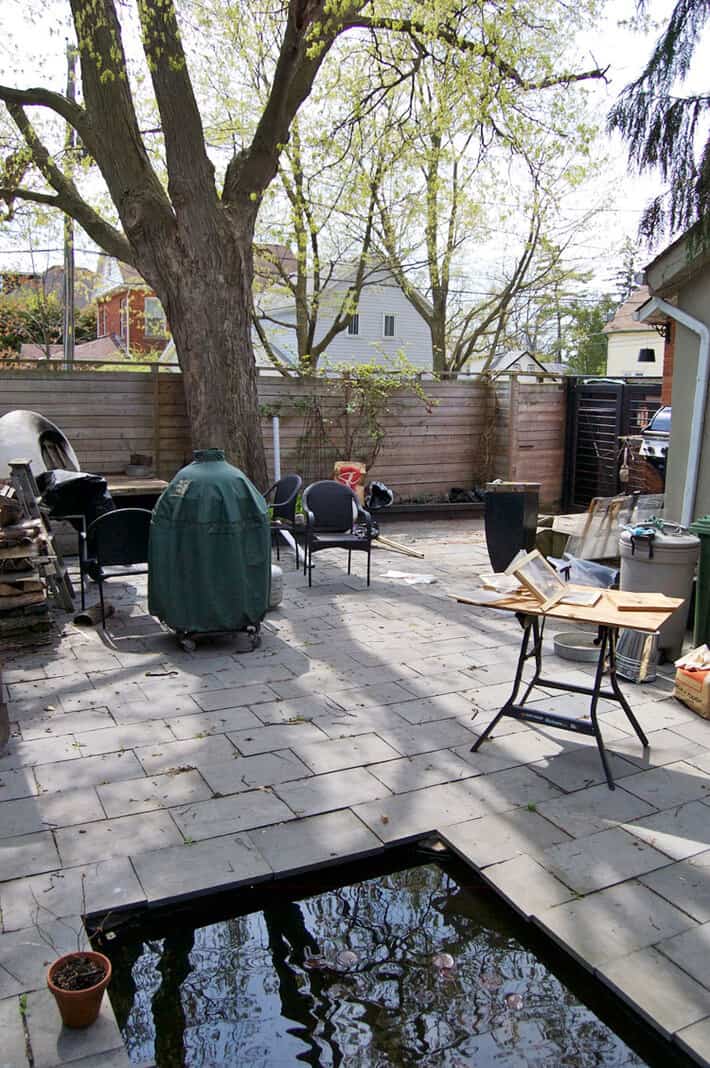
Firstly I had a good cry and sniffle because someone obviously looted my backyard over the winter.
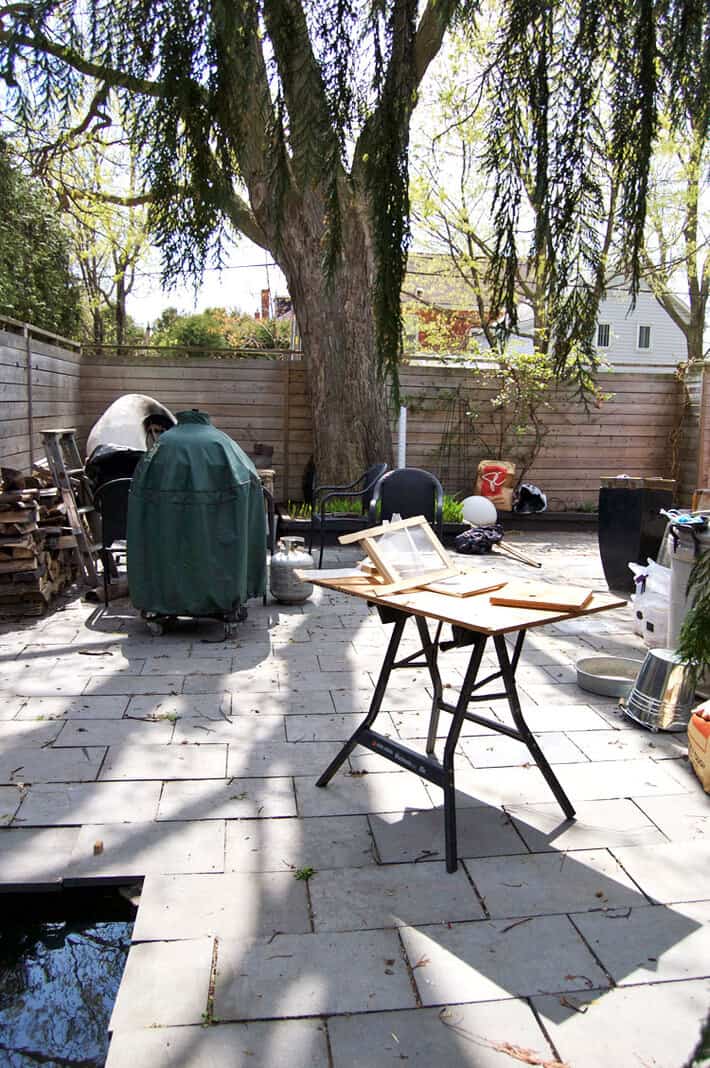
I would never let my backyard get like this so it was a looting. For sure.
Maybe even I should call the police. Or some kind of tactical force.
Because the only thing that would be able to help me get this backyard cleaned up would be a bunch of men dressed in black wearing hazmat type suits. With weapons. If they've been featured in a calendar, shirtless, holding a kitten, even better.
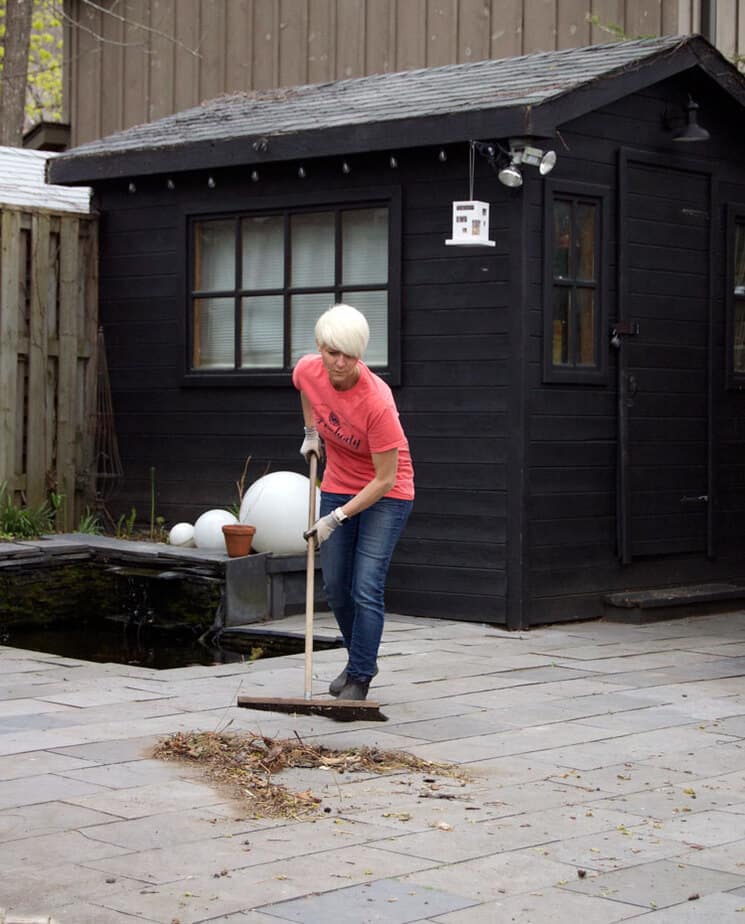
Not a single S.W.A.T. team answered me when I whisper cried for help on the Saturday morning I started my clean up, so it was up to me.
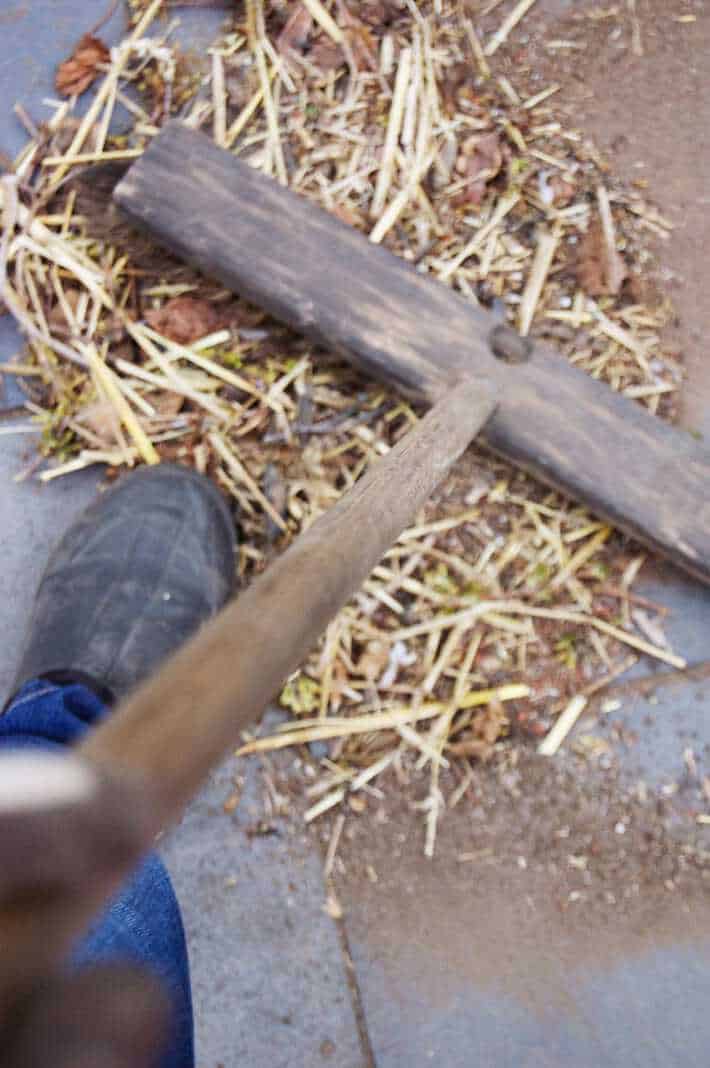
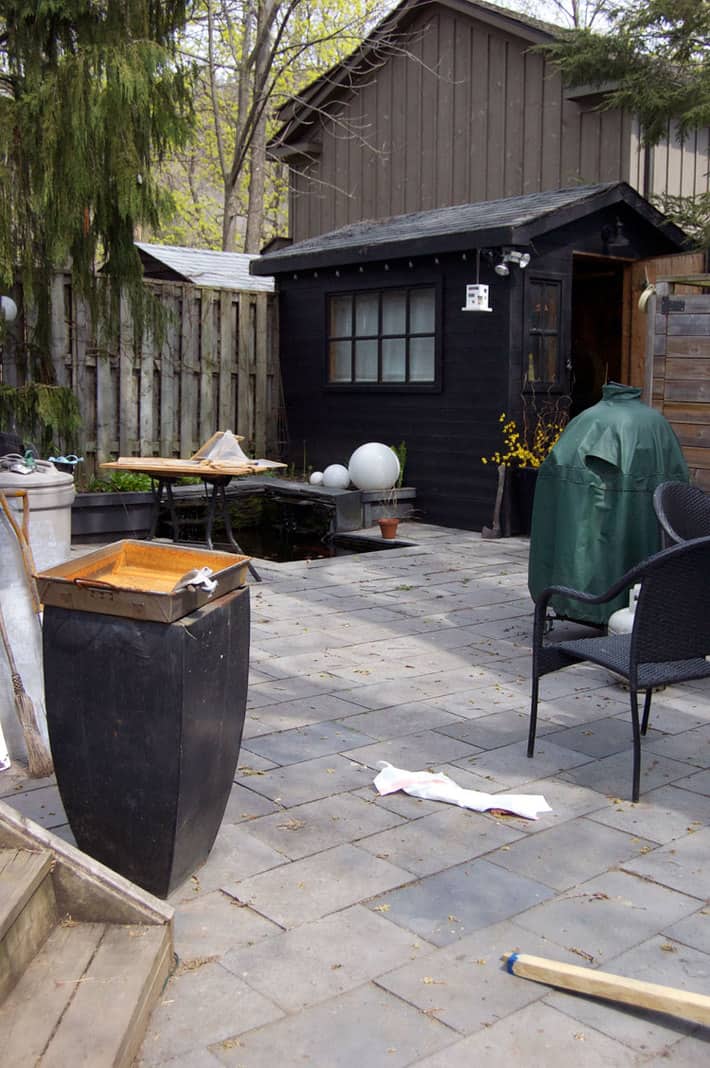
TO GET YOUR NATURAL STONE READY FOR SEALING, FIRST SWEEP AWAY THE ICK.
SEE? No ick.
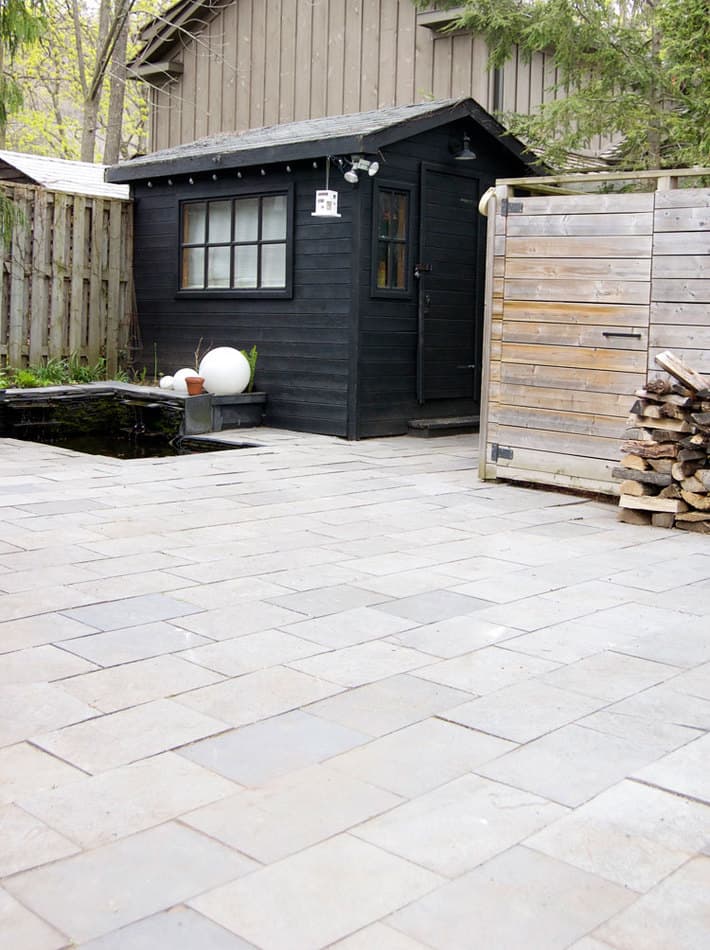
Once I moved what was left of last winter's wood pile I could start to power wash the stone.
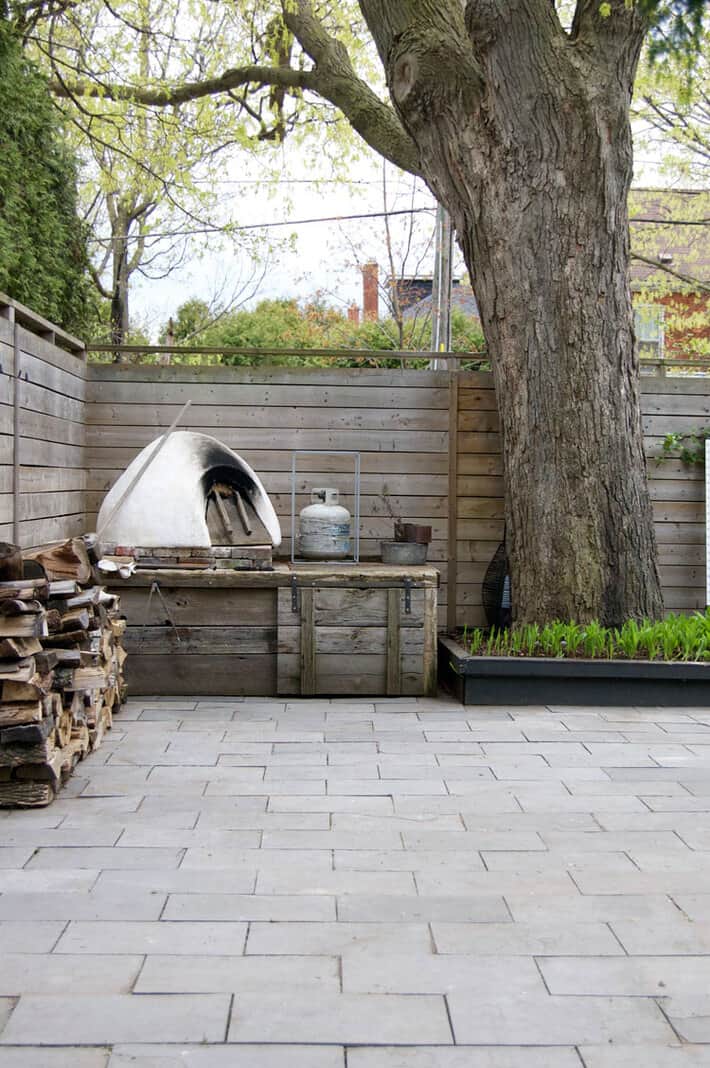
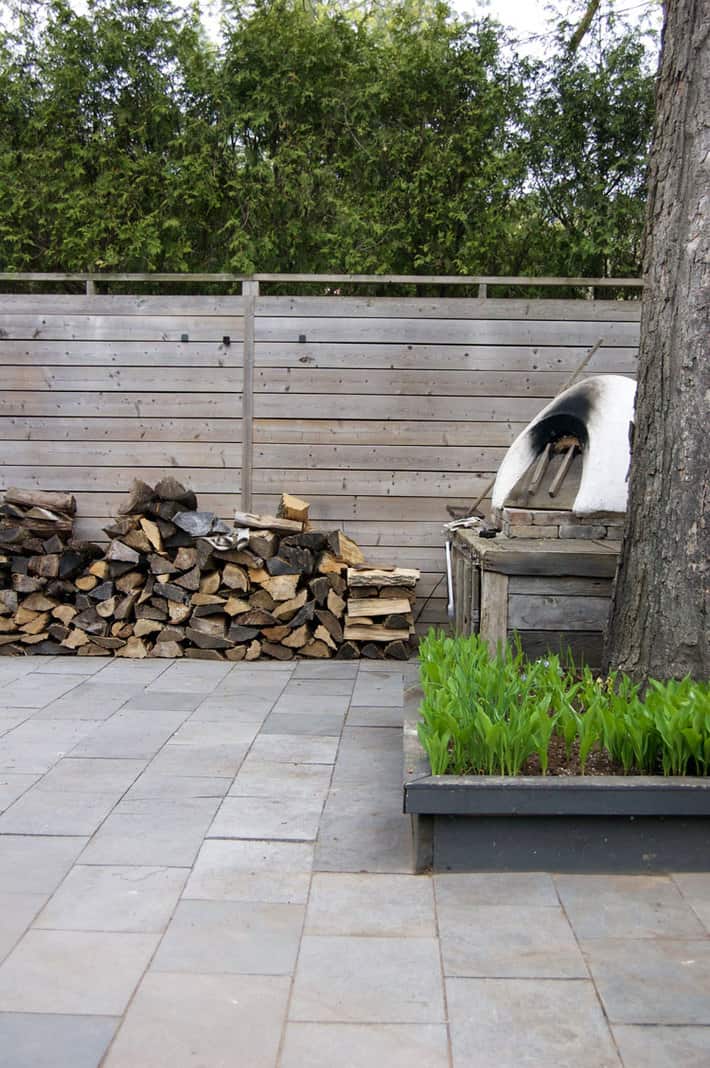
But first let's admire the pizza oven. Which has many mistakes that I waited a week to redo, and therefore never actually had to redo.
Would you like to save this stuff?

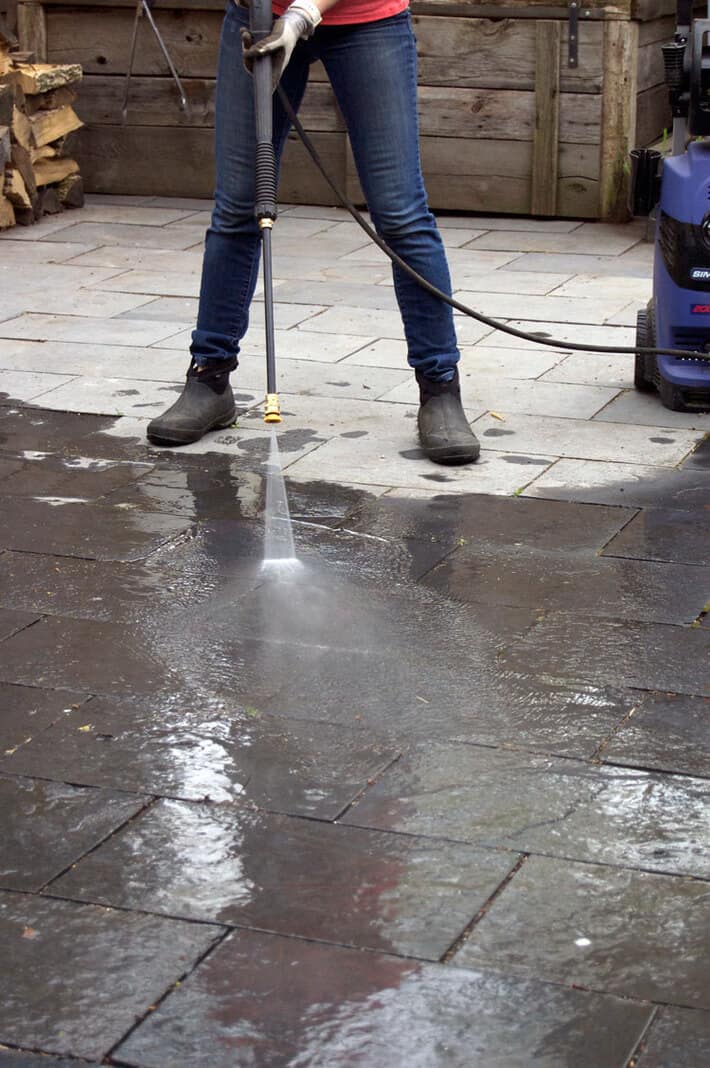
Pressure wash the stone. I used to own a big, awful, gas powered pressure washer but I got rid of it for a smaller electric version. On the one hand it isn't as powerful. On the other hand it always, always starts and never makes me swear. Very much.
Once your stone has dried it's time to apply the sealer. If you want a NON glossy (stay with me here) patio you need to use "PENETRATING SEALANT". This is the type of sealer that will absorb right into the stone and not just sit on top. It's different than regular sealant so make sure you're getting the right thing if you don't want a shiny surface.
If you also want to enhance (darken) the colour of your natural stone it also needs to be a "Colour Enhancer"
So to darken and seal a natural stone you need ...
PENETRATING SEALER AND COLOUR ENHANCER
I spent a lot of time researching which one was the best and "511 penetrating sealant and enhancer", came out as the very best.
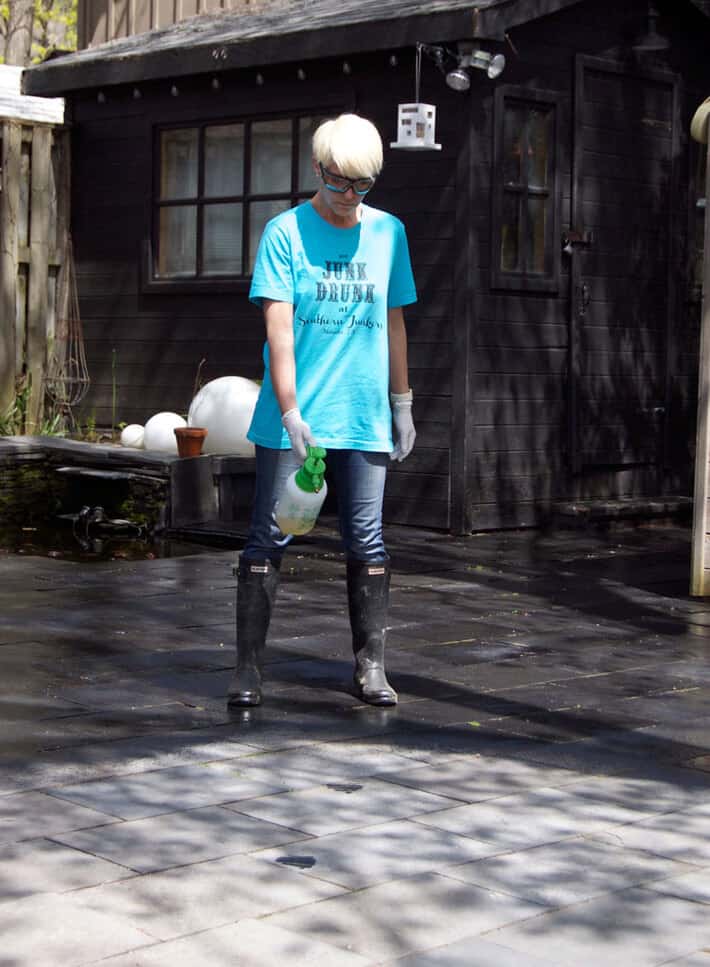
There are two ways to apply penetrating sealant. Either pour the sealant into a paint tray and roll it on or do what I'm doing, which is applying it with a fertilizer sprayer.
THE PROPER TYPE OF SEALANT TO USE FOR A MATTE LOOK ON NATURAL STONE IS "PENETRATING SEALER"
I did in fact use penetrating sealer. And yet my patio was shiny. Why?
I was in a rush and not feeling very much like following instructions that day. The can says to apply the sealant, let it sit for 10 minutes then wipe off any extra that hasn't absorbed.
Pftttt, burfffff. I don't need to do that. It'll absorb. I'm smart like that. I know things.
It didn't absorb. The excess sealer sat on top of the stones where it turned into a sparkly, shiny, unnatural looking disaster.
Pfttt, burfff.
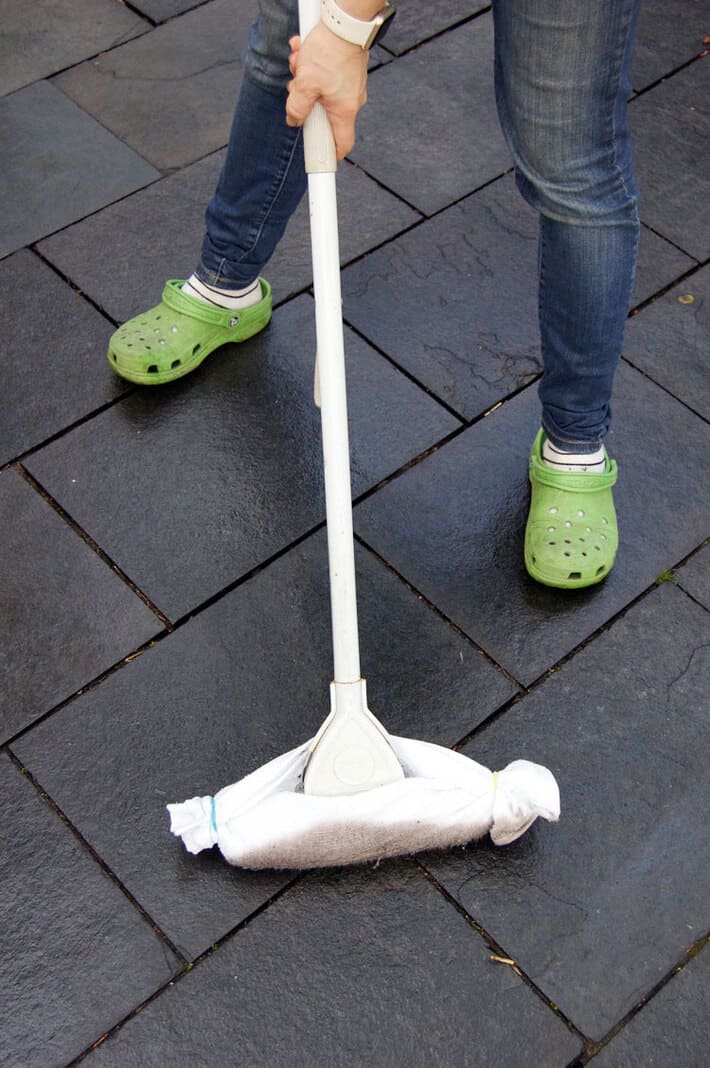
The sealant also seemed to be a bit uneven so I applied another coat (just like the directions said). This time, I set a timer to 10 minutes, and came back and got rid of the excess.
I figured out the fastest, easiest way to do this was to wrap an old face towel around a squeegee mop. I went through 3 towels doing this, which I then had to throw directly into the garbage.
After my second coat the flagstone still had a definite sheen, more than I wanted, but I wasn't going to screw with it. Little bits from the first coat were also threatening to peel off.
Now, prior to my whole "Wait a Week" revelation I would have tried to scrape off all of the excess sealant with a razor blade and redone the whole patio from scratch. Because I have lunatic tendencies.
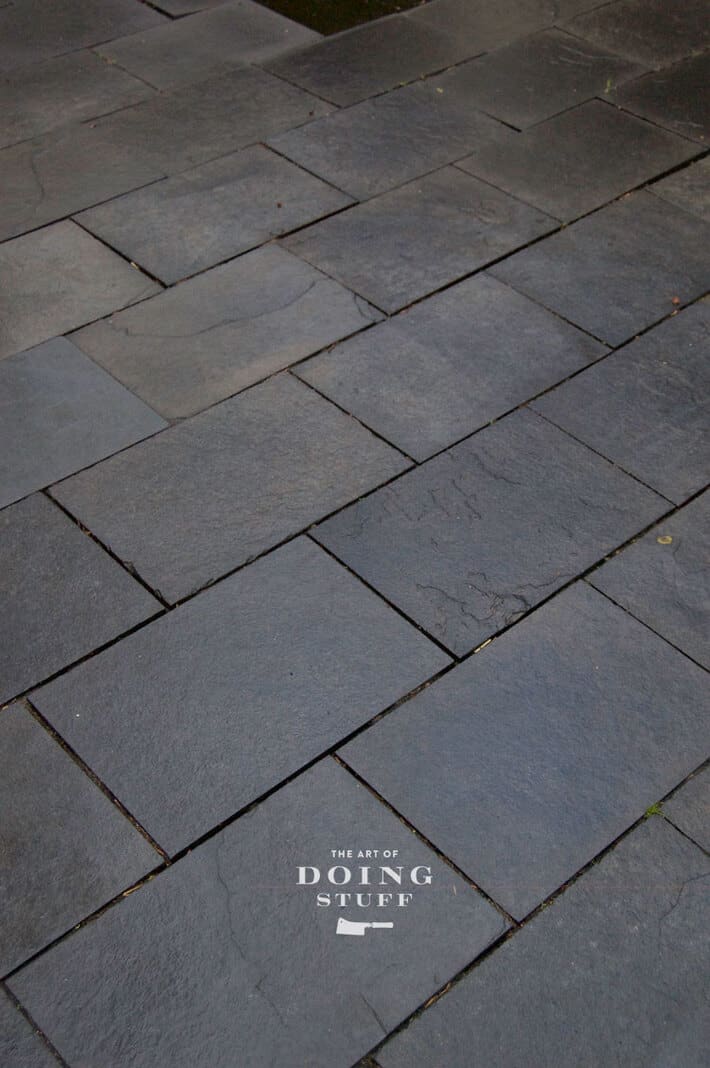
Instead I waited a week, and the patio is just fine. Great actually.
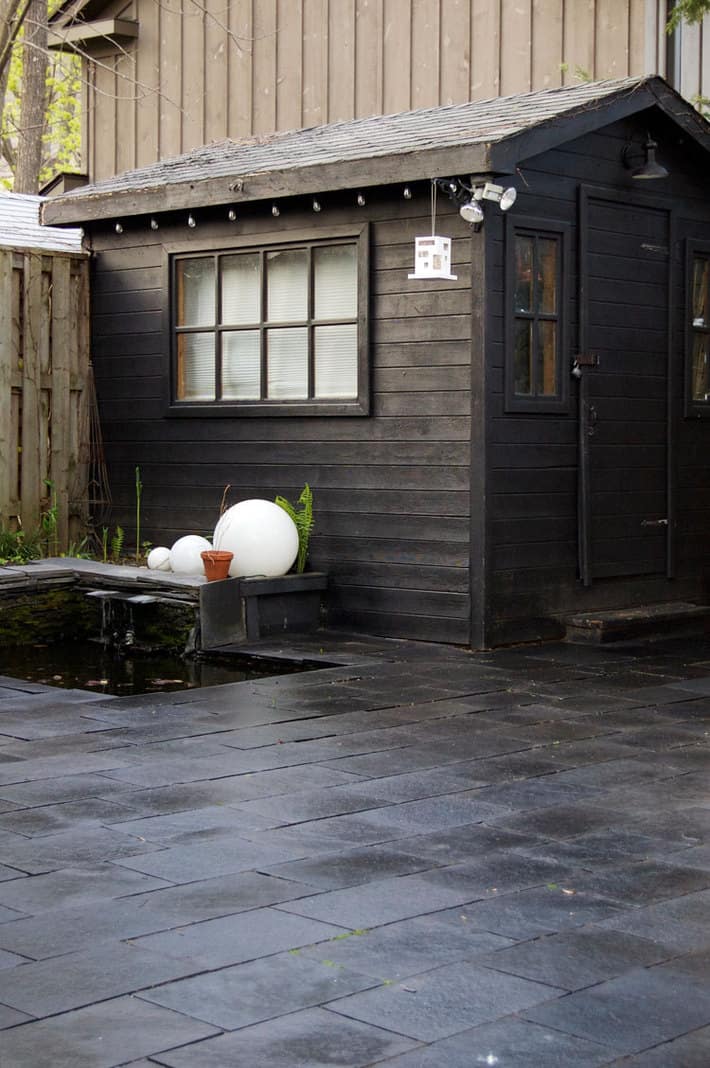
The penetrating sealant made the flagstone much darker, MUCH easier to clean because there stones have a bit of a coating on them so dirt doesn't stick and they look one billion times better.
If I hadn't waited a week for both myself and the flagstone to calm down chances are I would have created an insane amount of work for my lunatic self, PLUS I probably would have made the patio worse instead of better.

I love it with all my heart, this patio of mine now. I love it like a shirtless man loves a kitten.
If you want to see the full reveal of my cleaned up backyard, not just one photo, make sure you read Friday's post which will feature all kinds of photos of the whole backyard including tips and tweaks that I made. It'll be posted just in time to act as a bit of inspiration (ass kicking) for you to get your backyards cleaned up for the first long weekend of the summer.


Scott Conklin
I know this is an old post, but the link to sealer no longer works.
Can you point me to which product you used somewhere else?
Thanks
Lisa Wallace
Many years ago, I realized that when immersed in a sewing or craft project, most often in the evening - because that is when I'm allowed to take over the kitchen table - and found that I've made a mistake, the best course of action was to be done for the day. Pack it all away, fix it when I am able to come back to it - it almost always means I'm too tired and should not be allowed to handle sewing machines, knitting needles, scissors or hot glue guns. Now, how can we teach my husband this valuable guideline? Because the number of times I have watched him f' it up and then stress himself out trying to fix it right then threaten to make me go bonkers just thinking about it!
Cindy
Karen it looks great. Good job girl.
Elaine
What a gorgeous patio you have, Karen!! So elegant and I love the way the shed disappears into the background ..... super choice of color!
Meredith
Question: How long does that underplanting of Lily of the Valley look nice? I love how nice and bright and uniform it looks and would like to do the same under a maple I have. Worried that it will look like crap for most of the summer. I have a huge patch of LIly of the Valley in a wooded area on my property (in full shade) and the foliage lasts pretty long there, til maybe late summer, but not sure how it would do in partial shade/part sun. Thanks!
Karen
I can't actually remember when they start to look gross, Meredith, lol. But to help combat that, I have a bunch of hostas planted in with the lily of the valley so even if the lily of the valley start to take a turn for the worse, there are hostas that have filled in. From what I remember, the green leaves last most of the summer though. ~ karen!
Kristy
Nice patio! Gives me ideas for our backyard (which desperately needs help).
Karen
Excellent! The full backyard post goes up tomorow! ~ karen