You know that rubber seal around your refrigerator door? Yeah, you're supposed to check and change it once a year or so. If you aren't doing that, chances are you're losing money.
You have a refrigerator don't you? You just look like the kind of person who appreciates the finer things in life like meat that isn't writhing in salmonella and maggots. When's the last time you checked and replaced the rubber gasket on your fridge?
Yeah. Never. I knew that's what you were going to say.
For that one person who said yes, you're a freak. Impressive! But a freak. Checking your fridge gasket isn't on the short-list of home maintenance chores for most people. There's clean or replace the filter in your furnace, turn your outdoor water tap off before it freezes in the winter and replace your smoke detector batteries twice a year.
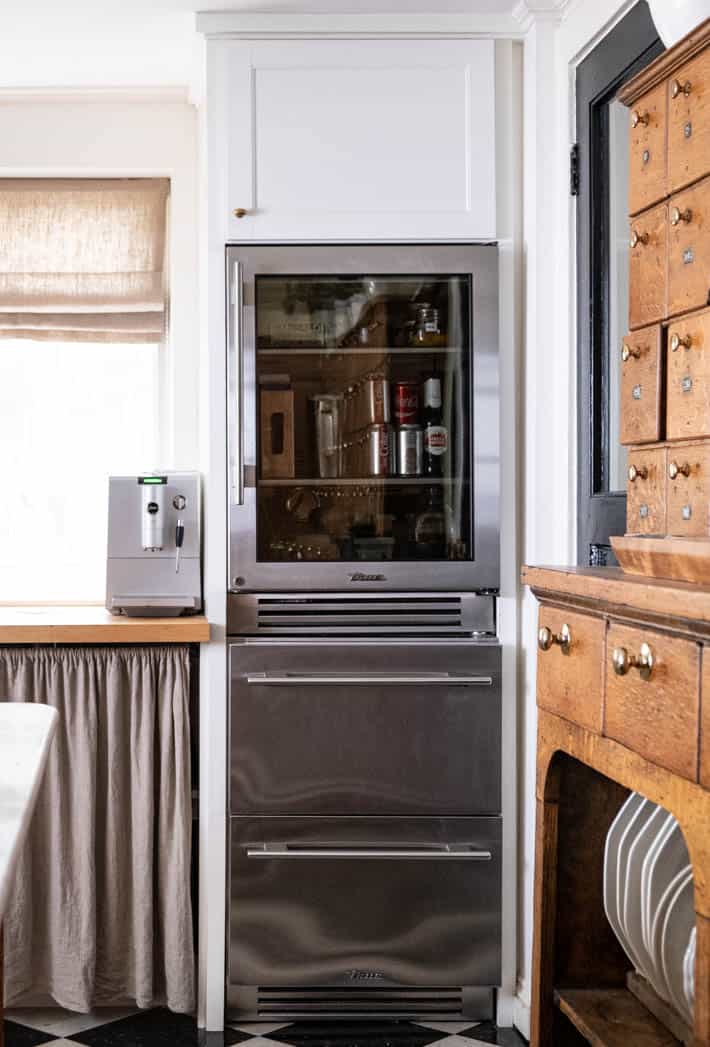
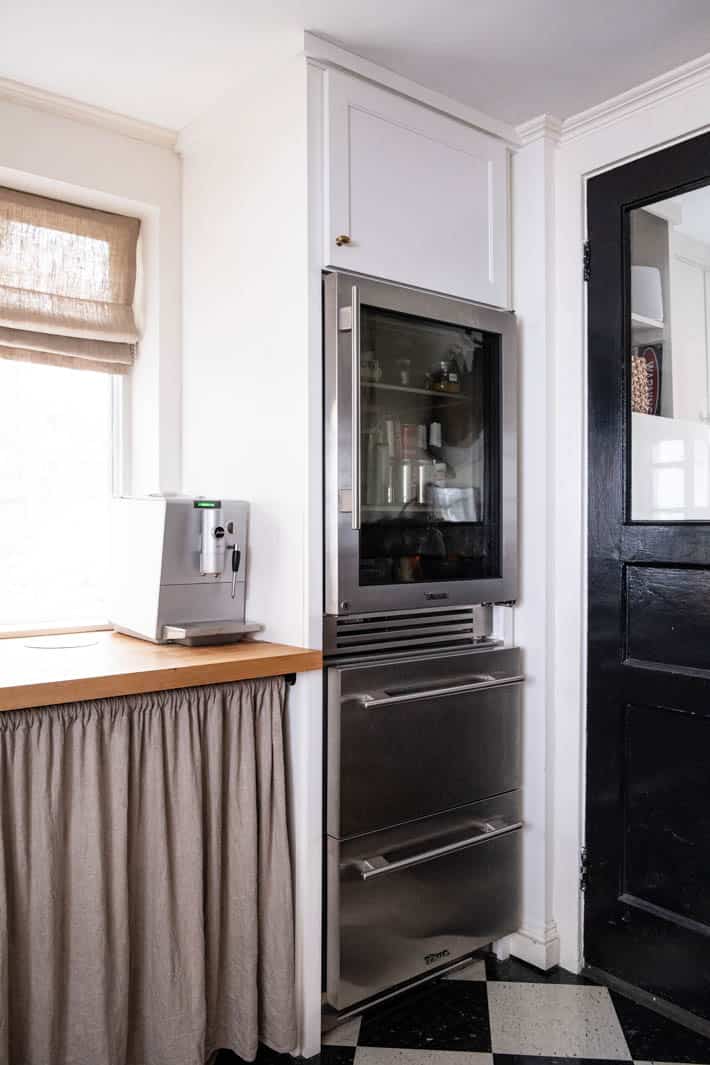
But replacing your refrigerator door gasket is the easiest way to make sure the fridge is keeping your food at the proper temperature and working most efficiently. Do this right now ... go and inspect the gasket on your fridge door.
If it's dried out, warped or torn you should replace your fridge gasket.
Go on, do it right now or you'll forget about it. I'll wait here. If you already know how to replace a refrigerator door gasket you can go read this post on how to mend a broken fingernail. You'll like it.
So was it ripped, torn or dried out? If it didn't show any of those symptoms it still might not be sealing very well. Here are a few other ways to check how well your refrigerator door gasket is working.
How to Check Your Fridge Door Gasket for Leaks.
- Run your hand around the perimeter of the door while it's closed. If you feel any shots of cold, the gasket is leaking.
- Even better, if you have an infrared thermometer for checking drafts, use that to see if there's a leak.
- Close a piece of paper in the door and try to pull it out. If there's no resistance you need to change your gasket.
O.K., so you've determined your refrigerator gasket is in A-Okay condition. Good job! Now keep reading because one day it won't be and you'll need to replace it.
You should check your refrigerator door gasket once a year if it fails any of the tests, replace it.
How to Replace Your Refrigerator Door Gasket.

- You'll need to order the right gasket for your fridge. They're all different. The easiest way to do this is to write down the make, model and/or serial number of your refrigerator and call or email your fridge manufacturer. They'll have a parts department and they can look up what part you need. Then you can either order that part from your fridge manufacturer (that's what I did) or you can buy it online from any number of parts suppliers.
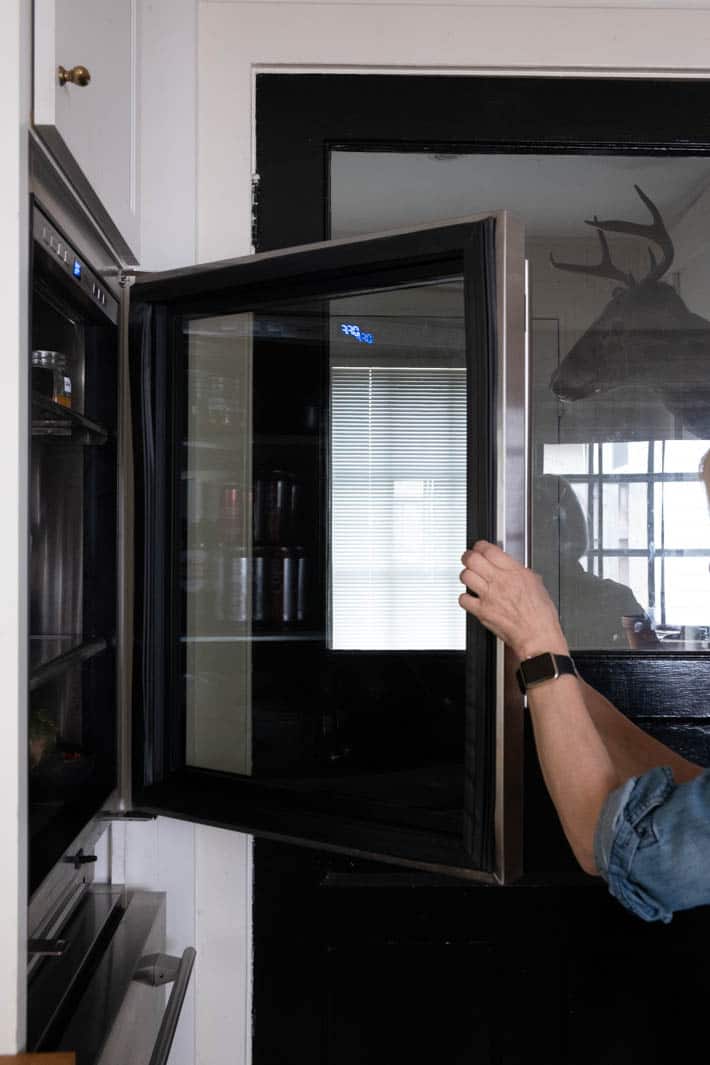
2. Open your fridge door and clean the whole area where the gasket touches the fridge.
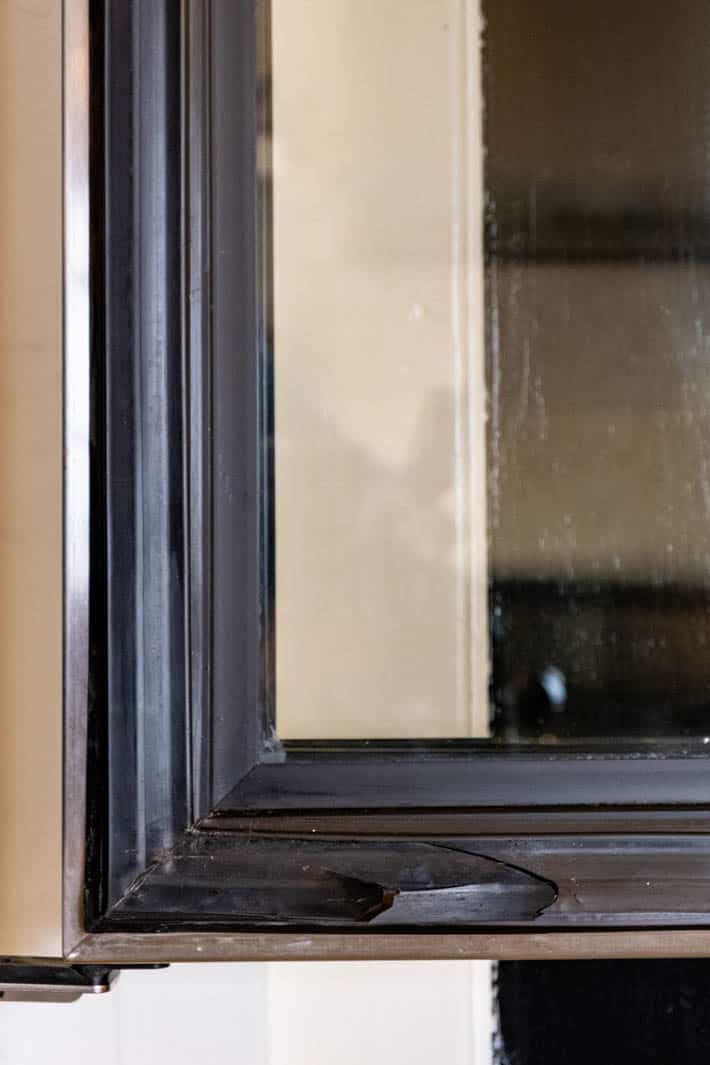
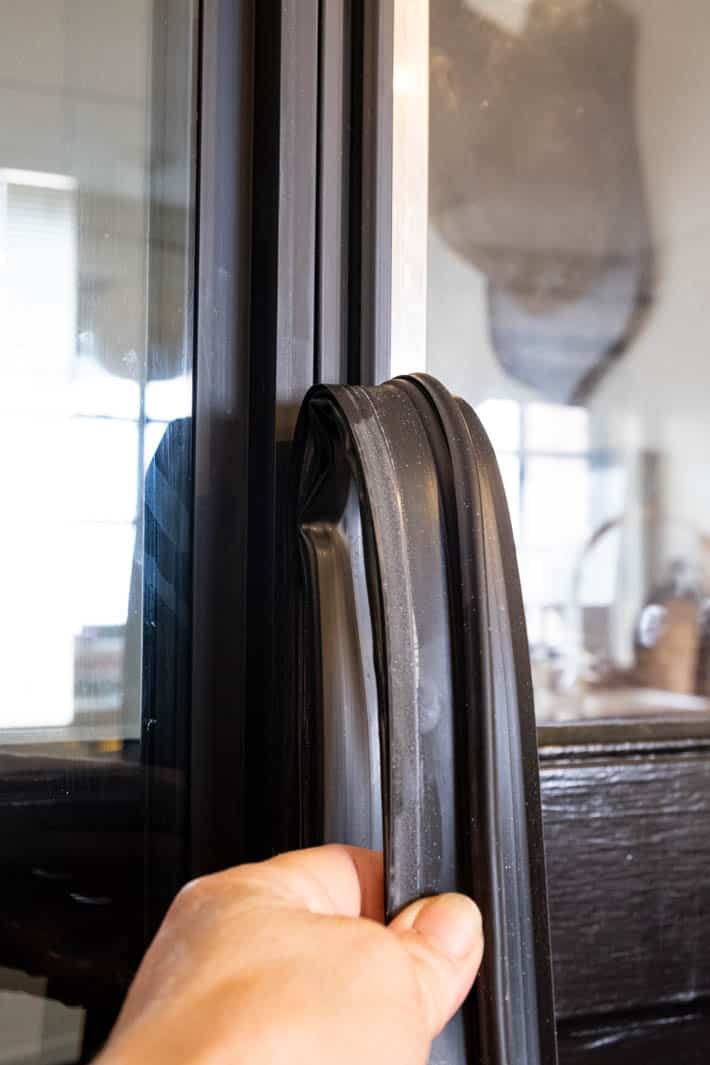
You can see the huge TEAR in my fridge gasket. I suspect dripping lemonade was the culprit to making my gasket dry enough that it would tear.
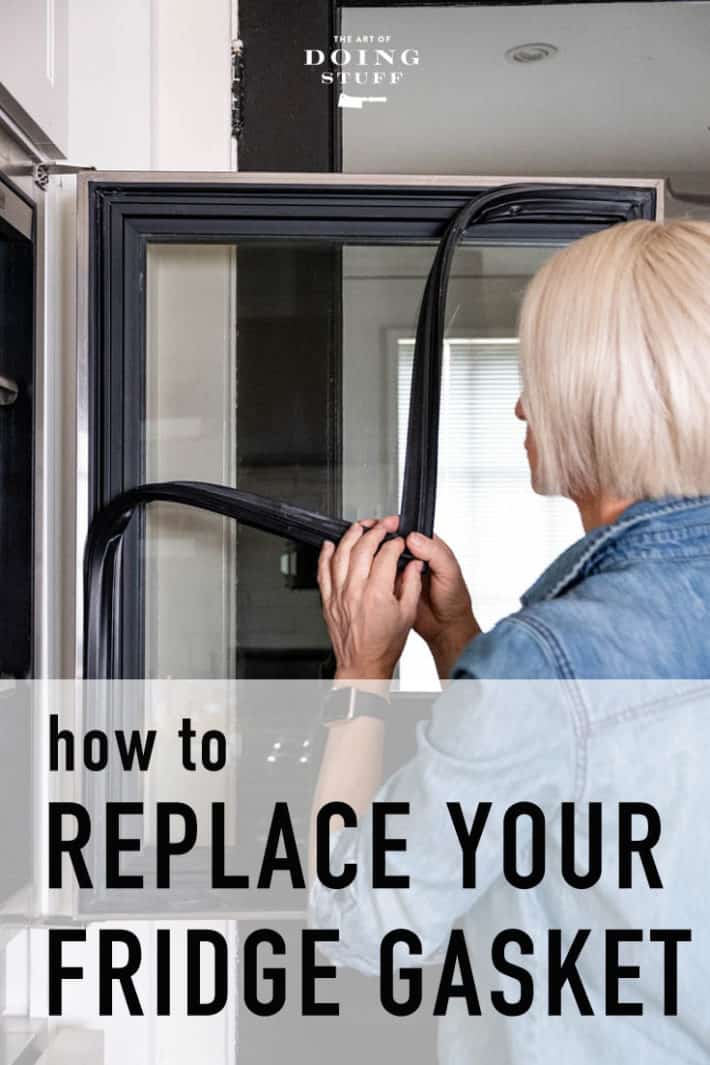
3. Remove your old gasket. In some refrigerators the gasket is just pushed into a channel around the door. That's how mine was. Other refrigerators might have a few screws holding the gasket into place with a plate. Just lift your gasket lip and search until you can see screws. Remove the screws and then pull the gasket out.
Would you like to save this stuff?
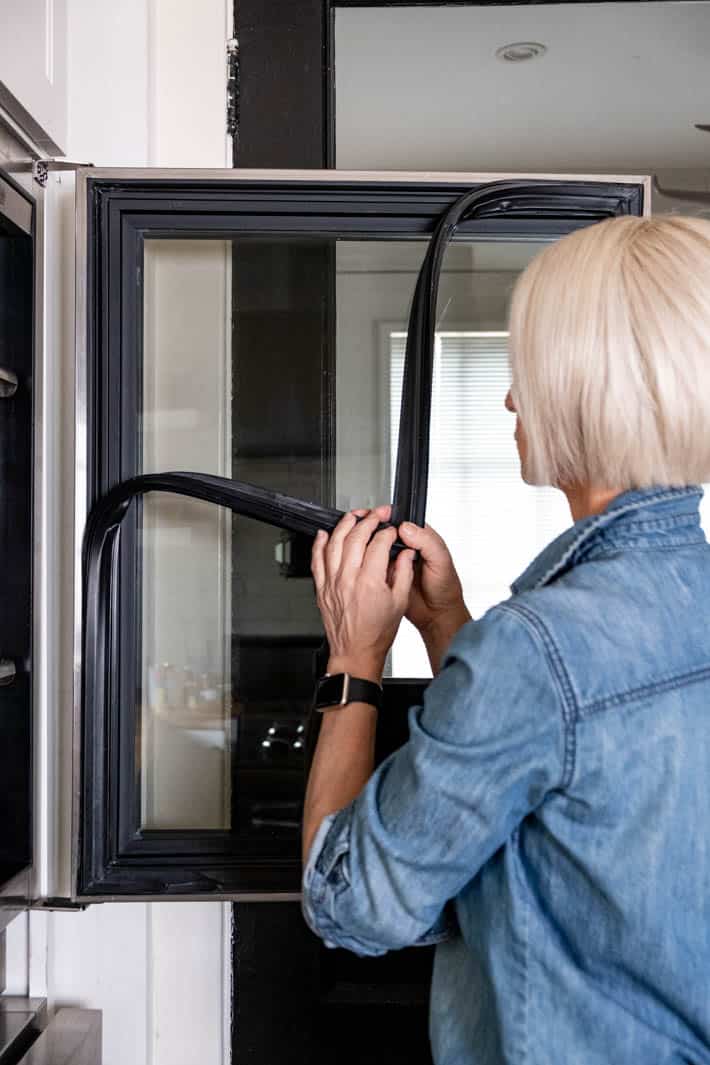
You can see the channel that the gasket sticks into below. Pay attention to how your gasket is positioned in the door and whether or not part of it it slips under any flashing. You'll be installing your new gasket in the exact same way the old one was in so make note of anything you have to remember. My gasket was a simple pull it out, push it in.
4. Thoroughly wash the gasket channel and surrounding area.
5. Now you just push your new gasket into the channel. This is easier if your gasket is a bit soft so make sure it's pliable. If it's in a warm house it should be. If it isn't just put it in a sink with warm water for a while before replacing it. This will also help straighten out the gasket if it arrived to you all crinkly and bent.
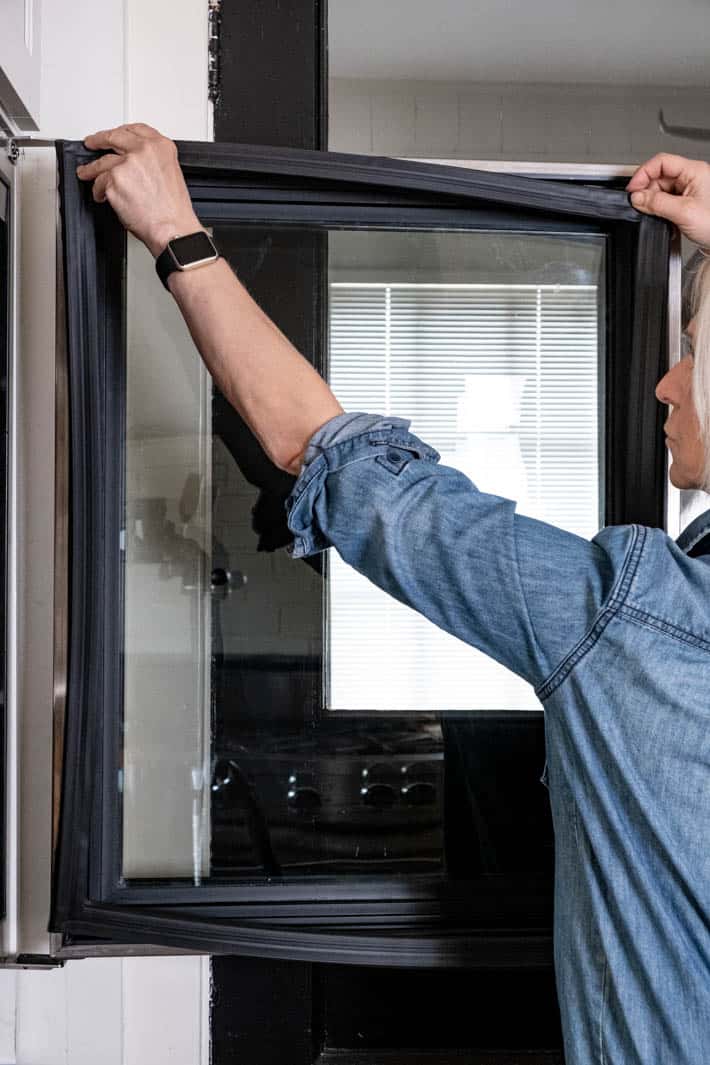
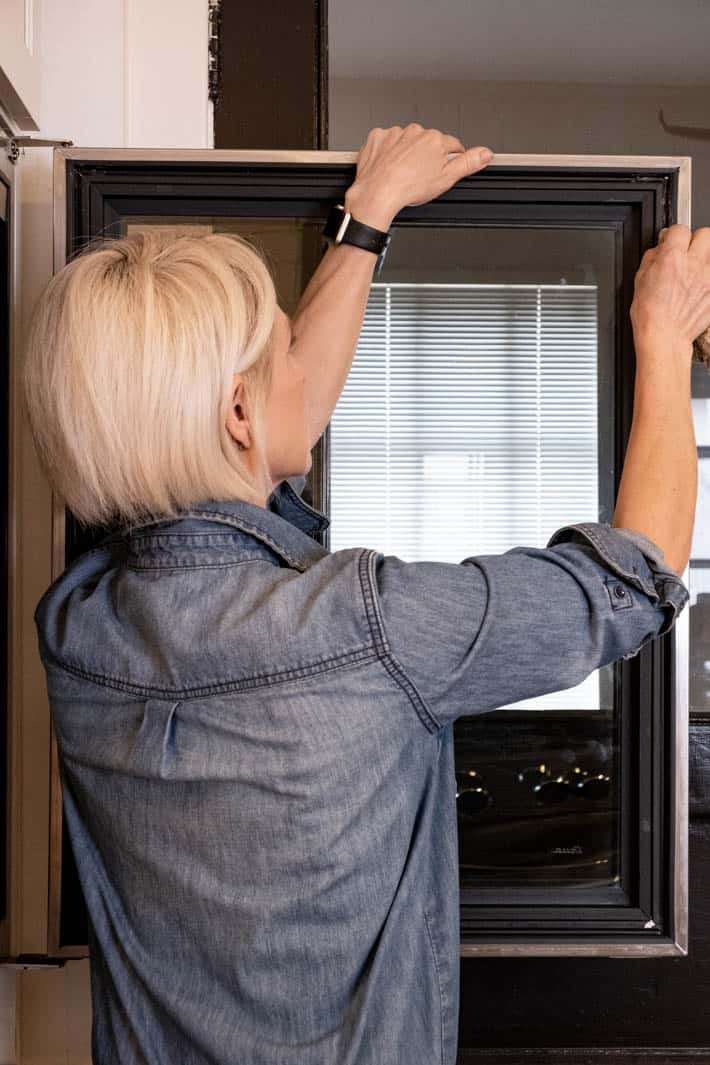
6. Push the gasket into the channel all around the fridge door, paying special attention to the corners. If you aren't sure if the gasket is fully inserted all the way around the door, look at it from the side.
It's much easier to see where the gasket hasn't been pushed in properly when you look at it from the side.

7. If your door had screws, replace the screws. Tada. You're done.

The total time invested in this will be about 10 minutes. And that's allowing time for you to stand there nervously looking at the door, a little bit afraid to do the job.

COST:
The cost of this depends on the type of refrigerator you have but my door gasket was $80 US and that's pretty typical.
$80 and about 10 minutes doesn't seem too bad for someone as fancy as you. Someone so refined they don't want to drink curdled milk.

How to Replace a Fridge Gasket!
How to replace the rubber gasket on your fridge to improve performance.
Materials
- New rubber gasket
Tools
- Screwdriver (in some cases)
Instructions
- Order a new rubber gasket by contacting your fridge manufacturer's parts department. They'll need the model and/or serial number of your fridge which you can usually find inside the door.
- When your new gasket arrives if it's crinkly and bent, soak it in warm water to make it pliable and smooth it out.
- Remove your old door gasket by pulling it out of the channel it's in. Some gaskets are also held on with screws that you'll find under the lip of the gasket. If that's the case, remove those screws and then pull out the gasket.
- Thoroughly clean the surface of the fridge where the gasket hits it and the channel area that your old gasket came out of and your new gasket will go into. Make sure there's no debris.
- Starting with a corner, press your new gasket into the channel. Work your way all the way around until it's completely pushed in and secure all the way around. Looking at it from the side makes it easier to see if there are area's that aren't fully secured in the channel.
- Close your fridge door, the job is done.
I know some of you didn't go and check your refrigerator gasket when I told you to, so go do it now by the way.
→Follow me on Instagram where I often make a fool of myself←


Alice Carroll
Thanks for the tip that I should be familiar with the manufacturer in order to know about the fridge parts that I would need. I'm currently working on a restoration project for my neighbor's fridge. I'm getting quite a lot of extra cash if I get to make it work again.
Debra
Last year, I replaced three gaskets on my french door, bottom freezer style refrigerator. The instructions said to soak the gaskets first in warm water to straighten them out after being curled up in shipping. Big mistake! There are holes in the gaskets, the water got inside and was impossible to get out completely. Water in the gasket can cause mold in the fridge or become solid in the freezer section and not seal properly. Fortunately, I found a discussion online in which someone suggested putting the gaskets in the sun to make them flexible and that worked; it also helped evaporate the water inside two of the gaskets. The entire process took two days trying to get the gaskets to work, having the freezer run all night because of an air leak, having to unplug the fridge to defrost the fan that had frozen stuck, give away the freezer contents, and eventually retrieve the old freezer gasket from the trash can since the new one wouldn't seal. I thought it was going to be easy ...
Emma
Thanks for this feedback, I was also thinking that putting it in water wasn't a good idea, you gave proof :)
it's typical for us gardeners to keep rolled borders in the sun for a couple hours before installing to make them soft and pliable, i was thinking this would work best as I was reading this.
sorry you had to go through this..