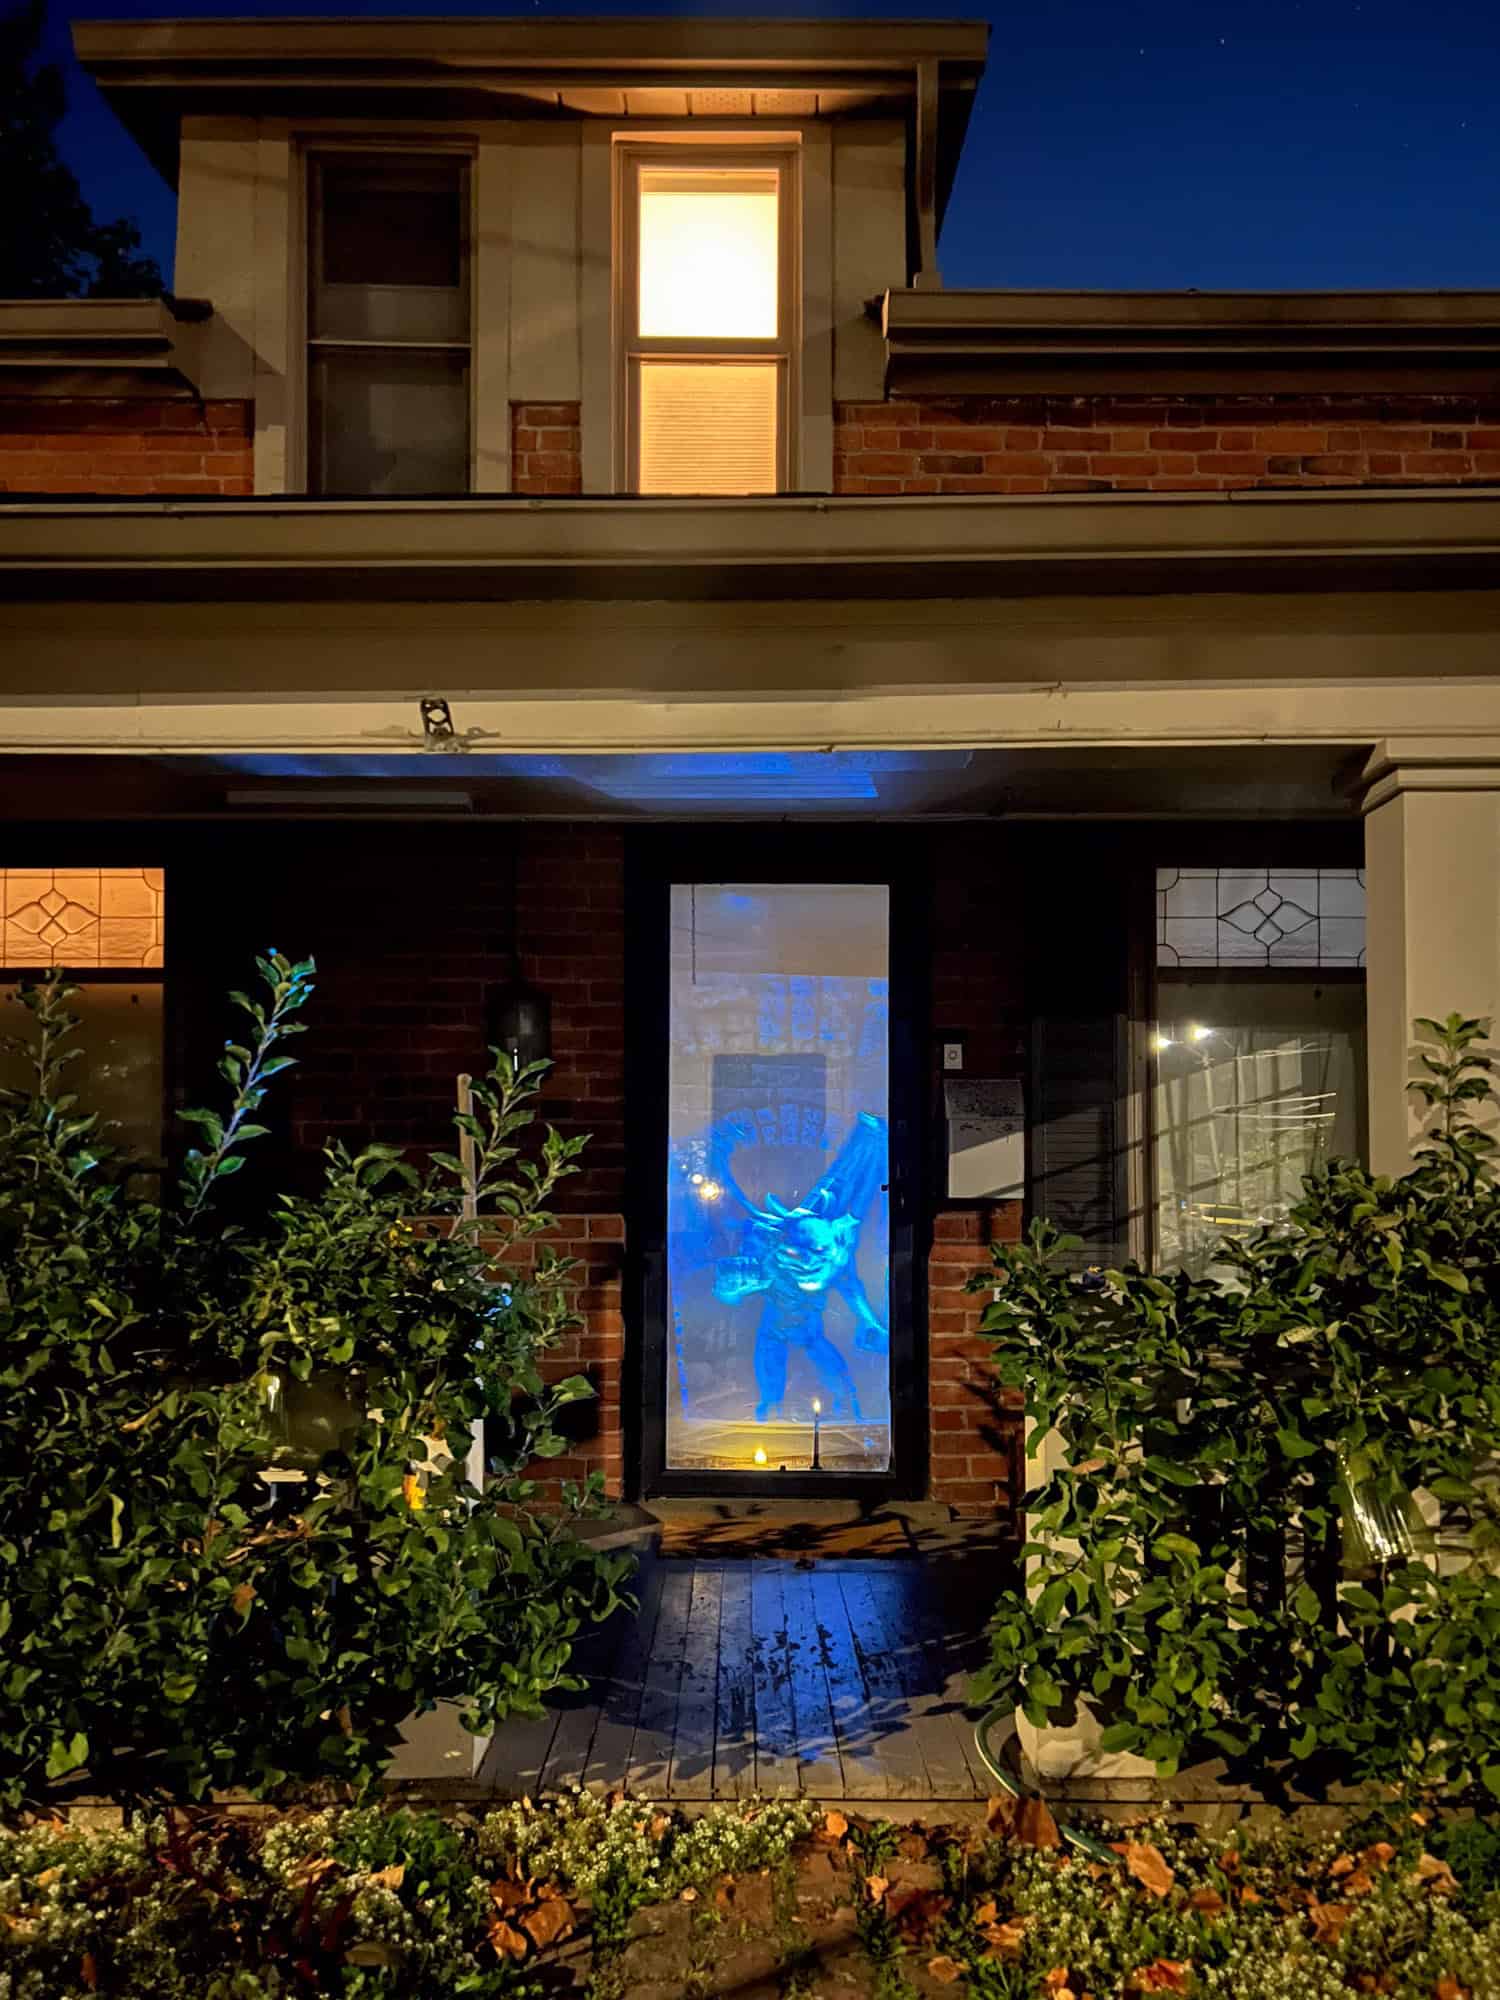
Project ghosts, monsters, or old horror films right onto your windows with a hundred dollars and an hour. You will also need a molecule of confidence. If you have those things you can create a Halloween window projection like this.
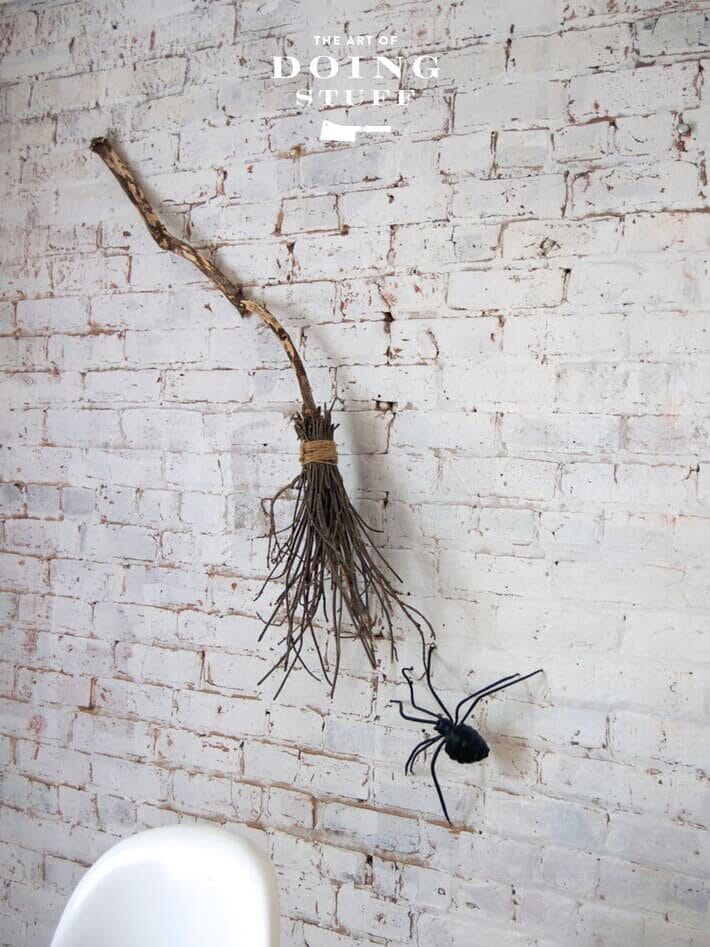
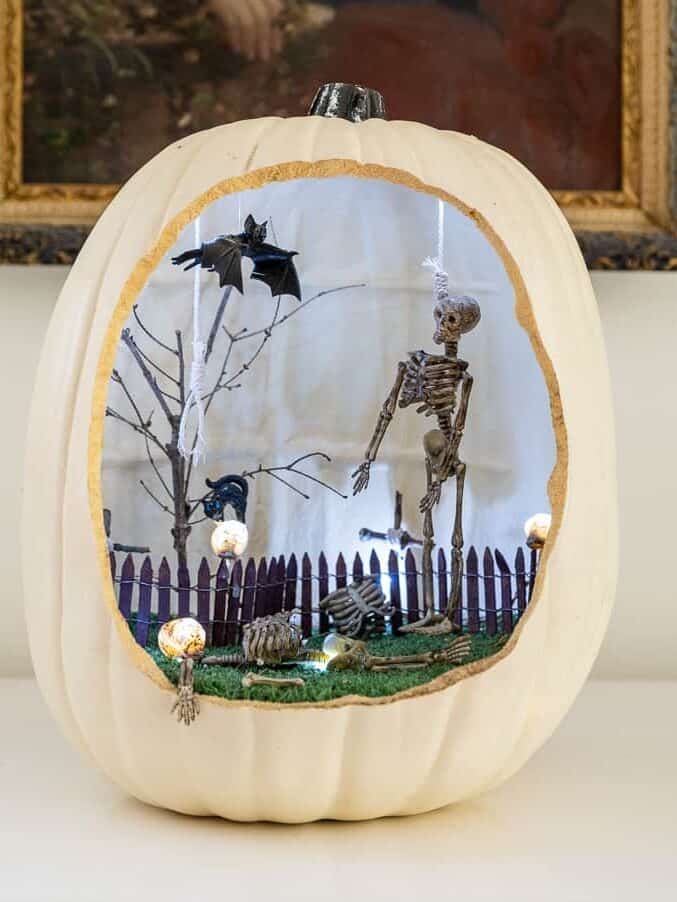
Every year or so, I like to try a new Halloween DIY. There were the glow-in-the-dark walls, the crooked branch witch's broom and of course the iconic Die-O-Rama, my pumpkin diorama.
I like techy stuff so this hologram type illusion seemed like an excellent DIY to try this year. Basically, you project a video onto a sheer curtain across one of your windows. It's remarkably effective.
Ok, now that I have your attention let me show you how this isn't complicated and you can indeed do it. Probably.
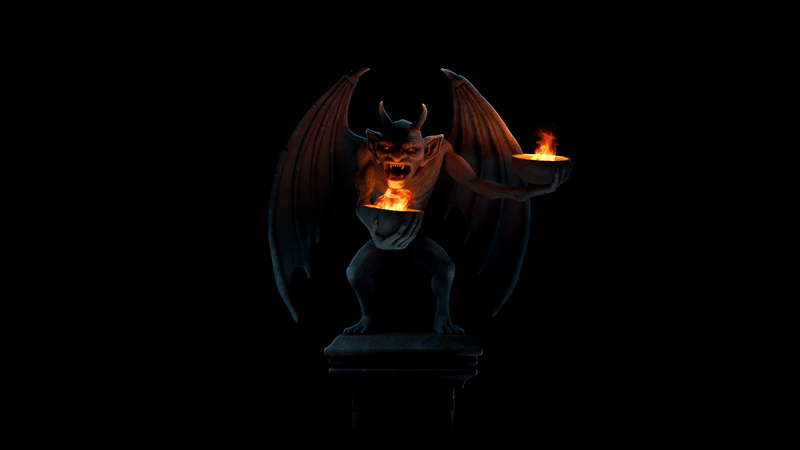
If you aren't into screaming Gargoyles as much as I am, you can also project cute images. Buzzkill.
This is my first time doing a video projection so I'm not an expert. Yes, I like figuring stuff out but I went into this projection adventure blind.
You on the other hand, won't be going into it without knowing what's important, which projector to get, where to place the camera, and what age bracket you'd like to permanently scar. You'll spend more time deciding which ghost to project than actually setting it up.
Table of Contents
What you need
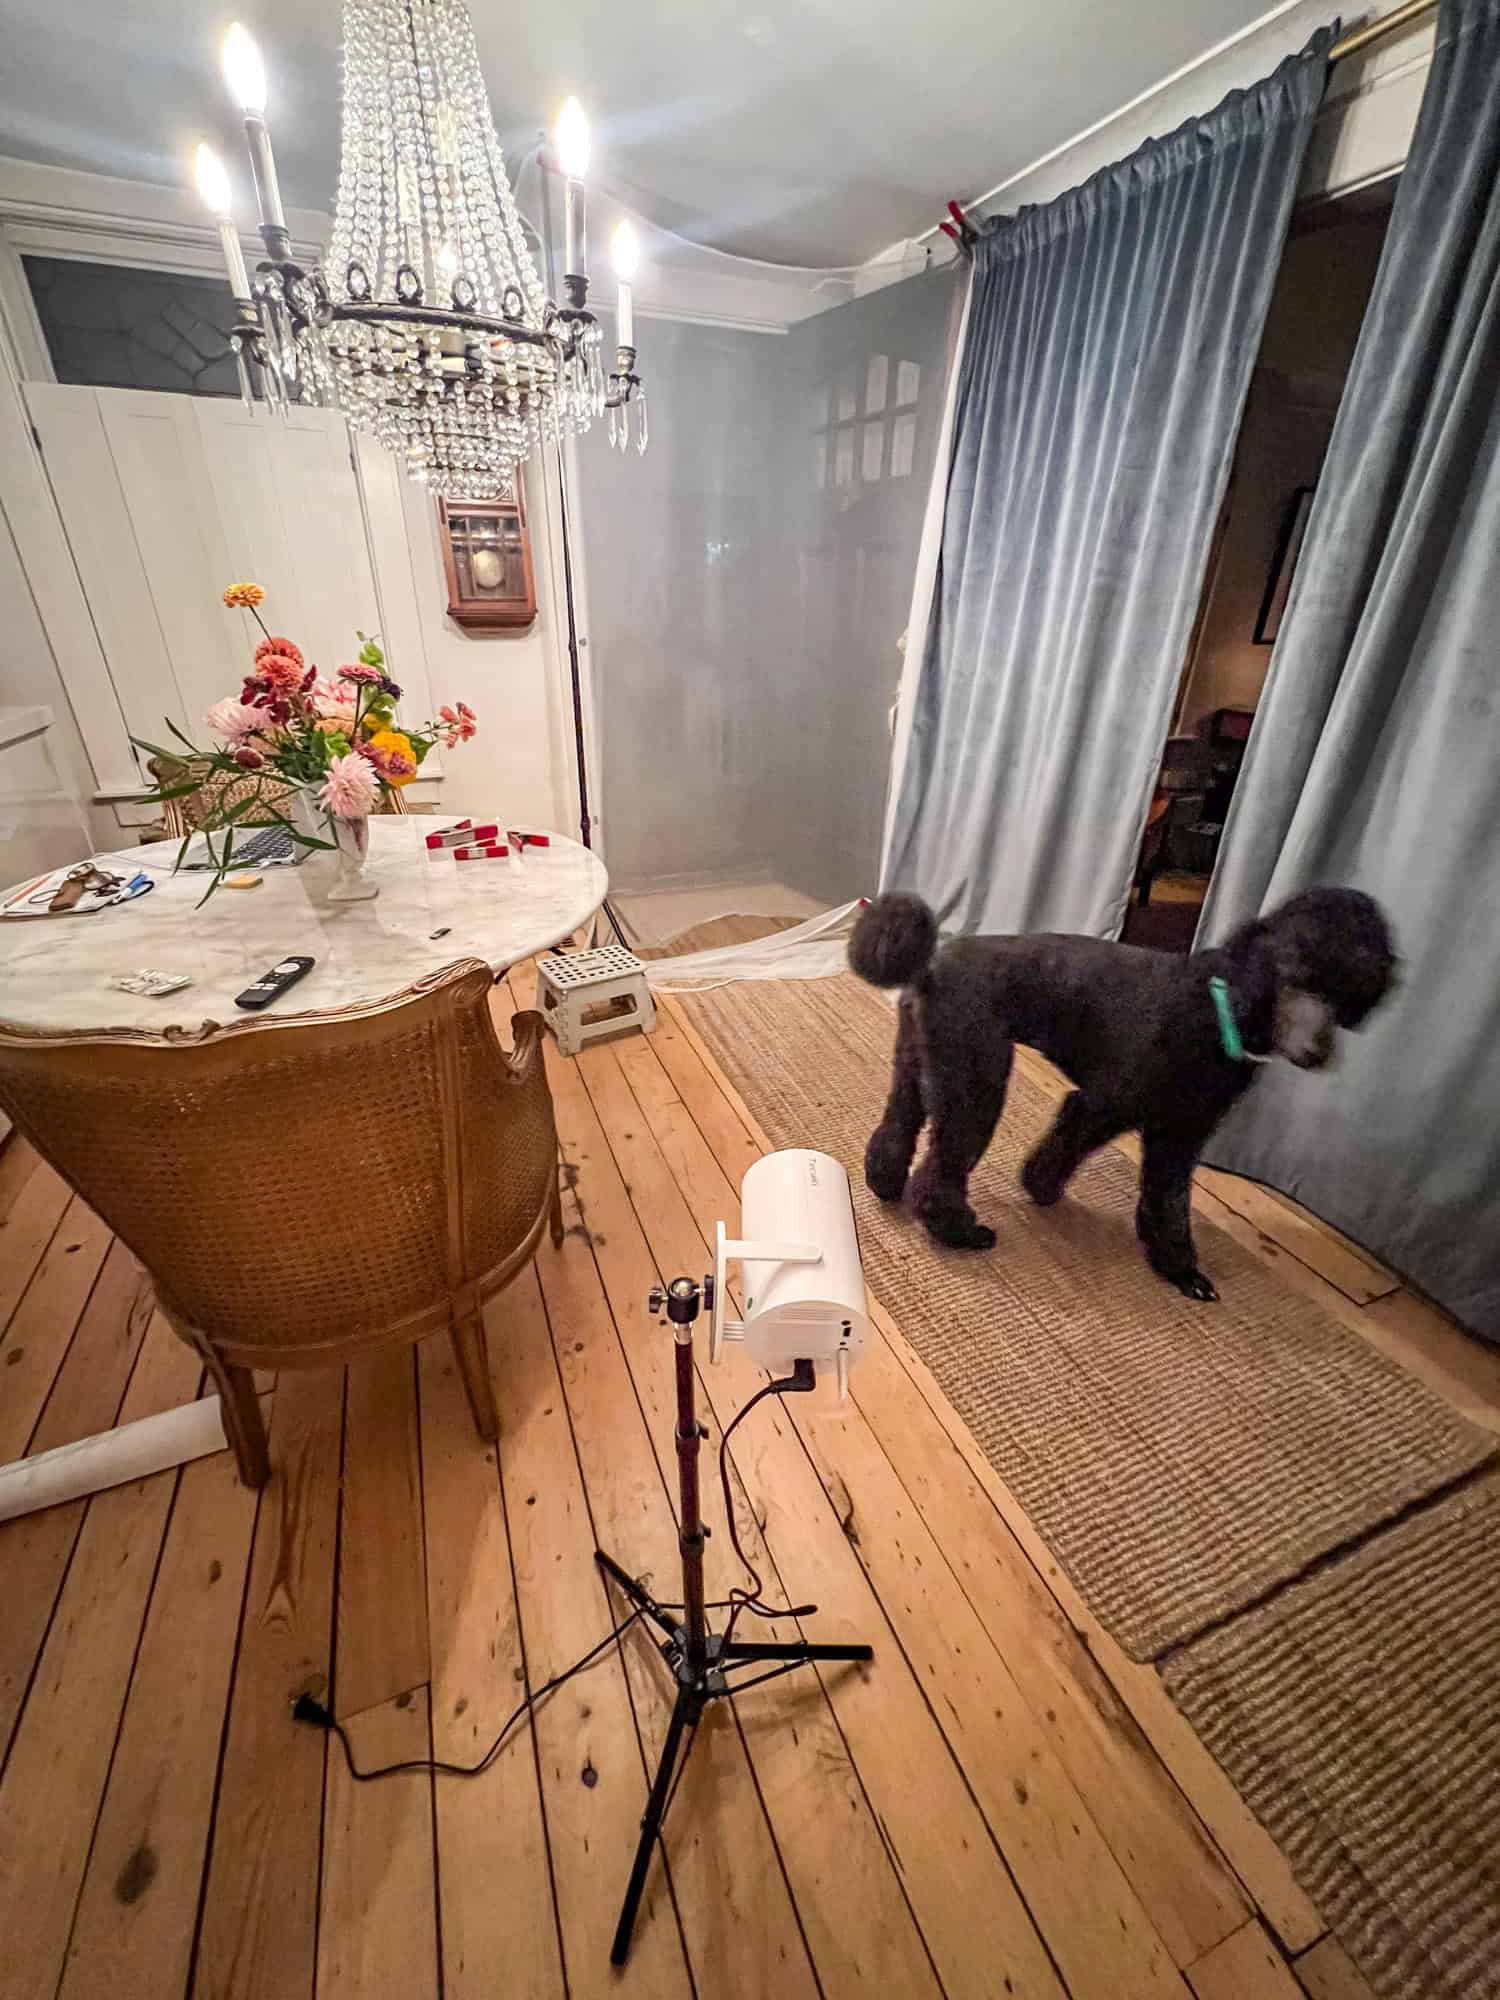
(Photo of my test run below. On the big night I'll make sure all house lights are off and ditch the battery operated candles I was trying out)
- Projector with a USB port. I bought this ~$100 one
- USB drive for your video
- A creepy video with a black background. I bought mine from AtmosFX which is more expensive than HallowFX but the videos are better). Bundles are cheaper. This is the exact Gargoyle video I'm using.
- Not buying? Play a black-and-white movie (Dracula, Frankenstein). It works-just not as punchy.
- A sheer "screen." I used woven insect netting from the garden. Perfect. Otherwise sheer curtains will work. Look for them at thrift stores. Or you can buy an actual projection screen for about $20 on Amazon.
Nice-to-haves (make life easier):
- A curtain rod or light stands to hang the sheer.
- A tripod with a swivel head if you're projecting on a vertical window.
- A Bluetooth speaker hidden outside (only if your projector has Bluetooth - the one I recommend does).
Step-by-step
1) Load the video
- Download your video of choice and put the projection file on your USB drive.
- Plug the USB into the projector.
Get the 1931 movie, Frankenstein from the Internet Archives for free. Download the MPEG-4-4 option.
Get the 1925 movie, The Phantom of the Opera from the Internet Archives for free. Download the MPEG-4 option.
2) Hang your "screen"
- Stretch your sheer over the entire visible window/door opening.
- No gaps. If the top or bottom is naked glass, the illusion breaks.
- If your window has a mesh insect screen, test the projection and remove it if your image doesn't look clear enough.
Would you like to save this stuff?
3) Kill competing light
- Inside: turn off every light in the room (and nearby rooms). Even a crack of light will show up outside.
- Outside: porch light OFF. Streetlights are rude; you can't control those, but do what you can indoors.
4) Place the projector (the part that matters)
Do a practice run before the big night (like I'm doing) so you know exactly how to hang the screen and where to put the projector.
- Inside the house is easiest (you control darkness, and weather doesn't attack electronics).
- Set the projector lower than the window and tilt it up so you can't see the lens glow from outside. Tilting up distorts the image, but you can adjust it in the projector settings until it looks right. The setting name is keystone correction.
- Projecting at an open door? Move the projector off to the side (not directly in front of the door) or everyone sees the beam. Use keystone correction to fix distortion.
- Most projectors have a button or menu option to flip the video in any direction, but you'll only need it if your projection ends up upside down-or if you're using text that needs to read correctly from outside.
- Bigger VS Smaller The farther away the projector is from the screen, the larger the projected image.
5) Frame and focus
- Aim at the sheer. Focus until edges are sharp. If you move your projector at all you will have to refocus.
- If you're using a tall, skinny (vertical) window: mount the projector on a tripod with a swivel head to rotate the projector so it's sideways. If that sounds confusing it'll make sense when you've downloaded your video and are setting up your camera.
6) Add sound (optional but effective)
- If your projector has Bluetooth, pair a speaker and hide it outside.
- If not, turn the speaker on the projector up loud enough that it can be heard outside.
7) Loop it
- Find the loop/repeat icon in the projector's media controls (on mine it's just right of the pause/fast-forward buttons).
- Most Halloween clips are 3 minutes or less (unless they're full length movies). Loop keeps it going until you stop it.
- If you're comfortable with video editing, you can also join different clips/video downloads together before adding them to the USB drive.
8) Test from the sidewalk
- Walk outside and look.
- Too faint? Kill more lights inside, increase projector brightness, or move the projector closer to the sheer.
- See the beam? Lower the projector and increase the upward tilt or move it further to the side.
Tips I learned
- Brick is a buzzkill. Projecting on an outside wall looks best on flat, light-coloured surfaces. My brick? Not great. It works, but isn't as striking as against a solid, light wall. Projecting to a screen inside your house gives you better control and a better result.
- Streetlights steal drama. If you have a few different options for your window/door projection do it where there is the least amount of street light overspill.
- Coverage is everything. That sheer must cover every inch visible from the street.
Quick troubleshooting
- The clip looks washed out. Turn off more lights. Move the projector closer. Use a whiter sheer.
- People can see the projector glow. Lower it, tilt up, and move it off-axis for doors.
- Video won't play from USB. Double-check the USB drive is selected, and the video from that drive is selected.
Optional upgrades for next year (when you’re feeling cocky)
- Motion sensor to trigger a jump scare clip.
- Multiple windows for a whole-house scene.
- Setting the screen up outside for a real hologram effect in the middle of the yard.
- Hidden outdoor speakers. Any wireless Bluetooth speaker.
- You can also sync a few projectors for multi-window scenes, but that's way more commitment than I'm willing to take you.
Checklist
- Projector with USB
- USB drive loaded with black-background video (a black background makes it more realistic)
- Sheer/netting covering the entire frame
- All inside/porch lights OFF
- Projector low + tilted up, off-axis for doors
- Loop turned on
- Bluetooth speaker hidden outside (optional)
- Sidewalk test: is it believable from the street
Congratulations - you've mastered ghost technology. Next year we'll tackle time travel. By the end of the night, your neighbours will either be amazed or updating the neighbourhood watch list. Either way - you've made an impression. Good job.

Comments
No Comments