It was the pine under the dining room floor that clinched it.
I'm ripping up the floors.
There are many of you gasping at this moment, many of you saying YES!! and many more of you wondering what you should have for dinner tonight.
I have 4 rooms on my lower floor and 4 different floorings. That's a lot of different floors. It bugged me. Not a huge amount, I mean I didn't wake up in the middle of the night, throw myself on the ground and start banging my fists and crying, but it did bug me a little bit.
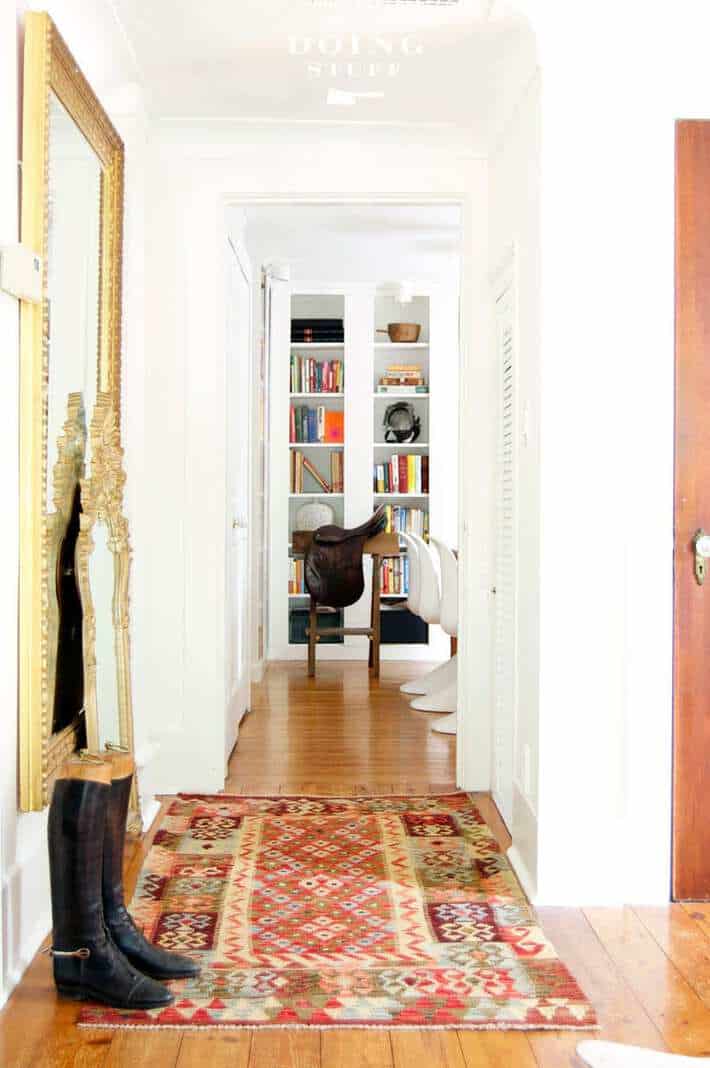
What bothered me the most were the pine floors in my foyer which the previous owners put down for no apparent reason other than to match the adjacent living room floors. They covered up strip maple with new, knotty pine from Home Depot thinking it would blend seamlessly with the 180 year old pine floors in the living room. It did not.
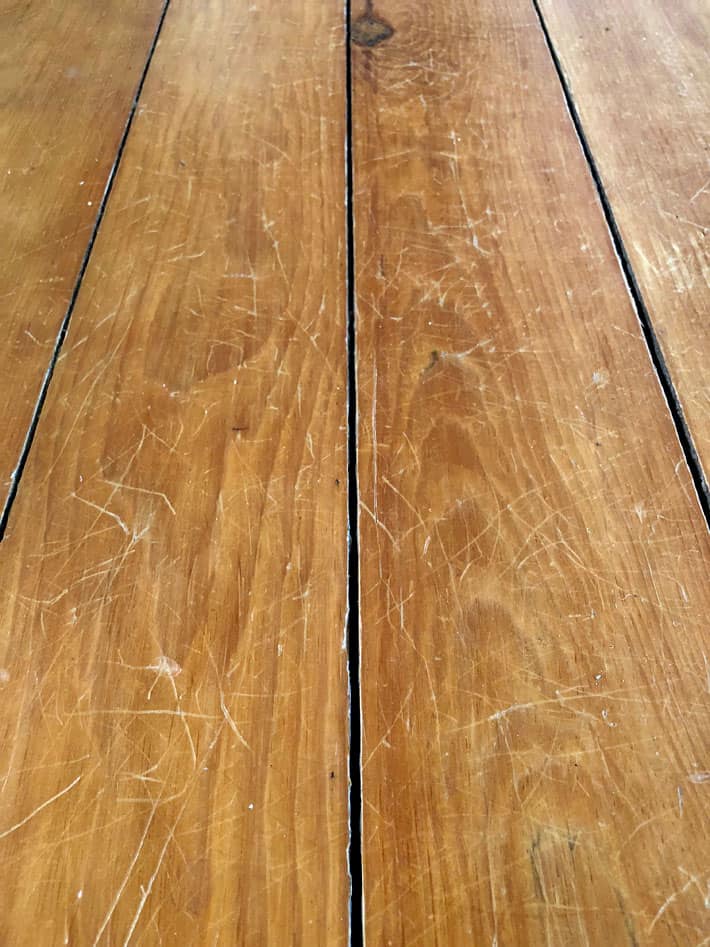
It looked like new Home Depot knotty pine floor beside 180 year old pine floors. So when I pulled up the knotty pine and found a beautiful floor underneath I was thrilled. That elation lasted for about 30 seconds before my curious started jiggling.
I wonder what's under the maple? Turns out it was same 180 year old pine that's in the living room. Now I was in trouble. But the maple looked good running into the oak of the dining room. They didn't match per say but at least all the boards were going in the same direction.
Then I found pine under my dining room floor and all hell broke loose in my brain with eyeballs flying and facial twitches twisting. After a few days of thinking about it I came to grips with who I am.
I'm Karen. And I'm curious. And I'd never be able to truly rest until I knew what the floors were like when they were brought down to their original glory. Or grossness. Regardless, I was going to have to find out.
Also I was forced into making a decision when my floor guy called me and said he'd be at my house to start work in a week. 12 hours after he called, my living room and foyer looked like this.
![]()
Which means my dining room became this ...

Everything from the two front rooms got moved into my dining room so I could rip up the foyer floors, scrape the filler out of the living room floor cracks and have everything ready for the sander on Monday.
Would you like to save this stuff?
The floor sanders will have to do the job in 2 stages. The first two rooms, and then the dining room because there is literally nowhere to put all the furniture to do all the rooms at once. The crack filler I'm talking about is the mixture of sawdust and glue that floor refinishers sometimes put in between large cracks in old floors. It makes everything uniform and eliminates cracks. However it also pops out in places after a season or two of contraction and expansion.
Over the years the half or even more of the crack filler will come out leaving the floors messy looking.
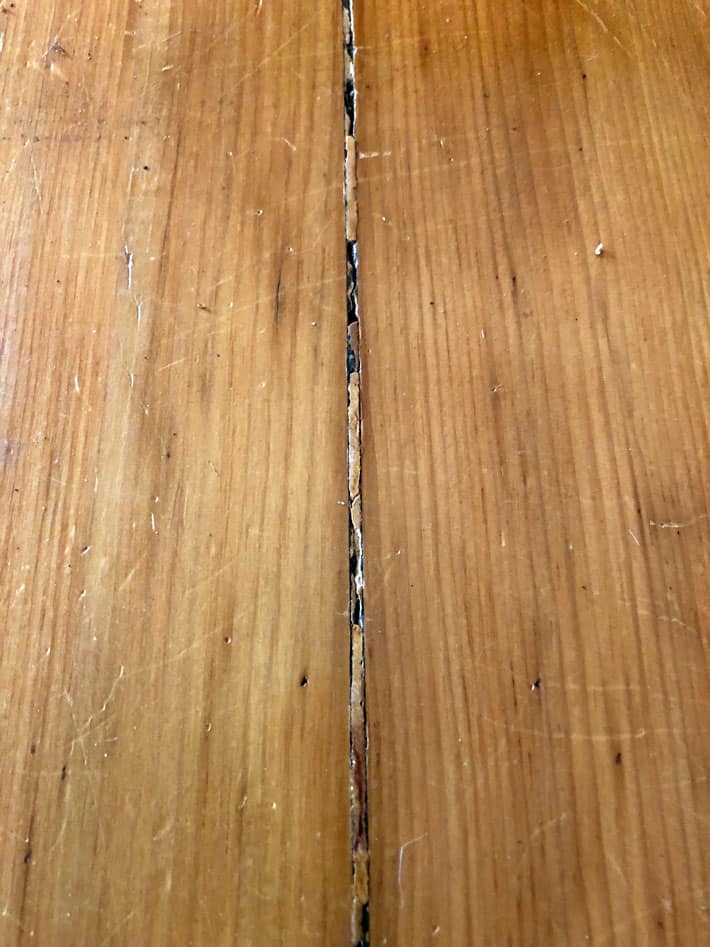
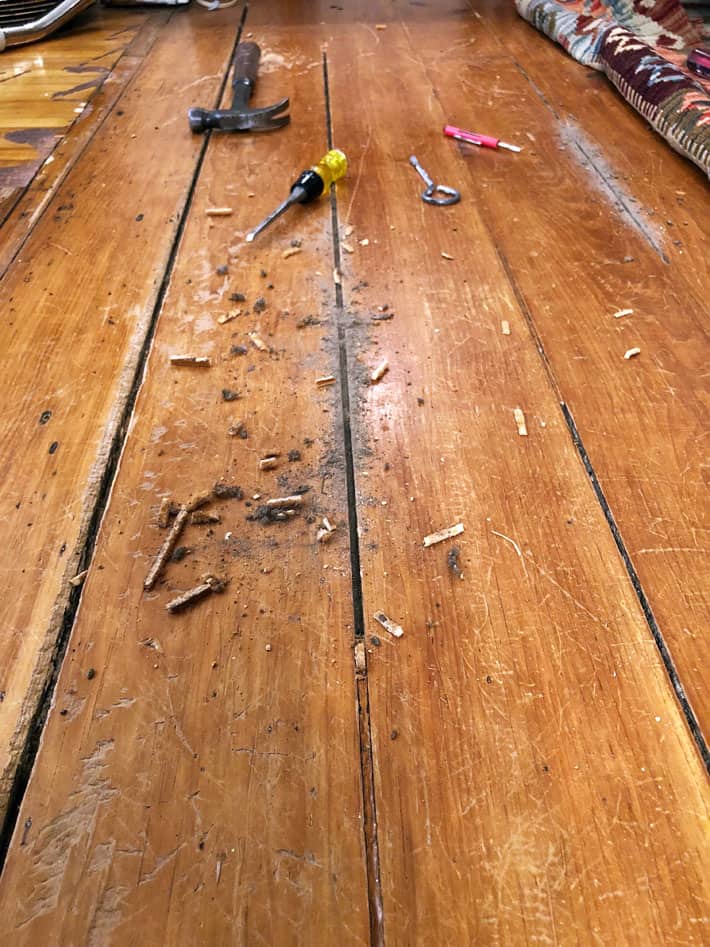
Without the filler the cracks are MUCH more noticeable, but also more authentic looking so I'm removing it all by hand and leaving the cracks as is once I redo the floors.
The original way of filling these cracks in floor boards was to push rope into them. When the floor contracts and expands, the rope contracts and expands with the floors. The point of the rope wasn't just aesthetics. In fact, it mostly wasn't aesthetics, it was to stop things from falling down cracks and to insulate any drafts from coming up.
Any of the filler that just pops out easily popped out itself years ago so the remaining stuff is hard to get out. I'm using whatever tools I need to get the job done. A carpet cutter, screwdrivers and in certain places my Dremel Multi-max.
For those of you who were worried about pine being too soft for flooring, it's what all of these heritage homes had. So if you love the original old features in this type of house (which I do) you embrace this pine. Also, old growth pine like the original flooring found in these houses is much harder than any pine you'd find nowadays partly because it was old slow growth pine and partly because of the age of it.
So there you have it. After weeks of thinking about it and quite frankly knowing I'd end up doing this in the end, I'm ripping my floors out. Actually, I already have. Sometimes you just need to let yourself slowly come to terms with things.
Like the fact that once I ripped up the maple floors I realized I'd need to make some repairs to the pine floor. Which meant I'd also have to rip up the pine.
K. Rip up the pine, source antique floor boards, re-support and repair the pine floors and build a new threshold from foyer to the living room. In two days.
In addition to ALL of that, and perhaps even worse - I have NO idea what I'm having for dinner.
Have a good weekend!
![]()
→Follow me on Instagram where I'll be posting more as I rip out my floors.←


Robert Larson [BOB]
where to purchase the pepper mill that you were pushing
Katt Philipps
Are you going to do the rope trick? The floors are wonderful! I love the darkness of the groove next to the caramel floor.
Hannah
I knew it! I knew you wouldn't be able to resist original flooring. I am however quite sad about the maple. I LOOOOVVVEEEEE the maple. Make something out of it or floor something with it please, it's so pretty!
Bonnie Harris
Re: filling the cracks -- We laid 10" wide planks on our porch floor, no tongue and groove so wider than usual cracks between the boards. I researched oakum to fill the cracks and ended up with an easy and inexpensive solution. I used soft cotton rope dipped in the same stain that I was using on the planks. I just stuffed it neatly into the larger cracks and you couldn't tell it was there. We also used nice square headed nails from Lee Valley to nail the planks and it was a great look, you'd swear it was the original flooring.
Glynis
Hi Karen, I'm loving the floor choice and directing you to have a look at a brilliantly simple (and pretty cheap) option for filling the gaps between the strips of wood flooring. Stop Gap is a fantastic product from the UK (NB I have no links to the product so am not benefitting from the recommendation) it's just something I've used and it helped eliminate drafts/gaps, is easy to install and isn't noticeable. I've also used it on wooden sliding sash windows to eliminate the gaps - it has made a world of difference in my home. No special tools needed, no glues or adhesive, and is easily removed if you need to do that. It's well worth checking out.
https://stopgaps.com/
Karen
Yup, it looks good! ~ karen
danni
I was 100% certain you were gonna do it. Looks like the right call! Congrats!
Lynn
Truly no doubt in my mind you were going to go for original pine once you saw it. An yes old pine is harder than what we have nowadays. If possible use plastic and tape to keep the dust down to a minimum, it will still get everywhere just hopefully not as bad with out this step.
Oh an don’t forget to stuff your vents full otherwise after you just keep getting dust clouds for ever. That’s if you have forced air heating or cooling....
Suel Anglin
Hey Karen!
I am so grateful to be able to live vicariously through your many projects. The only advice your cousin from down south would offer, cover everything else in the place well. When that ancient wood dust gets loose... Oh, please take excessive amounts of pictures as things move along accompanied by thoughtful and smart-ass commentary.
I can't wait!
Laura
Can't wait to see how they turn out. And how timely! We want to refinish our original hardwoods to a color that is NOT honey oak... I hope you do a post on different stains and how they age. When I chose honey oak, I never realized it would look orange as it aged. The guy who did them also used a poly seal on them, and it scratches so easy and looks gummy. Yuck! Now I want a change and something more timeless. And I always trust your advice!
Heather
Can't wait to see the final results. Good luck!
Lisa
That's exciting! I'm all for it. Looking forward to the reveal.
Bonnie G.
You are going to love those floors! Do be sure to cover the furniture even if it is moved to another room - there will be lots of dust. I am looking forward to the result!
Valerie
Excellent decision. You will be very happy if you put down new fir flooring - I know you probably want to locate antique wood but new fir wood has a classic look that can appear modern or antique - depending on your eye.
Julie
It is the right thing. If you're going to do it right, you have to start...by doing it right. I'm jealous you're "only" doing the floor. We have THREE ceilings in our bathroom for some god-forsaken reason. Le sigh...
Carole
When we married, we moved to my husband's family farm. For me that was moving from Fort Lauderdale to 13 miles from the St. Lawrence River in NY. The house was built in the 1840's. Living room and parlor had wide old floorboards with large area rugs (not wall to wall, not tacked down). If someone opened the outside cellar door when the wind was blowing the right way, the rugs would rise in the center of the rooms, adding years of dust to everything. Our boys thought it great fun! I am sure your old floors will make you happy.
Tina
We had an old house in Oregon. When my mother and dad refinished the old floors, my mother picked up the bits and pieces of candles at the church for months. Then she scrapped the wax in between the floorboards to stop the draft. I suppose it worked because 30 years later it was still fairly tight. But I love the idea of using old rope, too.
Karen
That's an interesting idea! I wonder if she dripped the candle wax as opposed to scraped it? ~ karen!
Tina
I believe she scraped it as all of those candles then had flat edges. She also used old candles, rubbing them on the edges of the drawers and pull-out cutting boards so they'd slide easily. Then they sanded the floors a final time, the heat from the sander may have melted the wax, somewhat.