Remember my Glowing Outdoor Orbs? Of course you do. They're orbs and they glow. Like alien testicles. Who could forget something like that.
Well I've come up with the Glowing Outdoor Orbs Part II. Only the don't glow. So they're the Outdoor Orbs Part II. Only people tend not to know what an Outdoor Orb is (since I made the phrase up), so I've decided to change the name to White Glass Shades that Every House Used to Have But Now Doesn't Because We all Threw Them Out Like Idiots. And Now We Have to Buy Them From Secondhand Stores. How's that?
Anyhooooo back to the issue at hand. I'm a genius and as soon as you copy what I have to show you below, you'll feel like a genius too. Please note, with regard to my geniusyness, it doesn't apply to math or mathematical related problems, or numbers or decimals or anything that requires the adding or subtracting of fractions. Or math.
The ingredients for this craft are similar to but different from those in the original Glowing Outdoor Orbs. You still only need 2 things and it's still incredibly easy. I have come to understand that people LOVE the bigger projects I do, but tend to only duplicate the ones that take 10 minutes or so. Don't blame ya.
Here for your pleasure and limited time frame, is the 10 minute birdfeeder.
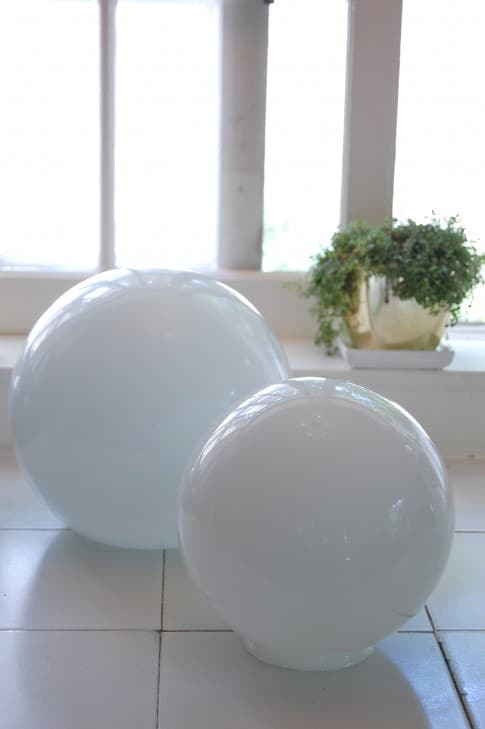
A old glass lampshade

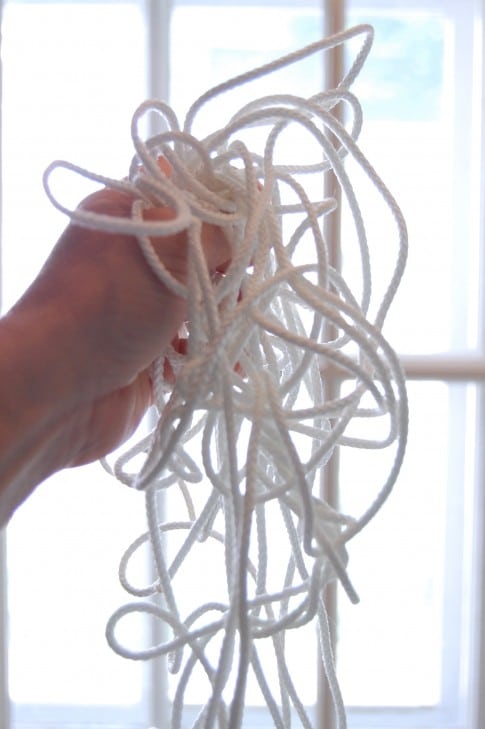
A squiggle of rope ...

A $3 contemporary hanging birdfeeder.
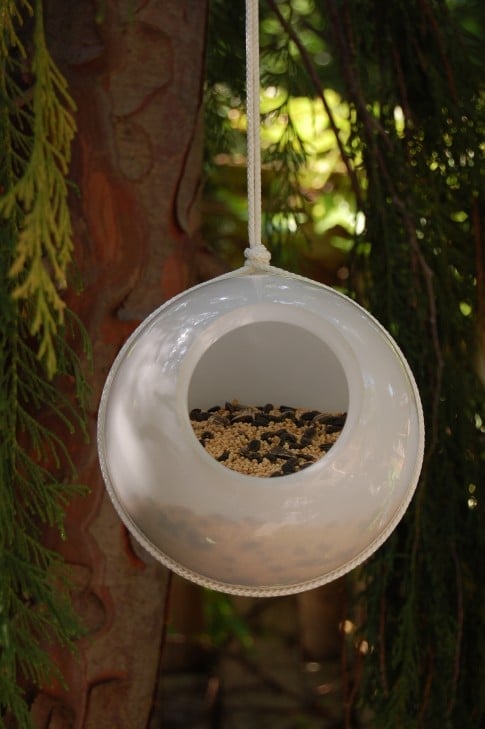
How to make a super-fantastic hanging birdfeeder
Gather your rope. I happened to use ⅛th inch nylon rope. I bought a 50' package and it cost around $4. There's enough rope in that package to hang 3 or 4 birdfeeders from really high branches.
Using really thick rope would also look great. Probably even better than the thin stuff. I'm not sure why I bought the thinner stuff. I'm sensing a crack in my geniusyness.
#1. Measure twice the amount of rope as you need it to hang. Go look at your tree branch and just guess. When all else fails, just measure out a lot. You can always make the rope shorter, but you can't make it longer. Find the middle of the rope.
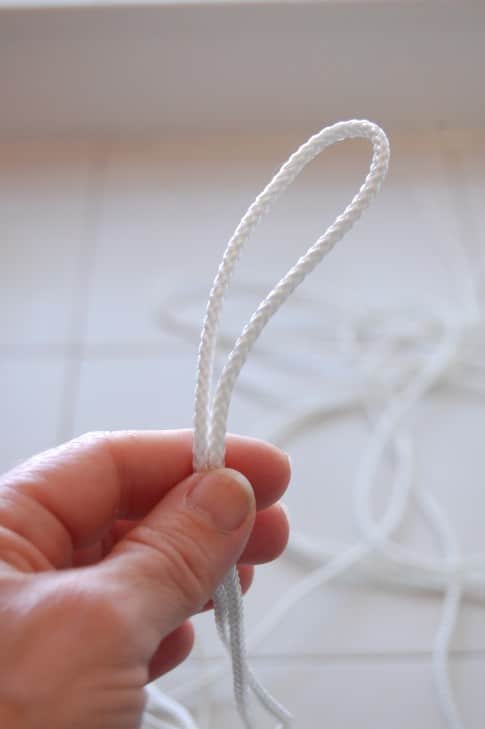
#2. Wrap the doubled up rope around the middle of your glass shade. The looped area of the rope is the centre of it.
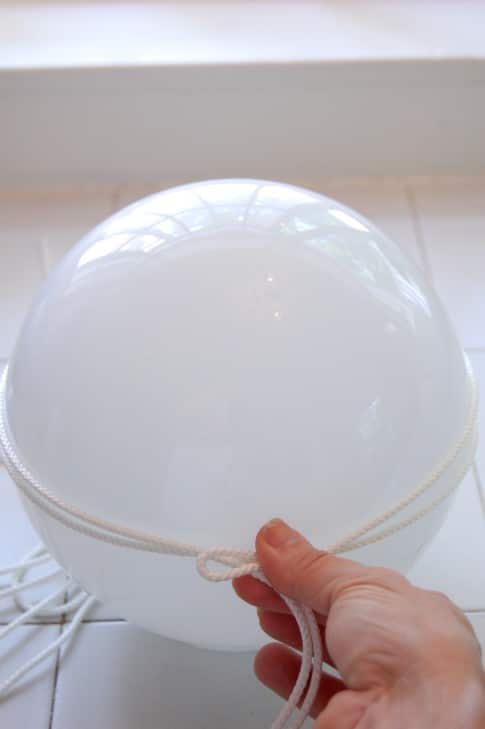
#3. Pinch where the loop (centre) meets.
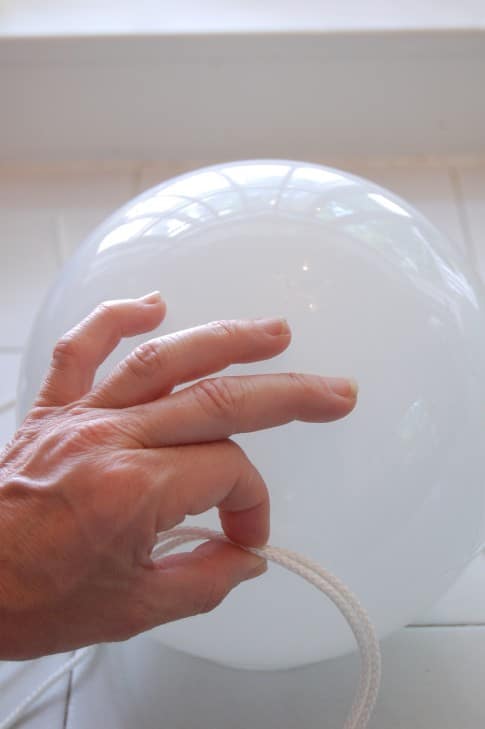
#4. Tie a knot where your pinch mark is.
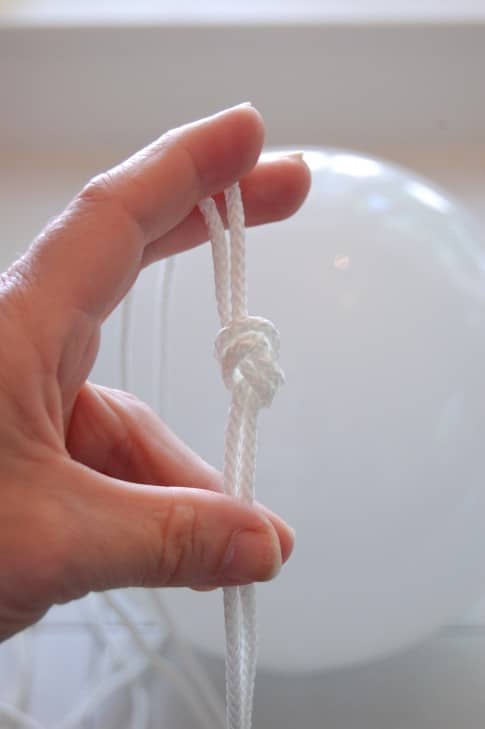
#5. You now have a knot and a loop and a whole whack of excess rope.
Would you like to save this stuff?
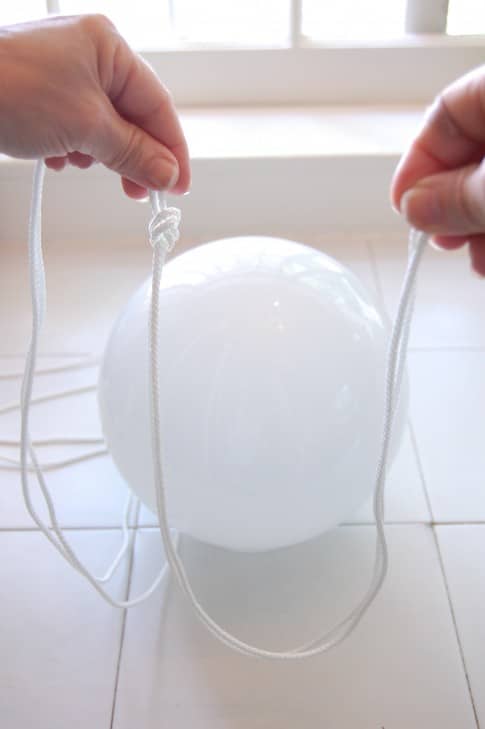
#6. Wrap the rope around the shade again.
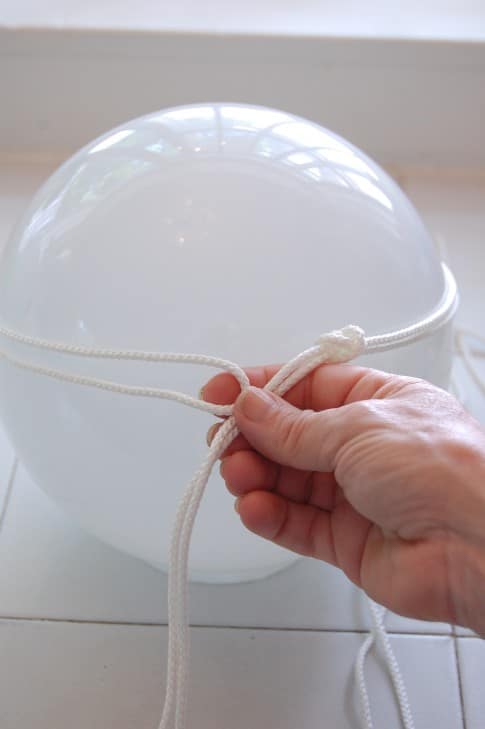
#7. Slip the excess rope through the loop, allowing the loop to rest over and lock on the knot. You'll probably have to undo and redo your knot to get it right. You want it quite tight but not so tight you'll break the shade. Good and tight is how I would describe it.
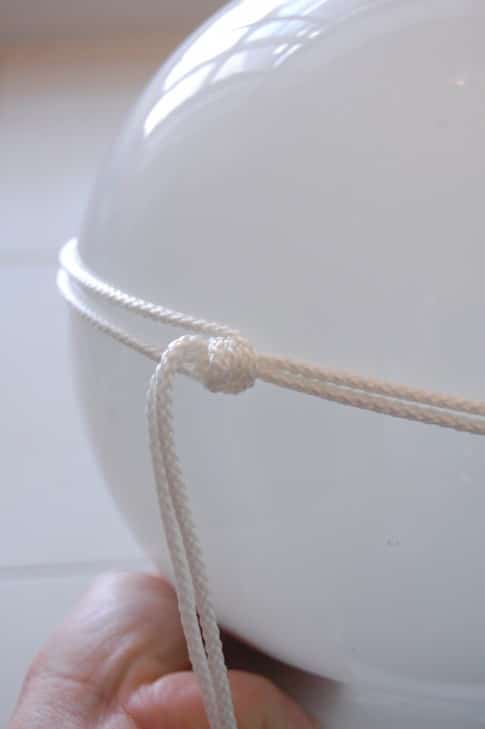
#8. Place a soft towel or pillow under the shade, then lift it by the rope to make sure it's hanging straight. Fiddle with centreing the rope until it hangs right. The towel's there in case the shades slips out and falls. It shouldn't but it might. Hell, what do I know about your knot tying abilities?
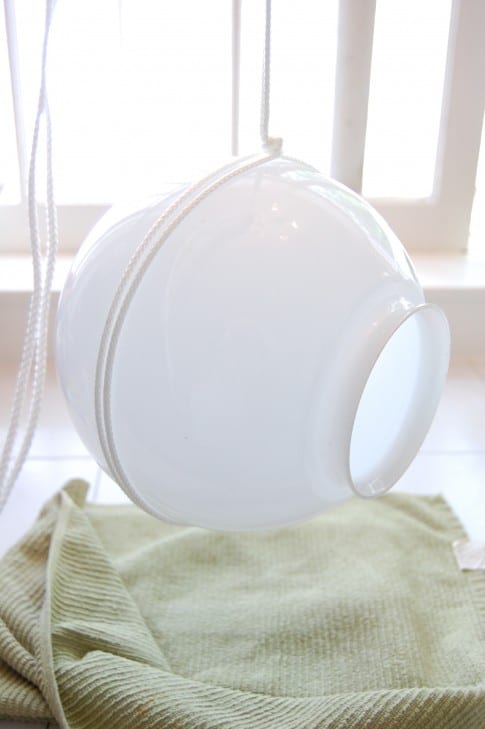
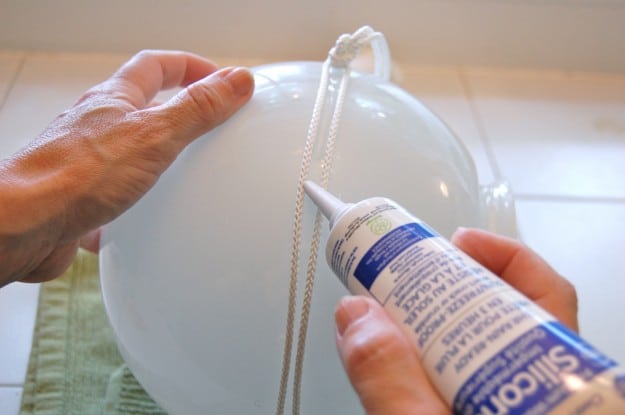
#9. Using Waterproof Silicone, glue your rope to the shade.
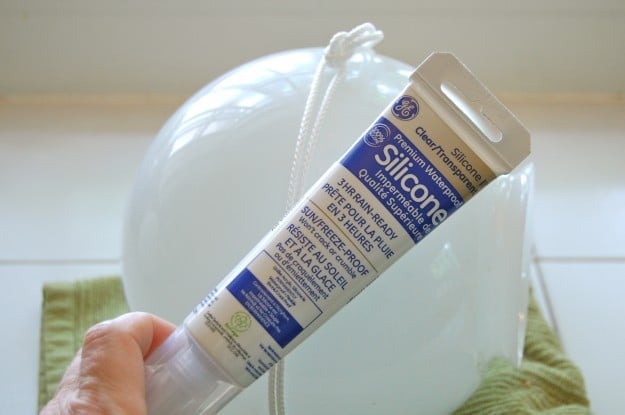
#10. To make sure your rope stays centred on the shade, just run the tip of the silicone down the centre of the 2 pieces of rope. As you run the tip down, it'll push the two pieces aside keeping everything centred. Go allll the way around the shade.
#11. Pinch the rope closed again, along the glue line.
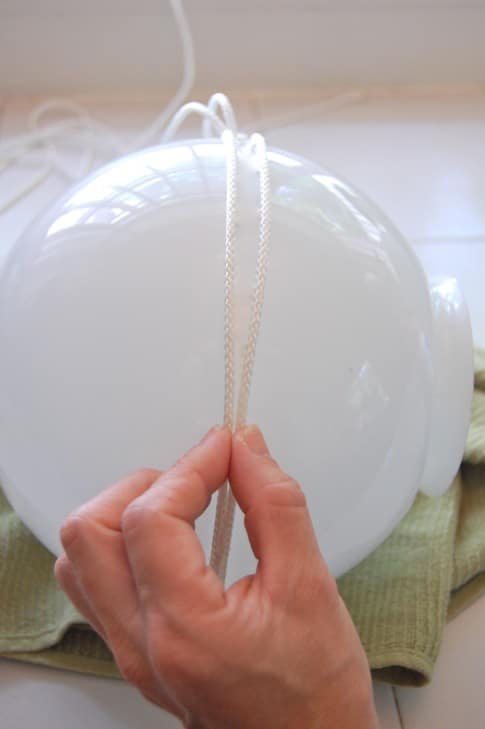
If you want to be extra diligent (I was) you can also run a bead of silicone on the outside edges of the rope.
Hey! Wanna know why I was extra diligent?? Because the first time I did this I wasn't and 2 of my feeders crashed to the ground and shattered into pieces. See? Like this.
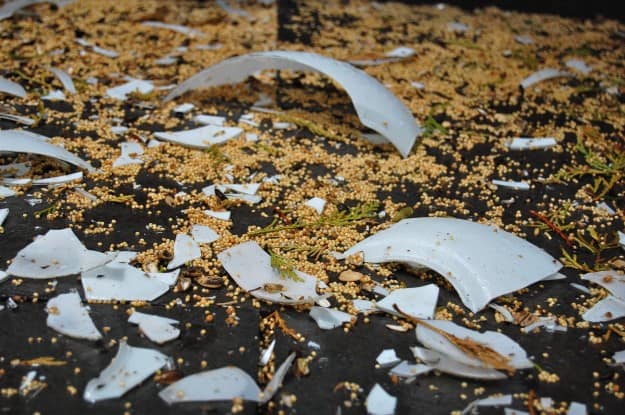
I oringally only used "Weldbond" glue, which is supposed to adhere to glass. Guess what? It didn't. So don't go thinking you can do this with whatever glue you have around the house. You can't. You must use a silicone based product like I've used. Marine silicone, tub silicone ... anything like that. Something that's meant for use on glass and is meant to come into contact with water. Weldbond says it does these things. But in my experience ....
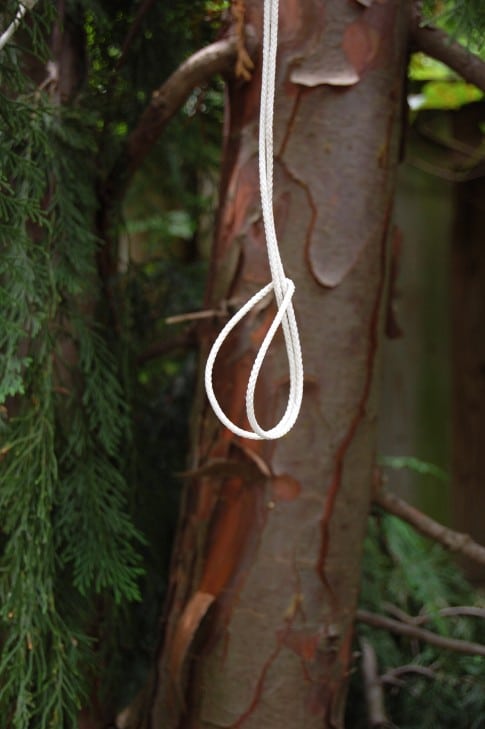
... it doesn't.
#13. Let the birdfeeder rest for 24 hours to dry. Unless you're me. In which case, run outside and hang it from the tree immediately. Do as I say, not as I do. You want the glue to cure before subjecting it to the elements.
Hang them & fill them with bird/chipmunk/squirrel food!
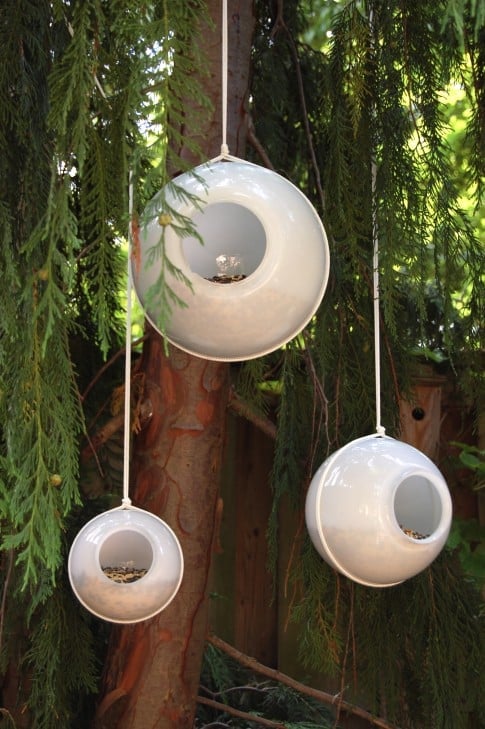
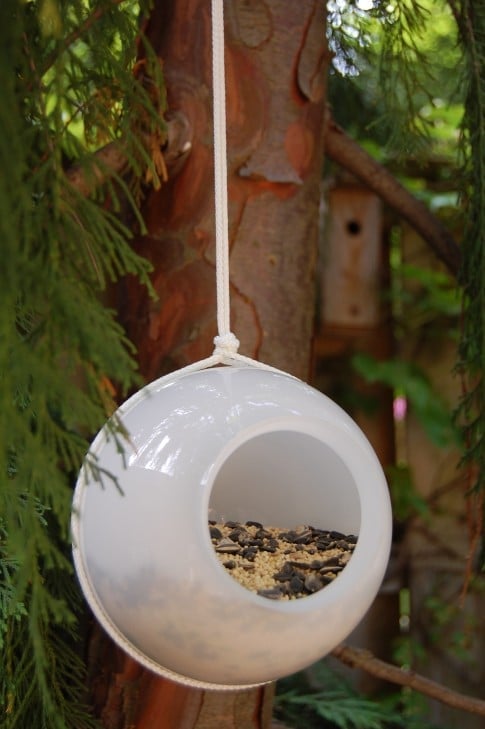
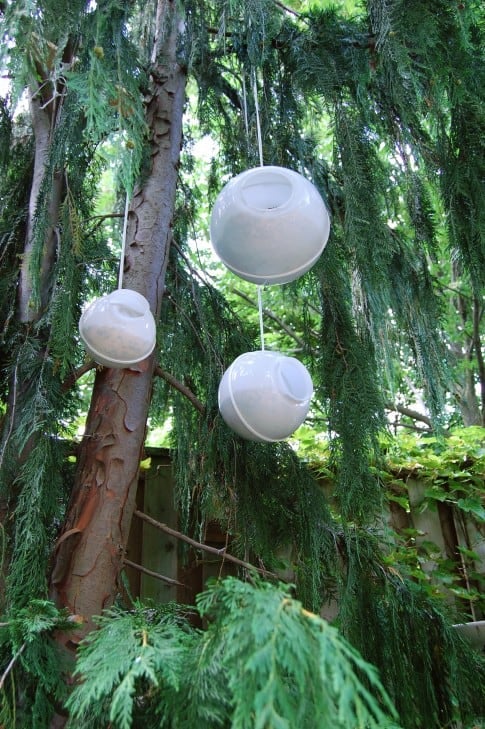
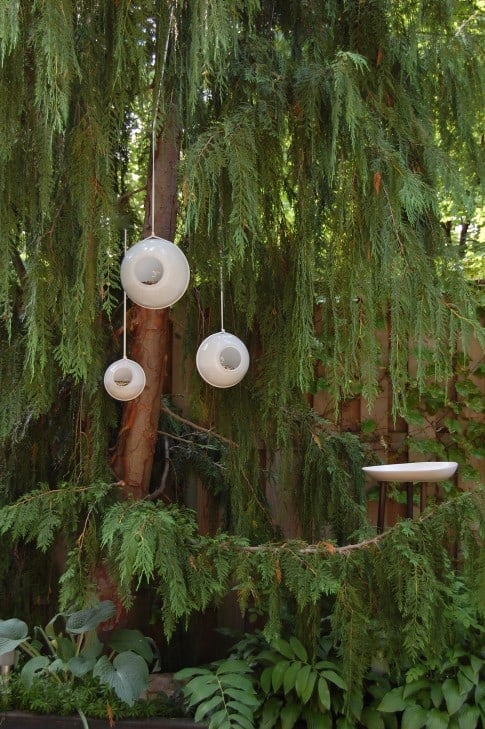
You may have noticed that there are no pictures of birds at my birdfeeders. That's because I didn't have an extra 742 hours to sit around waiting for a bird to come. Besides it's been raining since I hung these feeders and I haven't seen a bird at them yet. I'm sure they'll come. They always do.
Also a bit of a warning here! I have no idea if one day the silicone will suddenly decide it's had enough of this and give up. It shouldn't. But it might. But it really, really shouldn't. However, I'm warning you that I cannot take responsibility if these glass shades come crashing down onto your Golden Retriever or French Bulldog's head. I don't think they will but I thought it'd be rude not to mention it's a possibility.
Although, on account of my mathematical abilities, I wouldn't want to put a percentage on it. Or a fraction..

Penny
Love your style; you have great ideas and your sense of humor reminds me of my beautiful daughter who is so similar. Love the photo of the disastrous light-shade bird-feeder too, great learning curve.
vicky
On the birdfeeder have you ever thought about useing three string the ones going around the middle like you show but one going up the back that would keep them from falling
Annie
I loved this AND the way you write! You made my day and I'm hungry for more x
Lisa potter
Great ideas and I love love love your sense of humor and whimsical writing style. Thanks for sharing your creative genius!
Karen
Well, thanks for calling me a creative genius Lisa, LOL. Welcome to my site. ~ karen!
Kelli
LOVE this idea! Only for Halloween I think I'm going to try painting the rims of the holes black so they look like floating eyeballs.
Karen
Hah! ~ karen
Natalie Buckey
Please subscribe me to your posts :) love 'em
Stevie Bullock
These are such cute ideas! And you sense of humor just makes it such an interesting read.
Beryl
Great idea! However (sorry if this has been mentioned before, I don't have time to read all the comments to check!), but a suggestion - in the pictures you show the globes with the holes pointing slightly upwards, which means when it rains the food inside will get soaked and go rotten. Or maybe sprout ...!
Either way, if you angle them so the holes are slightly below the middle, rain won't get in but the birds still will - it might even help keep out squirrels and such which would find it more difficult to get in.
Jeane
May I suggest you make a fishnet with the rope, just using the rope and knots, that fits around your orb. Somewhat like the 1970's macrame plant pot holders. Orb slips in and is cradled by the fishnet. No more slipping and breaking :-)
Karen
Hi Jeane - I thought of that (I love macrame) but I wanted something that almost disappeared. Something very simple. Luckily the silicone is still going strong! (fingers crossed) ~ karen
Penny
Nice idea.
Moe Bullock
Karen, first time I have seen your stuff and those lights are off the wall(no pun intended) they are great. Now I have to call my sister in Toronto to get me some globe's because I threw all of mine out because hey were ugly.
Thanks
Moe
Jessy
Hey, just a thought.. if you tied the string in a way similar to that of a macrame plant hanger, you needn't worry about glue. However, if you lack the confidence to do so, glue does sound like the best option. Great ideas!
Kim
I was just going to say that I thought you were going to make like a macrame around the orb when I saw the knot but I was wrong. lol I think it would make it safer, just a thought, :)
Karen
The silicone and rope has been holding strong for a couple of years now. I didn't want a macrame type knotting system because I wanted the feeder to be as seamless and simple looking as possible. ~ karen!
mia pratt
Hi Karen, what a great idea! Love it<:} In Mexico where I live, I use those globes to sit over glass candle holders and line the path from the wall door through my garden courtyard. They glow nicely, you just sit little 1-inch candles in small mason jars on your path and then sit the globes over them. You can paint designs on the globes (did once for Christmas) but I'm too lazy for that now (maybe some day someone important enough to warrant globe painting will visit, but until then I remain lazy). I lay 2 popsicle sticks under each of the globes to make a tiny platform that lets air in underneath for the candle. They use pretty cutout bags here to sit over the jars, but after several caught fire and blew in through my patio doors I stick to globes which are kind of like Martian hurricane lamps.
Nonny
Found your page via friends in the USA, who know I love doing something different in the garden, to keep visiting children occupied for hours. Am going to try your bird feeder idea - but using something other than glass - due to the ever windy weather in the UK. Thanks for the inspiration. ( Will be using the glass light shade idea for outside lighting. Thanks v much. Nonny
linda
i just discovered your site while looking for how to make tree stump tables....wow....i love your ideas and your creativity and your sense of humor!
Thanks for sharing it all.
Karen
Glad you found my site Linda! ~ karen
Nicki woo
I just decided that I love you. In a normal way. Not a weird freakish way. Found you on Pinterest, and I'll definitely be back. That sounded slightly freakish. I'll stop now:)
Karen
Nicki woo - Not even close to freakish. When I was on television I once had a viewer randomly send me feathers from their pet bird. That was freakish. ~ karen!
linda
Niki, I was going to say I love you, too, but didn't ...thanks for saying it.
Leonie
Thankyou for the inspiration. The home I bought had these orbs in everyroom (with no air vents in the tops, the light fitting perishes, so....) Now I know what I am going to do with them. I can even see tea lights brightening the night...
Tari
I don't haave a website. Do you have a newsletter?
I love your ideas. Thanks, Tari
Karen
Hi Tari - No newsletter. One day hopefully, but I'm too busy at the moment. You can sign up to get a reminder whenever I post. Just insert your email address in the "subscribe" box under my picture on the righthand side bar. I post 5-6 days a week. ~ karen!
Debbie
You are soooo funny! Your big white balls are wonderful.
Karen
Thanks Debbie! It was REALLY windy here last night and I thought I heard one of them smash to the ground! Luckily ... they're all in tact this morning. ~ karen!
carla
You are seriously gorgeous!
Taria Lorehand
I love this idea, but I have a question and maybe it's just my brain that likes to think of other ways to do stuff that is so simple and make it harder for me. I'm odd I know. but could this be made out of a plastic ball type of orb and then hung up? that way if it falls it doesn't brake over fidos head?
Karen
Taria - If you can find them, sure. These glass shades though are available pretty much everywhere. As long as you use marine silicone you're gold. ~ karen!
Taria Lorehand
and just were do you find this sticky glue stuff??? is it at wally world?
Karen
It *might* be there, but if not hardware stores carry it in the aisle that they have their caulking, caulking guns and that sort of thing. ~ k!
Taria Lorehand
okay I will check it out, if I don't already have some stashed away some where, cause I buy things for later use and forget that I have them.
I'm rearranging my crafting area and it's like Christmas for me finding all this stuff I forgot I had. it's like "Oh I didn't know I had this?" and "wow I forgot I bought those." or "That's where you went, I've been looking for this for 2 and half months."
out of sight, out of mind, I really need to rethink this crafting area. if it didn't have this huge window and only one wall I would have it made. (I'm using my dinning room since I don't have a real room for all this stuff and being single, I really don't need a dinning room) anyway there's my life story.. pity me... I said PITY ME!!! JK :) sorry bad jokes.