In my head, this is how last week's Rose Cake post was going to go; publish post, wait for the comments come rolling in. The comments would be: the cake looks great and what an ordeal but that PEDESTAL! THAT CAKE STAND! WHERE DID THE CAKE STAND COME FROM? It was going to be question after question about the glorious cake stand until I finally broke down and let you know I MADE the cake stand and everyone could calm down because I was going to do a post on it.
I had it all figured out.
Instead the comment section turned out to be a free-for-all on who has the best carrot cake recipe and then all the brussels sprouts loving weirdos starting trying to make me like brussels sprouts again.
Nobody asked about the pedestal. No one.
Assholes.
But just to show I'm not one to carry a grudge (or a concealed weapon) I'm going to show you how to make this cake stand anyway. Even though we've established you're assholes. Who eat brussels sprouts.
This is kind of complicated, the sort of thing that I probably wouldn't recommend you try unless you're really confident in your ability to glue one thing to another. So mainly you need either one working hand or even just a good set of teeth and a strong armpit.
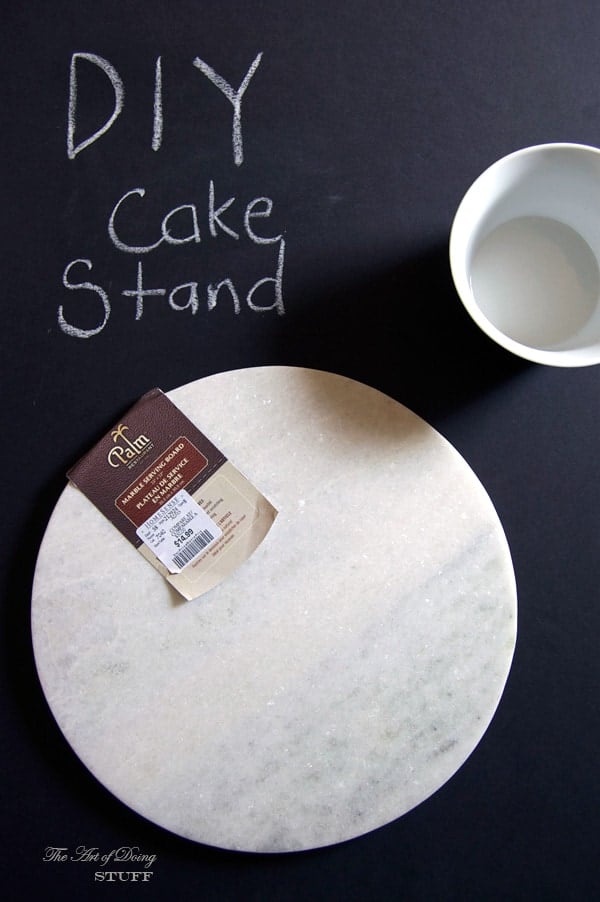
Materials
Round Marble cutting board / cheese tray
1 bowl
Silicone
Technique
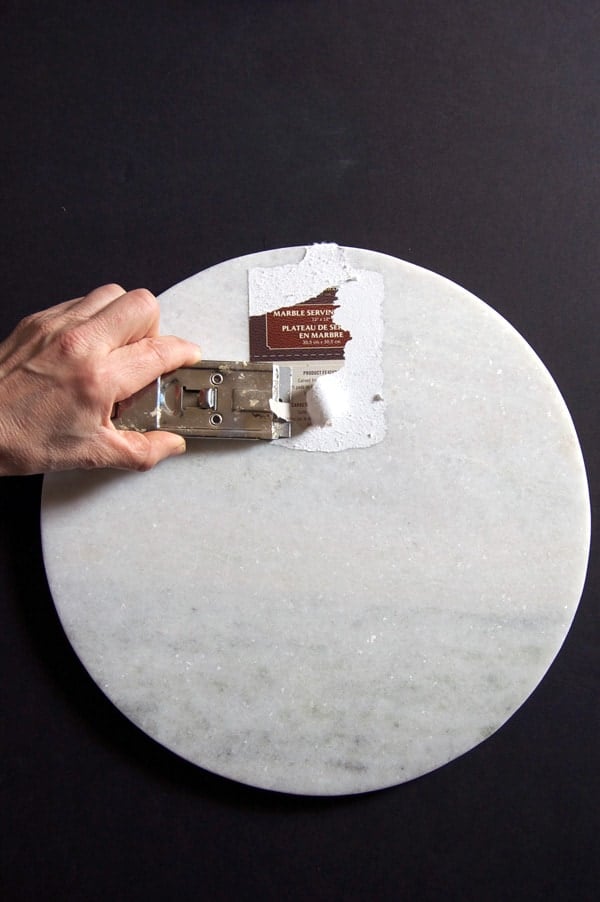
1. Remove any stickers, foot pads from marble.
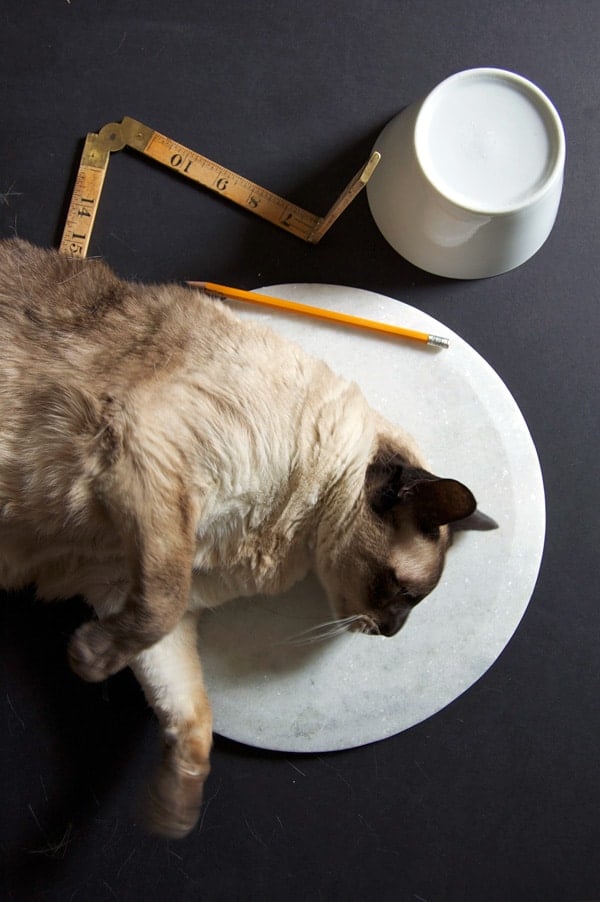
2. Center the base of your bowl onto the underside of the marble.
3. Mark around the base of the bowl with a pencil.
4. Run bead of silicone around the bowl base.
5. Set bowl back on centre of marble using pencil mark as a guide.
6. Allow to dry for several hours before moving or using.
I got my hunk of marble for $14.99 at Homesense. That's Homegoods to you American folks. I found the exact same one for $19 on Amazon. It's really pretty. It has bits of sparkle in it. Natural sparkle. Not stripper sparkle.
The bowl is from Dollarama which I already had in my cupboard and I always keep silicone on hand because you never know when you're going to have to glue it to his leg.
The hardest part of this whole project was scraping the label off of it. For $14.99 you apparently don't get one of those easy to peel off labels.
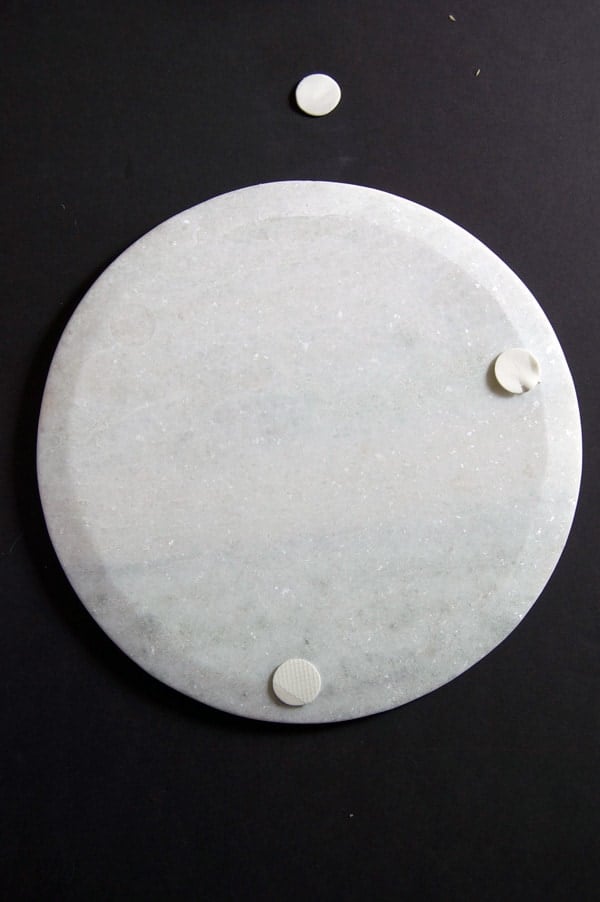
The board had little felt feet so I scraped those off too. (those of you using your armpit and teeth can wedge the board under your arm and just gnaw away at the feet. They'll come off lickity split)
Would you like to save this stuff?
Now rest.
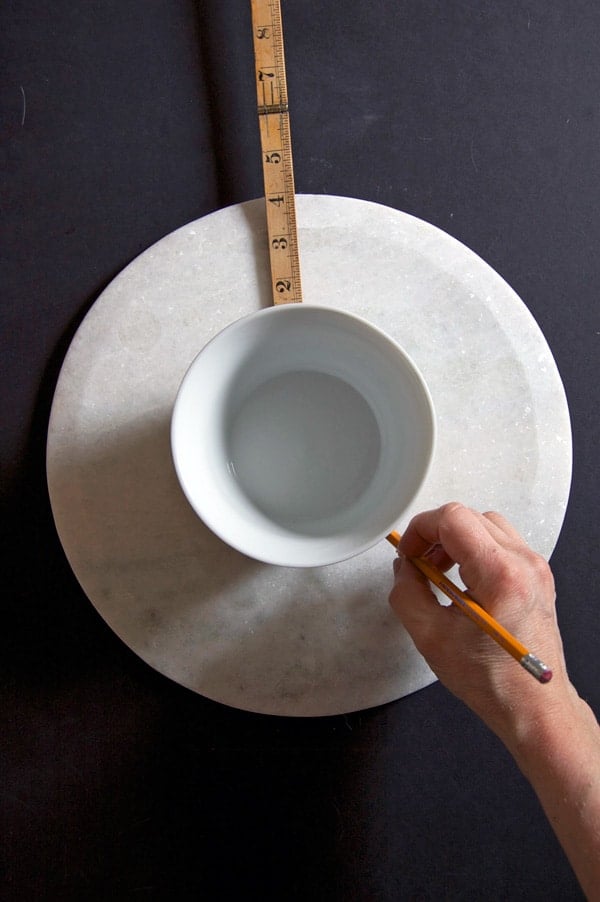
You've spent 2 minutes removing sticky things. Now you need to get down to real work with a real tool. A pencil. Centre your bowl to the underside of the marble, with the base of the bowl touching the base of the marble. Mark it with a pencil.
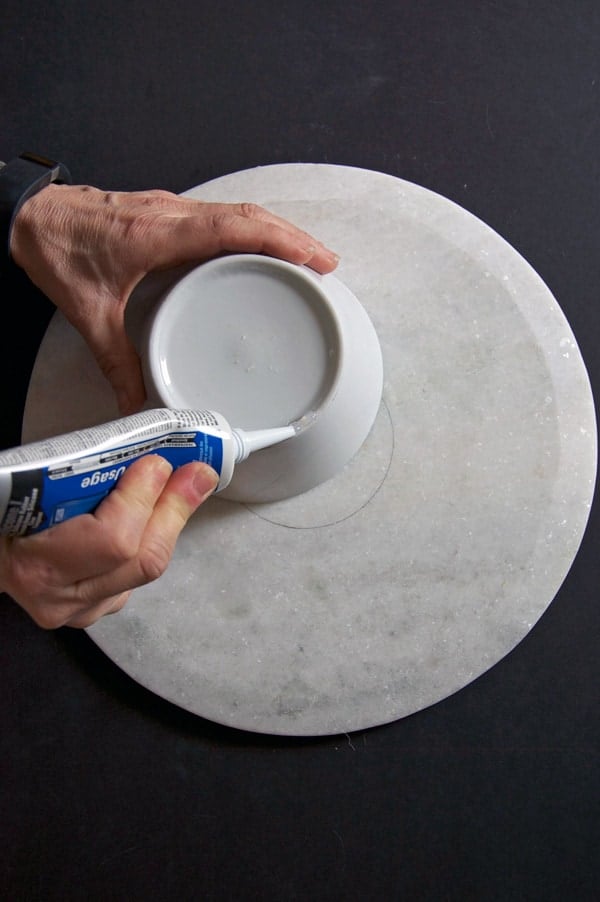
Once you've marked the circle, flip the bowl over and run a bead of silicone around it.

Do it as neatly as possible. So nothing like mine.
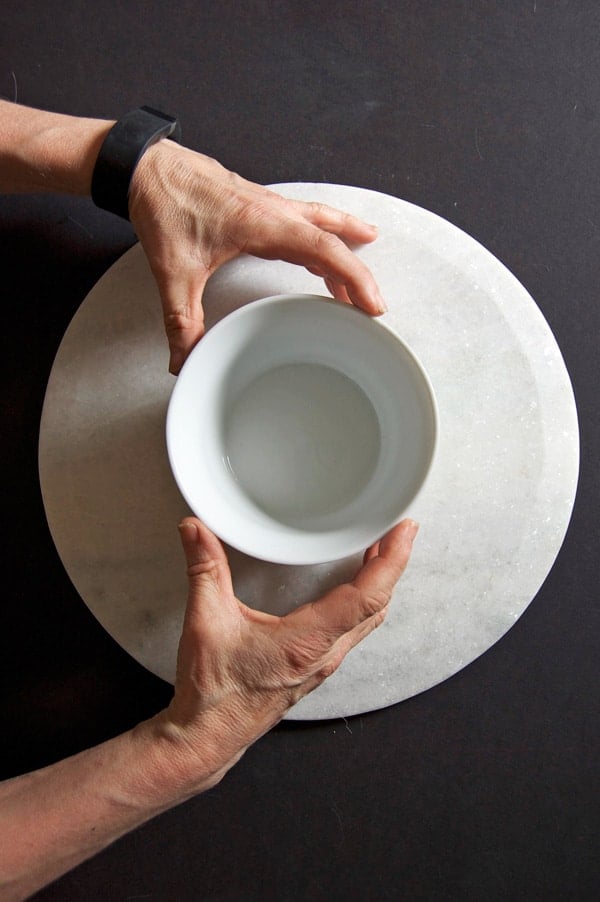
Place the bowl back on the marble, lining it up with the pencil mark.
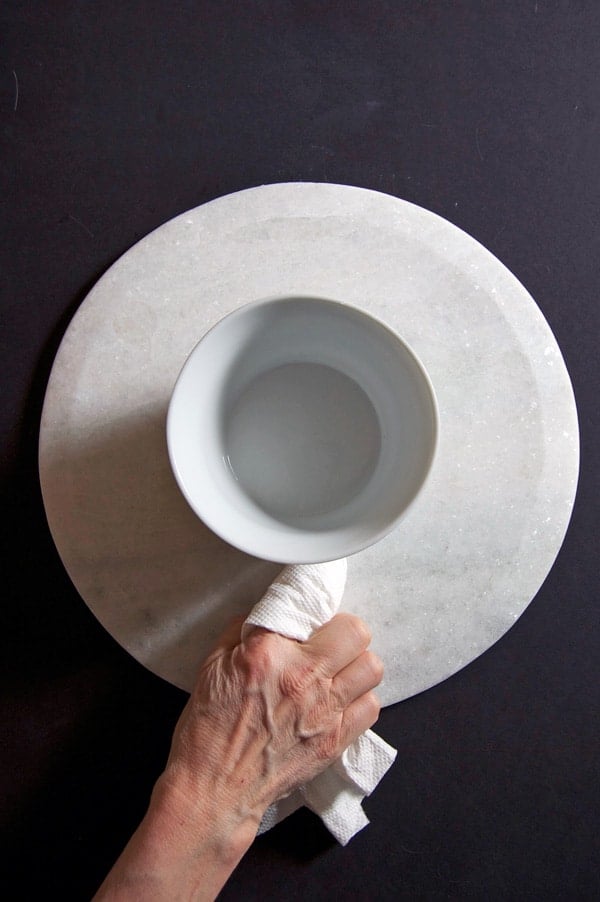
Wipe away any silicone that oozes out.
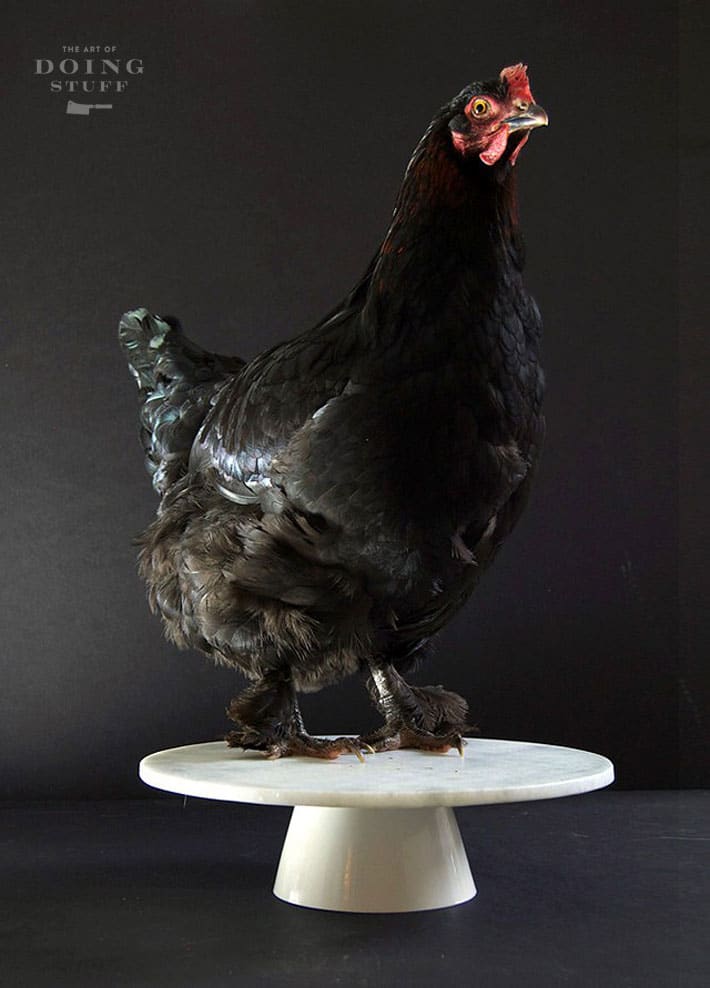
Now you have a beautiful marble cake stand that was fun and inexpensive to make. If you have better acquaintances than I do, everyone will rave and rave about it, asking where you got it from and how could they get one too. That PEDESTAL! THAT CAKE STAND! WHERE DID THE CAKE STAND COME FROM? That's what they'll say.
Of course I rarely have a cake to put on a cake stand but it looks great with other food items on it as well. Cake plate or Shake n' Bake plate this one's a winner.


Gina
God i freaking love your humor! Even if the other A*sholes don’t.
Karen
Thanks Gina! That's an old post. I'm sure those assholes are long gone by now. For the most part this blog is asshead free. ~ karen!
Charity Potts
This is my first time visiting this site. I came for the cake stand instructions. I just loved that you told everyone what you thought and call them assholes! And I loved the funny twists in the words of instruction. I will definitely be coming back to this refreshing site.
Linda in Illinois
Oh my Gawd... that is a BEAUTIFUL chicken on the cake stand you created.. the light on her feathers is awesome !
Ev Wilcox
the cake stand is very nice. Congrats. But the chic on top is smashingly gorgeous!
ellen
I LOVE Willie.... Have you heard him sing a number with Joan Baez???? Oh, nice chicken.
Leah
Great tip, but look at those cute little chicken feet!!
Carol
Karen,
Was just dropping a line to say I like the way you roll and your cake and stand. Then I starting reading your comments back and forth and I did lol and had to tell my husband who was listening to Willie. Fun... keep it up.