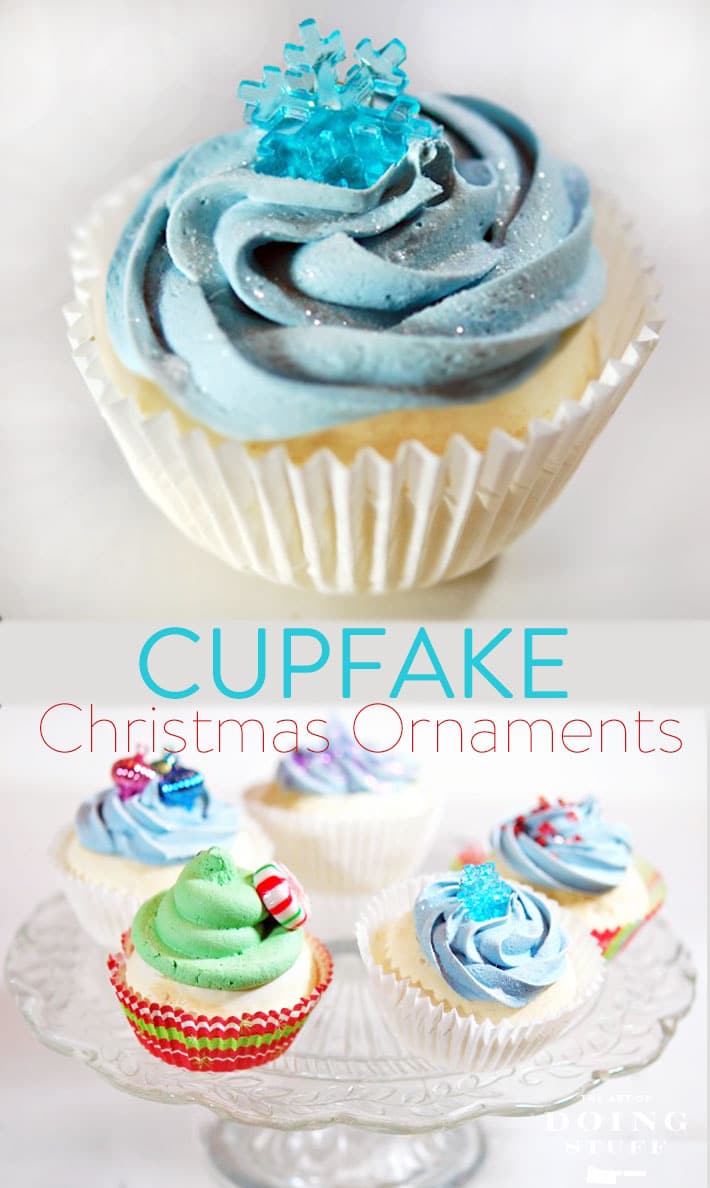
We like cupcakes. We like Christmas trees. So could you explain to me why we never thought to combine cupcakes with our Christmas Trees?
It can be done. You can have an ENTIRE Christmas tree covered only in cupcakes this year. I know. Because I've done it.
YOU can make Cupfakes for your Christmas tree this year and they'll look GREAT. They're totally made with some poisonous materials so don't do this if you have either small children or a very stupid but much loved spouse in the house.
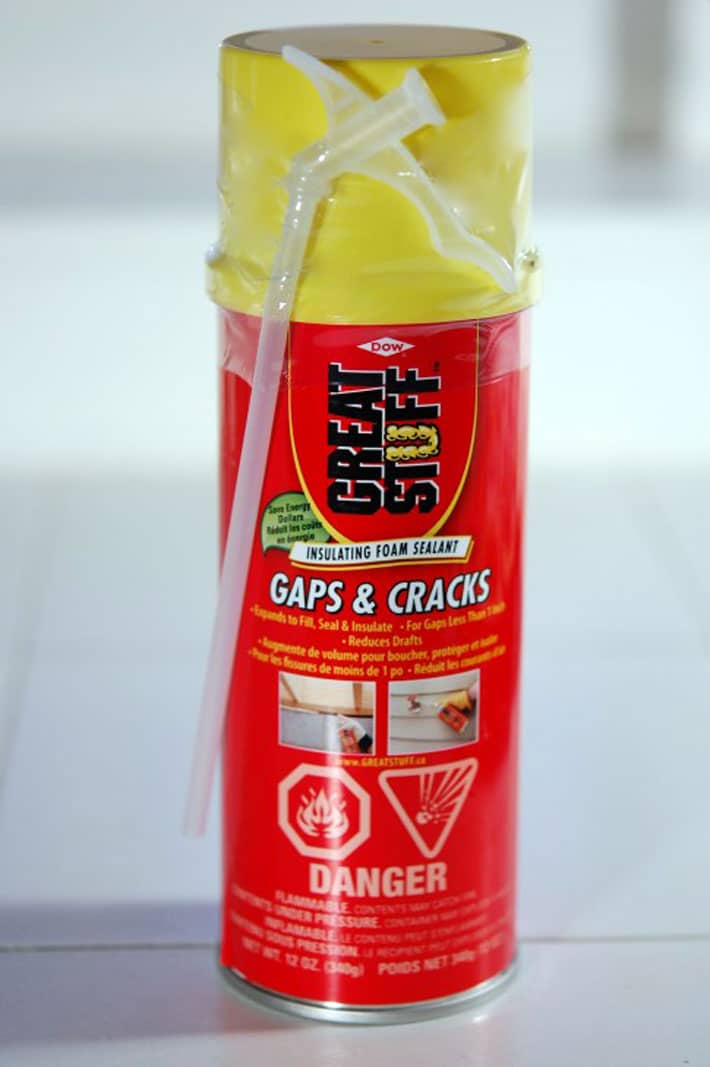
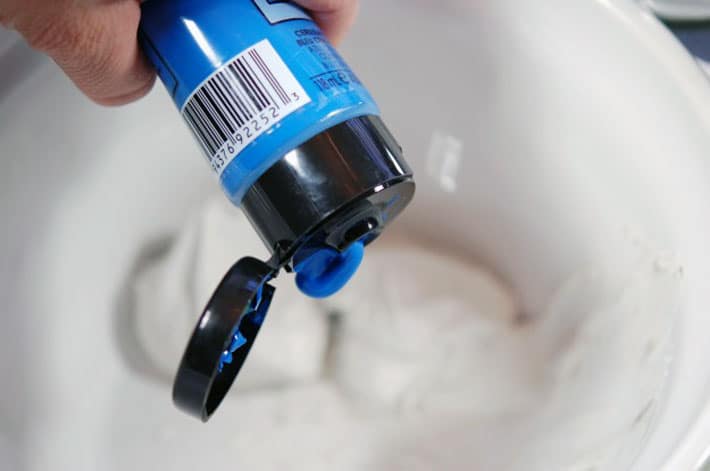
You make the "cake" out of a can of Great Stuff expandable spray foam insulation. You make the "icing" out of a bucket of premixed drywall compound.
Using these 2 ingredients, some items from around the house, plus some do-dads for decoration you'll have cupcake ornaments that will look like real cupcakes.
But to reiterate you probably shouldn't eat them. I don't mean to tell you what to do, but if it were me ... I wouldn't eat them. What with them being made out of poison and plaster.
This is incredibly easy to do but does take some time.
HOW TO MAKE A CUPCAKE TREE ORNAMENT
Materials
Drywall Compound (might be called something else in your part of the world. It's the stuff that comes in a bucket and you use it to repair your drywall or sheetrock)
Great Stuff expandable foam insulation
Muffin tin/cupcake tin
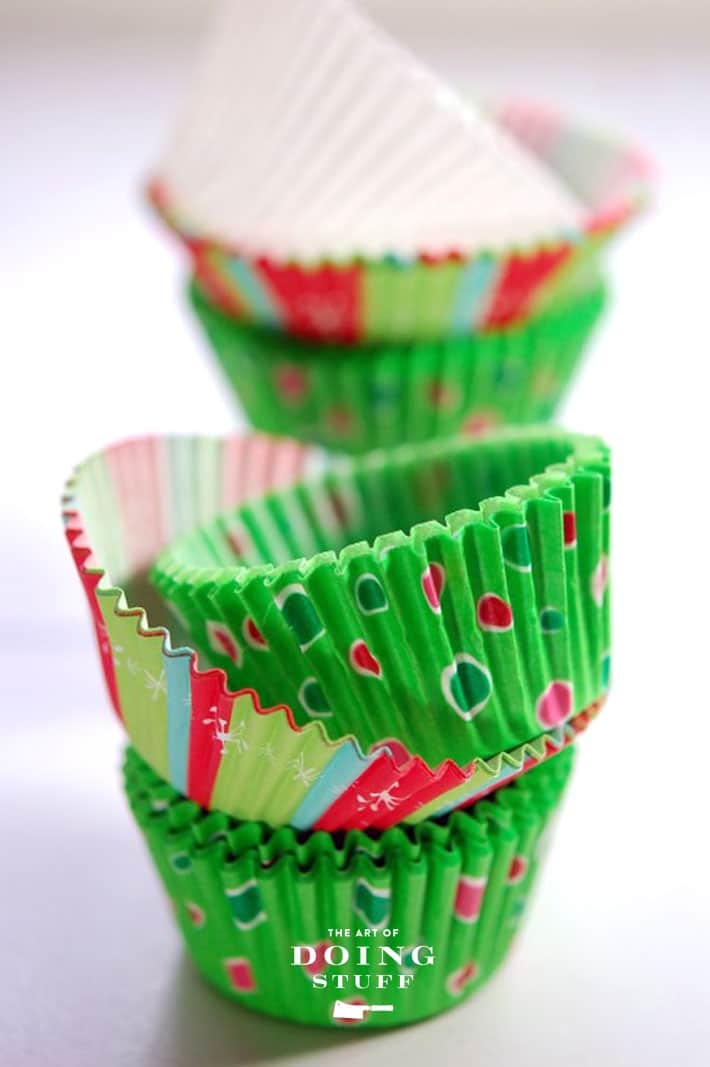
Paper Muffin/cupcake cups
Acrylic Paints
Piping Bag and tips
Electric Handmixer
Kitchen Bowl
Decorations (sparkles, Mini ornaments, beads) for top of cupcake
To make the cake portion of the cupcakes get your muffin tin and liners.
Some paper cups also come with these tooth pick thingees.
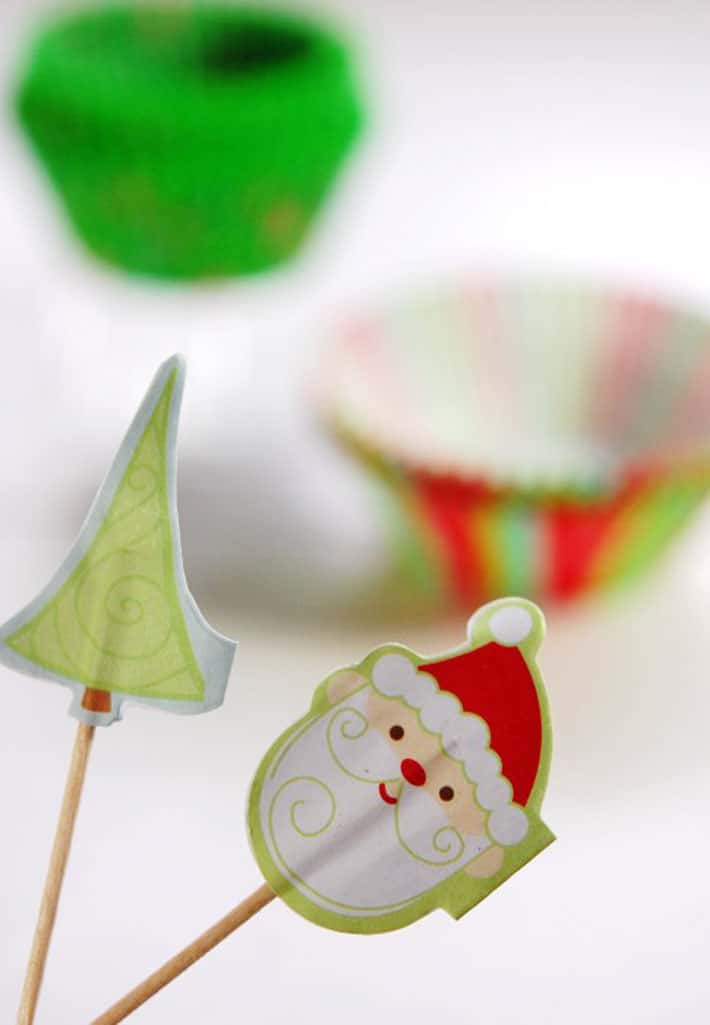
You can save those to use in your ornaments or spear a cocktail wiener with them as you're making your Cupfakes.
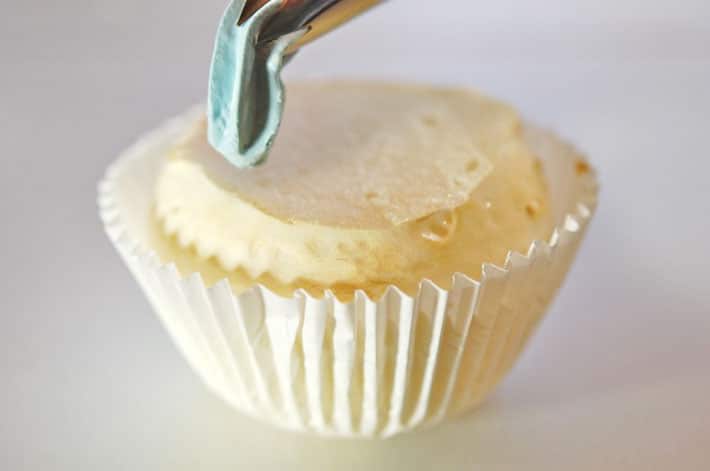
Line your muffin tins with the liners. I didn't do this the first time I made these, but putting a heavy washer or pebbles into the liners before you fill them will help weigh them down so they don't tip over later on.

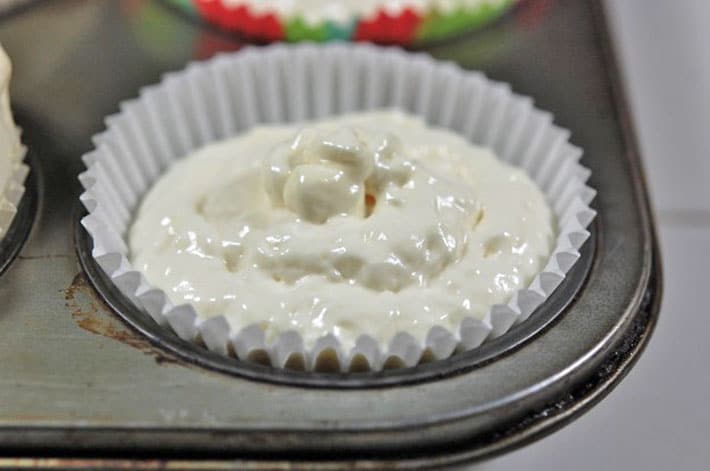
Fill the liners ¾'s full with Great Stuff expandable foam.
This much foam will make about 40 Cupfakes.
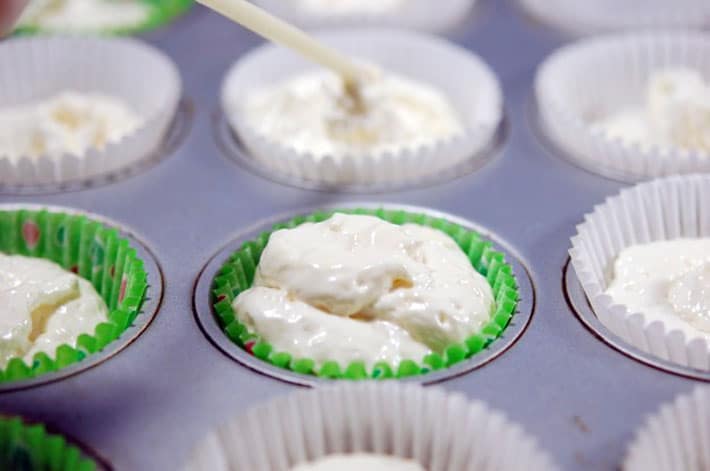
See that cupcake with the green liner in the centre? It's too full. You should only fill to ¾s full.
Move slowly because this Great Stuff is REALLY sticky and you don't want to make mistakes. Also wear gloves. Did I mention you should wear surgical gloves? Also, it's easiest to fill the cups if you spray the foam in circles.
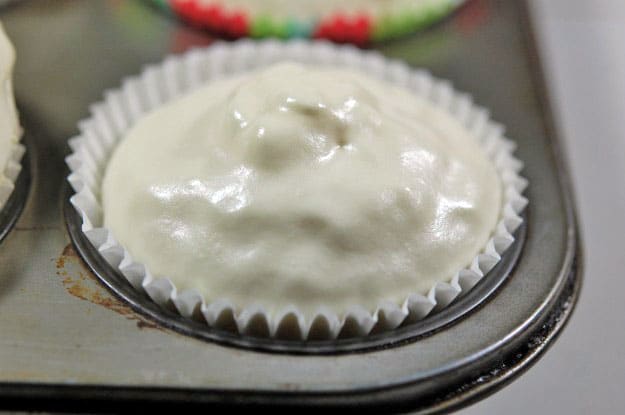
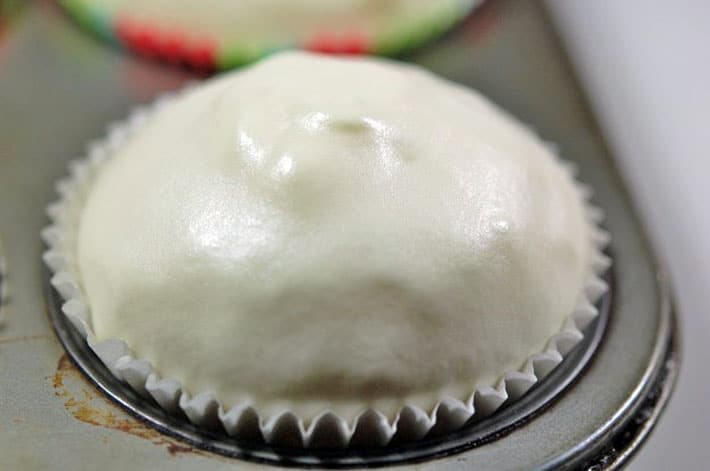
The reason I say to only fill the cups ¾s of the way is because this stuff means it when it says it expands.
This is how much the cup looks at ¾s full.
And 10 minutes later ...
And another 10 minutes later.
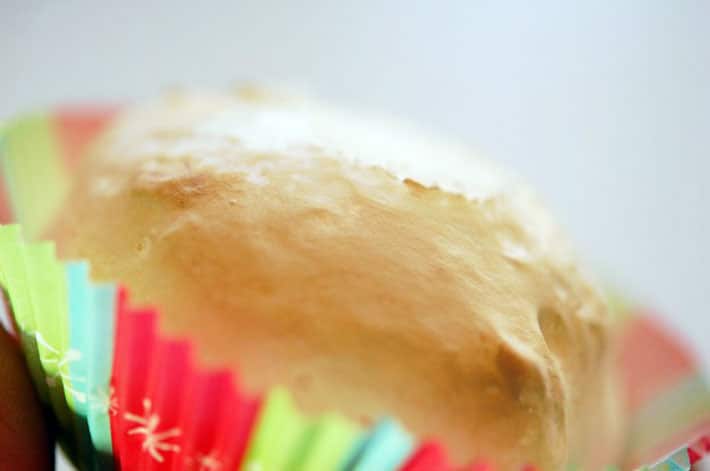
Let your foam set for a minimum of a couple of hours. I let mine set overnight. Once they're set you can pull them out of the muffin pan and start to paint them if you want. When the foam dries, it's completely white and shiny. You can leave them like that, or you can paint the cupcakes. I painted mine to make them look as though they were really baked vanilla cupcakes.
So instead of looking like this ...
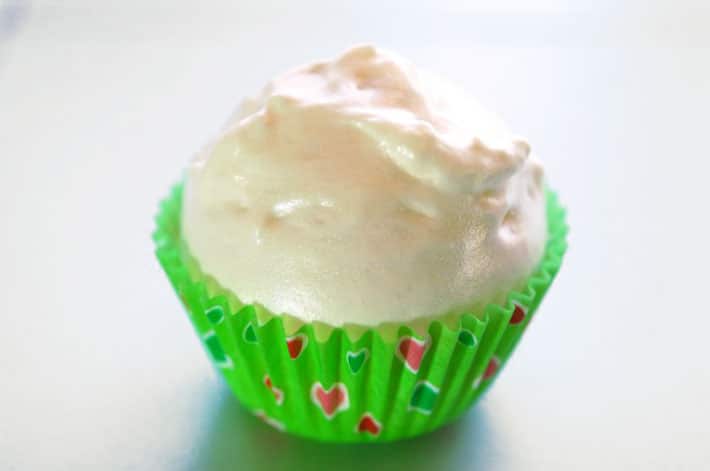
They look like this.
To paint them just mix up a couple of brown and cream colours of acrylic folk art paint and swirl them together a bit. Then brush the paint right onto the Cupfake. It's as simple as that. Just do a light, swishy coat so some of the colour beneath shows through. Then go over the Cupfake again, darkening any high points so it looks like they're a bit more browned there.
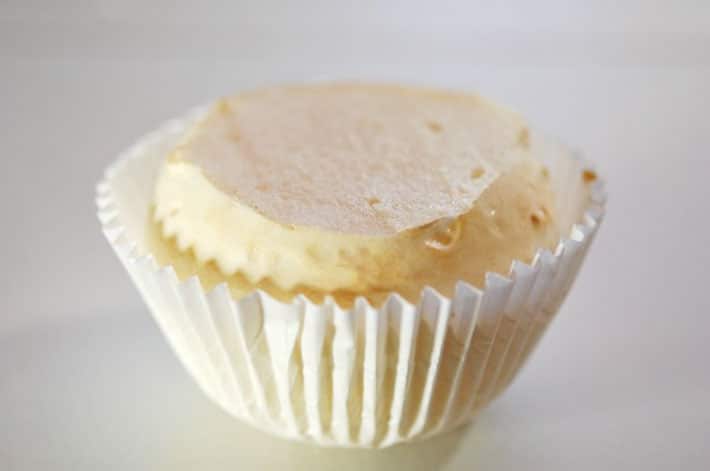
It's a bit easier to "ice" your Cupfakes if you cut the top off of them because the compound will stick better to the porous surface of the cut foam. Plus, it'll keep your Cupfakes a more manageable size.
Like so ...
O.K. Now that your cupcakes are formed and painted you're ready to move onto the final step. Throwing them at people. Wait, no. Icing and decorating them.
Tips!
* Great Stuff is incredibly sticky and if you get it on your arm it will require scrubbing with hot, soapy water, drenching with acetone, a splash of Goo Gone, and another treatment with acetone. Finally, remove your arm with a hacksaw. In other words, be very careful with the Great Stuff.
* Do not overfill your paper cups. ¾s full and that's all.
Would you like to save this stuff?
* Don't attempt to pull them out of the muffin tins before they're dry.
* Keep plenty of paper towels handy. And by handy, I mean pre-ripped off of the roll, sitting right beside you. You'll need them to wipe the goo off of the nozzle when it accumulates there.
Tips may or may not be based on real life experiences.
Now that the actual "cake" portion of the Cupfakes are done, it's time to move onto the fun part. Not that spraying goo in paper cups and watching it explode in size isn't fun. 'Cause it is.
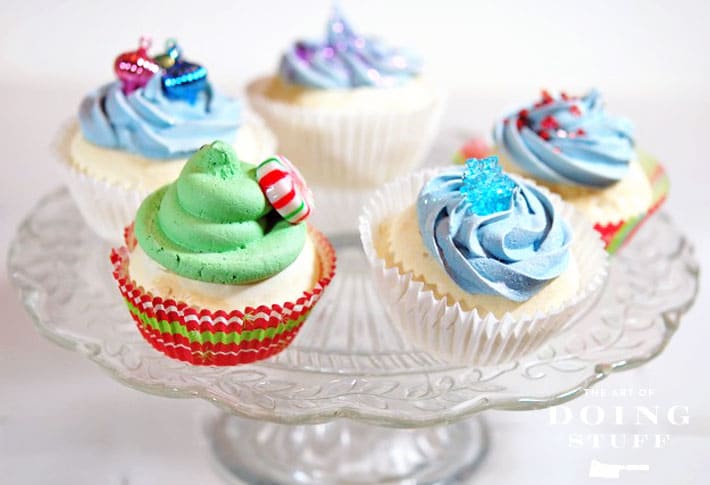
For decorating your Cupfakes you're going to use a bucket of pre-mixed drywall compound coloured with acrylic paint. That'll be the icing on the cake.
On *top* of the icing you can put whatever decorative pieces you want. You can use sparkles, or beads or brightly coloured condoms. Whatever tickles your chin.
Whatever you put on your cupcakes needs to be fake. Not real food items.
MAKING THE ICING
Spoon a glob of drywall compound into a mixing bowl. Add enough to fill a piping bag.
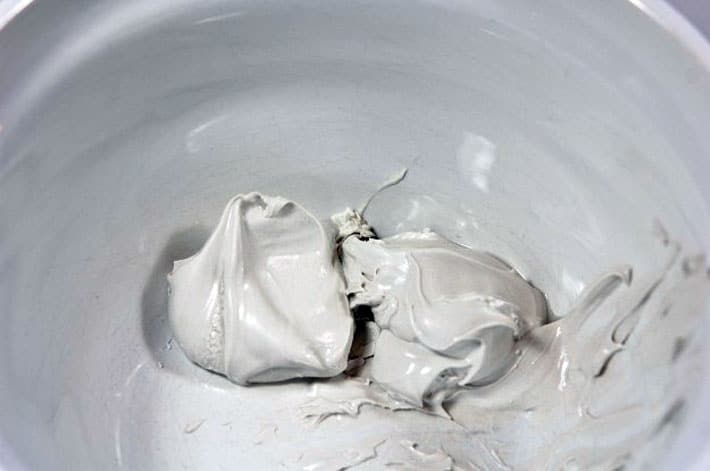
Add a dollop of whatever colour paint you want. The drywall compound is greyish so unless you can find a white drywall compound you'll never have a pure white icing.
Work quickly now because the drywall compound's sole purpose in life is to dry out when it hits the air.
Whip up the tinted compound with a hand mixer.
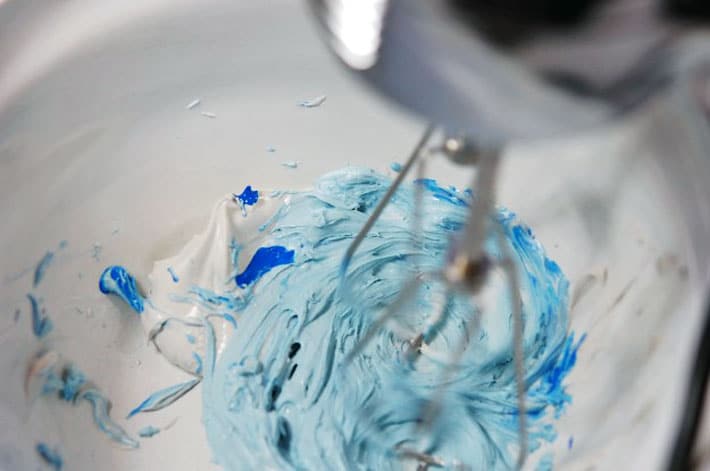
I feel the need to reiterate work quickly. There's no time for stopping and staring blankly at your recently manicured and newly wrecked fingernails. No. Time.
The drywall compound starts to dry out almost immediately and you need to get it into your piping bag quickly.
To make your life much easier, if you plan on making a variety of coloured icings, get a few extra tips and disposable piping bags and mix them all up in advance.
Once you have the drywall compound in the piping bag, it'll stay fresh while you make the cupcakes.
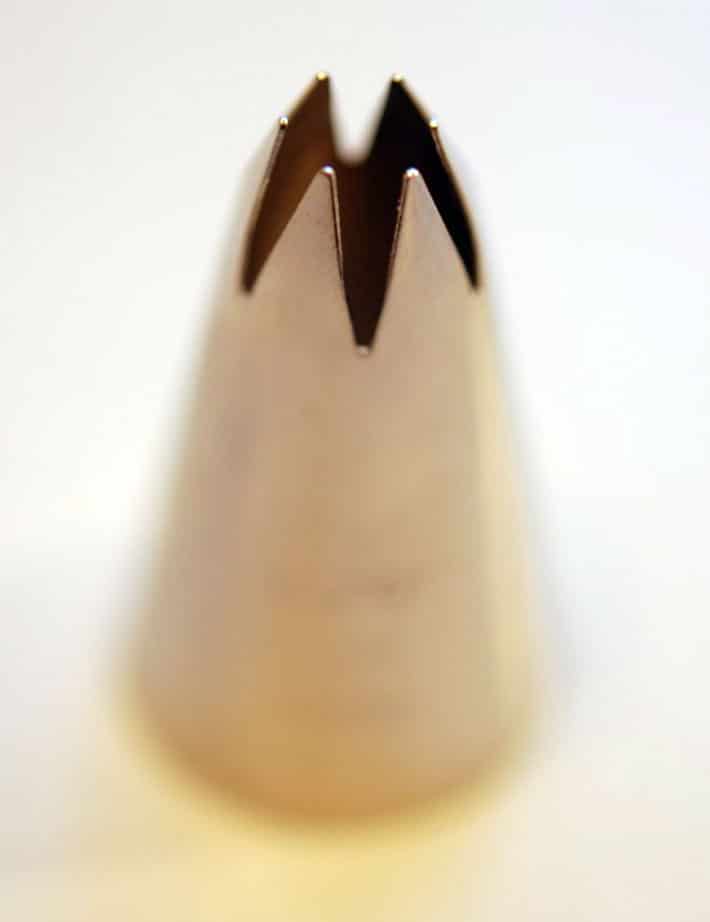
Wilton 1M tip
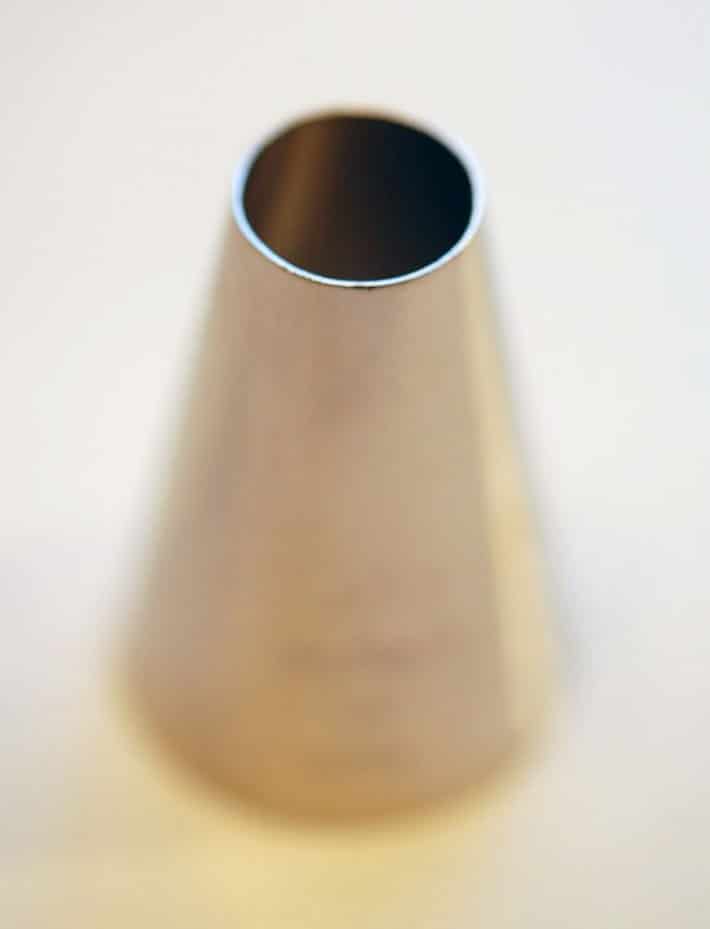
Wilton 1A tip
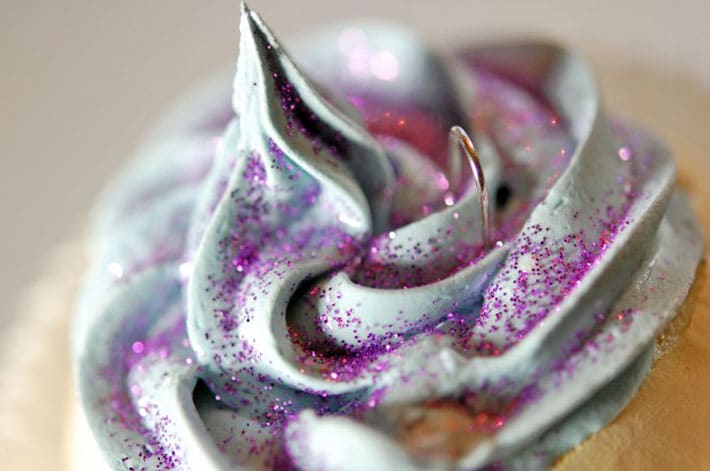
Once your piping bags are filled with your tinted drywall compound set your prepared Cupfake in front of you.
Unless you plan on piping with your bum. In which case you should probably place the cupcake behind you.
The drywall compound is a little softer than icing, but other than that it is remarkably similar.
Pipe it onto the cupcake however you fancy.
Once you've iced the cupcake and topped it with sparkles or whatever else you want, insert a paper clip into it so you have somewhere to hang a hook off of.
The paper clip hangers are in there fairly snug.
However, just to be safe, once they were dry I dropped a teensy bit of hot glue where the wire inserted into the cupcake.
If you put the wire directly in the centre of the cupcake, it will hang perfectly straight from the tree. If you put it off to the side the Cupfake will hang at an angle.
Doesn't this look like soft serve ice cream?
Covered in purple sparkles?
Which is how I most enjoy my ice cream.
If I'd had more time I would have made black and white cupcakes.
I might still make black and white cupcakes.
Don't wanna hang em from the Christmas Tree? 'Cause you're Jewish? Or Jehovah's Witness? Or Muslim? Or you just don't like Christmas trees?
No problem. Put em on a cake plate.
After you ice and decorate your cupcakes, sit them to the side (carefully) and let them dry for 2 days. Just ignore them. Sit them in the corner and pretend they don’t exist. Treat them like your spouse when they’ve wronged you.
You can now hang them from a tree, put them on a plate or use them as a bow on a Christmas present.
Oh … be prepared to make real cupcakes after you make your fake cupcakes. I can’t explain it, but for some reason you’ll have an uncontrollable craving.
Have a good weekend!


MelissaSue
I made some of your cupfakes. My daughter-in-law and I had a blast. Thanks for the helpful tips. They will make great gifts!
Karen
They look great MelissaSue! I'm so glad you made them. :) ~ karen!
Heather
I wanted to tell you my 4 year old and made these this past weekend and you aren't kidding when you said the Great Stuff expands. It does. Really really big which was great fun for the 4 year old. Ours aren't nearly as cute as yours but they are huge and really sparkly and we had a ball making them! Thanks for the awesome idea!
Karen
That's great. And you're insanely brave (or just insane) for having a 4 year old help you with these, lol. Glad they worked out! ~ karen
Marlene Eastman
I forwarded this to my niece who has a cupcake shop in Burlington. She loves the idea, but can't do it this year as she is starting into full gear already for Xmas .... 30 gingerbread houses on the agenda.
Loved her reply to me:
Would love to do these for our tree in the shop. Kids would probably bite and lick them but who hasn't put something weird in their mouth at one time our another? Plus it's fun to see how parents handle stuff like that - there are so few perks to dealing with the public.
I have no experience with a piping bag, so, this is not something I will try just yet :)
Keep the ideas coming!!!
Karen
OMG, I love her reply as well!!! Love it! I'll have to go searching for Burlington cupcake shops. :) ~ karen!
Marlene Eastman
hey, I'll give them a plug .... just search in FaceBook .... LA Cupcake Boutique. They do incredible specialty cakes as well, they are fondant wizards ..... and the taste is amazing!!! Give them a visit! They do corporate events too!!
Susan Alexander
I will never make these because I would end up with caulking compund on the ceiling and Great Stuff up both nostrils... but, dang, girl... I will be reading your directions three more times, and bookmarking this page AND forwarding it to my friends because your writing is phenomenal and down to earth and TRUE!
Thinking about it...you remind me of the author, Sir Terry Pratchett, who was wickedly funny in the very best way.
Please...keep writing this blog. I need it.
Susan Alexander
I know how to spell compound...really.
Karen
Well thanks Susan, lol. And this wasn't even one of my better blog posts. I don't think. Maybe it was! I'll have to go reread it now, lol. ~ karen!
Gayle M
PERFECT! Now that my sons are adults and married (no grandchildren, and don't say "yet" cuz it ain't gonna happen. Stopped wishing years ago), we have done away with the gift exchange--the first year my youngest son was married (got two teenage step-grandsons in the deal), the gifts under the tree were, well, quite disgusting. Really? THAT many gifts? Not enough room for all of us to be in the same room as the tree! Had to cut down, so now that we are all well into adulthood, we exchange holiday ornaments--preferably hand made. Yes. PERFECT! I've been all over Pinterest looking for that perfect ornament that will wow the boyss and dils. This is it. THANK YOU so much, Karen! Going shopping today for sure.
Benjamin
How fun, what a cute project. After I sit them in front to pipe the frosting then I'll sit them behind and give them a splash of sparkle from on of my famous holiday glitter farts. I love the way you indulge my crazy-weird side of storytelling/crafting. ((hugs))
Michele Zivkovic
This reminds me of those elaborate Decoden cases people make. They use silicone caulk.
Ei Con
Had to google Decoden. O. M. G. I had no idea this was a thing.
Katie C.
Another Great Stuff tip: Don't let your spouse/partner/self leave the can sitting on the edge of the dryer up against a box so when you later need to reach above the dryer to get some mac & cheese from a high shelf it depresses the button and sprays into the pocket of your hoodie.
I heard from a friend that my... err... her sweatshirt is still crunchy years later.
Nicole
Just reading the post has made me crave real cupcakes. :)