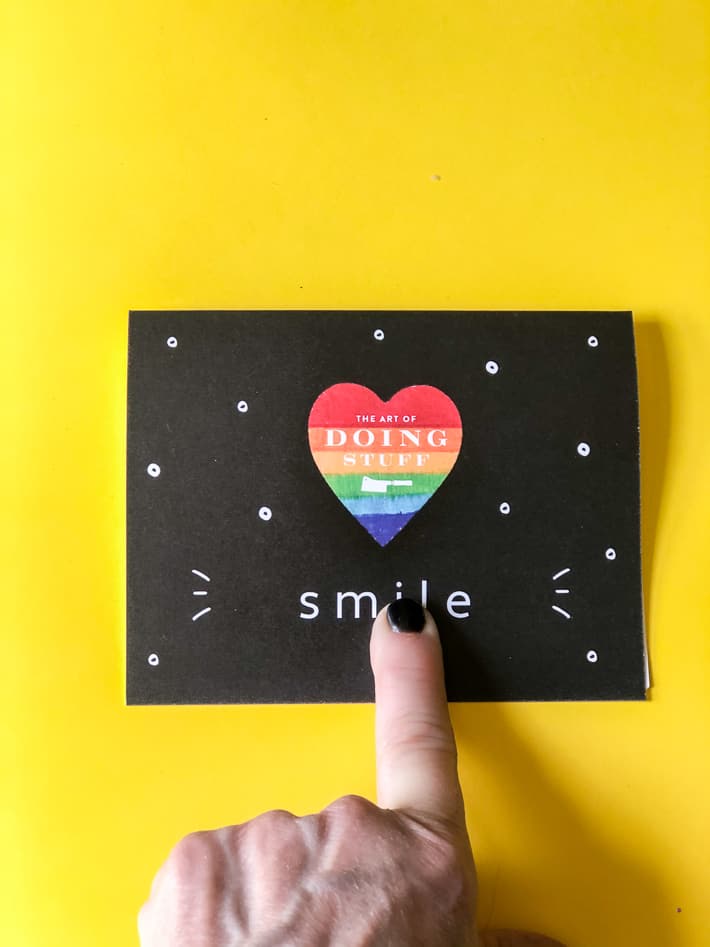
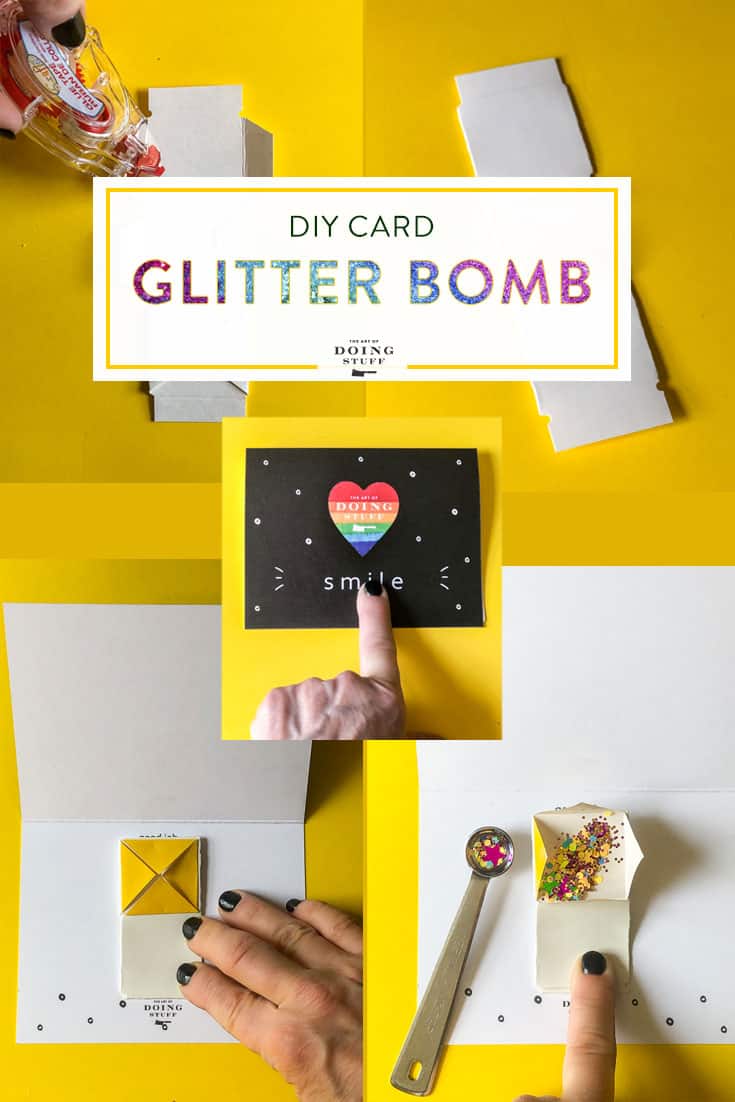
How to make a glitter bomb card that is SURPRISINGLY effective. Just ask anyone I've sent one of these to. No need for a Cricut, specialty dies, or any other weird things most people don't have. Just cardstock, scissors, tape and of course - evil glitter.
On the off chance your recipient isn't as fun loving as you are when it comes to picking glitter out of their corneas, you can temper the bomb with confetti. Consider this a combination glitter bomb / confetti flinger. How you use it is entirely up to you and your level of love or distain for the person you're sending it to.
I first made these a year ago for members of my year long The Art of Fun Stuff club. I knew I wanted to send confetti flinging cards but I also knew for cost reasons I would have to make them myself. A single card costs around $15 on Etsy and they're hard to buy in general.
Earlier this month I made one for my niece's birthday.
You can expect around the same reaction. Laughter, and then a "you bitch". Fun for everyone.
With this spring loaded glitter bomb template you can make the mechanism and then add it to any card you want: Christmas, birthday, Hanukkah, anniversary. And of course, it would be perfect for an April Fools' Day prank card. And obviously confetti cards are the perfect accompaniment to a gag gift.
I drew up the template and had a local company cut hundreds of them for me. And now I'm making the flinger template and all of the instructions available to you.
Table of Contents
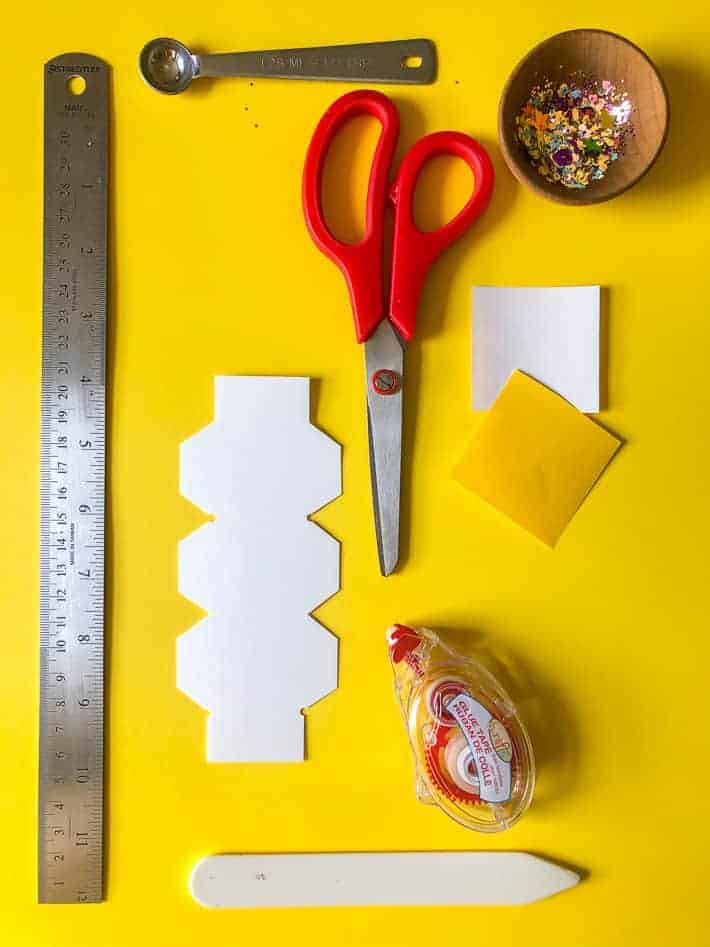
MATERIALS
- Flinger Template
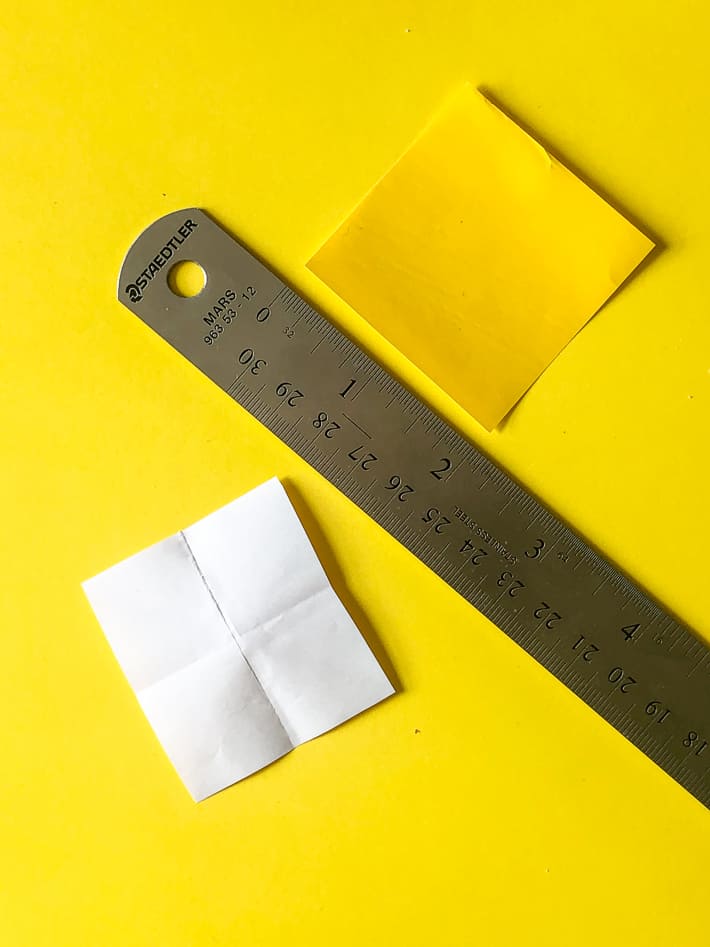
- Straight edge (ruler)
- Scissors
- Cardstock
- Double sided craft tape
- Wrapping paper or tissue paper
- Glitter/confetti
- Small clear elastic (I got a whole package at the dollar store)
- Bone folder (optional)
- Greeting card (a card that folds horizontally like these will work much better)
INSTRUCTIONS
There are full glitter bomb card video instructions below as well.
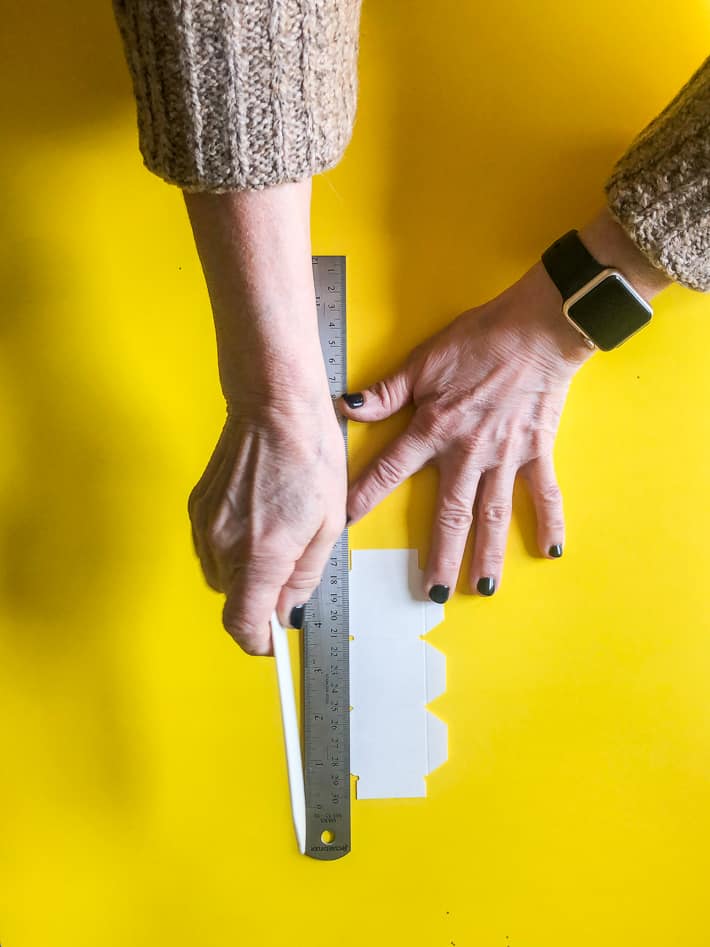
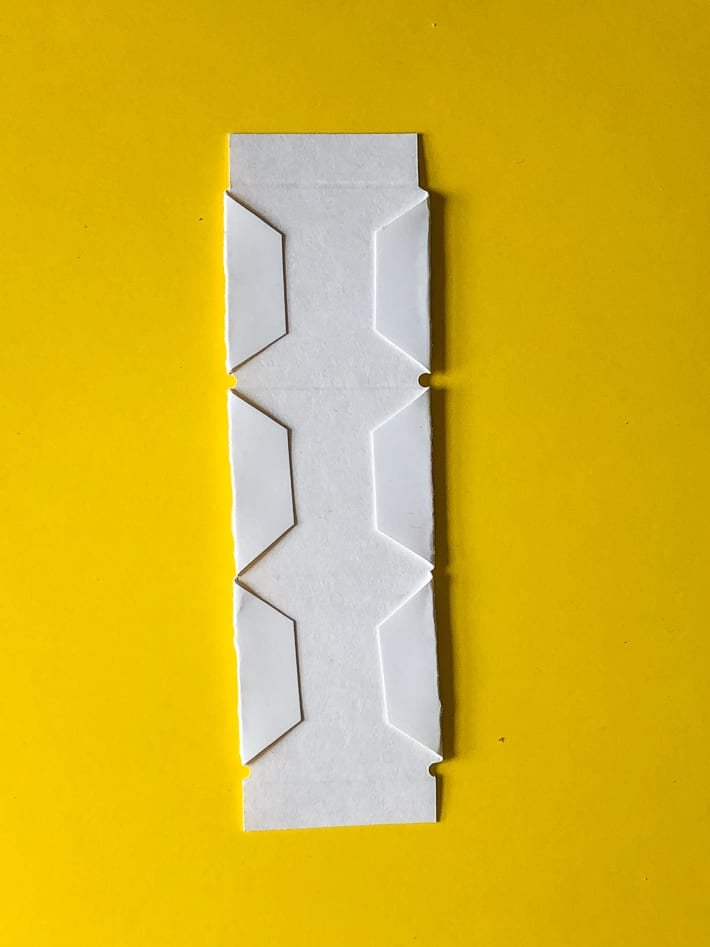
- Print the glitter bomb template onto cardstock and cut it out. (don't forget to cut out or use a hole punch for the 4 notches on the edges - these hold the elastic in place)
- Score the edges where the tabs will bend in with a bone folder or dull knife.
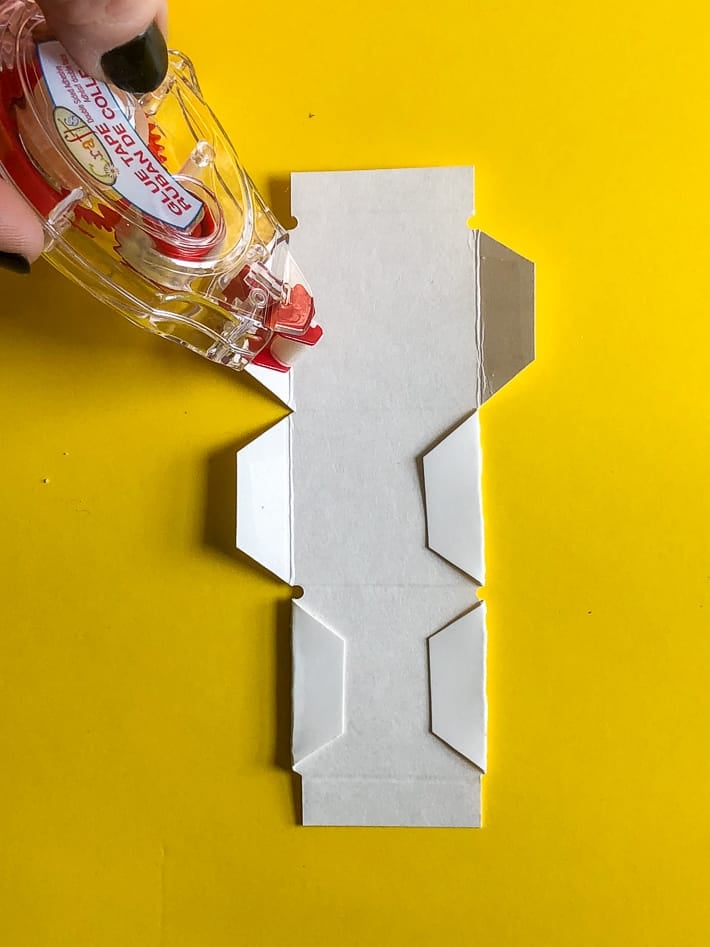
- Stick a small amount of double sided tape to each tab and fold them in, pressing them down.
- Press down on the tabs with a bone folder to get really good adhesion.
- Cut a 2" square piece of wrapping paper (or other lightweight colourful paper)*
- Fold the square in half and press, then in half again and press. Unfold paper.
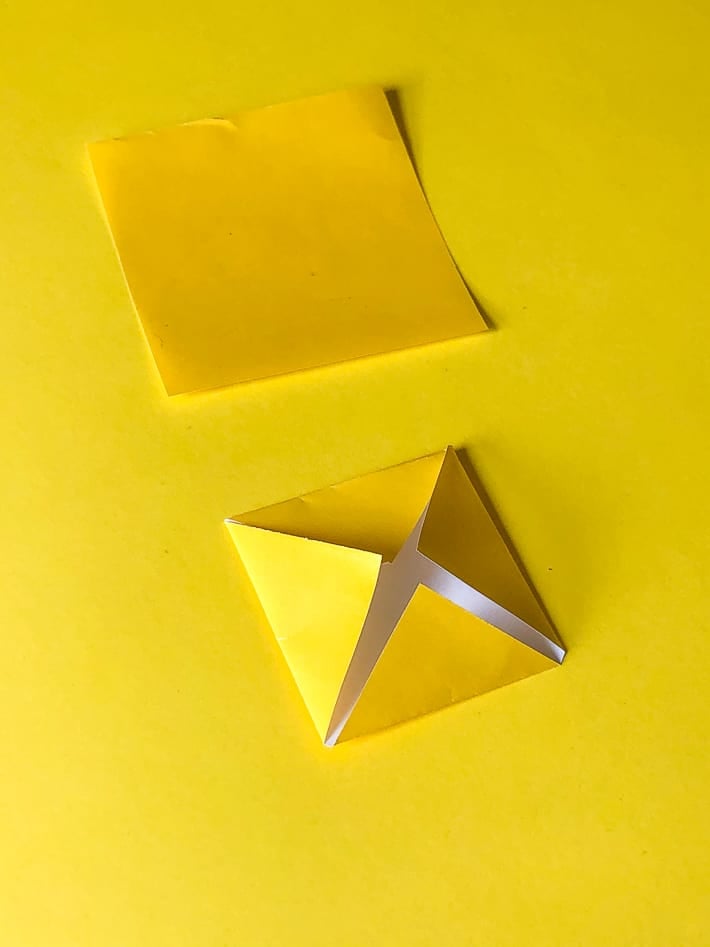
- Using the fold marks as guidelines refold the square as you see in photo #6.
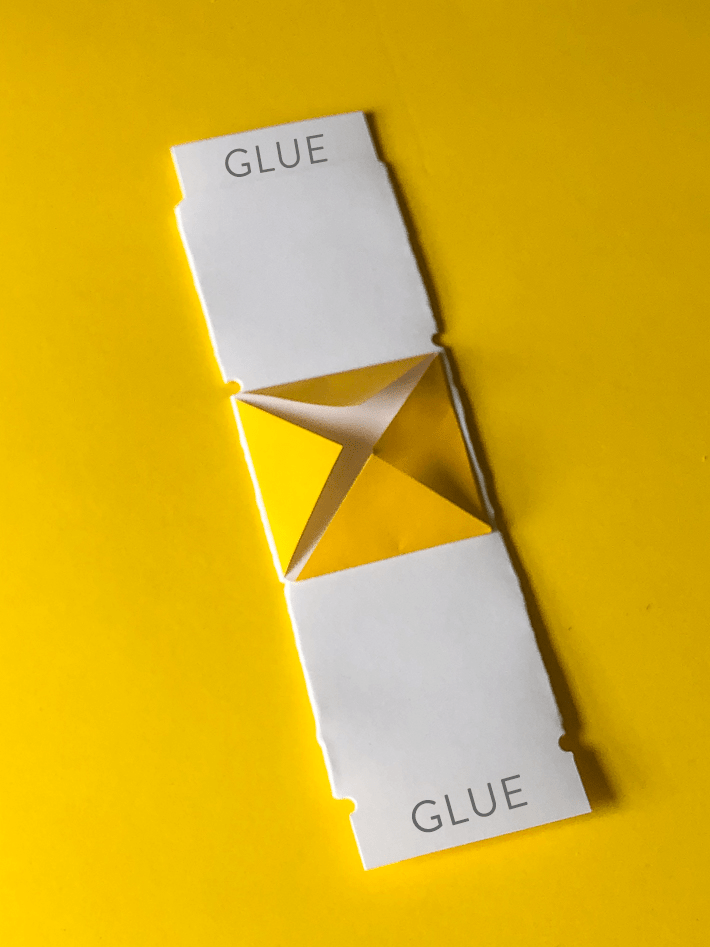
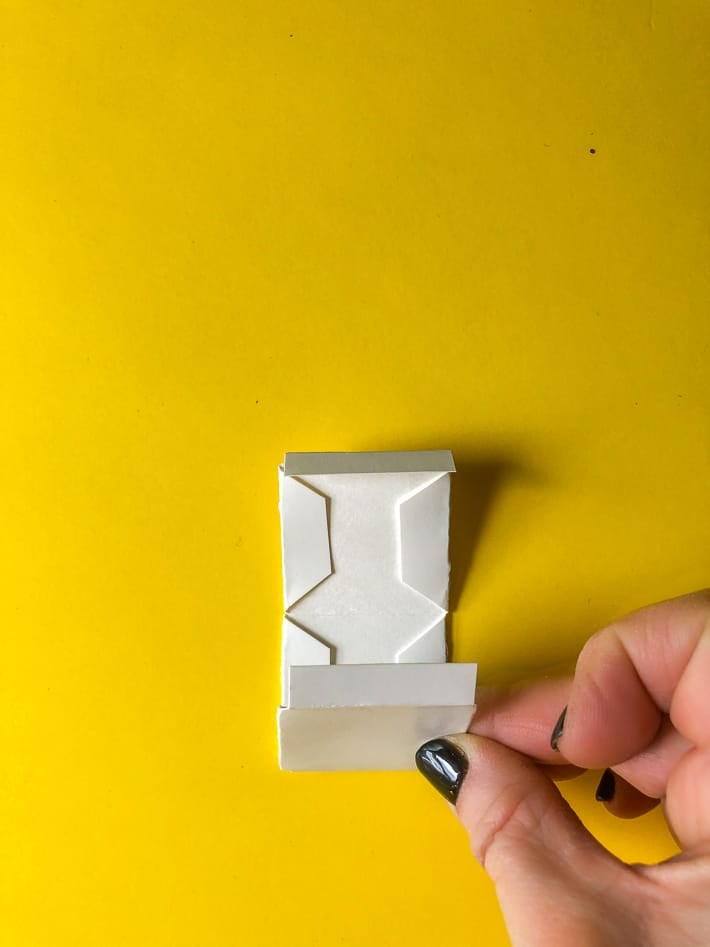
- Place template tab side down then stick the paper square in the centre of the smooth side of the template with double sided tape.
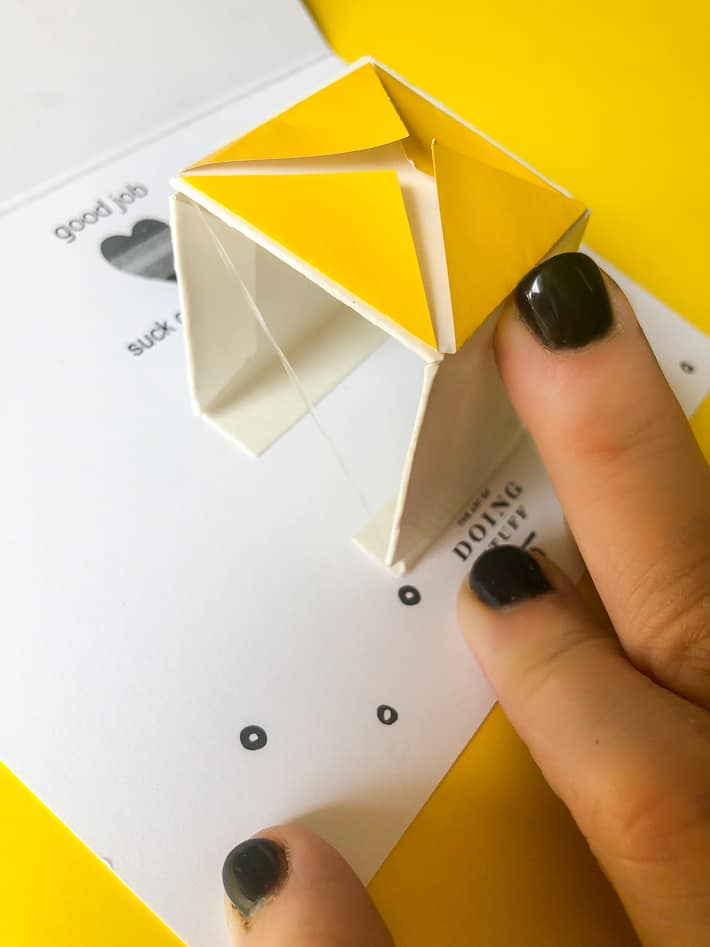
- Fold along all the scored edges to create a box shape.
- Apply double sided tape to top and bottom tabs (shown in photo #7.)
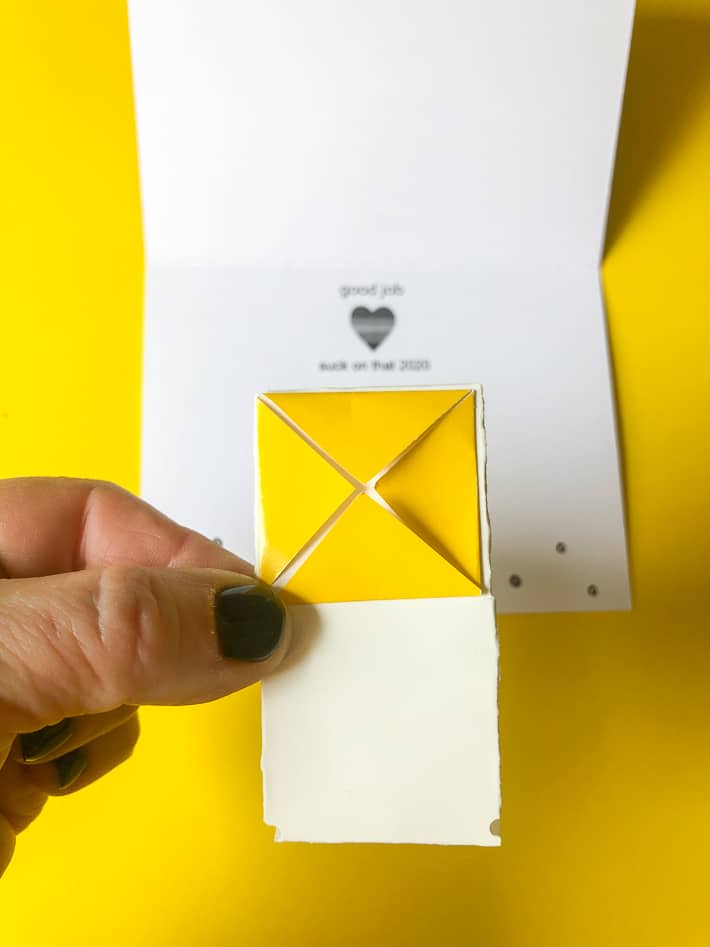
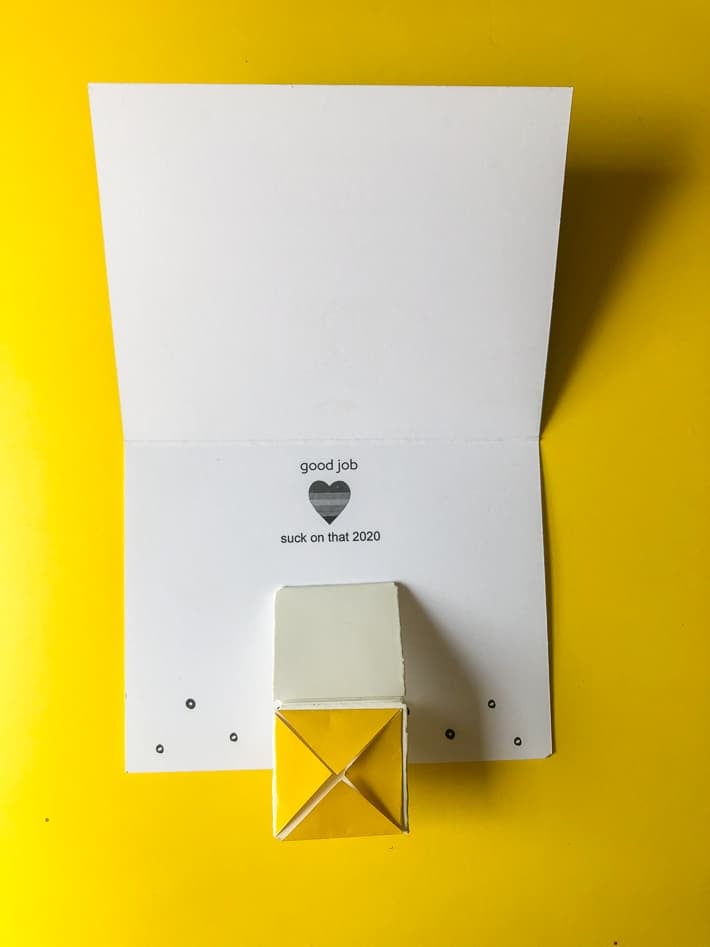
- Fold the top and bottom tabs back and stick them to the card so the template is in the centre of the card. It's easiest to see how to do this in the video. Make sure the notches are at the bottom.
- Using the bone folder press hard on the tabs to make sure they're really stuck to the card.
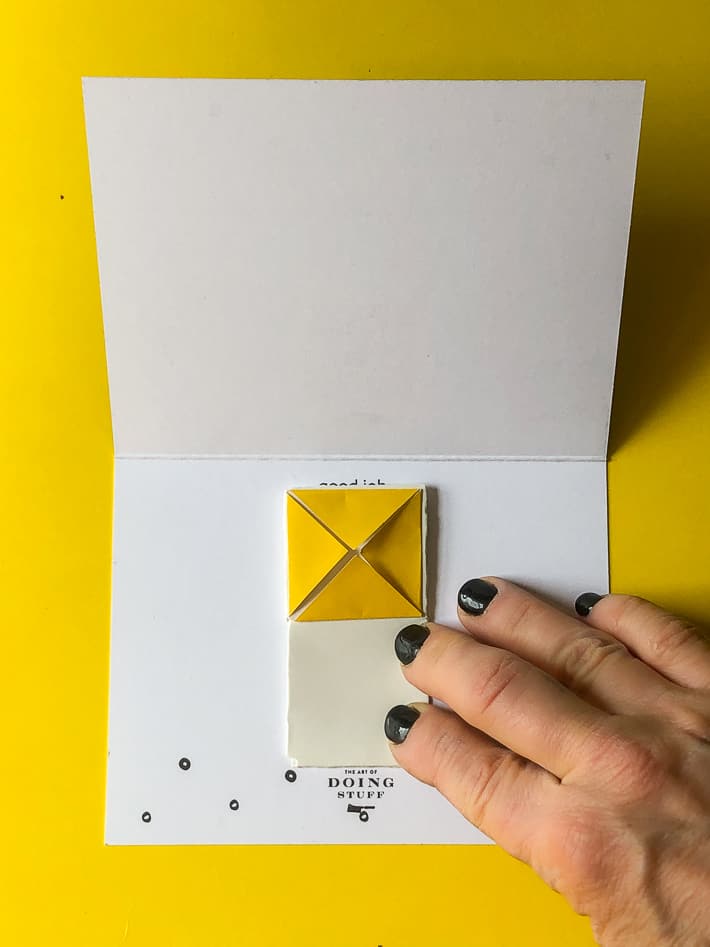
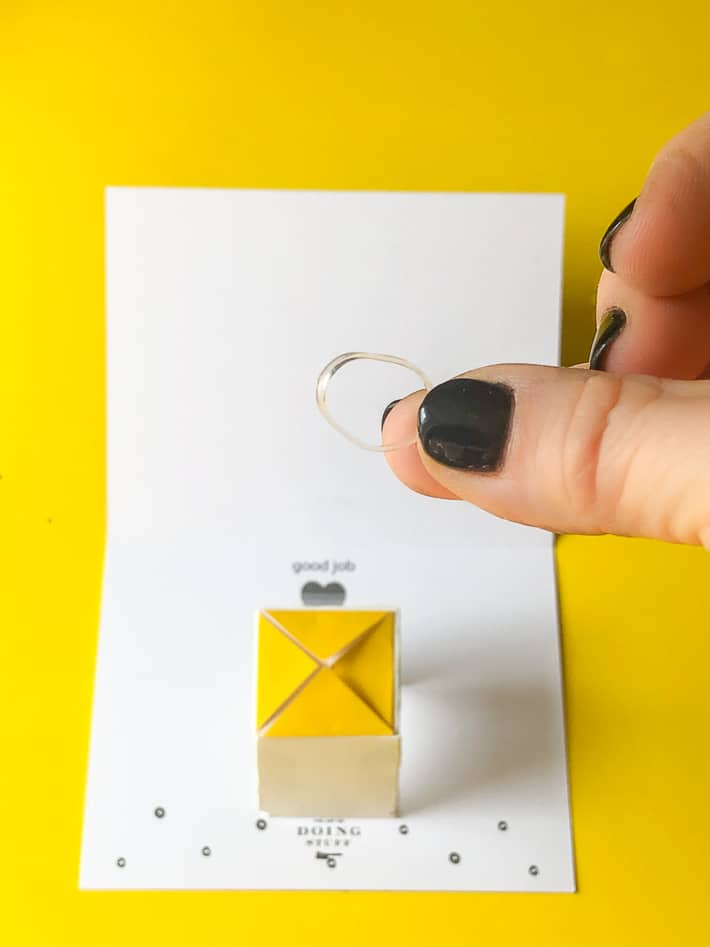
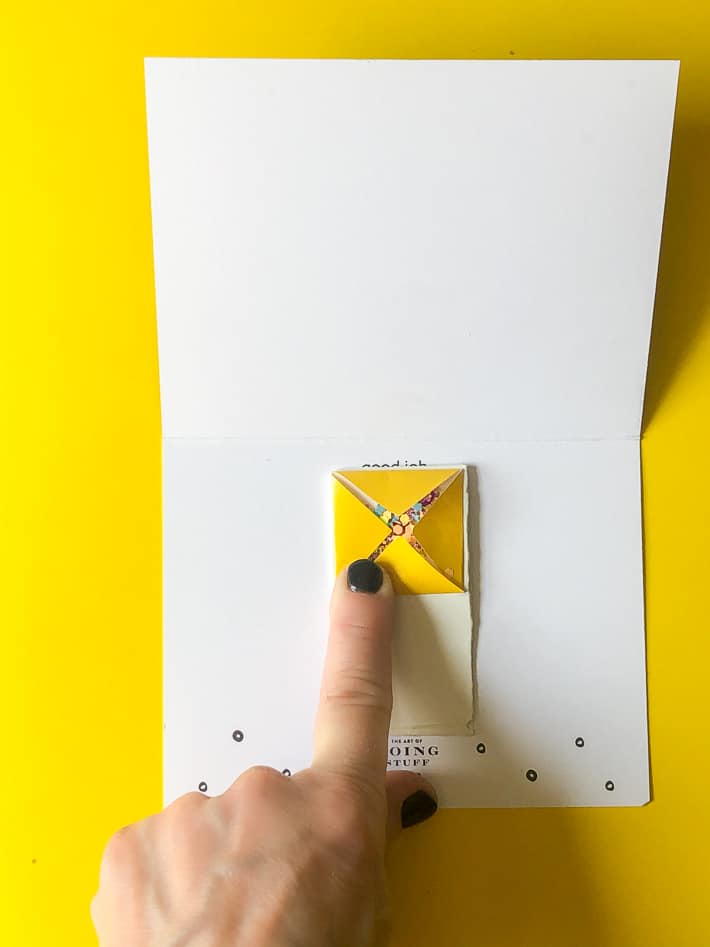
- Take the elastic band and run it from the top notches in the template to the bottom notches. The flinger will naturally pull downwards.
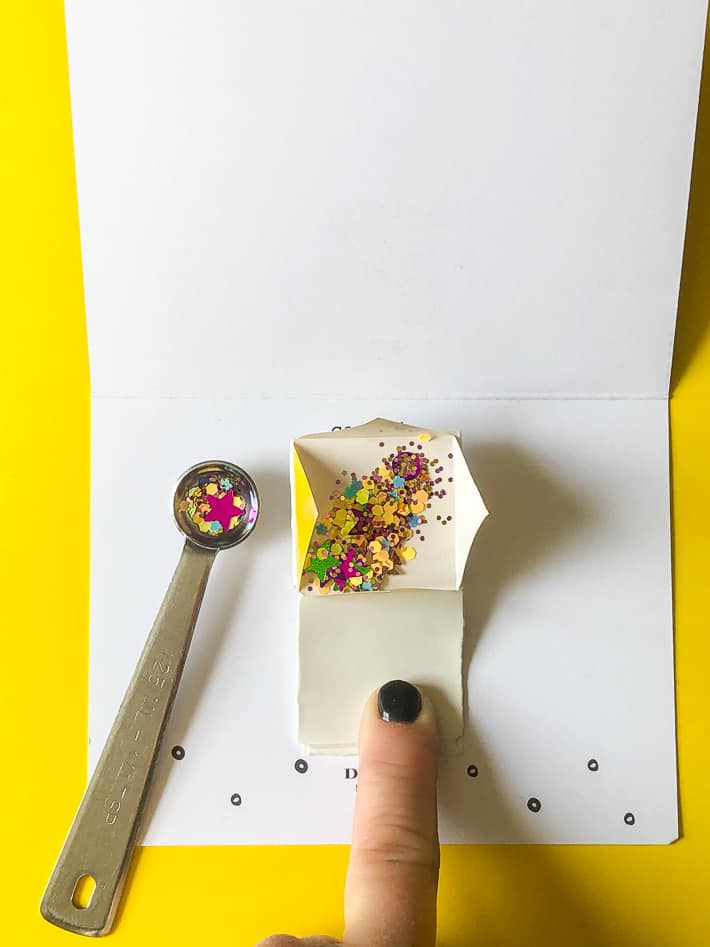
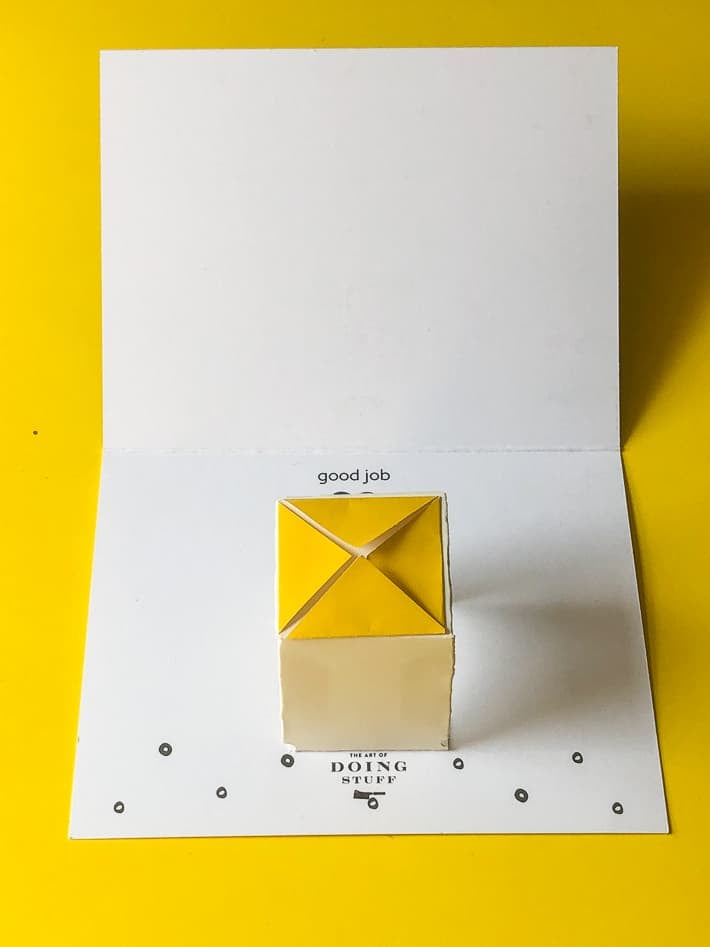
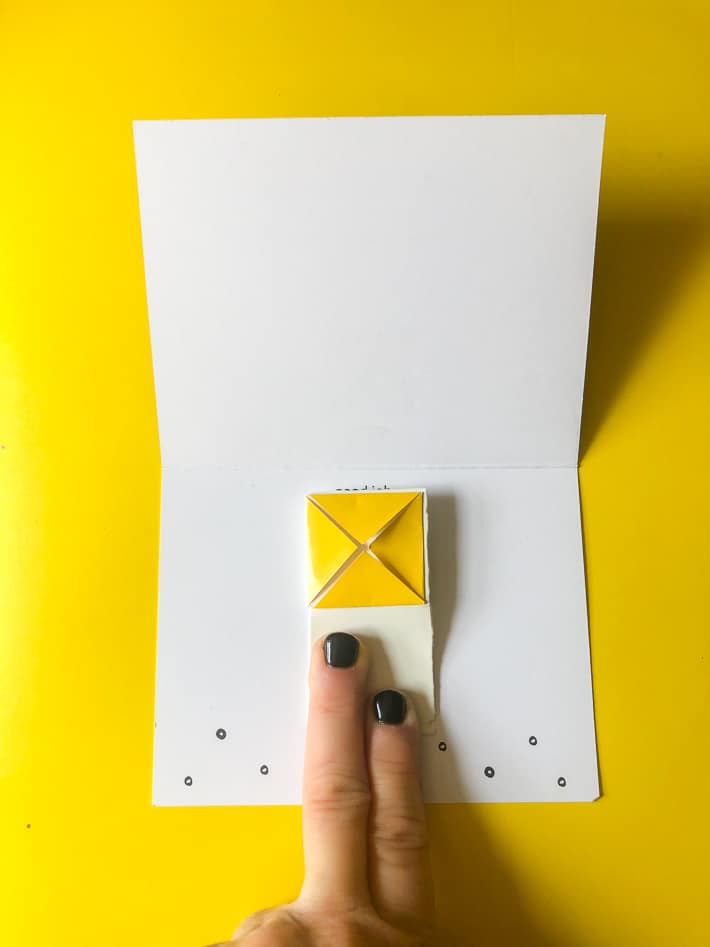
- Push the flinger up and hold it with your finger. With your other hand open up the paper square and add around ¼ teaspoon of glitter or confetti. (or both)
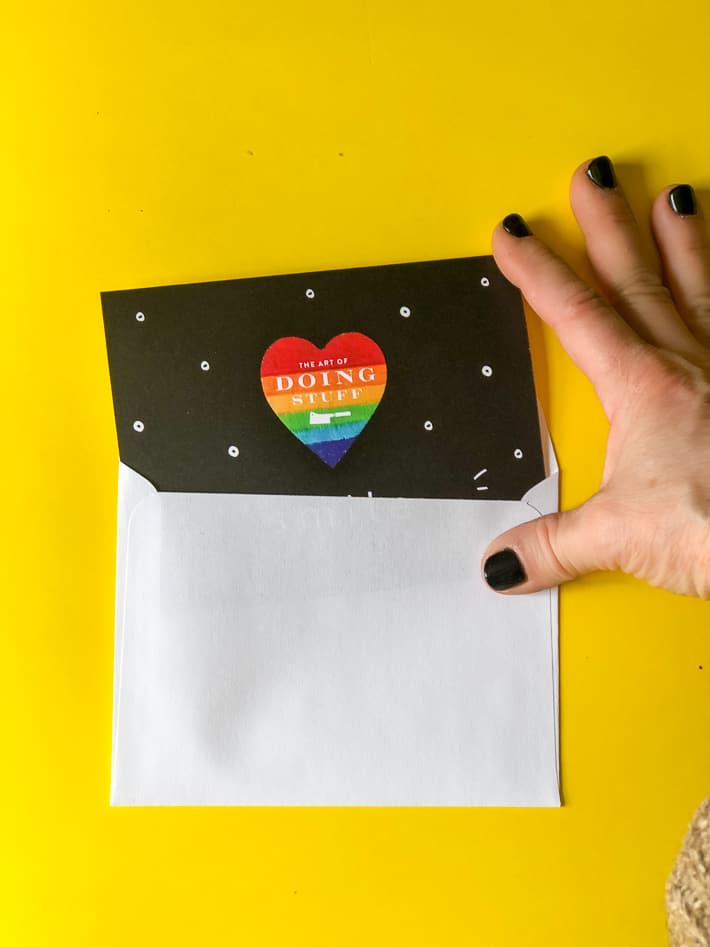
- Close the flaps on the square paper and while still holding the flinger UP, close the card, continuing to hold it until you slip it into an envelope.
Would you like to save this stuff?
How to use your DIY confetti flinger.
CONFUSED? Here's a real time video of me making a confetti flinger card.
Glitter Bomb Card Video Instructions
Like I mentioned these are perfect, perfect for April Fools' Day which is coming up.
TIPS
- Glitter flings further and faster than confetti
- Confetti need to be fairly lightweight (not construction paper) to fling
- A horizontally folding card is the best
- Really stick down the tabs and template. You don't want anything to come loose before the recipient gets it
- Cut out an extra template and stick it in the card so they can get someone else. (just refer them to this post on how to make it)
Not sure how much glitter versus confetti to use? Here's a handy chart:
Level of Distain
HIGH - they once insulted your hair
MEDIUM - they never returned that thing
LOW - they ALWAYS one up your stories
NONE - but they'll probably annoy you one day
Ratio of glitter
100% fine glitter
50% fine glitter 50% confetti
50% medium glitter 50% confetti
100% lightweight confetti
GET YOUR PRINTABLE TEMPLATE HERE
Have fun.


Deb from Maryland
I remember clearly saying "how cool!!" followed by "aww, crap" when I received your glitter card that year of monthly special things. It truly was a mixed bag of feelings. LOL
Randy P
Confetti? A fun prank. Medium glitter? A true annoyance. Fine glitter? Best hire someone to start your car for you for a month or two. Just sayin'.
Karen
LOL. ~ karen!
Heather Taylor
Great stuff! I also learnt that I can use my bone thing to score card, I never knew that😍
MartiJ
Wow, Karen... this is PERFECTION!
(Care to guess who was the recipient of all the glitter given away on her Buy Nothing group? Yep-yep-yep! And who is pissed off at the head of her department at work? Yep-yep-yep!)
Thank you!
Karen
LOL! Excellent. I see a 100% fine glitter coming someone's way.~ karen!
Marcia
I can't even tell you how excited I am about this! My daughter's birthday is coming up...
Karen
Good luck!✨💣 ~ karen!
Jasmine
Where can I find the template
Karen
Hi Jasmine. Just click here. In the instructions if you click where it says "template" the printable pdf shows up. ~ karen!
Heather
I'm still finding the glitter... it's the herpes of the crafting world.
Barbara
Time on your hands again? If you have time for glitter bombs I think you have time for another rental. ?????????
Karen
Yep that's me, always looking for ways to fill my empty days.😂 ~ karen!
Sher
I am not able to find the link to make the video work
Karen
Hi Sher. The video is right under where it says "Glitter Bomb Card Video Instructions". If it isn't there, you may have an ad blocker installed on your computer, in which case you won't be able to watch videos on my site. Either that, or you can try using a different browser (if you're using Chrome try Safari and vice versa). Good luck! ~ karen
Jody
How many glitter bombs accidently exploded when you were making these? I be there could have been a few F-bombs to go along with the glitter.