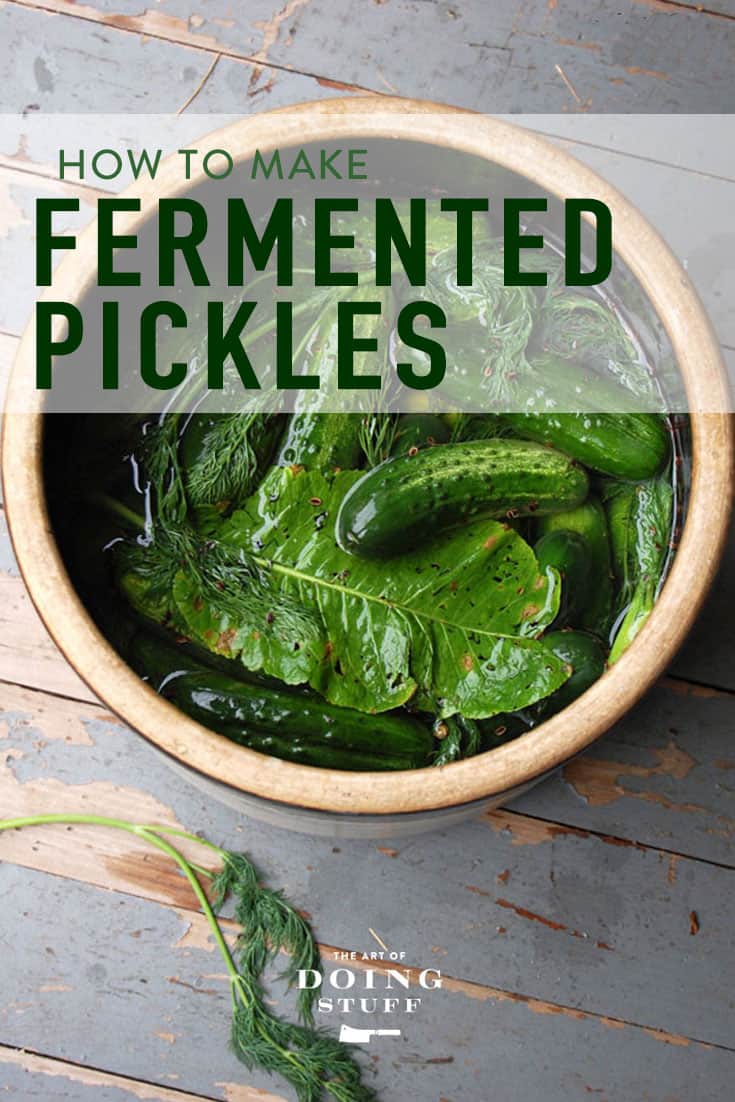
I need you to put your Laura Ingalls bonnet on now because you're going to learn how to make old fashioned fermented dill pickles in a crock.

Only a person of very suspicious character would want to eat just one pickle. The same kind of person who only eats one cookie. Or one potato chip. Or who walks around their house laughing diabolically for no reason while wearing kittens as slippers. And if those pickles are fermented pickles? Well then that person is just plain demented.
Kosher dills. Sighhhhhhh.
Regular dill pickles are O.K., but I was raised on Kosher dills and to me that's what a dill pickle should taste like.
Table of Contents
What's a Kosher Dill?
- Kosher dills are fermented pickles that are made sour or half-sour naturally. They aren't necessarily kosher in the Jewish dietary sense. They're named Kosher Dills because they're the style of pickle that you would get at a good Jewish deli.
- Vinegar is what's normally used to get the sour flavour in regular dill pickles, but kosher pickles are fermented in just water with some seasonings. You combine salt, dill, water and pickling cucumbers in a crock and let them sit at room temperature for a few weeks. Some people add garlic.
- Homemade kosher dills that haven't been processed are FULL of probiotics. Once you process them though, you lose those probiotics so consider that when you're deciding whether to process them or not.
I tried fermenting pickles when I first moved into my house about 15 years ago and I can tell you I have never been so excited to rot something. O.K., fermenting isn't really rotting something, but it sounds more fun. More daring. Less hippie, more badass.
I have no idea where I got my original fermenting pickles recipe but I'm pretty sure it must have been off of a salt box, because after waiting patiently for 5 weeks for my pickles to ferment, what I ended up with were soft squishes of pickle made up of 1% cucumber and 99% salt. They were the dead sea pickles.
I now know how to fix pickles that are too salty (you can read about how to do that here) but at the time all I could do was throw the salty mushballs out.
I now make my pickles according to the directions from Sandor Katz in his book called Wild Fermentation: A Do-It-Yourself Guide to Cultural Manipulation (DIY). It's the book I used to create my own yeast for sourdough starter. Since it is dedicated to all things fermented and the sourdough starter worked out, I figured the fine folks who wrote it would have a pretty good handle on the fermented Kosher dill. Plus the author's last name is Katz.
And I was right. These are GREAT pickles.

If you don't grow your own pickling cucumbers make sure the cucumbers you're buying from the market or grocery store are specifically "pickling cucumbers".
What the hell is a pickling cucumber?
Pickling cucumbers are shorter and fatter than regular cucumbers. Plus they're bred to be more firm which helps give a nice crunch to your pickles.

THE DILL
For your dill flavour in these pickles you can use any type of dill you can get your hands on. Fresh dill, dill seeds, dill heads, dried dill (as a last resort). But chances are if you can get your hands on pickling cucumbers, you can also get your hands on fresh dill or dried dill seeds.

The book. If you're gonna buy a book about making kosher dills, you wanna go with someone with a last name like Katz. Or Steinberg. Or Greenbaum. Or anything that sounds like they'd have a good grasp on challah, latkes or brisket. Jews make the best pickles. It's not cultural stereotyping if it's the truth and something to be jealous of.

But mushy, ucky, icky! Homemade pickles are always soft and gross.
Yeah. Sometimes. But there are some workarounds that'll help keep your pickles crisp.
How to get crunchy pickles
- Soak them in ice cold water for a few of hours before processing them.
- Add a handful of leaves that have tannins to the brine: Grape leaves, Oak leaves or horseradish leaves are all good choices and high in tannins.*
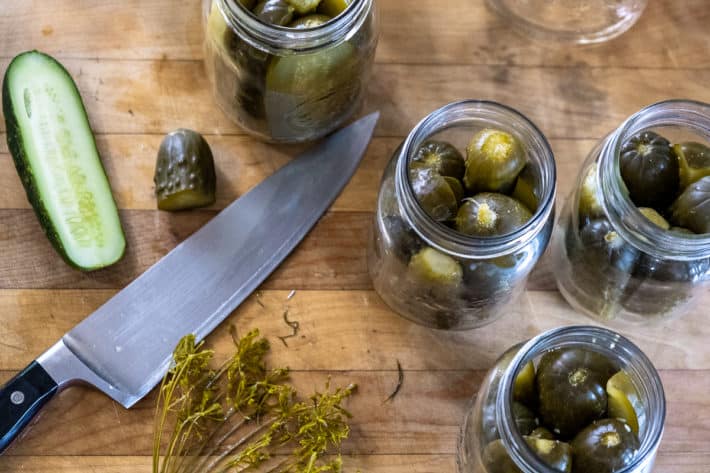
- Cut the *blossom* end off of the pickle. The blossom end (it will be the more narrow end) contains an enzyme that causes pickles to soften when they ferment.
- Add calcium chloride to your brine. Ball's Pickle Crisp and Mrs. Wages are commercial calcium chloride product made for pickles.
- Low temperature pasteurization (video below) is a processing method that uses low temperatures for a longer period. This method helps keep your pickles as crunchy as possible.
*If you cut the blossom end off of your pickles there's no need to add tannins to the brine.
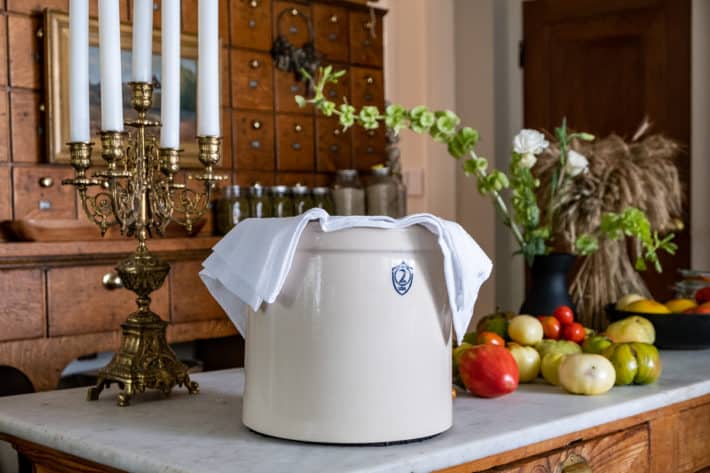
There are a lot of really beautiful, contemporary crocks for sale right now with the popularity of fermentation, but I like the classic, old fashioned looking crock for doing pickles.

This is all there is in terms of seasoning. Salt and dill. Optional things to add are peppercorns and garlic.

Would you like to save this stuff?
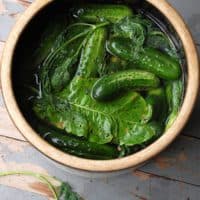
Layer everything in your crock.

That's a horseradish leaf on top. Cover the pickles with water that has the salt dissolved in it.

Admire the beauty that is the fledgling kosher dill.
Make sure all of the cucumbers are beneath the surface of the brine by weighing them down with something. I just used a few sandwich plates stacked on top of each other but you can buy pickle weights for crocks on Amazon.

Then you wait. After just one day my pickles were starting to ferment. You can see the bubbles.

After 3-4 weeks (depending on the temperature in your house) your pickles will be fully fermented. To test them pick 1 pickle and cut a slice off of it every few days to taste, starting after a couple of weeks.
The pickles are ready when they taste good and are translucent throughout.
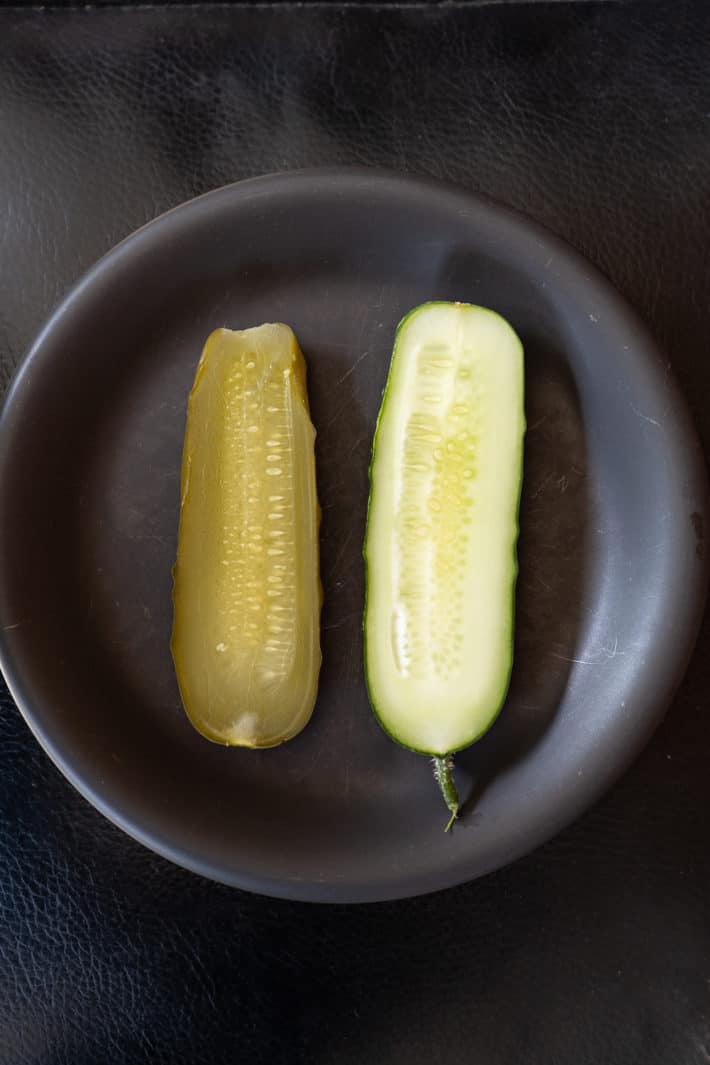
You can see how clear the fully fermented pickle on the left is compared to a fresh cucumber on the right.
After reading Wild Fermentation I've figured out that what I made years ago must have been "full sour" pickles. That means they have a lot more salt in the recipe which makes them last longer. This type of recipe would have been popular back in the olden days when refrigerators weren't around to keep pickles from going bad. So they used salt to preserve them.
Speaking of preserving them, fermented pickles will last for months and months in the fridge. If I'm being honest I don't even refrigerate them but I don't recommend you do that because I don't want you to get sick and die. And then sue me.
One way to be 100% sure about your fermented dills lasting a long time on the shelf is to process them, but processing pickles involves boiling them in a water bath for 10 - 15 minutes (depending on the size of the jar) which will reduce them to mush no matter how many blossom ends you cut off or leaves you added.
You have another option though. It's that low temperature pasteurization I mentioned earlier.
Low Temperature Pasteurization
This will help your pickles stay crispy even after processing. Because you're processing for a longer time at a lower temperature they better retain their crunch.
You simply add ¼ cup of vinegar to every 8 cups of water for your original brine mixture then follow these instructions.
- Fill a canning pot with water and heat it to between 180 F and 185 F.*
- Bring the pickle brine to a boil and let boil for 5 minutes.
- Pour brine into hot jars to within ½" from the top of the jar.
- Wipe the top of the jar so it's dry and clean.
- Add a sealer and ring to the jar.
- Process the pickles for 30 minutes in the low temperature water bath.
*the temperature MUST remain within this range. I find using a a Sous Vide stick is the easiest way to accomplish this without any stress.
The recipe I used from Wild Fermentation is for a a Half-Sour which calls for a brine that is around 5% salt, as opposed to the full sour which would call for around 10% salt or even more.
Mazel Tov!
Kosher Dill Pickles
Ingredients
- 8 pounds cucumbers small to medium size
- 9 tablespoons sea salt* More if canning
- 9 dill heads fresh
- 1 handful fresh grape cherry, oak, and/or
- horseradish leaves if available
- 1 pinch black peppercorns
- 16 cups water
- 1 head garlic cloves skinned and separated
If you want to process/can add these ingredients to the brine:
- 1 cup pickling salt This will replace the 9 Tbsps.
- ½ cup vinegar
Instructions
- Bring salt and water to a boil, stirring to dissolve the salt. Let cool.
- Wash your cucumbers and cut off the "blossom" end. You just need to remove the blossom part.*
- Layer your cucumbers, dill and horseradish (or grape leaves) in the crock and cover with cooled salt water.
- Place a plate with a rock (or something else heavy) on top of the pickles to make sure they're completely submerged.
- Test pickles after a couple of weeks.
- Cucumbers will be translucent throughout when they're done.
- Place pickles in hot pint jars with enough brine to cover them and store in the fridge for several months.
Low Heat Processing
- Fill a canning pot with water and warm it to between 180 F - 185 F.
- Remove pickles from the brine and stuff them tightly into pint jars.
- Pour brine into a pot and heat until it comes to a boil. Boil for 5 minutes.
- Pour hot brine into the jars of pickles to ½" from the rim.
- Wipe the rim of the jars to make sure they're perfectly clean and put on a sealer and rim. Finger tighten only.
- Place your jars of pickles into the warm water bath and process for 30 minutes making sure the water doesn't fall below 180 F or go above 185 F.
Notes
- You must add more salt (than the original recipe) and vinegar to aid in the preservation process.
- Pickles get softer over time so for maximum crunch eat them within 6 months.
- The blossom end portion of the cucumber is said to make the pickles soft, so get rid of it. I've done my own experiments with this and it seems to be true.
Nutrition
→Follow me on Instagram where I often make a fool of myself←


Anna
I've had these fermenting for 3 weeks, and when I pulled one out to taste it, it was nothing but salt - no sour at all. Can I fix this?
Anna
I followed this recipe with the conversion for canning (1 cup pickling salt, 1/2 cup vinegar). It's been 3 weeks, and when I tried a pickle is was ALL salt, not a sour tinge to it. Have I not left it long enough? Can I fix this?
Jen
I want to can these fermented pickles. I ferment first with the nine tablespoons of salt first then when I am ready to can I add the one cup of salt to the original recipe
Mandy
These turned out delicious! I have one question though…if my brine formed a bit of what I think was kahm yeast while fermenting in the crock (I scooped off as best I could daily), would you still use the fermented brine to store your pickles? Or would you make a fresh brine for when you transfer the pickles to jars for storage in the fridge? Thank you!!
Karen
Hi Mandy! I would use that same (yeast covered) brine. I'm just about to open a jar from last year. :) ~ karen!
Mandy
Perfect! Thank you so much!!
MICHAEL SAMPSON
Just placed the second batch in the water bath with the sous vide at 180°. In total my 5 gallon crock did 9 quarts that I canned and 2 quarts in plastic deli containers in the refrigerator. They were salty but pretty damn good.
Cynthia Fletcher
Can I use any type of oak leaves? I have many oaks that produce acorns and thought about using the leaves but didn’t want to risk it until I knew for sure if they are safe to use.
Karen
Hi Cynthia. Any oak or grape leaf is fine. :) ~ karen!
Natasha sansotta
Any tips on how to store cucumbers until you have enough to pickle? I'm growing mine
Karen
Good question! You really do need to grow a lot of pickling cucumber plants to get enough to pickle at the same time. I typically grow 16 or so plants and that seems to work for me so that I don't have to store them for too long in the fridge before I can start pickling. I just put them in a crisper in my fridge with the lid cracked a little bit. You can also tightly wrap the cucumbers in plastic wrap to keep them in good condition for quite a while - just make sure they're perfectly dry before you wrap them. ~ karen!
Dan
after they are ready do you make fresh brine or use the brine they fermented in and store in fridge?
Karen
Hi Dan. Good question. You use the old fermented brine - it's what will preserve them. ~ karen!
MICHAEL SAMPSON
Just placed the second batch in the water bath with the sous vide at 180°. In total my 5 gallon crock did 9 quarts that I canned and 2 quarts in plastic deli containers in the refrigerator. They were salty but pretty damn good.
Karen
At least you can get the salt out if you want to! That's the remarkable thing about pickles. ~ karen!
Saramaria
I’m on day 5 and I have no fermentation bubbles and my pickles are way salty! Do I add more water to cut the salt?
John Allan Montgomery
Do you add vinegar and salt to the crock on day one?
Tamara
I want to can these and my brine is really cloudy, is that normal?
Kristin Ferguson
Where does one find horseradish leaves?
Jeanne
I would love to try this but all I have are large cukes. Will this recipe still work? Also, can I use canning jars to ferment rather than a crock? I have fermented cabbage in jars and it works great. Thanks for everything you do!
Karen
Hi Jeanne! You can indeed ferment in canning jars, it's just a bit easier in the bigger crock. A larger cucumber won't be the same because they'll end up very very mushy and probably full of seeds. But you can buy pickling cucumbers at this time of year for about $5 for a basket. I'd go that route if you can. ~ karen!
Kristin
I can't rate this recipe yet since my pickles are only two days in the jars, but I am using large jars; the kind with the wire gizmo to snap them shut. But I am not snapping them shut since that would be risky in case I forget to burp the jars every day. Instead, I filled two plastic baggies with enough water to fill the space that remains in my two jars, plus a little air so they stay on the surface, and tied them shut. They weigh the pickles down and keep them submerged, and they spread out and mold to the surface of the brine but can still fit in through the smaller opening in the jars, and any gas can escape around the edges. I'd post a picture but I don't think this site allows it.