I think it's fair to say that I have a "thing" for candles. I like em. I like lighting them, looking at them, smelling them. I like em. You know those people who hoard candles and stick them in every possible cupboard and drawer? I'm not one of those people. I burn my candles. Even the ones you apparently aren't supposed to burn because they're in the shape of something and once you burn them, they turn into a blobby mess that doesn't look like whatever it was it was supposed to look like anymore. Understand? Doesn't matter. The point is, I like candles.
A few months ago, many months ago now that I think about it, I showed you how to make your own floating candles. Floating candles are incredibly expensive. Apparently the only thing rarer than a floating candle are superpowers.
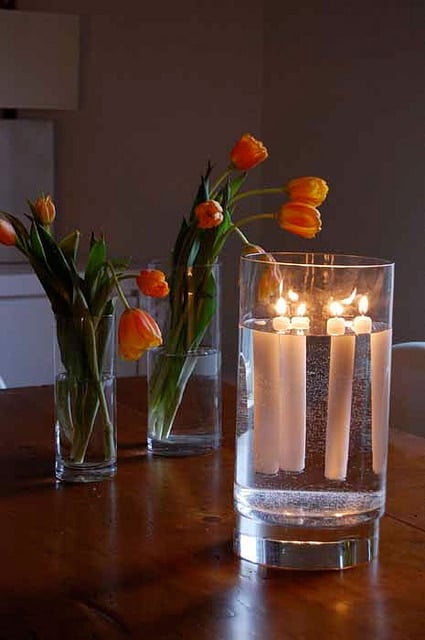
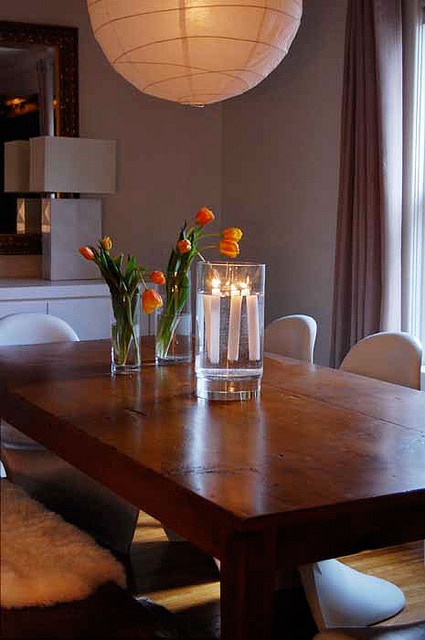
At the time I was doing the tutorial on floating tea lights, I started working on another kind of floating light. I thought, how brilliant and beautiful and unexpected would it be to have floating taper candles? Very. Very brilliant and beautiful indeed.
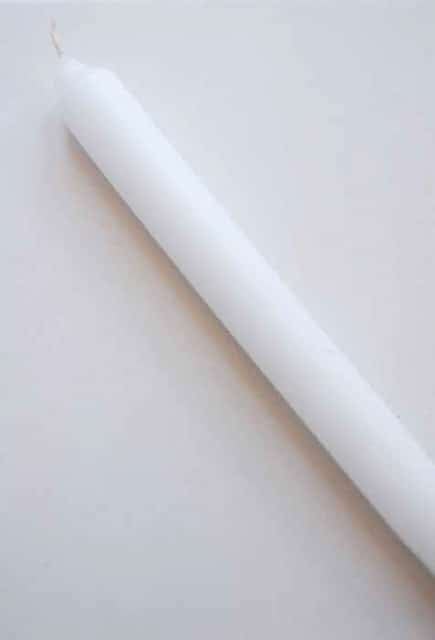
When you drop a taper candle into a vase of water it (being made of wax) tries to float and because it's bum end has more wax (which wants to float), the bum end tries to float up to the top. So that's no good. To remedy this you have to weigh the bottom of the taper candle down. And this ... is how you do it.
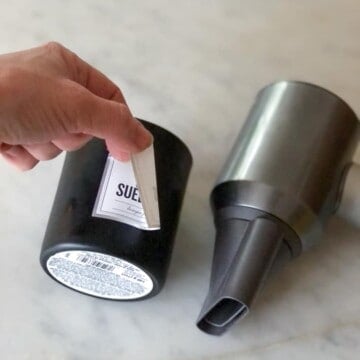
You need candles, washers, and thumbtacks.
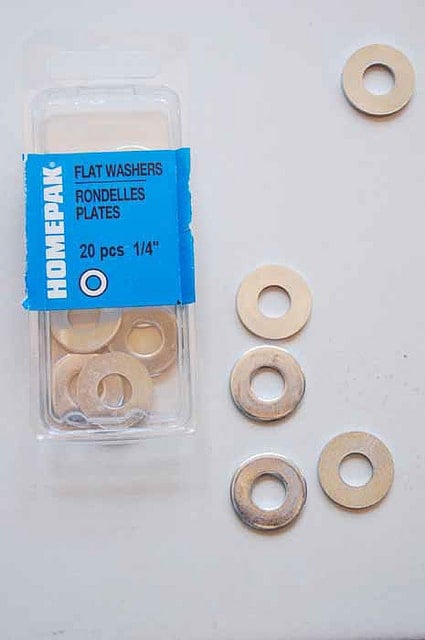
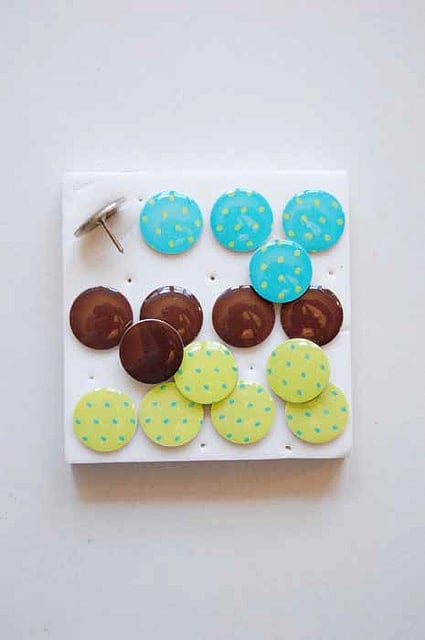

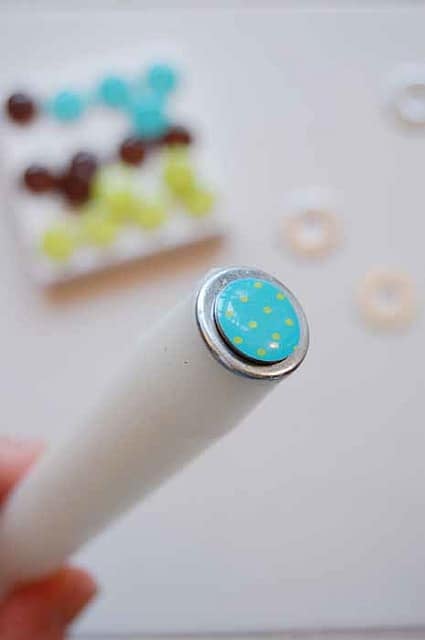
Just scrape the bottom of your candle so it's perfectly flat on the bottom of it isn't already. Then place your washer on it and secure it with the thumbtack. You only get one shot at getting it centred so be precise. Fill your vase with water and drop the candle in. Inevitably it will still be wonky. Lift it out of the water and slide the washer a bit to change the balance. Stick the candle in the water again. This may take as many as 10 tries to get the candle perfectly balanced. But ... it's worth it because look how beautiful!
Cough. Ahem. Cough. So ... this is the point where I tell you the candles got too close to the edge of my glass vase and cracked it. It was that unmistakable sound of C-r-A-C-kkk! I knew what had happened even though I was in the other room. So ... this experiment is kind of a bust. Don't ever try to do this in fact.
Why post it then? So you know not everything I do works out perfectly. And not everything you do will work out perfectly.
However, I should add that to remedy this, all you would have to do is buy washers that are bigger than the base of the candle. That way they'd act like a bumper, stopping the candle from floating right up to the edge of the vase. I will, in the future, buy larger washers and confirm that my theory of bumper candles is true. I believe it is.
But I also believe in superpowers.

What about just using a flared vase? That way the narrower base will corral the candles and the top will flare away from the flaming business ends...?
Sarah Neeley! Yes...your brilliant idea works. Then I dropped black rocks in between the outside cylinder and the inside cylinder—just a few so it masks the interior cylinder. I tried floating flowers in the water too—but it just looks like I'm trying too hard. I will burn this little get-up tonight to see how LONG it lasts because I need 12 of them for a party Saturday night. I also tried three different candles to see which works best. Dang! I can't seem to post a picture here.
Maybe you could use clear fishing line and a weight at the bottom Covered with rocks or gems? That may work
I really want to do this. It looks like it belongs at Hogwarts. Like magic. Have you come up with a tested solution? *Fingers crossed*
I absolutely love this. I was looking through my iPod and I found it bookmarked!!! So doing this in time for the holidays!!!
Karen,
Thanks for some cool ideas and your wonky humor!! I was thinking (yikes!) that maybe if you put a bead of clear silicone around the vase, a couple of inches under the water surface, it would act as an (almost) invisible bumper. The best solution I heard here so far was the shorter vase inside the larger vase and fill the larger vase with water over the top of the shorter one. In fact, you can just get rid of all the other posts and stick with this one, right? No? Oh well...
Anyway, thank you and I look forward to more ideas and more posts, etc.
Why not try flower frogs on the bottom of the candles. The frogs come in different sizes. Insert the bottom of the candle into the frog "spikes" . The weight of the frog keeps the candle from floating and the spikes keep it stable and upright in the container.
Flower frogs can be bought at craft stores or floral supply stores.
I love your website, I've never laughed so hard all while learning about crafts
Thanks Summer! Glad you found my site. :) ~ karen!
I love this idea. Thx! I can't wait to try this out. Just wanted to make a mention about Pyrex. The formula was changed over recent years. The original formula was made so the glass dish could go from Freezer to Oven. If you are looking for the good pyrex, you will need to find dishes older then 1980. Anyhoo, love your site! :)
Thanks Mandi! But before you go trying this remember ... it *didn't* work for me, LOL. Cracked my vase. ~ karen
What about trying a vase with slightly wider opening at the top? the flame shouldnt be able to reach the glass then. i have a floating tealight vase that is like that, the effect is still beautiful.
Hi there! Was loving this idea...till the breaking glass part! Ahh! Well, just thought I'd share the results of my own little experiment. ;-) Jars made for canning (mason/jelly) can withstand high temperatures i.e. FLAME! One day, while I was burning a candle in one of these glasses, out of curiousity I tipped it over. I watched the flame burn for about 40 minutes with wax pouring out on the table. I'm sure you could picture that the tip of the flame was directly on the side of the jar. NO CRACKING!! Eventually gravity pulled the wick into the melted wax and it snuffed itself. Cool huh?
Just found your site...and love it.
About the candles...couldn't you just lite them from the "wrong" end?
Lol. Thanks Alice. That might just work! I'll give it a shot. Full credit to u of course. Glad u found my site! - karen
I love this idea! except for the breaking glass part. I think that you could also fill the glass with those little beads that soak up water and become big jelled balls. IF you get the clear ones, you would still have the effect, and you could center the candles so they don't touch the glass. Just and idea.
Funny though that they're called the un-candle holders!
You might be able to use a tempered glass vessel. Like these
http://www.etsy.com/listing/67001188/pyrex-vessels-a-set-of-vintage-corning?ref=sr_gallery_23&sref=&ga_includes%5B0%5D=tags&ga_search_query=pyrex+vase&ga_page=2&ga_search_type=all&ga_facet=
Has anyone tried it in a tapered vase? Once the bottom of the candles hit the sides, there should still be water between the tops of them and the glass which would keep it from cracking. In theory anyway, not sure if it would actually work.
Couldn't you just increase the water level so that the flame is above the lip of the vase to prevent the cracking?
I almost went to get my candles to try this, then I remembered botching tealight after tealight trying to make them float. Also, it was a pain scraping all that wax off my stove (don't ask.)
Hi Michelle - The water would literally have to be filled right up to the rim, and then you'd lose the effect of the flickering flame in the glass. I'll figure it out. One day. When I'm not figuring something else out. :) ~ karen
<3 you are amazing and so funny !!
greetz from germany
isi - Thank you! Please say hello to everyone in Germany for me. Kay, maybe not *everyone*. ~ karen
Hey Karen,
Great post.... I love candle decos.. I will try this tonight.. thanks..
I once had this fantastic tea light holder that looked like a chunk of ice - I got it at a garage sale so it was also very cheap. I decided at some point that having a votive in it would be way cooler; but I didn't put a votive holder in it. Yeah, I've heard that craaaack noise, and now I have a cracked tea light holder that I'm trying to figure out how to fix. Wonder if the windshield place would fix it....