It's a little bit rainy/snowy outside now, the cats are both snoring on the bed in the room next to my office and I have the book All The Light We Cannot See on my bedside table screaming at me to come read it. No, seriously. Screaming. With a German accent. Plus there's fresh, homemade bread downstairs.
But I can't light the fire and enjoy the rainy/snowy day, pet the cats, read the book or eat the bread ... because of you people and your unrelenting demand for posts. I've mentioned this before.
Sometimes you people really bug me.
I've given it some thought and you people don't bug me anymore. My mortgage, food and utility bills bug me. They're the life sucking, needy ones in this situation. Mortgage, food, utilities. Mortgage, food, utilities. Basically I live like an Amish person so I have no idea how my expenses are so huge, especially my grocery store bills. I grow 80% of my own produce, don't eat a ton of meat and almost never clean my house so that eliminates expensive cleaning products. I blame it on Joe Fresh. And Italian cheese.
Somebody asked me the other day if I do the things I do to save money. Um. Kind of. Not really. I mean that's a small part of why I do the things I do, but really I make bread, grow food, have chickens and build stuff because I like doing these things. It makes me feel like I'm better than everyone else. You know. Superior. Like a cat.
If I didn't like doing them it wouldn't matter how much money I was saving ... I wouldn't do them. Which is why I would never do my own dental surgery. Sure I could save some money but I don't think I'd enjoy doing it. It depends on what sort of drugs I could get my hands on, I suppose.
Alfalfa Sprouts I grow myself for 2 reasons. One because there have been a few health scares over them. In the past 20 years, there have been 30 sprout outbreaks were people got sick and had to go to the hospital and were forced to wear ugly hospital gowns. Alfalfa sprouts that were full of toxic, icky, dirty, salmonella juice were to blame. So that's reason number one to grow your own sprouts.
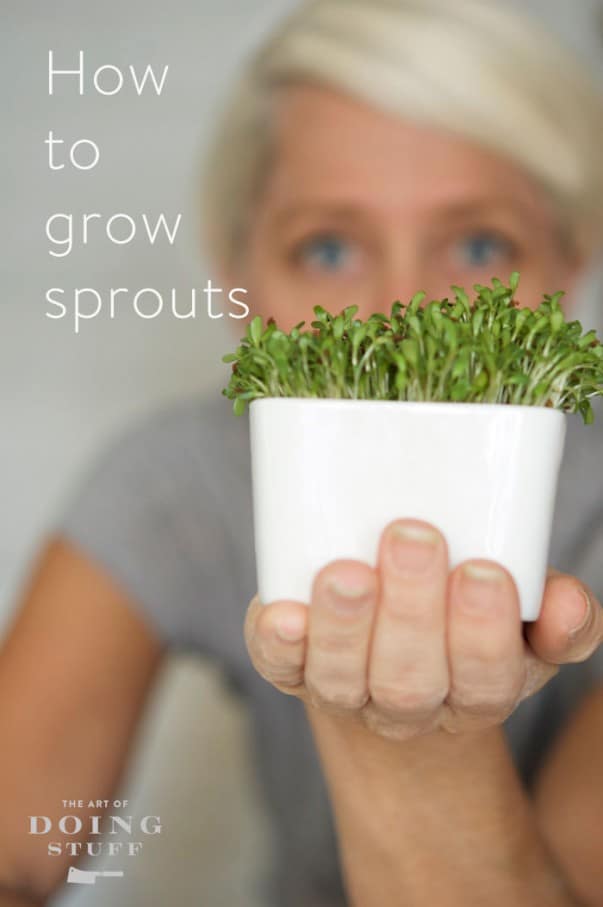
Reason number two is, I really like how they look on the kitchen counter. They look cute.
This isn't the first time I've talked about growing sprouts. One of the very first posts I wrote for this blog 5 years ago was how to grow your own alfalfa sprouts. Throw some alfalfa seeds in a mason jar, soak them overnight, then rinse and drain them for a few days. Voila. Alfalfa sprouts.
Nobody cared.
Mind you I only had about 5 readers at the time. So I'm going to lay this whole sprout growing thing on you one more time. I'm also using a different technique now which greatly enhances the cuteness of the sprout.
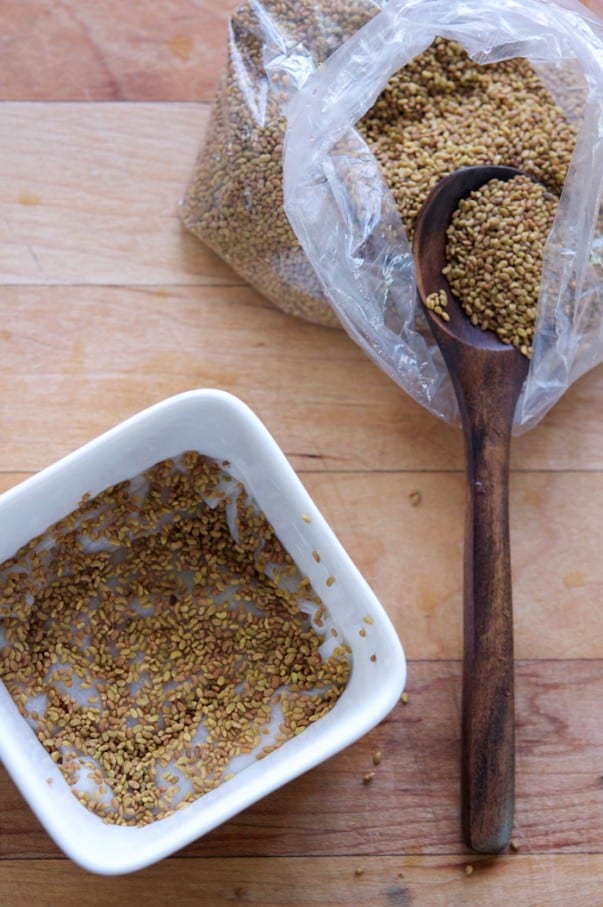
First off you folks are going to have to buy yourself some alfalfa seeds. You can get organic sprouting seeds online, or from your local health food or bulk store. You want good quality seeds because most times when alfalfa sprouts become contaminated it isn't because of the sprouting process it's because of the seeds. The seeds themselves arrived with bacteria. So don't buy your sprout seeds from a dirty organic hippie. Buy them from a clean organic hippie.
Which brings me to my next point. I do NOT do this, but it's suggested that when you soak your seeds to get them ready for sprouting you should add a couple of tablespoons of Hydrogen Peroxide to your soaking water. So say, 2 Tablespoons per 2 cups of water. This will kill some of any bacteria that's present on the seed.
How to Grow Alfalfa Sprouts (which are GREAT in sandwiches especially my favourite sandwich ever, and salads)
- Soak 1-2 Tablespoons of alfalfa seeds overnight in water (or water with hydrogen peroxide if you prefer).
- Drain and rinse the seeds. Set aside.
- Fold up a piece of paper towel and stick it in the bottom of a small dish or bowl.
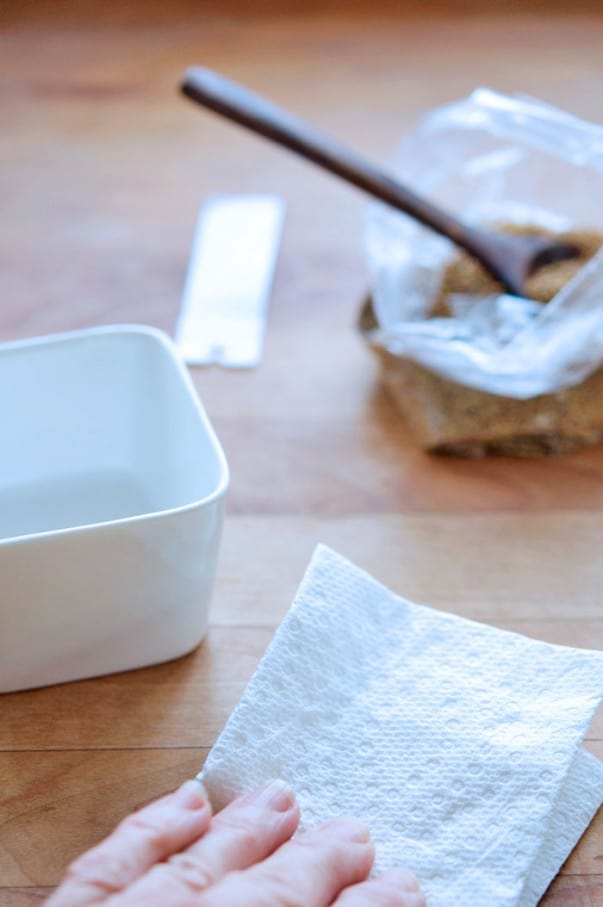
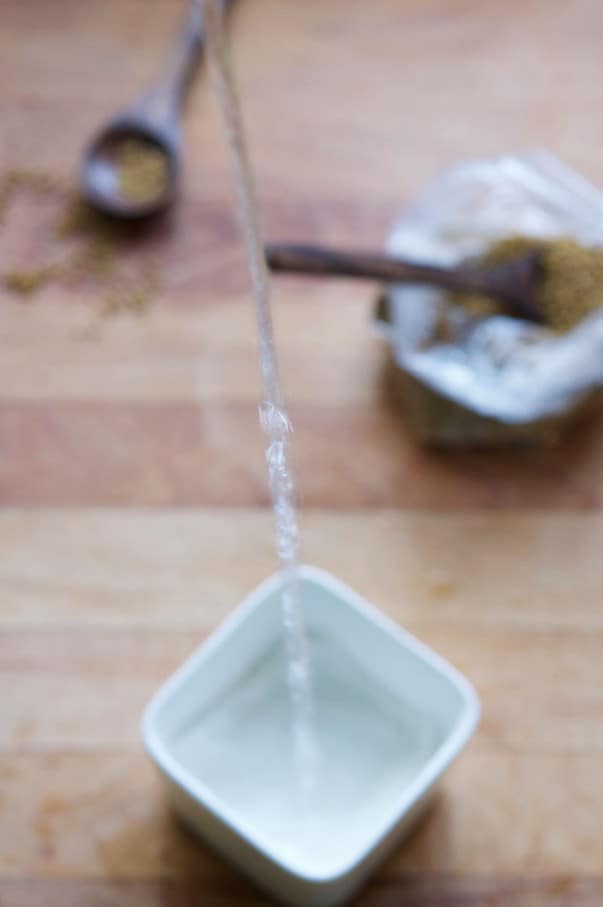
- Add water to the dish with the paper towel then drain it so there isn't excess water in the bowl. Just a nicely soaked paper towel.
Would you like to save this stuff?
- Sprinkle your soaked seeds overtop of the paper towel evenly and in a single layer.
- Over the next 2 days keep the seeds moist by adding a dribble of water over them.
- Once the sprouts have established their place on the paper towel (around by the end of day 2) you can carefully rinse and drain the sprouts. If you rinse them too early or with too much force, your seeds won't get a chance to root into the paper towel and will go flying all over the place.
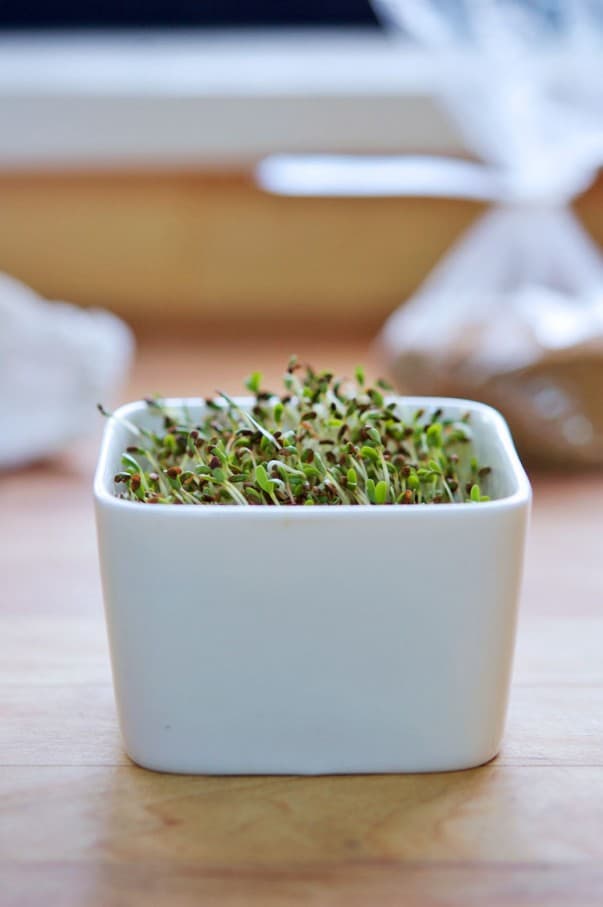
- Rinse and drain twice a day until your sprouts look like sprouts. The photo above is day 4. The photo below is day 5.
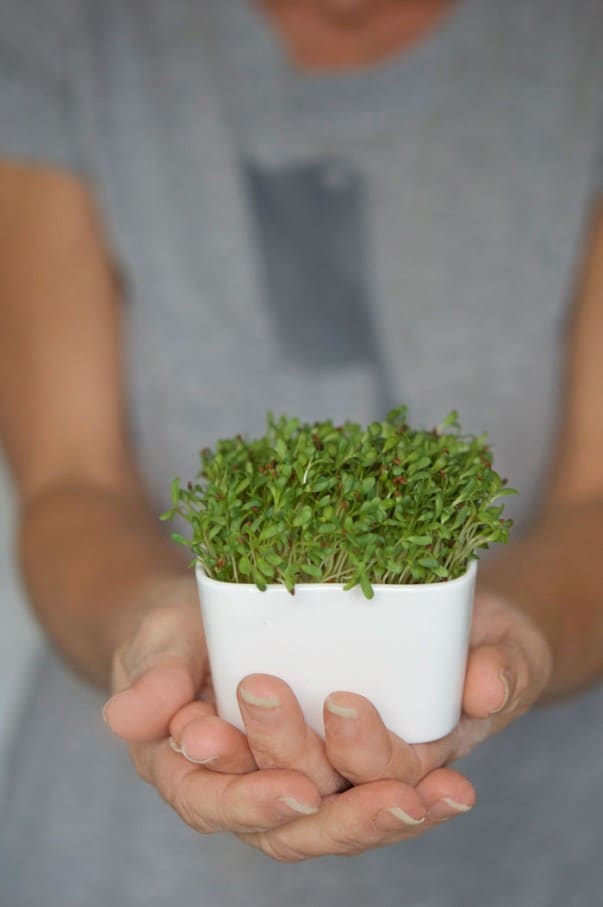
Once they're all sprouty you can keep them in the fridge for a few days loosely covered with plastic, or in an open plastic bag. They don't last long so only make what you're going to use in a few days.

Sorry about saying you bugged me. You don't bug me. I just get cranky sometimes. When you don't let me lounge, pet, read and snack.


Beth Bilous
Where did u get that cute square bowl olease
Lawrence Anderson
I love your writing style and way of explaining. Great pictures used.
Thanks!
Hayley
Thanks, this sounds very simple! I’m just wondering, why rinse and drain them? Why not just add water every daybto keep them moist? What does the rinsing do?
Thanks!
Karen
Hi Hayley! Well you don't sit them in water. That would just make them rot. You rinse to prevent bacteria and pathogens from growing, which also keeps them the right level of moist they need to be to grow. :) ~ karen!
Amanda
Hello, Karen
I love the humor, pictures, and education that your posts provide. I would never have known this would be so easy! You inspire me.
Amanda
Kristin
Gonna try these today!
I’ve always figured I could create my own “sprout mat”, as opposed to just jar sprouting!
🌱Away I go!!
Karen
You can also sprout in a shallow tray (1") of soil and just cut them off at soil level. Good luck! ~ karen
Luanne
I'm curious..... what was the interest like this time around? I'm interested enough to take action, so I'm assuming it is getting a good response?
jill
Oh exciting. I might have to try this. I used to sprout Flax and Chia in a similar way with paper towel and occasionally mung beans. I fell out of the habit and now you make me want to try again.
Shauna
You should know that I was one of those 5 people who read your original post 5 years ago on growing sprouts. It was, in fact, you who inspired me to grow my own. I still have my mason jar and little mesh strainer that fits on top - all because of you:) You've taught me much over the years. And, you're the ONLY blog I follow.
I do like the way these look, very cute. May have a new way to try now.
Karen
These are infinitely cuter. I think it's probably easier to deal with the mason jar ones. Easier rinsing etc. But not nearly as cute. I still have my original mason jar and mesh too! And mine is the only blog you follow? That's quite a compliment. Plus you've stuck it out for years! :) Thanks Shauna! ~ karen
Marna
I use to grow my own sprouts years ago, probably started in the mid 70s. Then about 10 years or so ago they said doing it that way would promote bacteria so I stopped. I sure missed growing my own, I had a variety of different types including using mung beans. I will have to give this a try, thanks. :)
Cussot
Thank you for this, Karen. Right this minute a gnarly little ball of red clover sprouts is struggling to grow in a Mason jar on my windowsill. Not cute enough.
Mindy
I remember your first post, too, I just haven't managed to come across any seeds. Suppose I should just order them online.