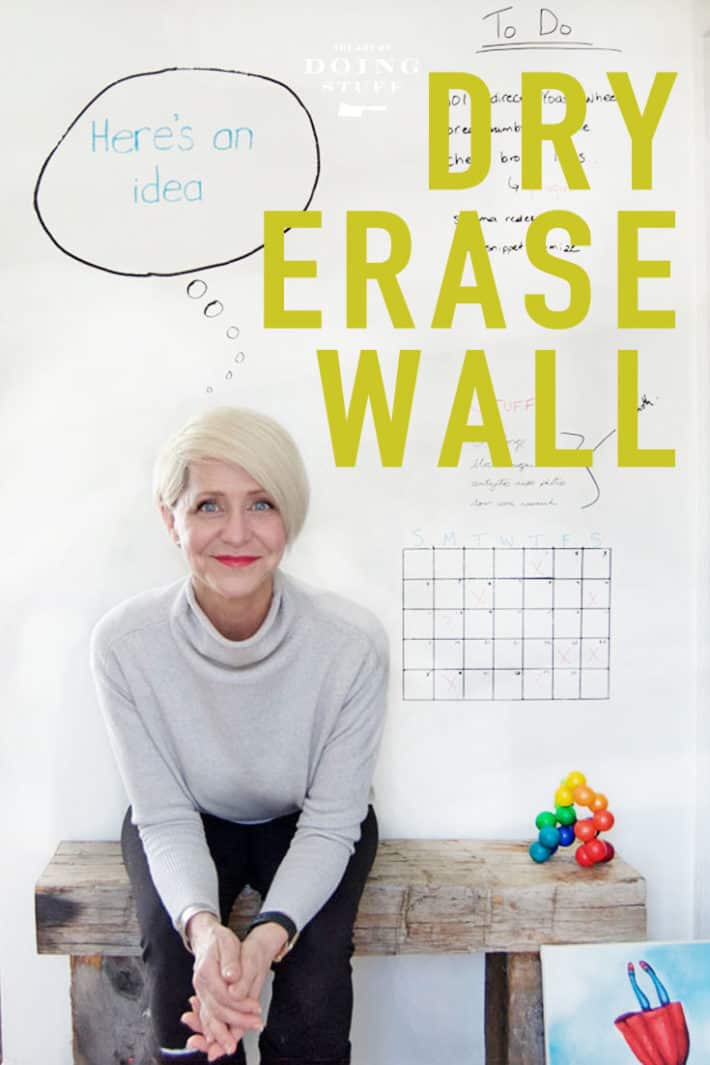
Forget little dry erase boards, if you have large ideas you need a large whiteboard. With a can of whiteboard paint and about one hour you can have an entire Dry Erase Wall. Which is much cooler.

4 years ago I turned an entire wall in my office into a very large whiteboard calendar. And it still looks great. It hasn't made my ideas any better but at least all of my bad ideas are in one place.
My name is Karen and I like to write things down with pen and paper. I do a lot of this in my office to keep track of blog posts. I realize this puts me on par with someone who washes their clothes against a rock or still uses a DVD player, but I don't care. Even though I like technology and use FIVE Google home assistants in my house - I love a good hand written list or calendar. I like it even better on a wall.
I've tried using my iPhone for taking notes but it just isn't as convenient or effective. Whenever you watch a tv show that involves detective work or research, you don't see everyone writing their evolving notes and research on a tablet. They do it on a big wall so everything is easy to see.
At least that's the way it goes on Hallmark Movies and Mysteries.
I painted an entire wall in my office with dry erase paint and haven't regretted it once. When my DIY dry erase wall is - erased - you can't even tell it's different than a regular wall.
I did this on a whim because I wanted to consolidate all of my lists and notes so that I could see ALL of them easily and quickly at a glance. I didn't want to flip through 4 notebooks and 2 wall calendars, plus whatever receipts, napkins or matchbook covers I've written stuff down on.

Beside my office desk I have a completely blank wall. So my first notion was to run to Walmart or Home Depot to buy a Dry Erase board. But ... that wasn't going to be big enough for all of my big ideas.

I did some searching and discovered that dry erase paint exists (it's also called whiteboard paint). It's the same idea as chalkboard paint but Dry Erase. A couple of companies make it but I went with Rustoleum Dry Erase for no particular reason. This isn't a sponsored post!
It's not a new invention, but it was new to me and that's all that matters. It was exciting enough for me to run out and get everything I needed to make an entire whiteboard wall in my office at that very moment.
Which sadly meant I had to leave my laundry only partially pounded on the rock, before running out the door.
My local hardware store had everything I needed and by that night I had an entire whiteboard wall for writing notes.
Table of Contents
What will it cost?
A dry erase wall is going to cost you about $25 if you're in the United States, and about $50-60 if you're in Canada. I can't explain the price discrepancy for those of us in the North but I can tell you even at $60 it's worth it.
Materials Needed
- Dry Erase paint (comes with 1 can of clear paint, 1 can activator)
- Paint brush
- Paint roller (foam or microfibre)
- Paint tray
- Stir stick
- Blank wall
Instructions
You need a smooth wall, so make sure you have that. Sand off any huge bumps and patch any holes.
Would you like to save this stuff?
- Mix the can of activator with a stir stick. It's the smaller can. Then pour the activator into the can of clear dry erase paint.
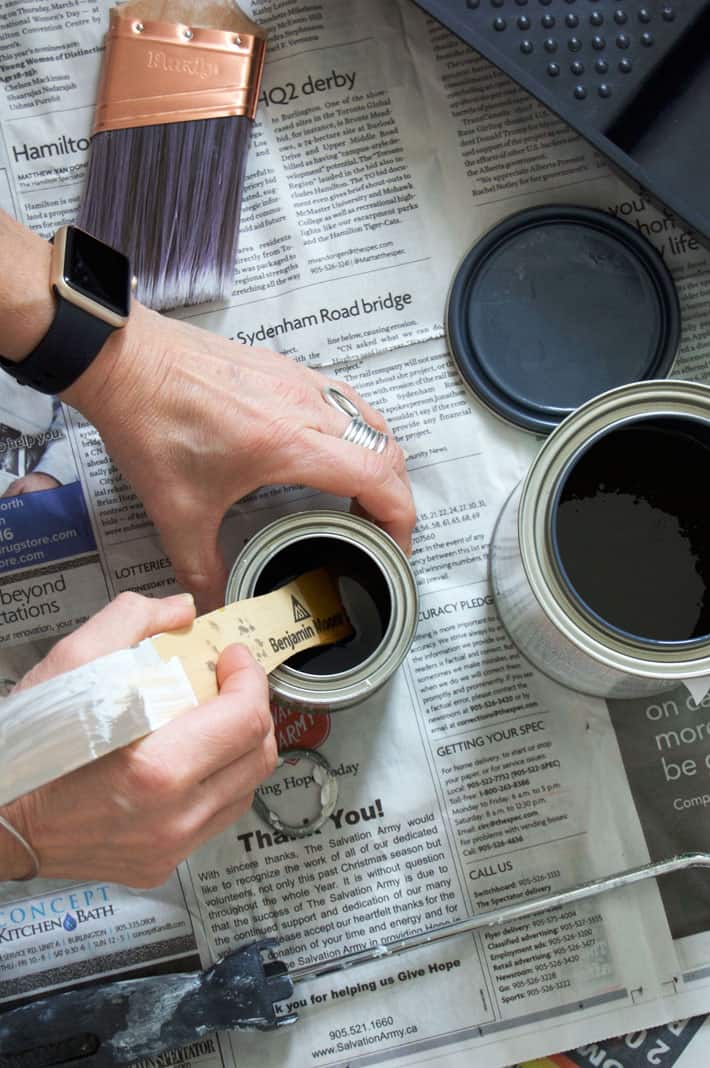
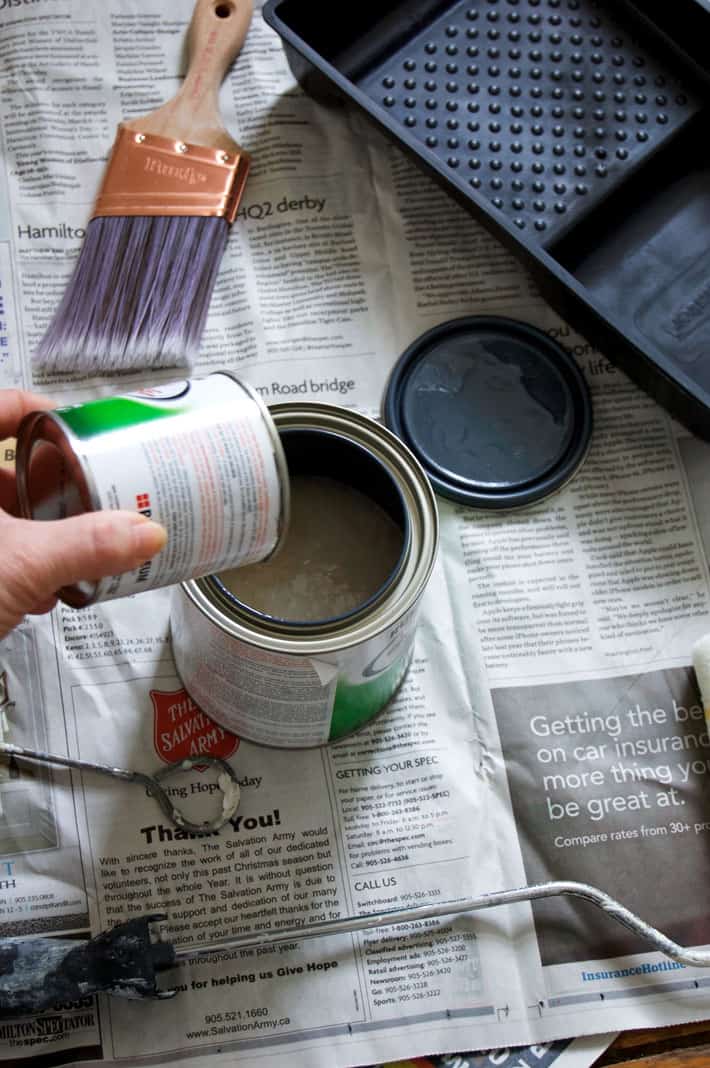
- Stir them together until they're completely mixed and emulsified.

- Pour your mixed can of paint into a tray. It will look white but once it dries it is completely CLEAR.
Because the dry erase paint is clear you can paint over any wall and still see your original wall colour under the clear Dry Erase coating.
(just make sure you buy the "clear" dry erase paint, it also comes in white)

- Cut in near the ceiling and edges. My office ceiling is VERY low so I knew I'd be able to write on the wall all the way up to the ceiling. If your ceilings are high you don't need to go that far up *but* there will a noticeable difference in the wall's finish because Dry Erase walls have a semi-gloss look.

- Carefully roll on the Dry Erase mixture making sure you cover every inch of the area you intend to use as a Dry Erase board. Make sure you do an even coat. If you're doing just a small portion of a wall, tape out the area you want to paint.

- Let the wall cure for 2-3 days (a week is actually better) and then get busy scribbling. And erasing.

See that black thing over to the left of the photo? That's my DIY walking desk. If you work at a computer a lot all day, you should make one too. Although since I got a dog I don't find I need to be forced to walk in my office anymore.
A microfibre cloth works best for wiping off dry erase marker, but a whiteboard eraser works as well. For ghosting or marker that doesn't wipe off with a cloth you need isopropyl alcohol. Dampen a cloth with 99% isopropyl alcohol and white the board to remove ghosting.
2 days is the absolute minimum you should wait before you use your dry erase board. It needs to cure and the length of time it takes to do that depends on the temperature of the room and the moisture in the air. Waiting a full week will give you the best results.
Using the board too soon (before it's fully cured) will stain it.
1, 473 ml can will cover approximately 30 square feet with 2 coats.
If for whatever reason you want to get rid of the whiteboard wall all you have to do is give it a light sanding (this helps paint adhere), wipe the sanding dust off and then paint it with a coat of primer and then your final paint colour.
If want to do this but you're worried because you feel like it's permanent or will ruin your wall - don't worry about it. Just do it. It doesn't ruin anything and I use mine ALL the time When I'm not pounding laundry on rocks that is.
Nope I can't carry it around with me like an iPhone. But I can't drop it in a toilet either.
→Go follow me on Instagram where I often make a fool of myself←


Ginger
I work in a School District and we have Formica desk older than me. So instead of getting rid of the desk I want to change the desk into dry erase tables.
Thank You.
Karen
Brilliant! ~ karen
Randy P
You are a most remarkable woman Ms. Bertelsen. It would seem that like the feng shui teaching Buddha who symbolizes wisdom, understanding, and fulfilling your destiny that you are indeed on that very path. Good onya mate.
Mary W
Clear is game changer! Wonder what other surfaces this may be good for - signed, crafter at heart.
Julie Pearce
Is leftover in can still usable after a while?
Lois
What I need is a small can of something that will permanently activate me. Small cans of heavily caffeinated beverages just aren't doing the job!
Noah Enholm
I make my own dry erase board out of paper. A roll of dry erase contact paper is an important component in the construction of a dry erase board. These contact sheets make it easy to remove markers off the board.
Noah Enholm
I make my own dry erase board out of paper. Be creative with your own dry erase board! Let’s try it out by writing something fun with a marker such as Crayola, and when you’re done simply wipe out all the marks using a damp cloth or tissue paper.
Tina Carr
Love your witty writing. I can’t wait to try this on a wall in my soon-to-be craft/school room!
Paul
You chose clear. However would white allow markings to show up better?
Keiron
Does it come in black?
Karen
Hi Keiron. It's clear! So you can paint it over any coloured wall that you want. :) ~ karen!