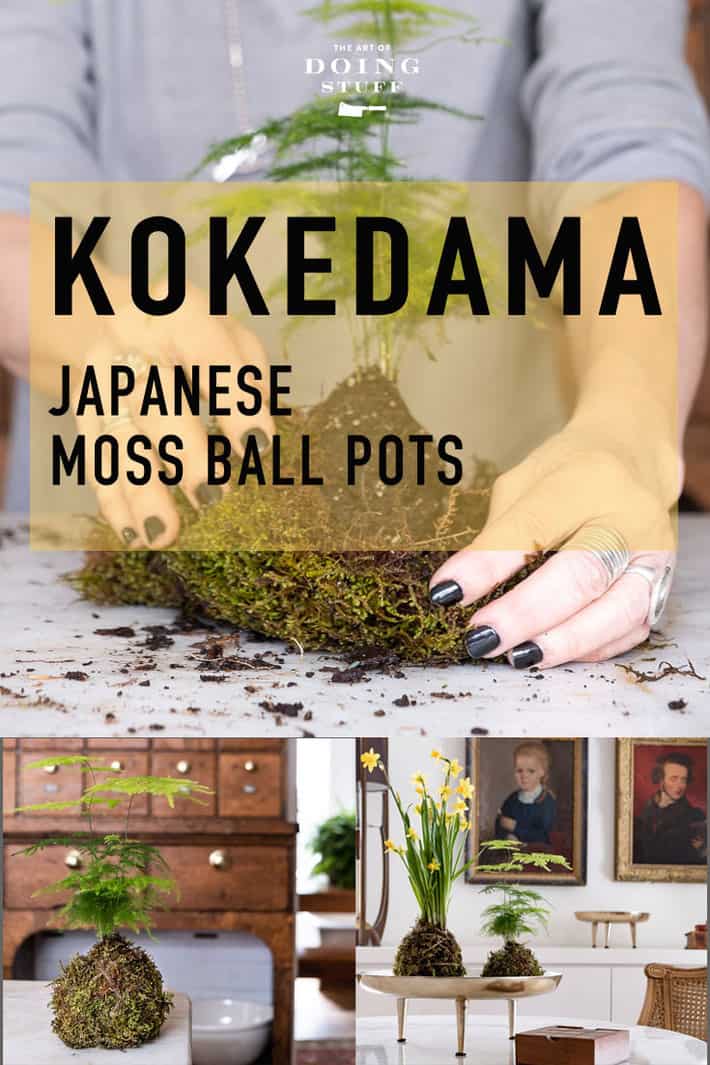
Leave it to the Japanese to take something as utilitarian as a pot and make it elegant, simple and beautiful. With 5 minutes and $5 you can make a Kokedama (Japanese moss pot) that'll give the illusion that you actually know what you're doing with house plants.
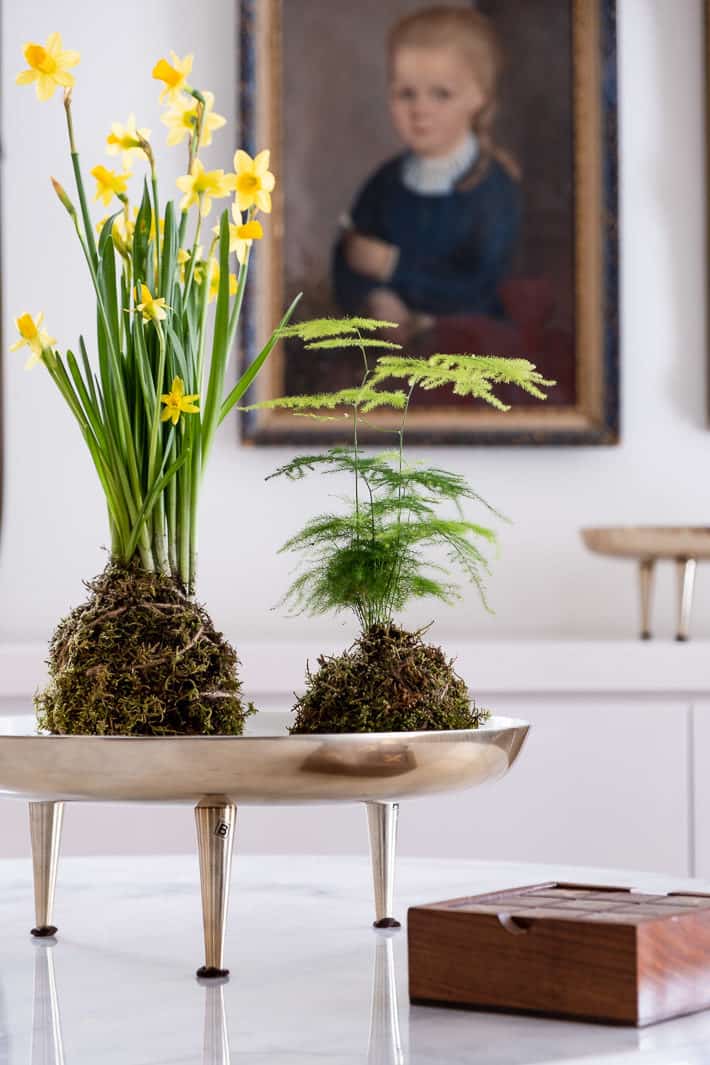
I'd like to go on record as saying that most rooms that feel like they're missing something, are missing something green, organic and living in them.
I'm always surprised when I buy an indoor plant that a) I actually went out and bought another indoor plant which will die of thirst in approximately 2 weeks and b) it can change the whole feeling of a room. Plants add life to a room. At least until you let them die.
Those plants will give DOUBLE the green, organic living juju if their pot is also green, organic and living. Moss.
Kokedama (苔玉) is the Japanese art of growing plants in moss balls. Balls of soil are formed with peat moss and potting soil, compressed and then split in half to allow the plant's roots to be tucked into the centre. The ball is then wrapped in living moss.
But you don't need to do all of that. You can just take one of your regular old house plants, remove it from its pot, press the soil into a ball and cover it with moss. Stand back, admire and watch your room come to life.
If you do this with inexpensive flowering bulbs like tulips, daffodils or hyacinths you'll
How to Make Kokedama
Materials
Sheet moss
Small Plant
Water
Twine, thin wire or fishing line.
Steps
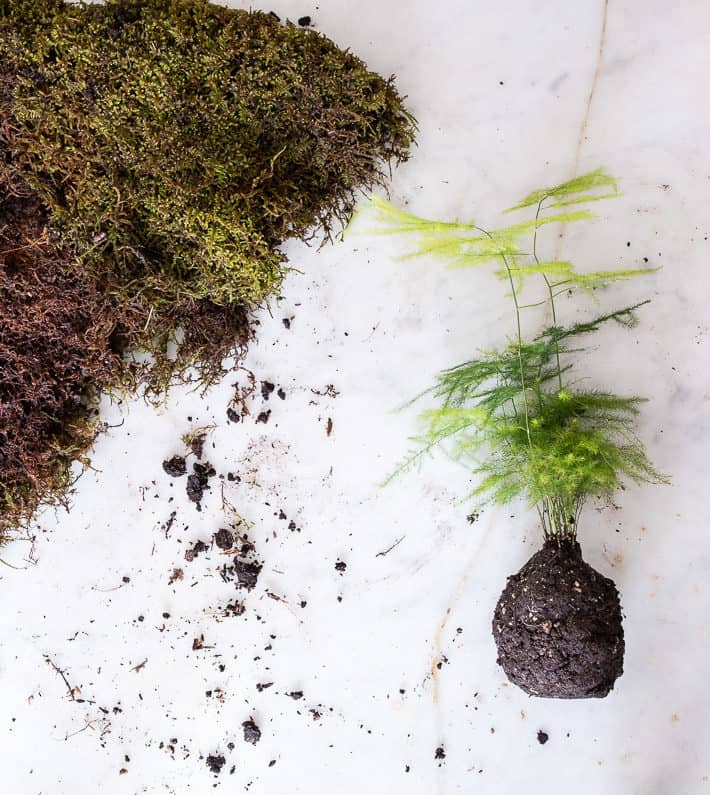
- Soak your sheet moss in a bowl of water for around 10 minutes to revive and hydrate it. Squeeze out the excess water.
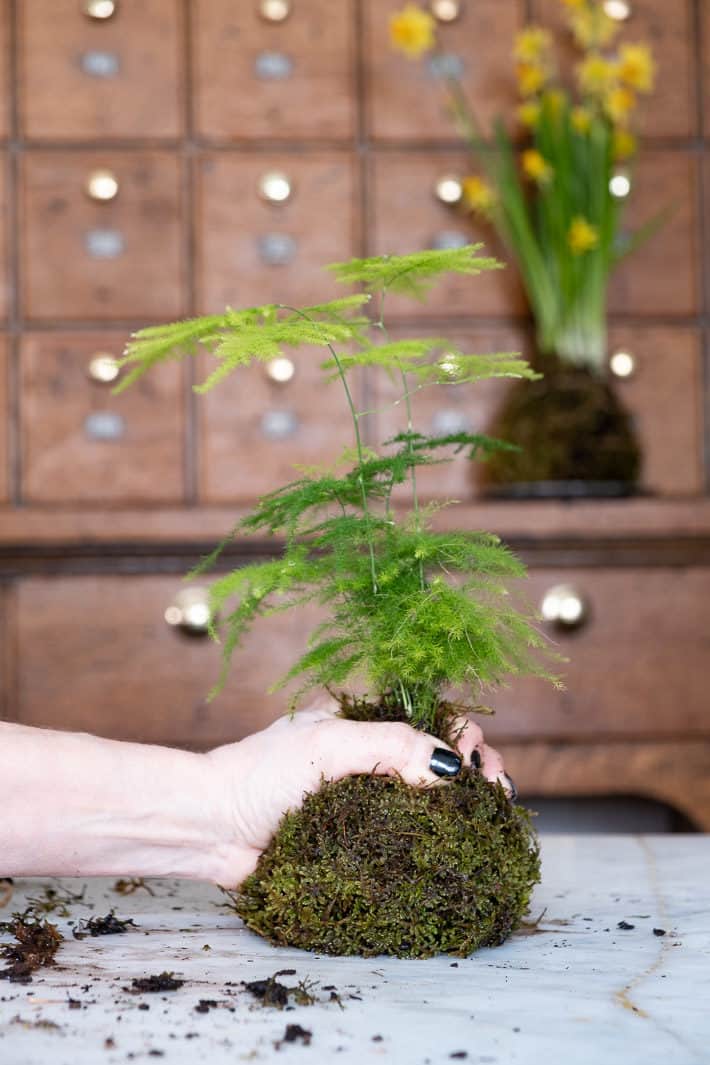
- Remove your plant from its pot and form the soil into a ball with your hands. (soil must be moist but not overwatered in order to form/compact it)
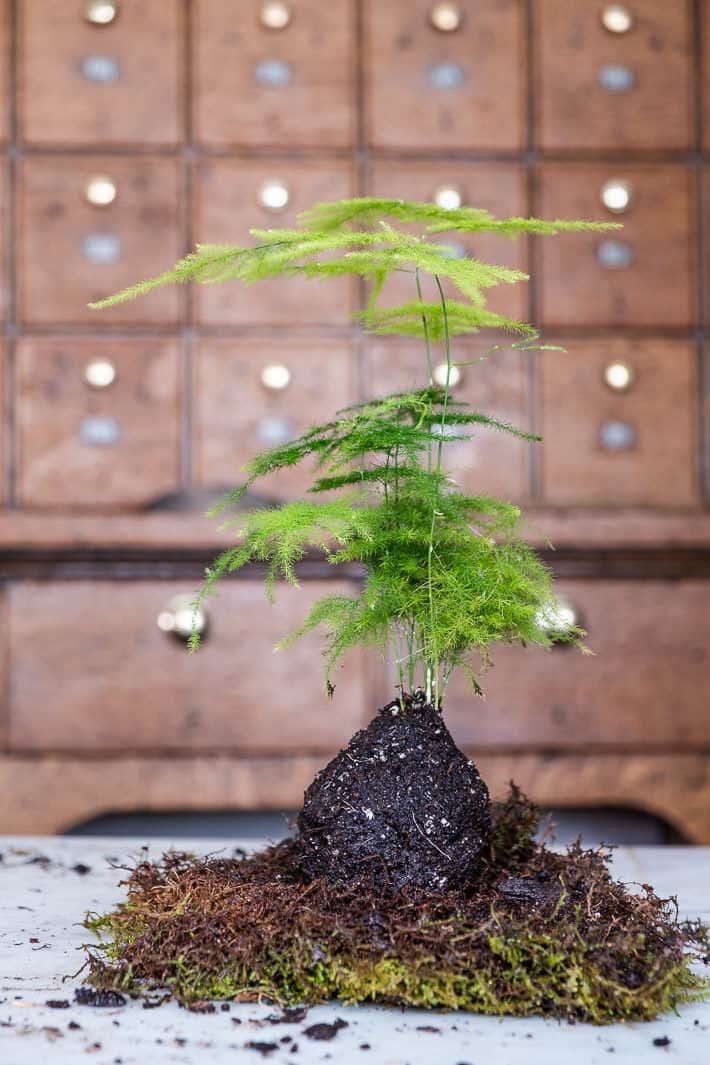
3. Set your plant on a sheet of moss.
4. Pull the edges of the moss up around the ball of soil, pulling or cutting away extra moss.
Would you like to save this stuff?
Save that moss for future projects like building a fairy garden or sanitary pads. The moss sanitary pads will probably only come in handy if you time travel back to medieval days or join Greenpeace - abut still.
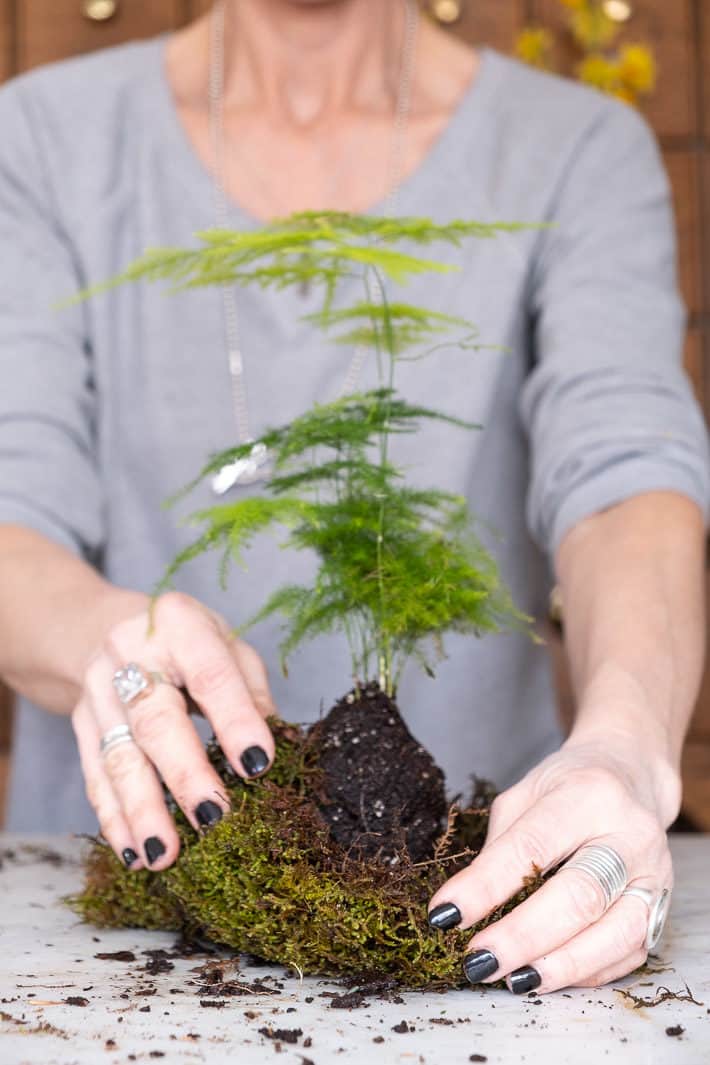
5. Firmly shape the moss around the soil and hold it in place with one hand.
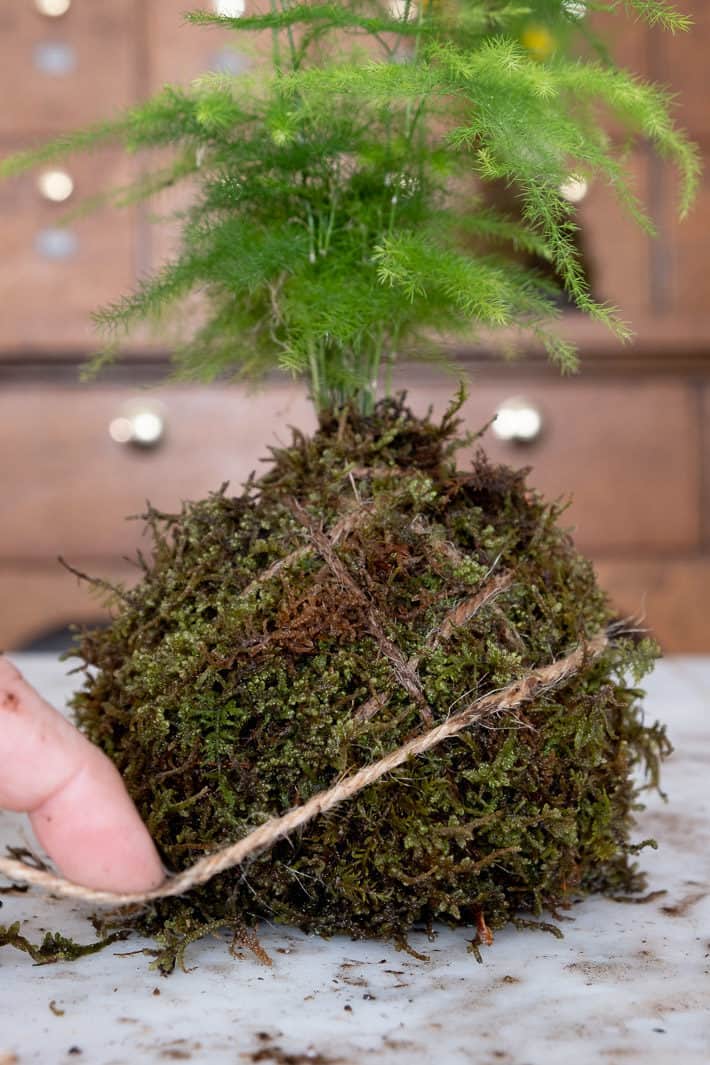
6. With your other hand start wrapping twine, wire or fishing line around the moss to keep it in place and in contact with the soil. When it's nice and tight, tie the string off.

7. To water your Kokedama when it dries out, sit it in a bowl of water for 10 minutes. The water should come around ½ way up the moss ball.
The only thing you have to keep in mind is the fact that you now have 2 living breathing things to keep alive. The moss ball and the plant. But if you can keep one alive, chances are the other will live too.
If you'd rather just plunk a plant down and completely ignore it forever, make some waxed amaryllis bulbs because that's exactly what happens with those.
These don't do well in direct sunlight because the moss will dry out quickly, go brown and die. It'll still be useful it just won't look as good. And you'll have killed yet another thing.
Also don't place these on any surface that can be damaged by moisture or stained by the moss.
KOKEDAMA TIPS
- Traditional Kokedama are often hung like planters just by tying 3 long pieces of string to the twined moss ball.
- You can shape the bottom however you like. Perfect spheres are typical but I like mine to be a bit of a teardrop shape.
- If you plan on keeping this thing alive for years, use waxed string instead of twine. Regular twine will eventually rot away.
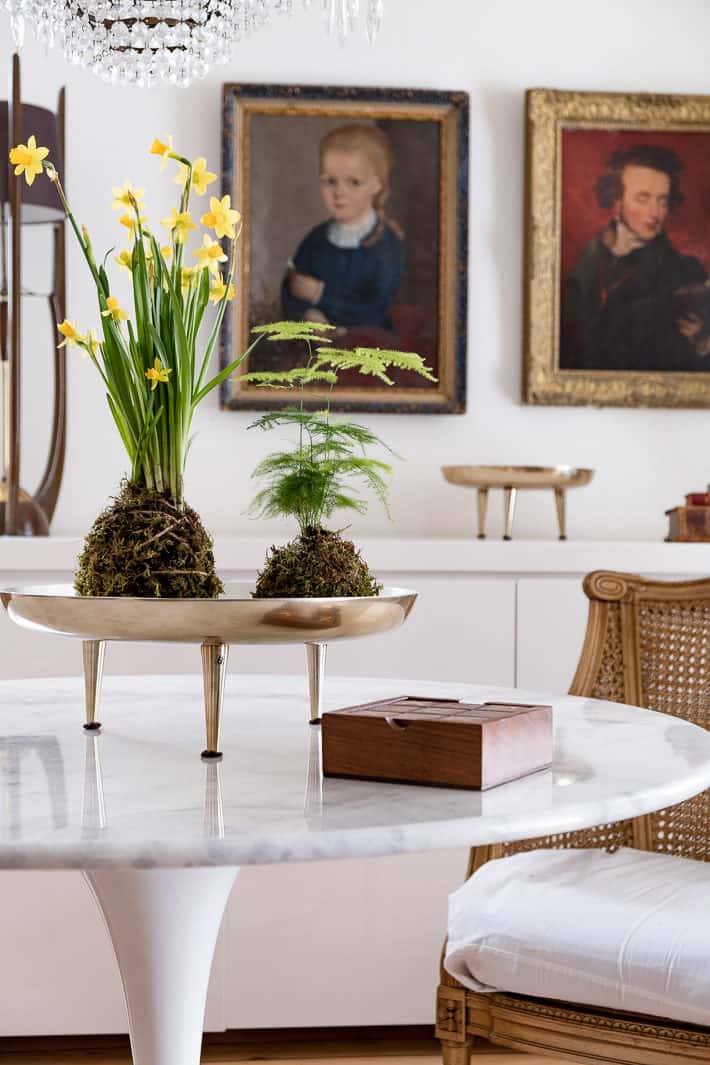
- For a natural look set them on a glazed clay saucer. For something more inspired set them on a cake stand (those mini ceramic cupcake stands would work great for a small Kokedama), a teacup saucer or a disc of wood.
- If you can remember to do it, misting the plant and moss ball will delay it's inevitable (in my house anyway) death.
Hairy Green Balls (not be be confused with Big Hairy Balls) could be just the thing you need to add life to your bedroom.


Deb from Maryland
I'm excited to try this version!
Vikki
Just an aside--I bought a waxed amaryllis bulb at Christmas. After blooming I followed advice and removed the wax and planted the bulb. Was not expecting alot, but this plant is thriving. It's putting out big, green, healthy leaves and I think it will rebloom next Christmas. Being waxed did it no harm.
To be continued.......
Karen
Good to know! Thanks for the update Vikki. I've managed to keep mine alive as well. :) ~ karen!
Cindy Marlow
I see (and have made) Kokedama with plants that have a definite root system and top growth. I don't see how one does this with a bulb. Does the entire bulb go in the soil or must one start with a bulb that has already pushed top growth? Asking for a friend....
Karen
Hi Cindy! Just use bulbs that are already potted up in soil. :) ~ karen!
Lin
How cute is that? Never thought it would be that easy. But...wait a minute....Are those TWO new vases/plates? Do they have a proper place after your purge?