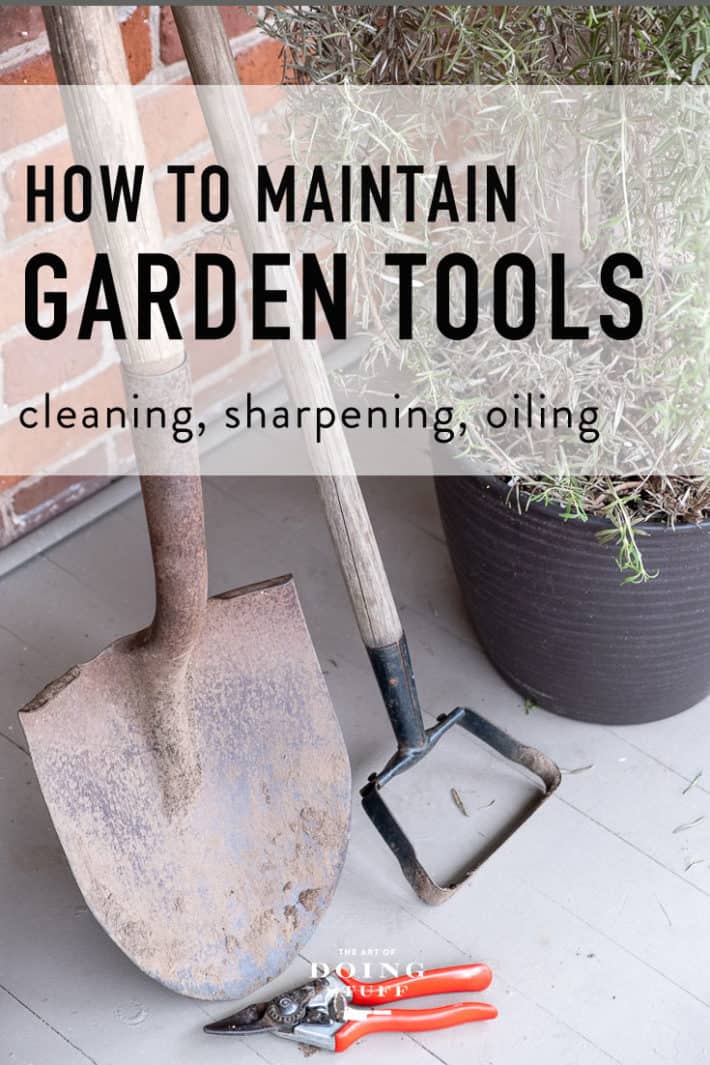
A beginner's guide to cleaning up your dirt tools. From how to clean your shovel to how to sharpening your hoe.

I like to pretend I'm one of those people who cleans off, shines up and sharpens her tools after every use - but I'm not. I'm the kindda gal who drops them in the dirt, walks 2 feet in another direction and then can't find them again for 4 days. I just consider it an un-amusing game of hide & seek.
Often they're found when I trip over them and injure myself. Just ask my nose and it will tell you all about the rake it found last week.
Table of Contents
How to Maintain Garden Tools
What You’ll Need:

- Wire brush
- Steel wool
- Pocket sharpener or Speedy Sharp
- Bastard file (a regular coarse file)
- 3-in-1 oil (optional but encouraged)
Everything I use is on my Amazon Shop page .
How to Use a Bastard File
Video below
Step 1: Assess the Damage
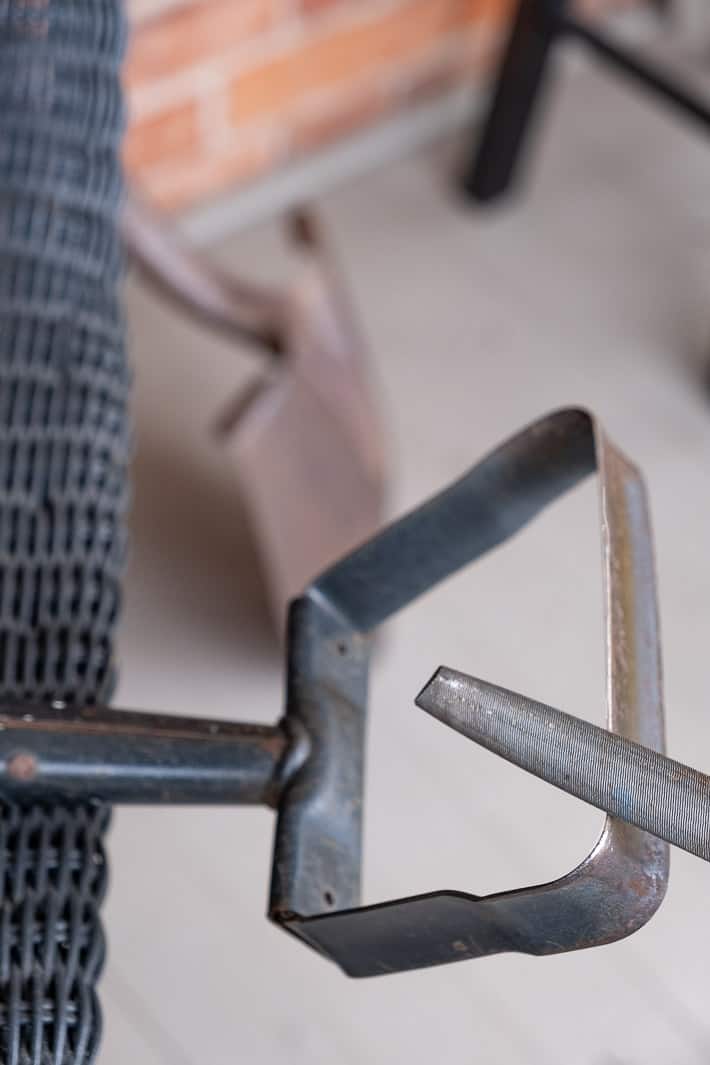
Pick up your poor, neglected tool and take a good look. Chances are it’s covered in soil, rust, sap, and—if you garden like I do—more than a trace of DNA. That rust around the spring? The caked-on soil? All of it needs to go.
Important reminder: Never leave soil on your tools. It’s worse than rain because moisture gets trapped between the metal and the dirt, and that’s what causes rust. If it rains on a clean tool? It’ll dry. If it rains on a dirty one? It rots. Like this. And this. (Yes, I’m showing you my own tools. I do not follow my own advice. I am tired.)
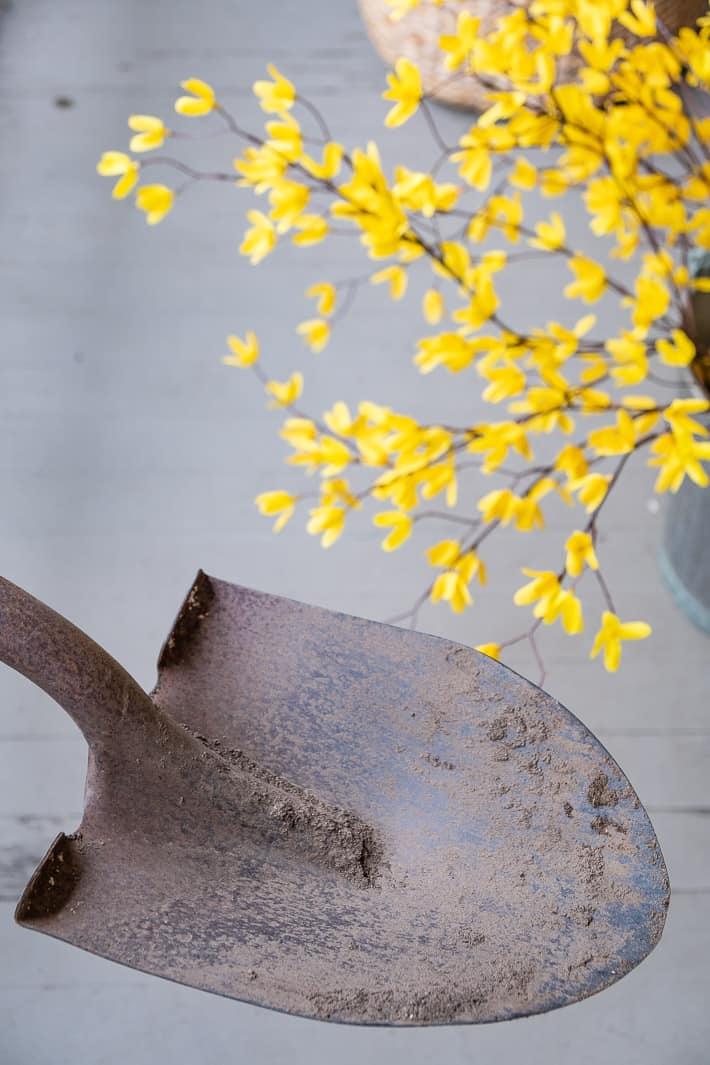
This is one season's worth of desperation and triumph.
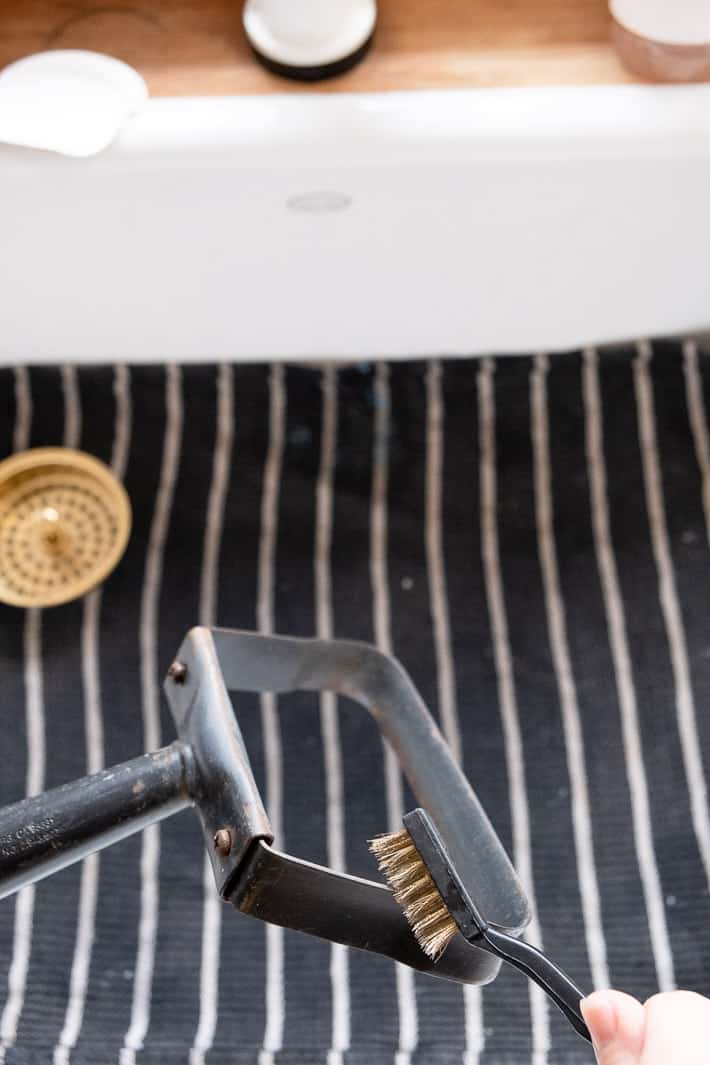
Step 2: Clean Off the Rust
- Use steel wool for light rust.
- Switch to a wire brush if the rust is stubborn.
- If you’re feeling ambitious use a drill or Dremel with a wire brush attachment. I usually do. This time I didn’t. Character growth?
Once the rust is off, wash the tool with soap and water, then dry it thoroughly. Thoroughly as in towel-dry and let it sit in the sun like a lizard on vacation.
Step 3: Sharpen That Thing
Tools that need a bastard file:
- Shovels
- Hoes
- Edgers
Would you like to save this stuff?
Hold your tool securely—either in a vise or jammed against your body in a way that feels stable but not like you're about to stab yourself.
Look for the bevel—the angled edge that was there when the tool was new. You’re going to copy that angle. Run the file along the bevel in long, even strokes, always in the same direction. No back-and-forth sawing. File forward, lift, repeat.
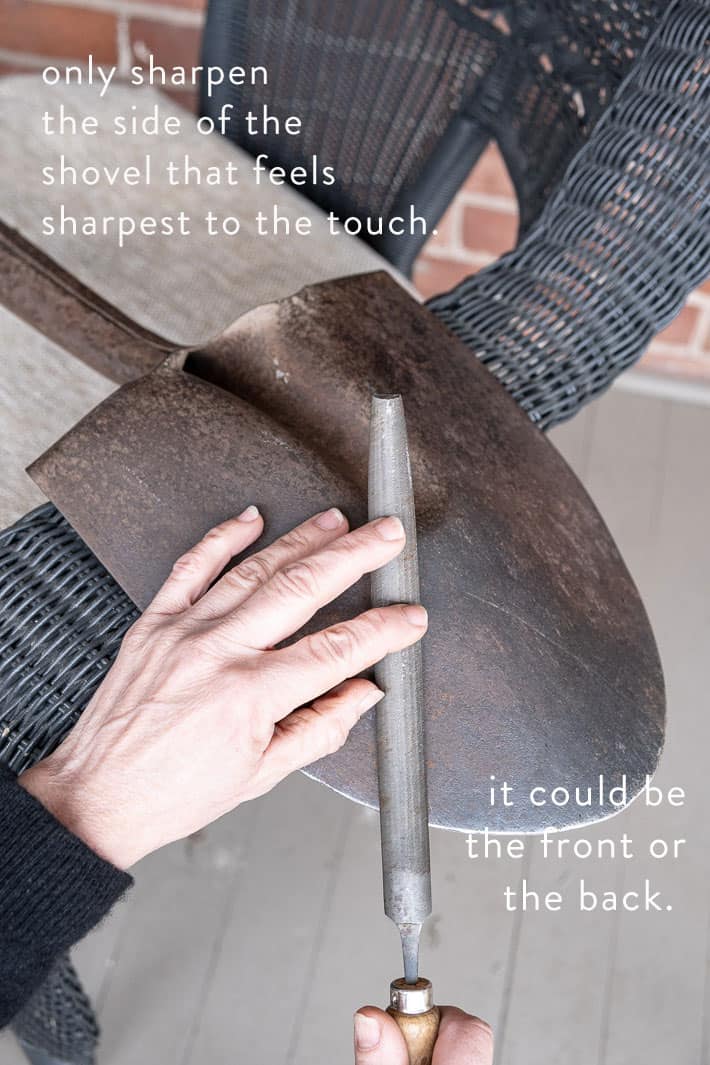
When the entire edge is gleaming from top to bottom, you’re done. Feel the underside (gently!) for burrs—those tiny, raised shavings of metal. If you find any, a light pass with the file on the back side will smooth them off.
Tools for a pocket sharpener:
- Pruners
- Scissors
- Garden knives
- Loppers
- Any tool that just needs a bit of love, not full blade rehab
For full blade rehab see here.
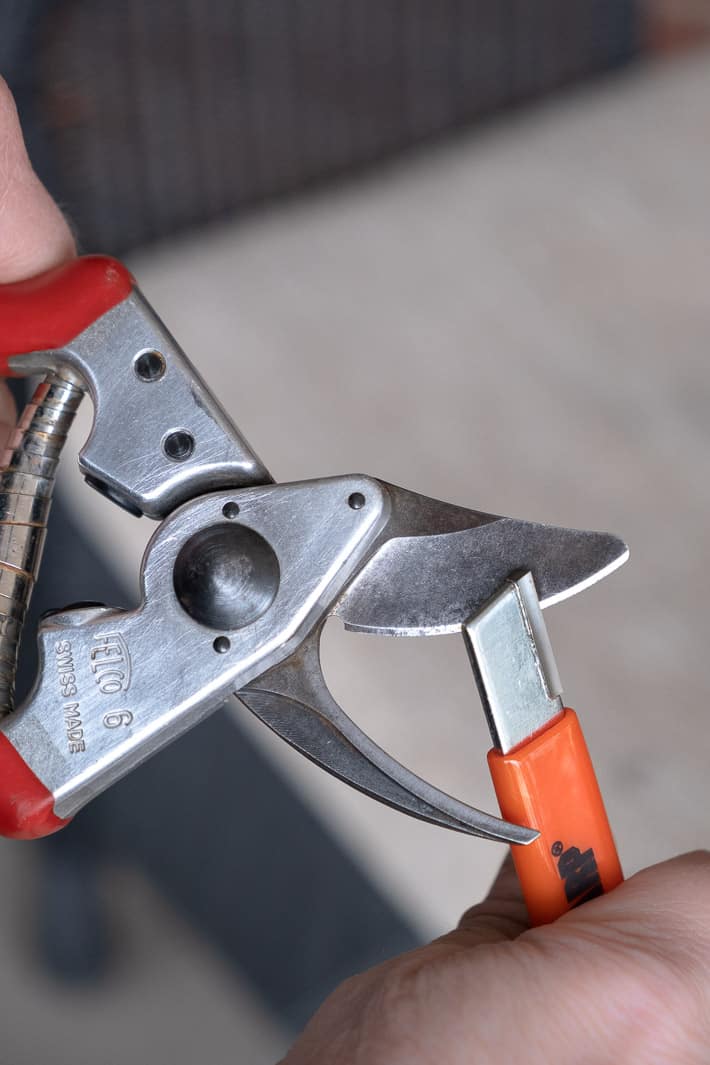
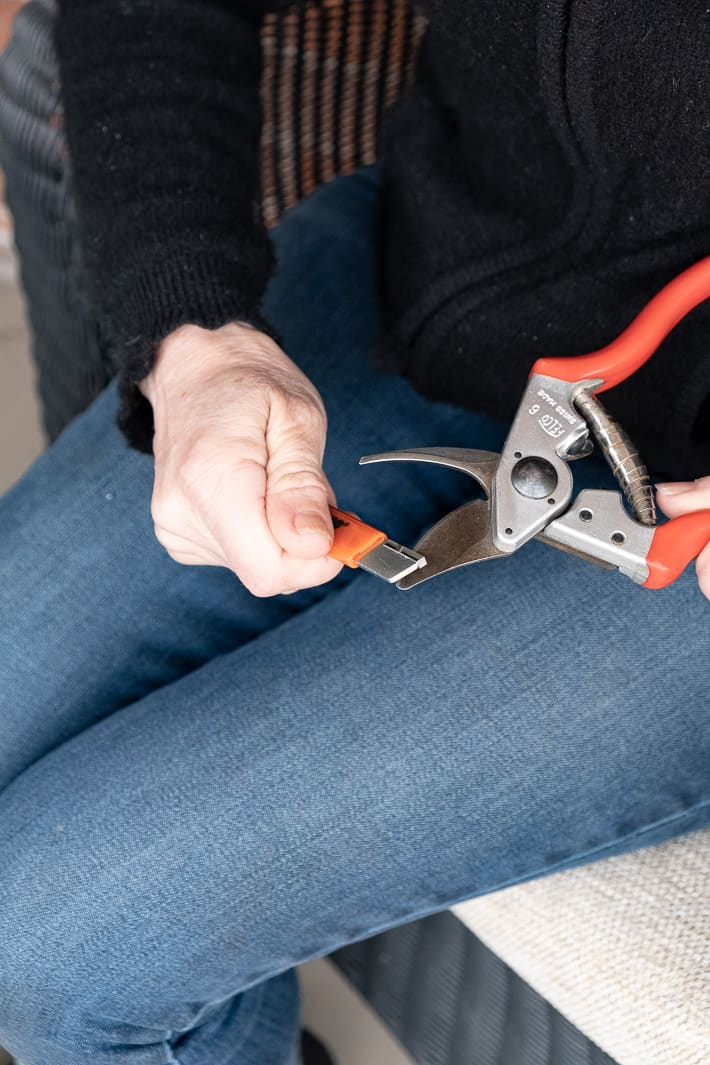
I use a Speedy Sharp—a tiny carbide-tipped sharpener that lives in my pocket like a secret weapon. One side sharpens, the other hones.
Run it along the bevel a few times in one direction until you see a shiny, clean edge. Then flip it and use the honing side to refine the edge. That’s it. Done.
Final Touches
- Spray the metal with vegetable oil or 3-in-1 oil to prevent rust.
- Oil the joints of your pruners or loppers, then wipe away any excess.
- Sand wooden handles and seal them with varnish or Thompson’s Water Seal.
- Or paint them bright yellow so you stop losing them in the garden like I do.
Extra Advice from Someone Who Barely Follows It:
- You don’t need to over-sharpen. A shovel isn’t a chef’s knife. It just needs to cut into soil—not your foot.
- Always wear eye protection when filing. Eye patches aren’t universally flattering.
- If you’re yelling “Come out, come out, wherever you are” to your tools—you’re too late. Paint them neon next time.
Sharpening garden tools isn’t an art form. It’s not a test. It’s not a ritual. It’s a small way to make your life easier. Just do your best—and keep your fingers out of the way.
Garden Tool Sharpening Tips
- Don't over sharpen. Over sharpening wears your tool edge out before its time. Also, a super-sharp shovel can be dangerous. You don't need it to be as sharp as an axe. You just need it to easily go through soil. If you slip you don't want the edge of the shovel to be so sharp it'll cut through your boot or foot.
- Really do try to remove soil from your tools after using them. Even if I don't.
- Wood handled tools can be sanded and varnished, painted or protected from the elements with a waterproofing material like Thompson's Water Seal.
- Wear eye protection whenever you're filing metal. You don't want a metal sliver in your eye because eye patches aren't sexy on everyone.
- Don't want to lose your tools like I do? Paint them a bright colour so you can see them in the garden.
I personally think a well used, slightly mangled garden tool is the sign of a real gardener but every once in a while you do need to Martha them up a bit if you expect them to actually work.
→Don't follow me on Instagram because honestly, who can be bothered?←


D
Thank you for this article!
Wayne Kivi
Glad to have you back. We all missed your advice and hearing about your adventures. Good luck with your housing issues, it's a difficult choice, do I stay or will I be happier in new digs.
Karen
I already organized, so I'll stay. :) Plus there's nowhere in this town to move to that would work for me. ~ karen!
Ada
Hi Karen,
Mother Earth News did an article on a bucket filled with sand and leftover crankcase oil, to be used to clean your tools. Have you ever tried that?
Love your tips. Thanks
Karen
Hi Ada! I've seen or heard of that. I feel like it's an old trick, but I've never tried it. Sounds plausible! ~ karen
Shelagh
I did a search on your site for boning knives and found this... everything is helpful... thank you. Will you be doing an article on the best knife to debone a chicken anytime soon?
I have 20 whole chickens being delivered in September 2020 and would like to butcher them myself... advice?
Karen
It's not on the schedule at this point, no. :) But just Google breaking down a chicken and watch YouTube videos. I use a chef's knife and just a thin very sharp knife for cutting the skin and between joints. If you find some good videos they'll show you how to follow the fat lines as a guide to where exactly to cut. ~ karen!
Penny
Just a thought . . . why do so many manufacturers of garden tools give them GREEN handles??
I may be a cynic, looking at the world through sludge-tinted specs, but I've often wondered if they actually mean us to lose the bloody things so they'll sell more!
I've invested in Sugru, a moldable silicone putty, and made custom grips in freaky colours for my secateurs. Much easier to find, and more comfortable to use with my slightly arthritic hands.
And Mark is right, stainless steel tools last longer and are especially good if you have a heavy, sticky, clay soil to work with.
Marna
Thanks for the reminder. I mostly only use small garden tools these days, can't even manage a large shovel, have kid sized ones, but they are for adults. I remember my dad always cleaning and working on his garden tools. :)
Mark
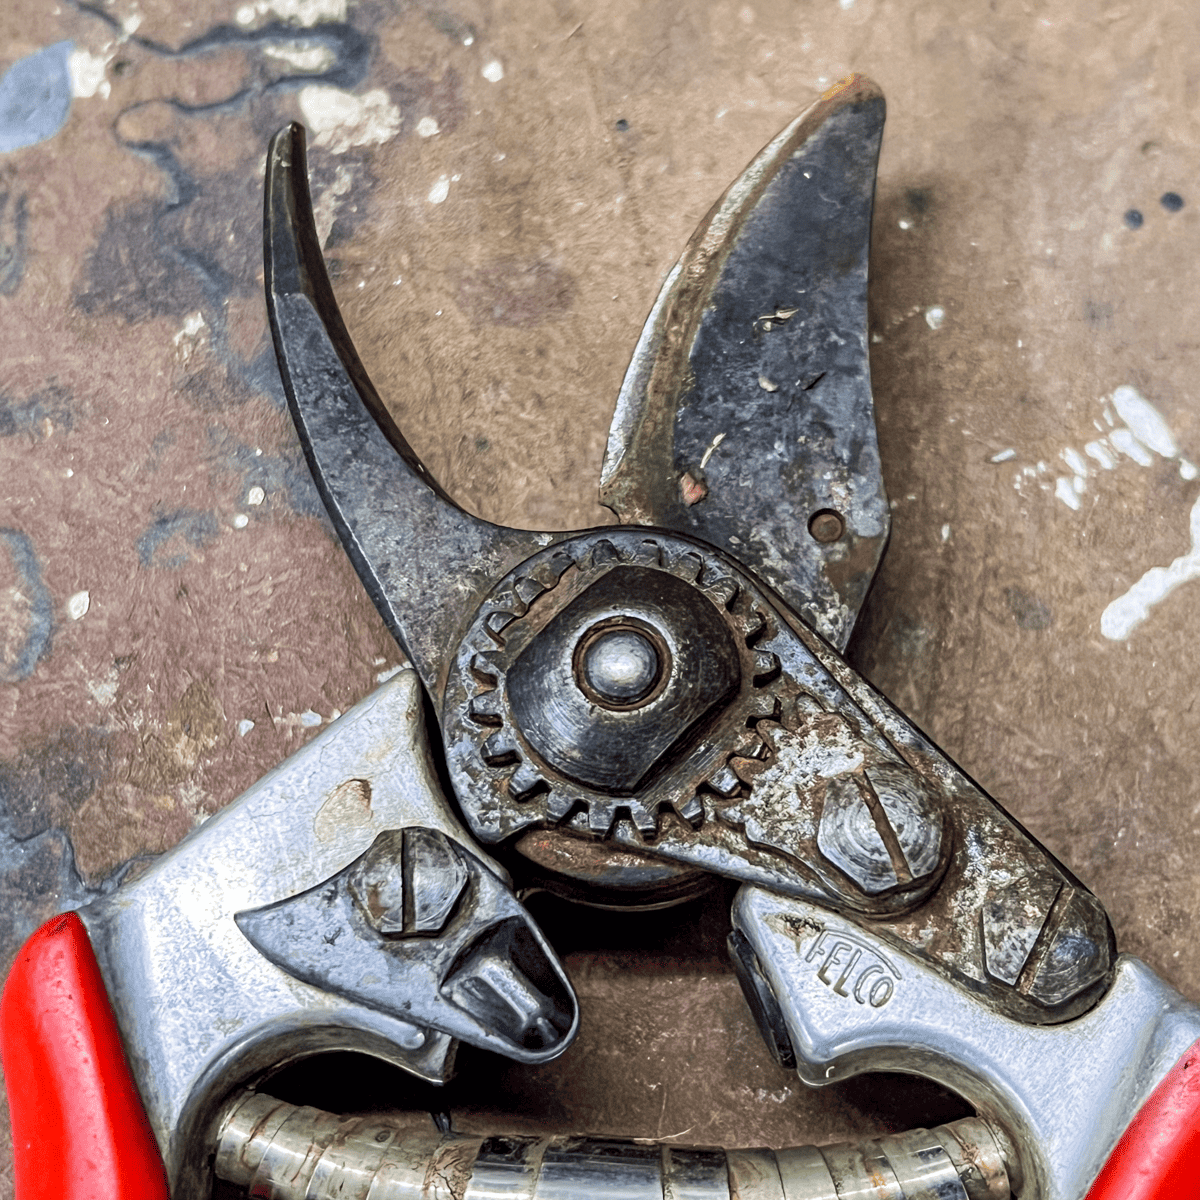
Some good ideas in your post and comments, however this would have been a much more appropriate post for December or January when there's nothing else doing for the garden. I'd also recommend taking your Felco or similar pruners entirely apart - giving them a good steel wool cleaning, a little oil, perhaps replacing blade or spring as required and of course a sharpen. Much easier to do when the blade is removed from the rest of the pruner (so I suppose not 'half-assedly maintaining).
My other suggestion to help with the maintenance is invest in stainless steel tools - as they are so much easier to clean and also a lot easier to work with as they slip through the soil much easier.
leo muzzin
ok so here is the last word on stamped vs forged shovels. Guess which is which if the picture uploads.
Jackie Johnson
Thank you so much.