As you know, I was once married to a stuffed animal. No wait. Wrong story.
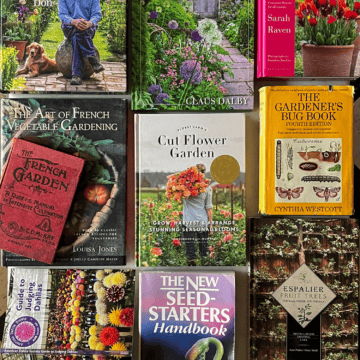
As you know, I'm growing my own vegetables from seed this year. I ordered a bunch from Cubits and Twig & Tree and hoped for the best about a month and a half ago.
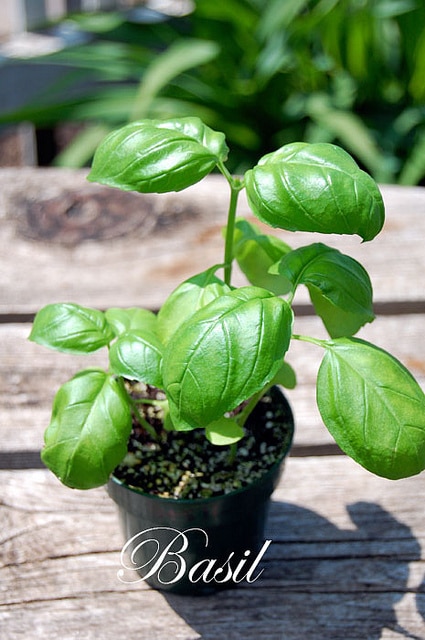
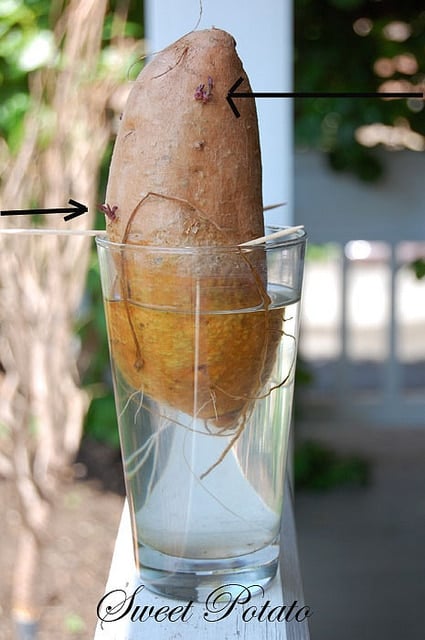
Right about Easter as a matter of fact, I got out all of my soil, pots, and seeds, threw the grow lights on and got to work. I planted heirloom tomatoes, basil, Amish Cockscomb and a few other things including sweet potatoes.
So far so good as they say.
In less than 2 months I am now preparing my plants for their big move from a cramped condo with artificial lighting to their spacious new home with lots of natural sunlight and a really great landlord, I might add.
It's now time to harden off. Hardening off is getting your plants acclimatized to their new environment. You can't just take a plant you grew indoors and throw it outside and wish it well. It will up and die on you immediately. And then it might punch you in the nose.
For your plants to grow up into healthy happy, vegetable producing adults, you need to harden them off. I keep saying harden. Heh.
Basically all you have to do is take your plants outside for a few hours, increasing their time spent outside by a few hours, every day for around a week.
Everyone does it a bit differently, but this is a hardening off schedule you can use because you don't have any other friends to help you with hardening. Off.
- Day 1 - Set plants outside in the shade, protected from wind and direct sunlight for 3 hours. Bring inside.
- Day 2 - Do the same for 6 hours. Bring inside.
- Day 3 - Do the same for 9 hours. Bring inside.
- Day 4 - Set the plants where they get a little less shelter for the day. A tiny bit of breeze and sun can hit them now. Not for HOURS and HOURS. 1-2 hours in a partly sheltered area. Bring inside.
- Day 5 - Same as Day 4, but allow 1-2 hours of direct sunlight. Bring inside.
- Day 6 - Allow the plants a bit more sun than they had the day before. (allow them to stay outside all night for the first time unless it's unusually cold.
- Day 7 - Set the plants out so they're in the sun most of the day and leave them outside at night again.
- Day 8 - Plant your plants outside. (do NOT plant outside if frost is still a possibility)
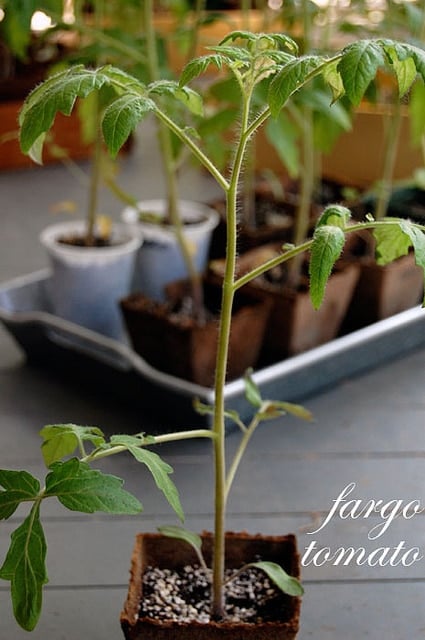
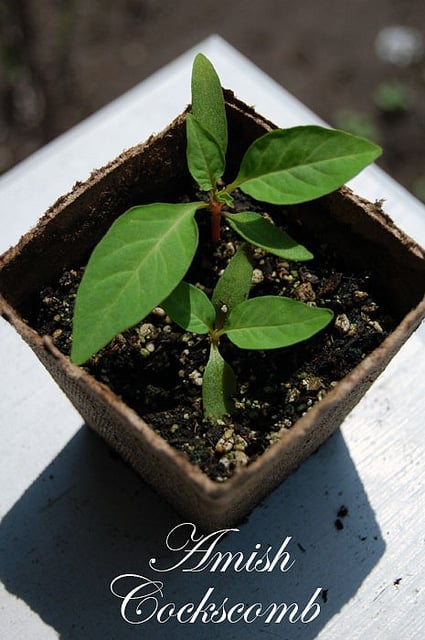

photo via Twig & Tree (where I ordered this seed from)
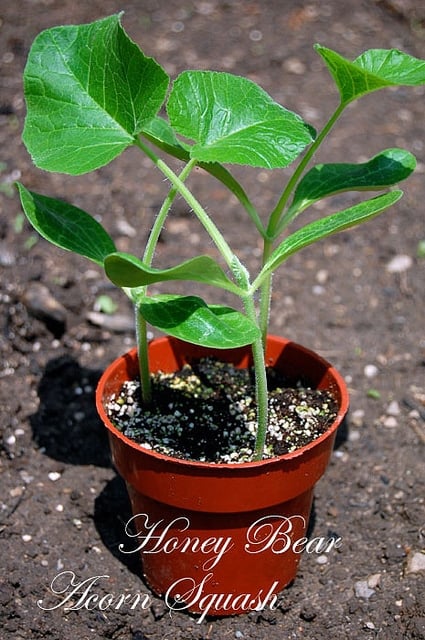
Also grown from seed, Acorn Squash.
Would you like to save this stuff?


Liz
How long did it take your sweet potatoes to sprout after they developed roots? I have two that have had roots for a couple of weeks now, but no sign of a sprout.
Karen
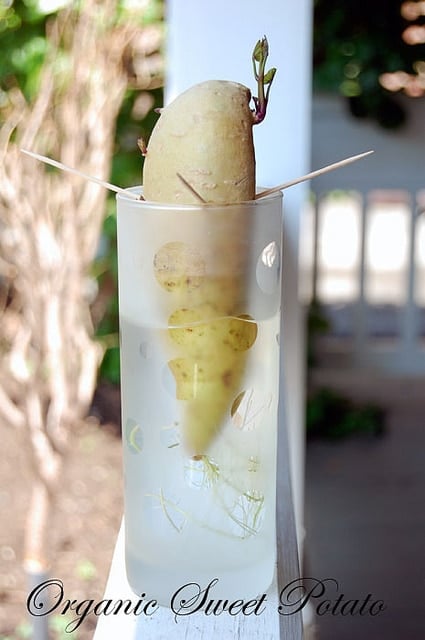
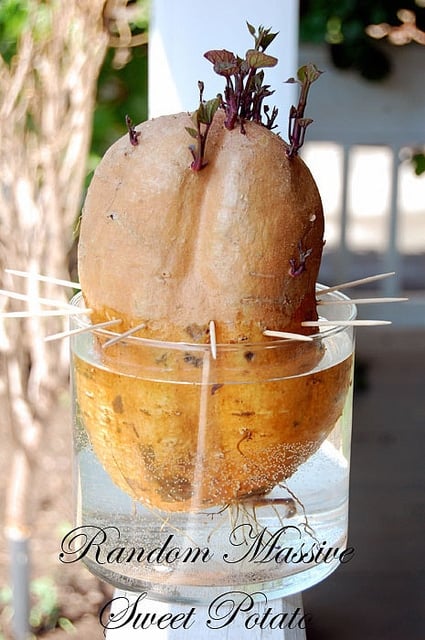
Liz - It depends on the sweet potato. I've found they're incredibly random! I have a few with big sprouts and hardly any roots at all. Like 2 o 3 inch long roots. I have one that had all kinds of roots and just 3 nubs of sprouts. Well all of a sudden, one day those nubs of sprouts grew about 4 inches! If you're anxious, make sure you get some black plastic cloth to put down where you want to plant the sweet potatoes. If you do that for at least a week prior to planting your sweet potatoes, it'll get the ground nice and warm and help speed up the growing. You can actually plant any length of slip. The longer the better, but a 1" slip broke off one of my plants and I stuck it in some dirt under my grow lights and it grew away like normal. ~ karen!
Liz
Thanks! I wasn't really expecting any hope of growing sweet potatoes in my northern Sask climate but I was hoping for some decorative vines for my flower pots. Can you please just clarify the slips?
Is it just the vine that's broken off the potato? or do you have to cut out a bit of the potato to include with the vine? and do you have to root the slip in some water before planting it into the soil? or do you just simply stick the broken off vine into some soil and it will grow? I'd REALLY appreciate some clarity on this (not that I'm paranoid of failure or anything :)
Karen
Liz - You just break the "slip" off where it meets the potato. No need to gouge any potato out with it. Some people root it first, but you can definitely just stick it in dirt. That's what I'll be doing. ~ karen!
Liz
Thank you ever so much!
Nancy Blue Moon
You are telling a lie again..aren't you young lady??? Bless you Betty..It must have been so hard to raise that one...
Shauna
I suppose those of us who work full-time cannot ever grow plants from seed unless we take a week off to make sure we harden our plants correctly:(
Deborah
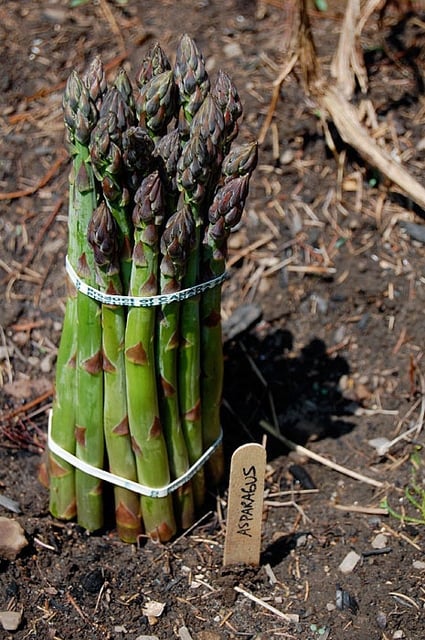
LMAO....this post gives a whole new meaning to the words "FOOD PORN" ! My tomatoes, tomatillos and variety of herbs are outside on Day 5 of hardening...really, really, REALLY want them in the ground before Thursday as we are heading up to the cottage for the loooooooong weekend! My peppers I am taking with me for the ride as they are still too delicate for the great outdoors....AND....pretty nifty getting the asparagus to grow in no time flat! :P
Claudine
Great post. My tomatoes are out for their second day, acclimatizing to life in the garden.
I'll have to check out the cockscomb. That is beautiful. I had to go back and check it out after reading the "inflamed lady parts" comment. Too funny.
Thanks, as always.
AmieM
HAHAHA! I love the asparagus photo.
Sarah in Illinois
Thank you for the hints! I have killed SO many tomato plants in the hardening stage!
And do tell how you manage to grow your asparagus so orderly and uniform! ;)
Lisa
I bought some cockscomb at the local farmers market last year but failed to ask what it was! It was pretty and different and I loved it - glad to know what it was now! I'm still so jealous of how big your seedlings grew - gotta look into that light! All of my plants have been in the ground (here in Northwest, Indiana) for a little over a week now and so far so good! Can't wait to see your progress.
Langela
Don't forget to plant your tomatoes up to their first "true" leaves. They will grow roots all along their stem and this will help your plant get strong. I put mine in the ground, put a coffee can around it, and fill it up with soil up to the true leaves. I also put a milk jug, with the bottom cut off, on the top of the can. This creates a greenhouse of sorts and gives them a jumpstart at staying warm and moist. Also, I just learned this year that your tomato seedlings need breezes to help them strengthen their stems. A light fan on them in the house or a breeze outside during hardening off will help. They also need calcium to keep blossom-end rot away. You can crush eggshells to powder and put them in the hole when planting. Powdered milk will also help. Are you tomatoes indeterminate? Most heirlooms are. If so, be prepared for them to get 10 foot tall or more. Ours last year got about 14 foot high. It was our first year planting them, so we were unprepared for the staking needed. We only had stakes up to 8 foot.
Your seedlings look awesome, Karen!
Karen
Um. What? LOL. A 14 ft. high tomato? LOL. I've never heard of such a thing. I knew all the other stuff but ... A 14 FOOT HIGH TOMATO? ~ karen
Lisa
In Chicago, my heirlooms would probably reach 8-10ft, if I didn't cut the tops off. The stems are too small to hold an heirloom, even if one grew to maturity. I top them down to about 5.5-6ft every year.
Langela
Indeterminate makes them more of a vine than a bush. Determinate means they have a somewhat determined height. My plants' stems hold them up just fine, as long as they are staked. I've not tried topping them. Will have to research that this year.
Just so we're clear, Karen. It's a 14 foot high tomato PLANT. Not a 14 ft high tomato. :) I don't want you planning any city wide tomato canning events.
Karen
Hah! ~ karen
Barbie
PS: We have always used a LOT of celosia "coxcomb" in the dried floral industry...it is sturdy and dries really well....you should cut and dry some for using later in some arrangements. We spell it differently, but I think there are a couple of different spellings. :)
Debbie from Illinois
Just wondering if you "harden off" that Cockscomb with the Fella's help???? Bawawawa!!!! I crack myself up!
Debbie from Illinois
Barbie
OMG! I just woke up my WHOLE HOUSE at 5:27am laughing at that last picture! LOLOLLOLOL
Karen
Apologies to everyone. :) ~ karen
Sharm's Outlet
I am excited about your garden as well as mine but this was a great piece of information and thank you so much for sharing...
marilyn
my garlic is growing!!!
Karen
YAYAYYYYYYYY! Garlic is fun because by the end of spring it's already HUGE. ~ karen!
Melody Madden
We have asparagus as well but the stalks are no where near as thick as yours .. Sigh. What does it mean to pinch of basil?
Karen
Melody - You just pinch off the top pair of leaves. This promotes the growth of two new pairs of leaves on the plant. Pinching back makes your plant bushier and sturdier and bigger as opposed to taller and spindlier. You can pinch back all season long. ~ karen
Ann
It takes forever to get a sweet potato to sprout and give up useable slips. And then a very long warm growing season. Good luck with that one, sis!!
Karen
Ann - Yes. That's why I started the slips in March. I also have black ground cloth down to warm up the soil they're going into. It actually isn't unusual at all to grow sweet potato slips in my area. ~ karen
Laura Bee
All this talk about hardening, cockscomb & then the big purple heads on the asparagus. This post should have a R rating. As for my garden...still haven't started my seeds. Can I just shove them in the ground, or am I screwed?
Karen
Laura - I'm not sure if you need advice or if you just wanted to say "screwed". It depends on your plant and where you live. A lot of things (like carrots, radish, beets, spinach, peas) are direct seed. Meaning, you don't start seedlings, you just put the seed directly in the ground. Other things like peppers and tomatoes well yes. You're screwed. Just go buy some plants at the nursery. ~ karen
Moe
Thanks for the schedule.. the odd time I tried to start flowers from seed, they turned into pitiful spindly little critters who shriveled up immediately when introducing them to the outdoors. Of course I put them in direct sun for the entire day.(dumba**) I probably still won't attempt it ever again, but it's nice to know why I failed. :o) Wish I lived closer, I'd love to have a tomato plant. That one I might try. I love fresh tomatoes, beat store brand every time.
Absolutely love the font on your photos.. would you share what it is?
Karen
Moe - Sure. It's Edwardian Script. ~ karen
karenagain
Well, I'm trying this whole gardening thing too. I think so far it's cost me several hundred thousand dollars. But that's okay because it will save me soooo much in the long run. AND, it's going to be so much better for me because I am organic. I swear that once my little sprouts start growing I will sit out there with a gun and shoot every deer, bug, dog and bunny that comes within two feet of my garden. And then I will eat it.
Your asparagus is really coming in good this year. Most people wait to rubber band until the second year. I like that you threw caution to the wind and banded early. I'm just worried about the effects this might have on future propagation. J/K I have no idea what that even means.
Karen
LOL. ~ karen
Lindsay
Lol at the asparagus. And the cockscomb looks like something that would benefit from the infamous "frozen yogurt tampon." It just looks really angry, red and swollen....
Karen
Lindsay - OMG. That's disgusting. Where have you been?! :) ~ karen
Lindsay
A lady never tells. I can only hope when it blooms you think of me. Or inflamed lady parts. Which ever.
This has gone too far. Lol.
Kirk
Googled 'how to harden off vegetable seedlings' and your site was first on the page. The look appealled right from the get go. Not sure if dumb guys are supposed to be reading your info but I don't care. I was not only enlightened but highly amused. Not sure if I'll be as motherly gentle in hardening off my little green babies but I'll be gentler than otherwise would have been. Who knew asparagus shoots came with their own rubbers!!!
Karen
Hey Kirk! Really? This came up first? That's kind of shocking. What with me just putting this post up less than 24 hours ago. Humph. I guess I'm an Internet sensation. Who the hell knew! Yes. Dumb guys are totally allowed to read the site. Many, many dumb guys do. Glad you found me! ~ karen
Kirk
Ya...my baby Sugar Peas are happy I found you too although they didn't specifically say so...kids these days. Should of left em out all night and then maybe they would have whined ;)