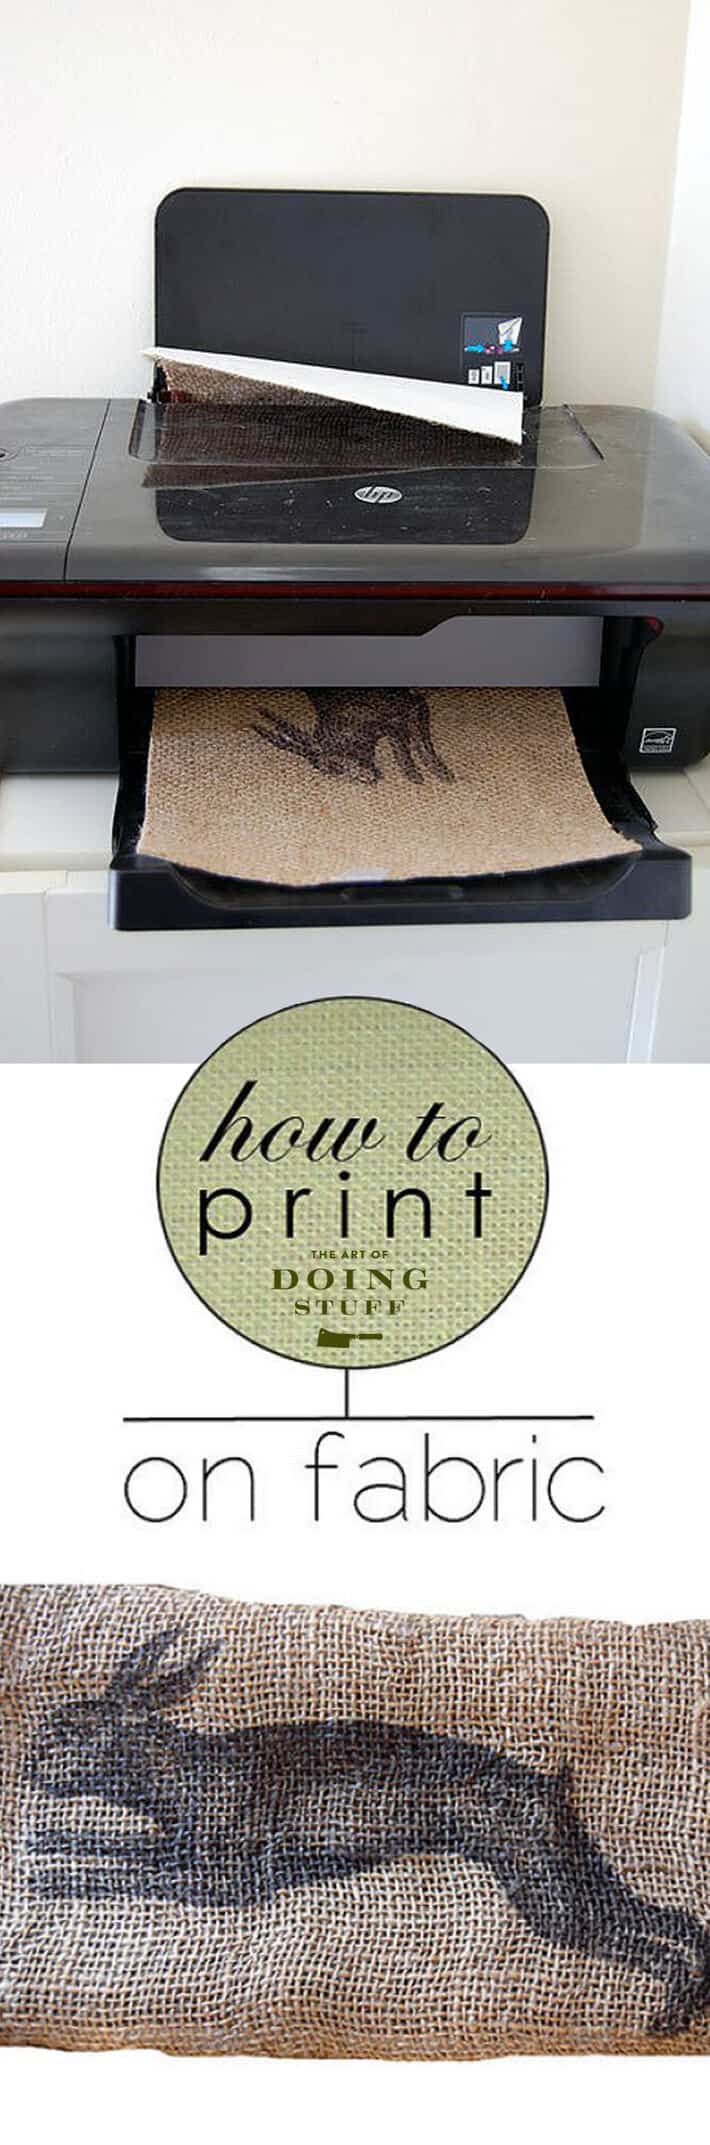
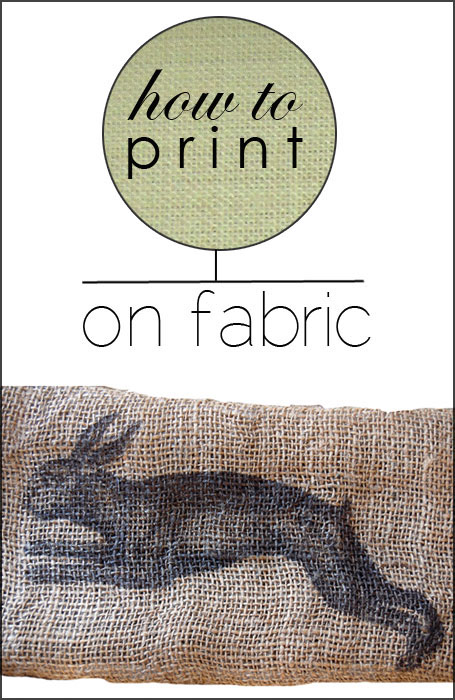
In keeping with my never ending quest to ruin my printer, I have for you today ... How to Print on Fabric.
This is part one in a two part post on an easy Easter craft I have for you. This particular technique however can be used for just about anything.
You think printing on wood was dangerous? This is just as dangerous.
Before reading any further you might want to consider taking a deep breath and centring yourself so you're better able to cope with the very powerful information I'm about to bestow upon you. At the very least get those handcuffs out of your underwear drawer and keep 'em handy.
Once you learn how to do this you may just need to lock yourself up.
Here we go!
Materials
Freezer Paper
Inkjet Printer (this is the one I use and can guarantee works for this)
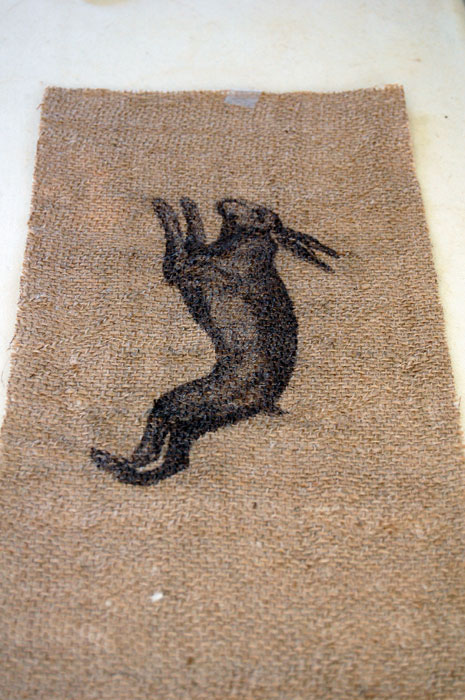
Fabric (I used burlap) which was a pretty bold choice. Thin cotton would be easier to work with.
Steps
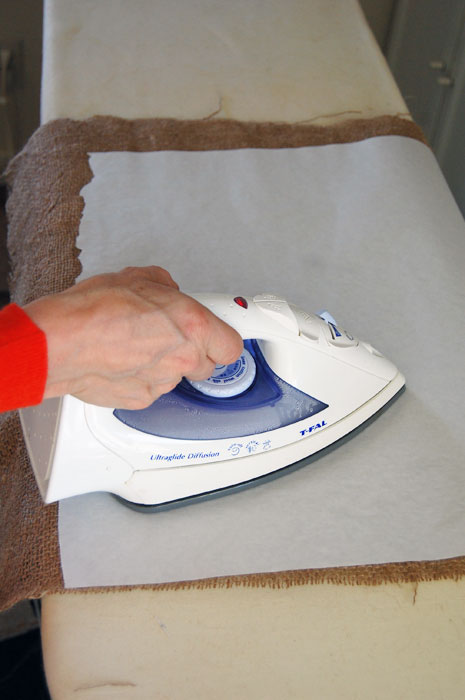
Step 1. Place a piece of freezer paper, waxy side down, onto the wrong side of your fabric. Iron. The freezer paper will stick to your fabric.

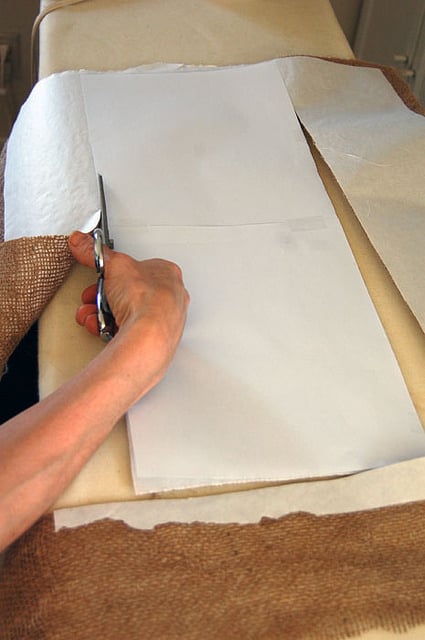
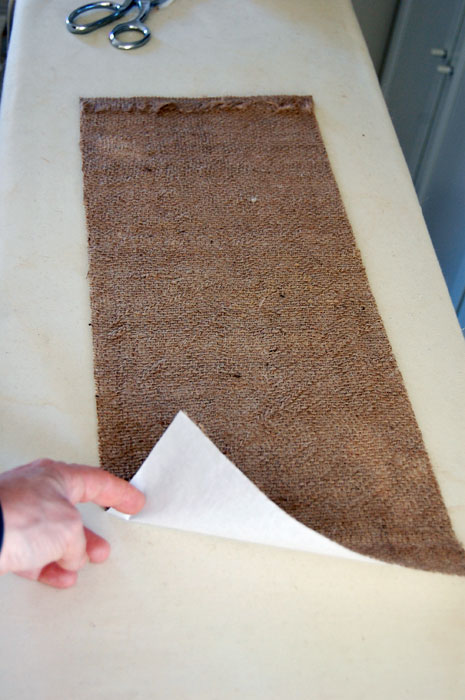
Step 2. Place standard sized printer paper on top. This is so you know how wide to cut your fabric. Anything wider than 8" won't work for most inkjet printers. It can be longer than a standard sheet of paper, just not wider. Using your computer paper as a pattern/guide, cut your fabric.
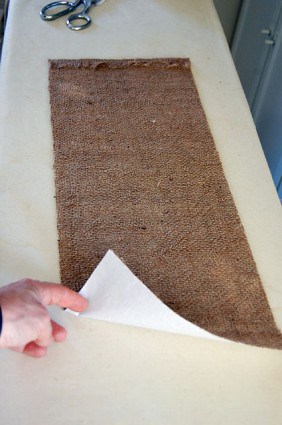
Step 3. Take the computer paper off, flip the fabric around and you now have the piece of fabric you're going to print on. The freezer paper will be stuck to the wrong side of the fabric, and the right side is ready for printing on.
Would you like to save this stuff?
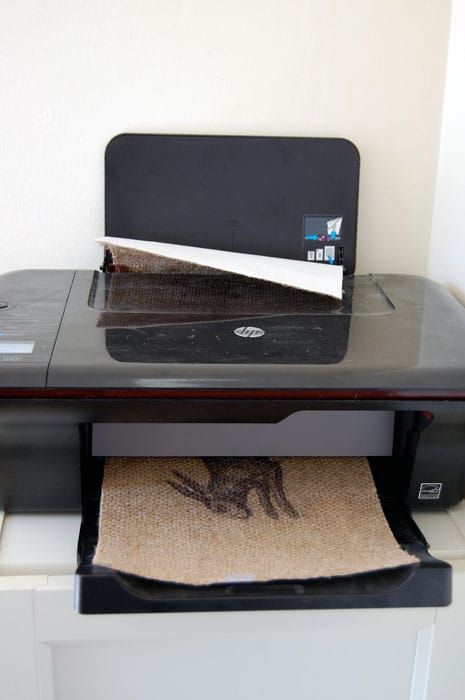
Step 4. The freezer paper acts as a stabilizer for your fabric. Feed it into your printer, like you would regular paper.
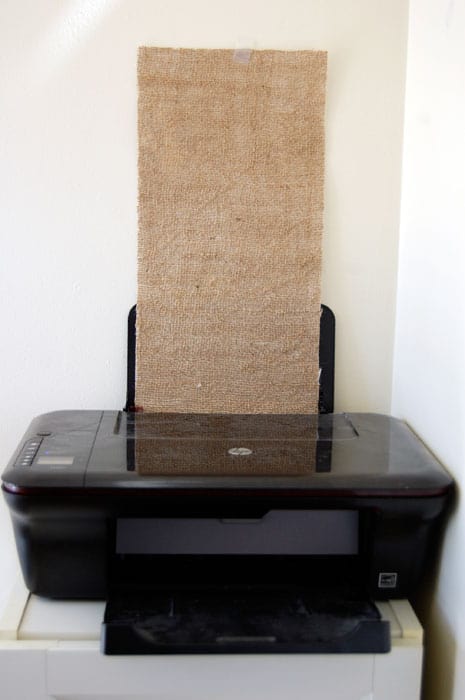
Step 5. Press print!
It took me a few tries to get the fabric to feed through the printer so don't be discouraged if this happens. I was also printing on burlap which is thicker than many fabrics. If your fabric doesn't feed through see if your printer has settings for different thicknesses of paper. Some do, some don't. Sometimes putting a small stack of regular printer paper behind the fabric/freezer paper helps as well.

The freezer paper can be used over and over again. Just carefully peel it off the back of your fabric and iron it on your next piece. If you're working with burlap and are planning to sew it, it's best to leave the freezer paper on though because it helps stabilize the fabric while you're sewing and stops the edges from fraying. Just peel away once you're done sewing.
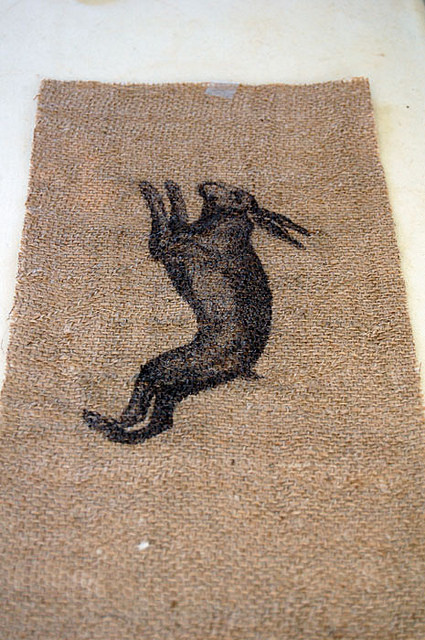
The quality is shocking. You will be shocked.
And yes, it is exactly as easy as it seems.
Come back tomorrow to see what I turned this bunny on burlap into.
And break out the handcuffs.
 ,/div>

Mary
I’m wanting to print on dish towels is it better to print them with black ink
So they don’t fade, since the dish towels r wider and long what’s another way I can do my dish towels my sister does cute drawings and I want to use them
On my dish towels
Karen
Hi Mary! This isn't a technique you can use on something that you regularly put through the wash I'm afraid. To do your sisters drawings on dish towels you could have the design printed onto iron on transfer paper. You would then iron the transfer paper onto the tea towel. ~ karen!
Leslie
I have never commented before on anything I’ve read (on Pintrest), but your post was so funny. Oh, and I plan to try printing on fabric — right after I pick up some handcuffs.
Karen
This is an old post! I was much funnier then. ;) ~ karen!
Sylvia
I print all my quilt labels on 100% cotton using an ink jet printer. I put a piece of 1" painters tape at the top of each side of the freezer paper. The freezer paper in the placed so the taped corners will be pulled through the printer first. This seems to prevent the freezer paper from getting caught in the printer. I use Bubble Jet 2000 to treat my fabric before printing.
Katie
Did you ever wash it to see if is permanent? Thanks!
Doug Steley
I am putting a blindfold on my microwave so you stop watching !!!!!!
Doug Steley
HOW DID YOU KNOW WHERE WE KEEP THE HANDCUFFS ?????
Karen
I'm magic. ~ karen!
elizabeth weinrich
Can't wait to try -- more ideas please
Johna Van Dyke
Can you write a bit about your image? It is obviously longer than 8.5X11. How do you get the printer to print something so long?
Wonderful though!
Barbie
YOur so brave to do this on burlap! I'm impressed. I did it on regular fabric to make a flag banner with my daughter and her husbands name for their wedding and I swear it was touchy! I messed up a bunch and finally got all I needed! Came out great. Can't wait to see what's next.
Karen
I figure if I wreck my printer, I wreck my printer. All in the name of science. Or the blog. Or something like that. ;) ~ karen!
Maria
This is a old quilters trick. Being old and a quilter, I know this. In my experience color doesn't work all that well but black ink will knock you out with how good it looks. Use a hot hot iron, no steam and an old piece of muslin. Cover the image with the muslin and iron on both sides. This will set the ink into the fabric and make it washable. Cold water, tumble dry, no chlorine bleach. I use this technique to make labels for my quilts and to alter quilt fabric Nice tip Karen.
Agnes
Karen I have never found freezer paper in any of my regular grocery stores. I always thought it was only available in the U.S.....until I was tipped off to a local source. They carry it in the "restaurant supply" section of the PC Wholesale Club in Waterloo. I bought a giant roll- 900' for $27 (the paper is brown). They also sold the Ziploc brand freezer paper in white, but it was $5 for only 50'.
Amy Lynn
Will you please tell me brand of freezer paper? Link no longer working. Thanks so excited to try this!
Karen
Hi Amy Lynn - Any brand of freezer paper you can find should work. ~ karen!
Maureen
THIS CHANGES EVERYTHING!
Karen
It does. It really does. ~ karen!
Shauna
we are so in sync lately. You've now posted two tutorials that I had recently looked up prior to you posting - the printing on wood and the printing on fabric. Both of these I'm using for things I'm making to sell at my craft fair. So, I will not be pointing anyone to your blog who shops at my booth because I want them to buy from me and not learn how to make it themselves :)
Sandy
What a thing to say☹️
Karen
It's O.K. She's a long time reader and was just joking. Although I'm sure Shauna didn't point anyone to my blog to learn how to print on fabric. And that's perfectly O.K., that's what I'm here for. To teach people stuff. :) ~ karen!
Cynna
Fun stuff! This site http://www.thegraphicsfairy.com has tons of amazing (royalty-free) images, plus DYI ideas, and it's addicting.
Janet Thomson
Hello Karen
Found this on the Free People website and thought it was brilliant!!!! Sending you the link if it is allowed here....now we just need to find out where to get blender pens:
http://blog.freepeople.com/2014/03/diy-photo-transfers/
Nancy
You can get the blender pens here...
http://www.stampin.com/tips/blender.htm
http://www.jerrysartarama.com/discount-art-supplies/colored-pencils/finesse-blender-pens.htm
http://www.dickblick.com/products/chartpak-ad-markers/
Louise
Wow! I LOVE this! There have been so many times I could have used this in the past, and i know there will be many more now and in the future. Thank you!
Christina R
I will try this with some handkerchiefs, cheap ones from the dollar store and if it goes well some vintage ones I've had forever. Am hoping to use them in wedding invitations or as favors, perfect timing Karen!
Rondina Muncy
Feral Turtle has a good question. There is wax paper like Cut-Rite; white freezer paper, and then there is the paper that butchers use which I creatively call---butcher paper. Wax paper is out for this one, but I'm wondering if your white freezer paper is the same as butcher paper. If I was only doing one or two, I could get the butcher paper free from the grocery store.
For any fabric, I wouldn't wash it and would spray it with three coats of water protector made for SHOES if it was going to be in the elements.
Marion
You are a genius. Can I just leave work and print on fabric and craft and sew pillows the rest of the day!?!?
Nancy Blue Moon
Love it..waiting for part two!