O.K., so you have tongue and groove hardwood floors and you need to remove one piece. How do you do it? Like this ...

Please enjoy the strained, pretend blog smile I use on the outside when I'm a home renovation mess on the inside.
The reasons for needing to pull up a single piece of tongue and groove flooring are varied. You might want to see what the floor underneath is like. Your cat may have peed on it and you want to replace a section without wrecking all the floor around it. Or maybe, just maybe, you do it for no reason at all, other than your undiagnosed home renovating mental illness known as You Might as Well Trychosis.

I'm not sure if you know this or not but I'm in the midst of a design decision. Whether to rip up my old floors to go down to the older floors, or whether to just let everything be. This is where Trychosis gets me in trouble every time.
My floor refinisher pulled up a small piece of my hardwood oak flooring while he was here assessing what my flooring options were. He cut out a small portion of my floor in such a way that if I wanted to put the piece back no one would ever EVER know it had been removed.
I wanted to try.
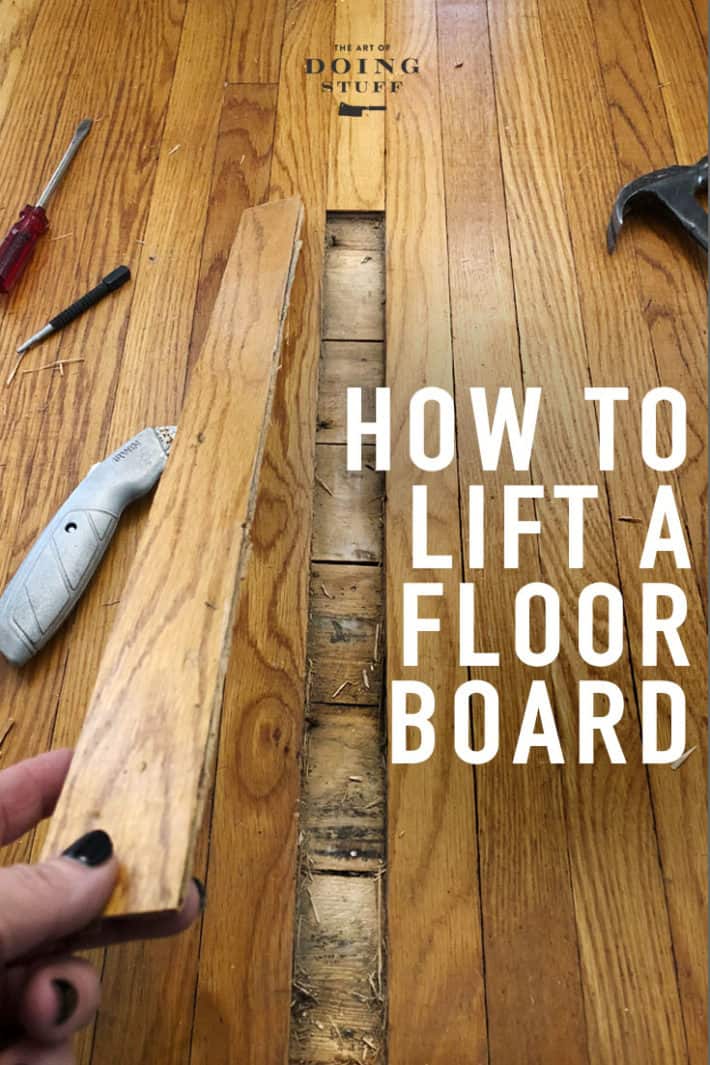
How to Lift a Floor Board
- Pick the board you want to remove. The shorter the board, the easier it will be to lift.
- Slowly run a sharp box cutter along the cracks on either side of the board.
- Continue cutting with the box cutter getting progressively deeper into the tongue underneath.
- When you feel no resistance you're through the tongue.
- Gently lift the board, using a pry bar if needed.

So I did. And now I'll show you how to do it in case you want to try it. Due to your Trychosis.
The reason I couldn't lift up a piece of this hardwood flooring easily is because of how tightly it is laid down. If the floor has spaces in between the boards you can get a saw in there to cut between the boards. Not so when it's so tight.
The first thing I had to do was knock down a couple of finishing nails that were sticking up. If you have any any nail sticking up just using a nail punch and a hammer to hammer it down. If you do any DIY and you don't have a nail punch I'm gonna let you know right now your disorder isn't nearly as bad as you think. Also you should buy a nail punch.

Your second step to removing a single piece of tongue and groove hardwood is to run a box cutter down the seam between two boards. Just gently pull it through. Keep doing that, going deeper and deeper until you can feel you've cut through the entire tongue of the hardwood.

This is not a fast process. It probably took me 45 minutes to cut through both sides of one 2' board. You have to go carefully so you don't cut yourself or slip and cut the hardwood.

The sharper your boxcutter, the easier this will be.
TIP:
Would you like to save this stuff?
Don't pull towards any part of your body. Make sure your hands, legs and feet are out of the way in case you slip.

Once you've cut through the tongue there may still be nails holding the strip down. Gently pry it up with a prybar or hammer.

Once it gives loose pull your board out.
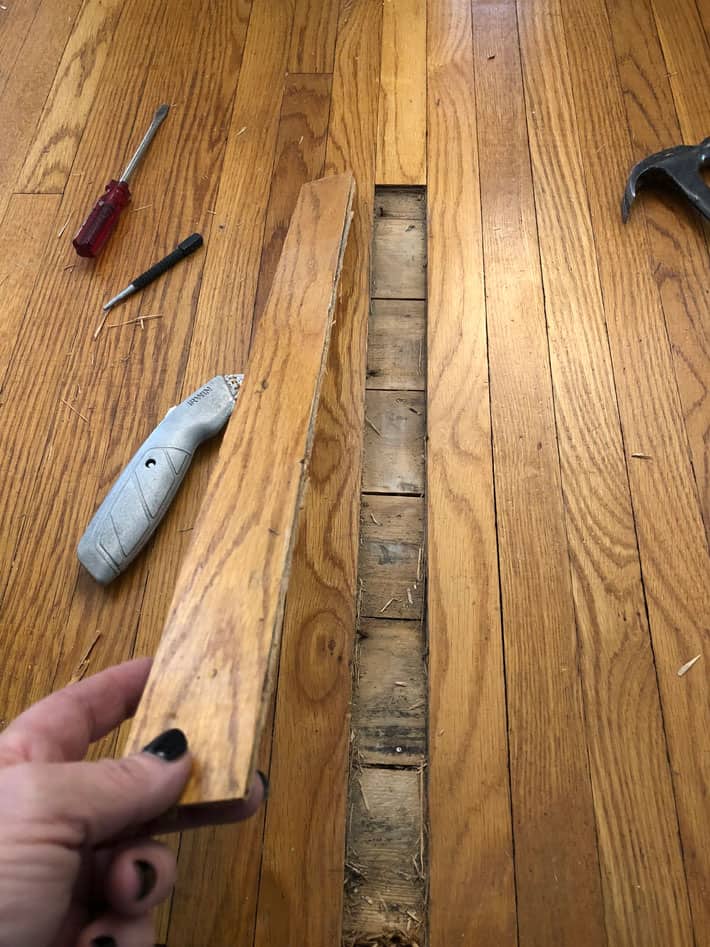
This technique cuts through both tongues on either side of the board you removed.
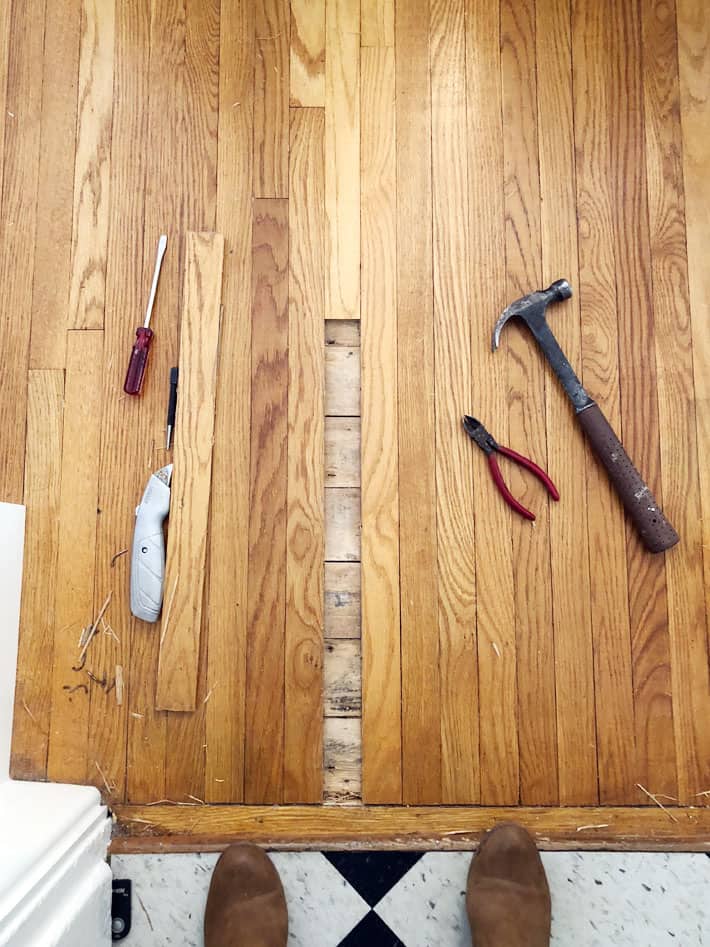
You can now take a moment to stare at whatever is underneath the floor you removed. If your lucky it will be money. You'll be staring down at gobs and gobs of money. Or a hidden Renaissance painting. Me? I was staring down at another floor.
Once you've satisfied your Trychosis, simply wipe the sawdust and shavings away and place the board back down. If it's going down for good, just drizzle the back with some wood glue before you put the wood back in place.
You can't tell at all that one of those floorboards was removed and put back down.
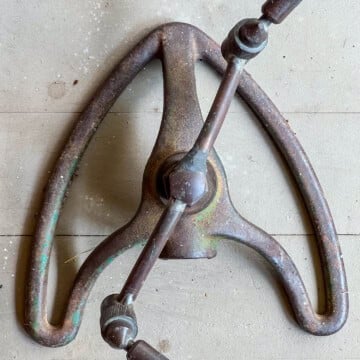
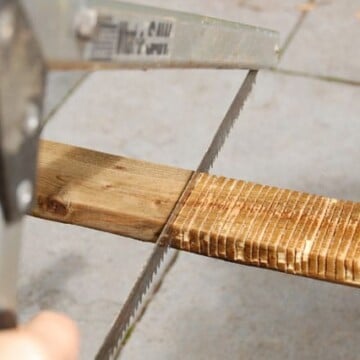
If your floors are up against built in cabinets or baseboards use a multisaw to cut through the end of the board.
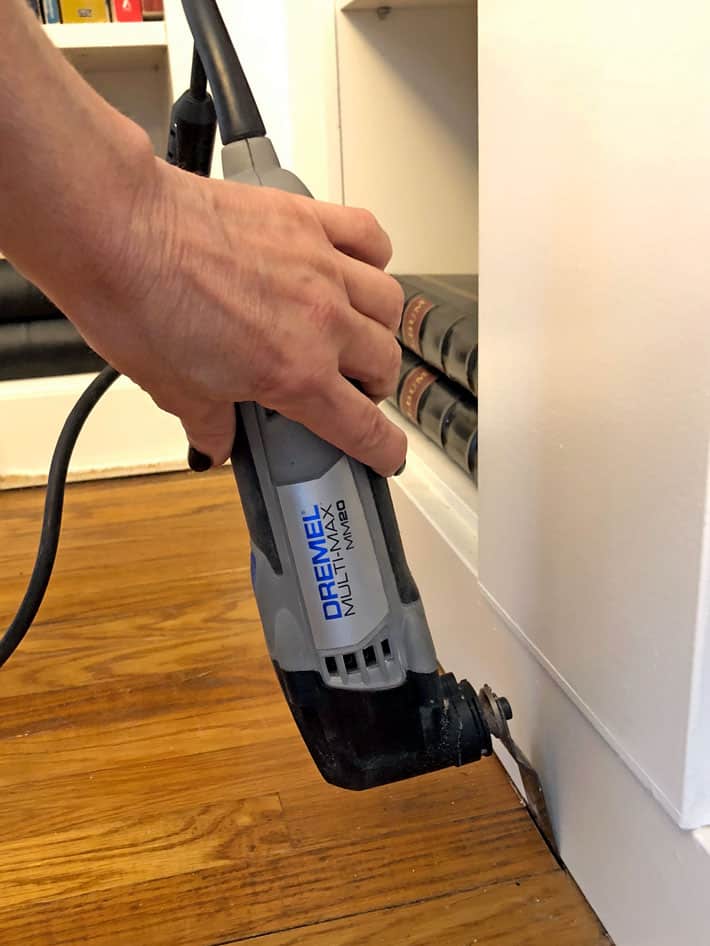
The reason you wouldn't use this to cut through the sides of the flooring also is because even though the cut it makes is very thin, it's still thicker than the seams between the boards. In other words, if you put the flooring back, the cuts wouldn't be invisible like they are if you use a boxcutter.
Again, if you're a DIYer and you don't own one of these tools you really should. Mine is the Dremel Multi-Max, but there are a few different makes of them.
So now that I've seen another section of the pine flooring under my dining room floor am I closer to making a decision about whether to pull the floors up?
Yes. Yes I am.
→Follow me on Instagram where I often make a fool of myself←


Connie
In my 140 year old house I ripped up the horrible flooring to expose the old pine, had it refinished, and it looked beautiful - for a short time. The first couple parties left me wishing I had gone over it with new flooring. It would have cost about the same. High heels, cocktails and dancing make a mess of pine, even the really old stuff! A few use ago we put new bamboo flooring (which doesn't look at all like bamboo, it's lovely) in the cottage and notwithstanding the dogs, kids, sand, toys, boots, etc., it is still pristine!
Karen
All of the floors in my house are antique pine (other than the ones I hadn't yet exposed) and none of those floors are terribly damaged. There's the odd gauge where I've dragged 500 lb buffets across it, lol, but that isn't something that worries me. I also use my butcher block counter mark and don't care that it has gouges and cuts in it. ~ karen!
Karen
(oop!) Also a big factor in how well your floor will stand up is always what kind of finish you've put on it. I've purchased a professional quality, extra hard matte finish. ~ karen!
Connie
Well, you're right, dragging furniture doesn't seem to do much damage. I think the high heels are the worst culprits - and perhaps the cocktails!
Karen
Bahhahaa. ~ karen!
Robert Borland
I didn't get the part on the replacement piece, are you also cutting the tonge off the new replacement? There not inter locked if so, pine expanse and contracts, sure its a tight fit installing the new piece,and there is always gonna be movement, this demo only cover end pieces, rookie suspect
Karen
This was just lifting a single board. To see what kind of flooring is underneath for instance. Yes, if you were going to replace with a new piece of hardwood you would simply cut off the tongue portion of the board and set it down. I'm not sure what you're referring to with "rookie suspect." ~ karen!
Shawna
I would totally take the flooring off and go down to the older foooring. It looks like it would have even more character than what you have now:) Plus you never know, you might just find gobs of money!
Teehee
Sandi Remedios
On the Janka hardness test, pine is one of the softest woods. Settlers used pine because it was cheap and plentiful, but not durable.
You should get you some Osage Orange wood, settlers used to use that for hedging. It's tough and cool.
I would take it back to the pine and then put something else over it, but not an endangered wood. Have you looked at end cut flooring? It is amazing!
Karen
Old pine is durable and hard. Pine that was laid 150 years ago would have been cut from trees that were hundreds of years old and were slow growth trees. You can recognize it because the rings on it are incredibly close together (which is what gives it strength), as opposed to the pine we purchase now from box stores. ~ karen!
Roz-Lyn
Is pine the cheapest of all timber flooring / here in Australia it is.