Need an idea for outdoor lighting? Sure you do. Everyone does. You can whip up this barn board light in about an hour, hang it, and then invite all your friends and family over to gloat and show off. Sounds like the perfect summer day to me.
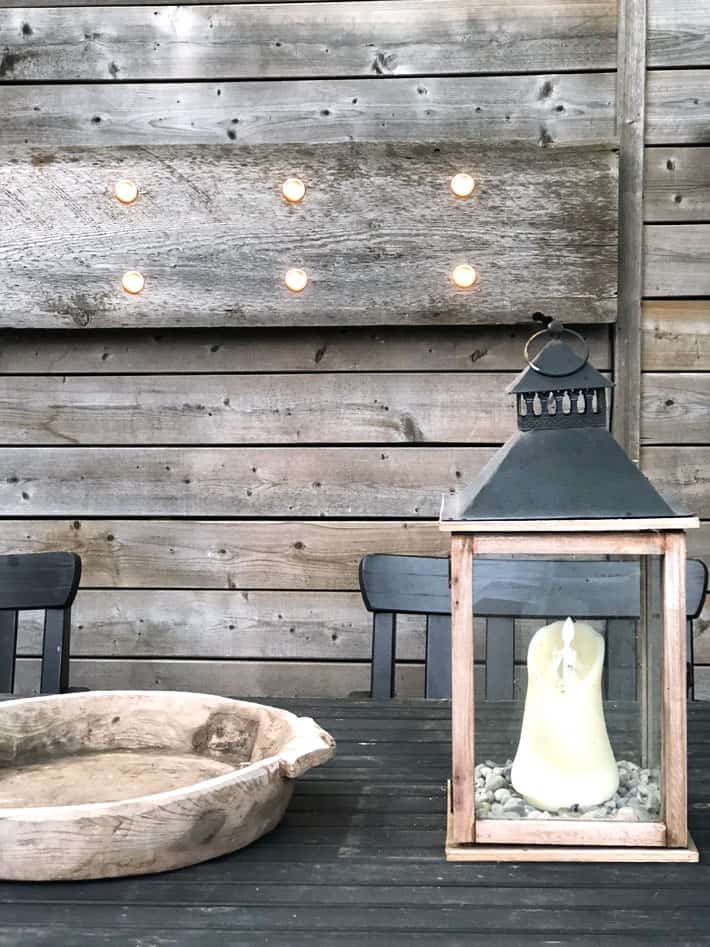
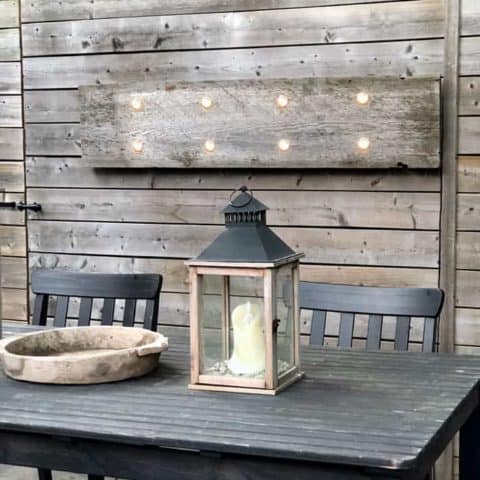
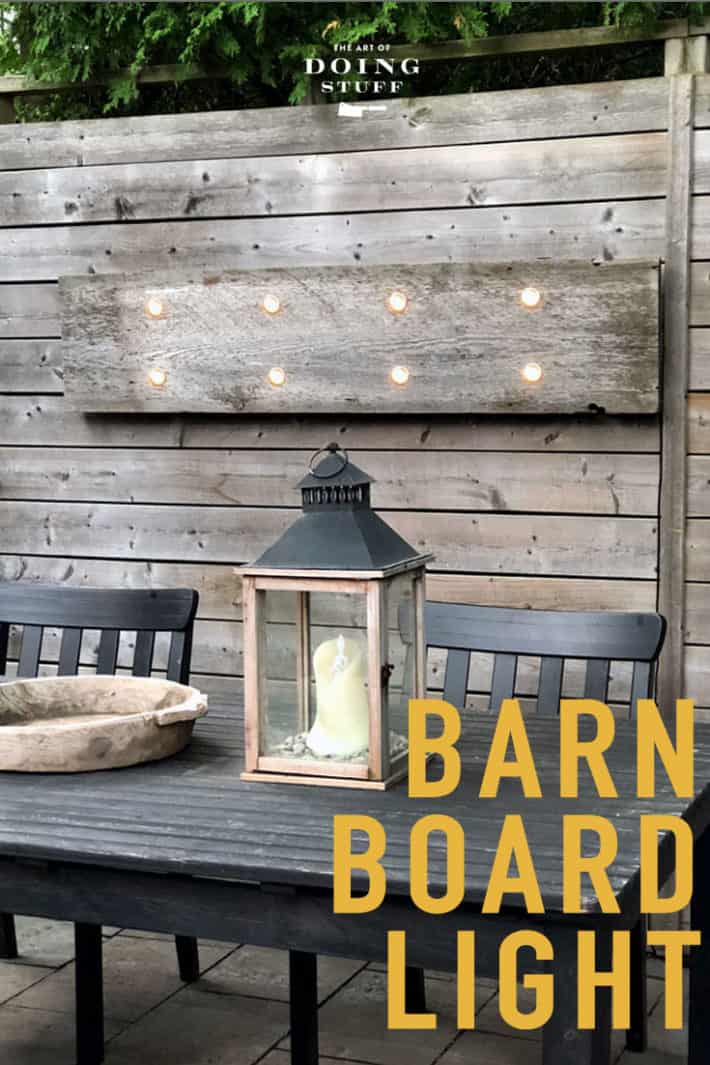
First can we all admire the slumpy, melted, battery operated candle I have in my lantern? They look like my thighs at the end of winter.
NOW we can all admire the barn board light hanging on my fence. I made the original barn board light about 6 years ago and it hung in that very spot faithfully the entire time.
I'll tell you how it came about. I had bought a set of 8 deck lights at Costco that I thought I could use somewhere in my backyard. Turned out once I got them home there wasn't a really great place to put them.
It all worked out though because as I held them in my hand, eyes darting around for any place to put them, my glance landed on some barn board I had in the corner of my yard. Within an hour I had made a light and hung it up that was WAY more impressive than sticking these in a deck would ever be.
Honestly. One hour. And I had to figure it out as I went. For you, this DIY backyard lighting option should take you about 7.5 minutes. Well ... between 7.5 minutes and an hour.
Here's how you do it.
DIY Outdoor Barn Board Light
*note - the sizes are optional. You can make a bigger board with more lights or smaller board with less*
Materials
13" x 57" x 1" piece of barn board (this is what I had, you can make yours bigger or smaller)
6 - 10 deck lights with transformer
Clips (optional)
Drill and spade drill bit
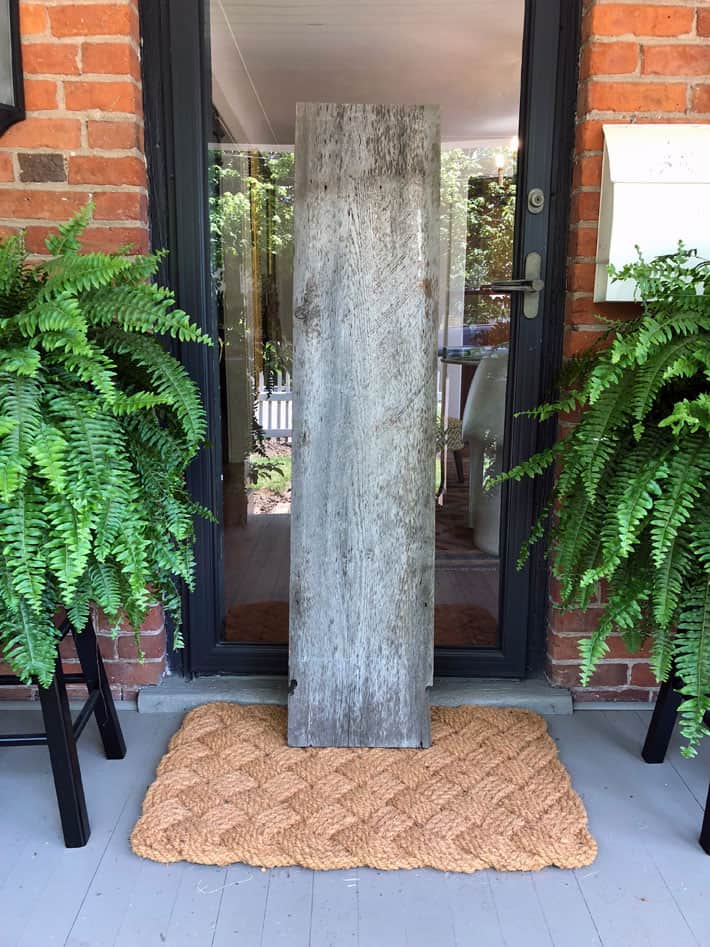
- Grab yourself a piece of barn board. This is genuine, old barn board, but most lumberyards also carry barn board. Leave it outside it'll get that trademark silvery colour in no time.
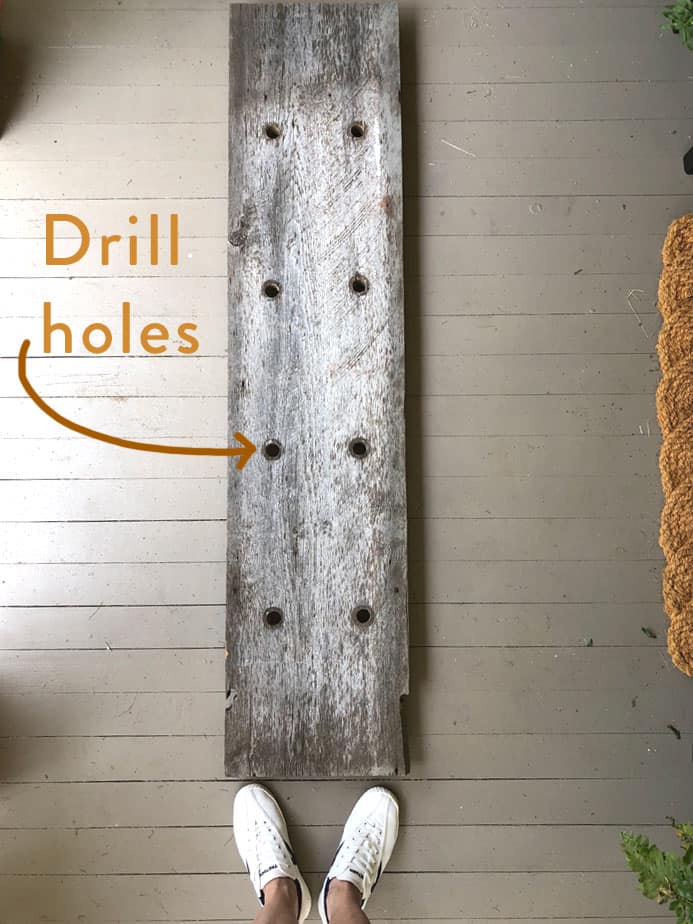
2. Mark where you want the lights to go on your wood and drill holes with a spade bit. The size of the hole will depend on the size of the deck lights you have. Many sets will come with the right drill bit with them.
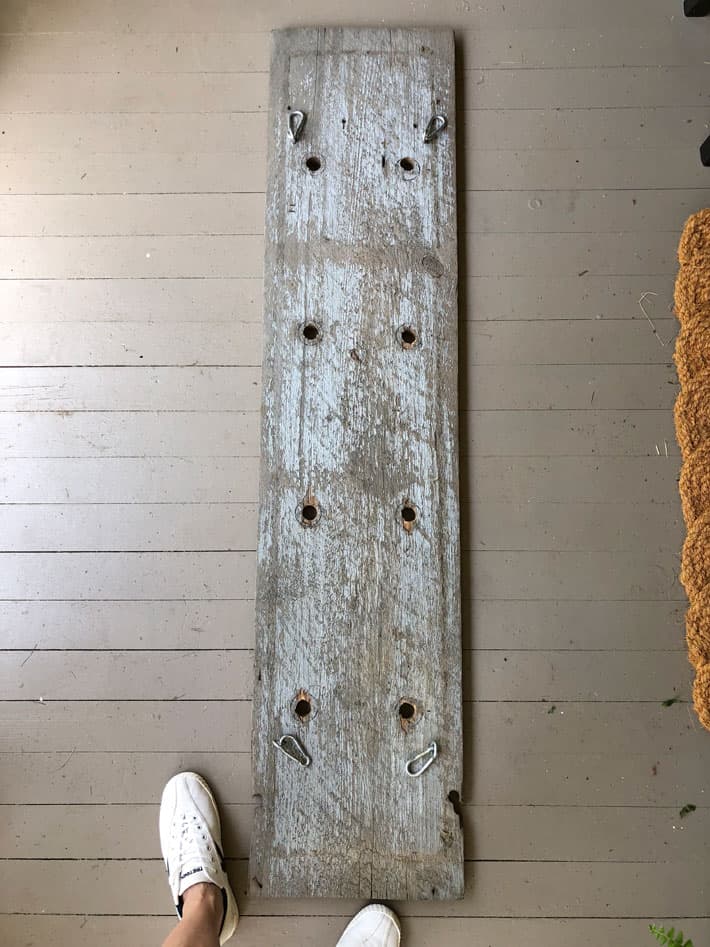
3. Screw large eye screws onto the back of the board. These will be for hanging.
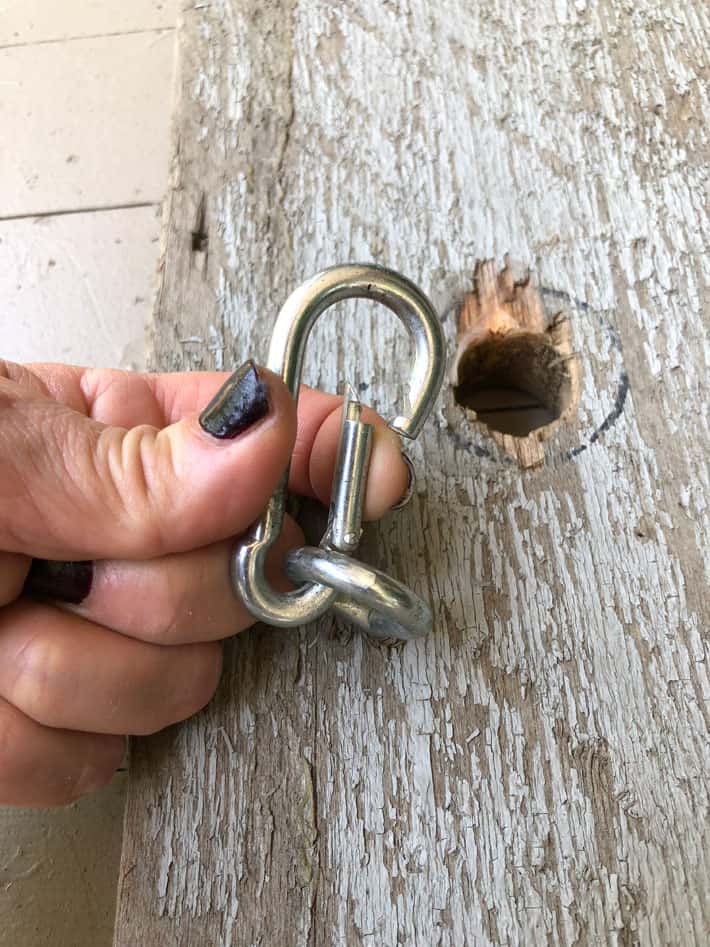
4. You can also put Carabiner clips on the eye screw. I did this because of how I was going to hang my board on large L brackets on my fence.
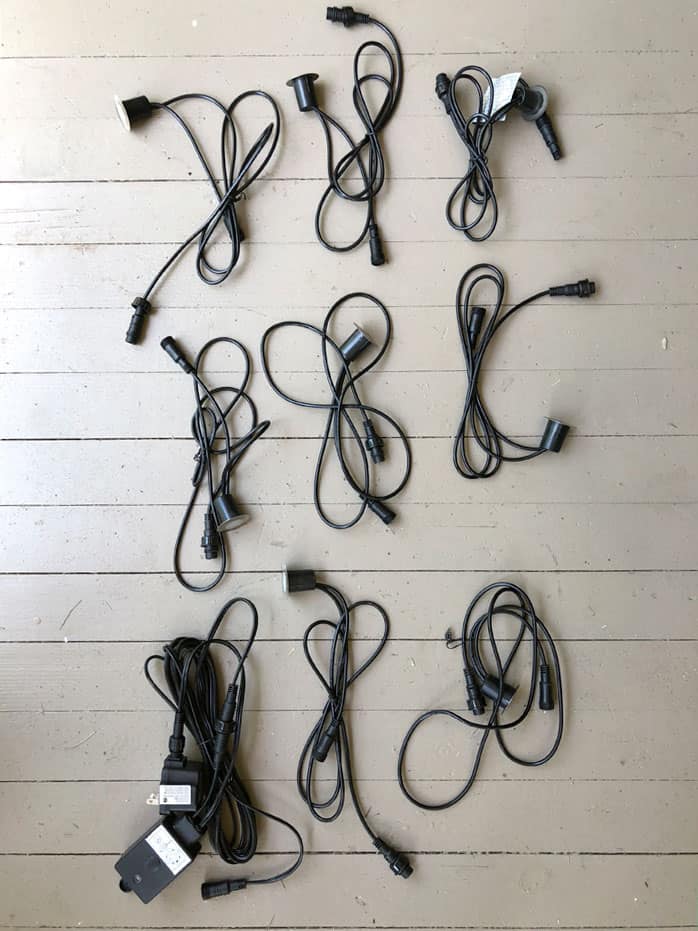
5. Gather and separate your lights.
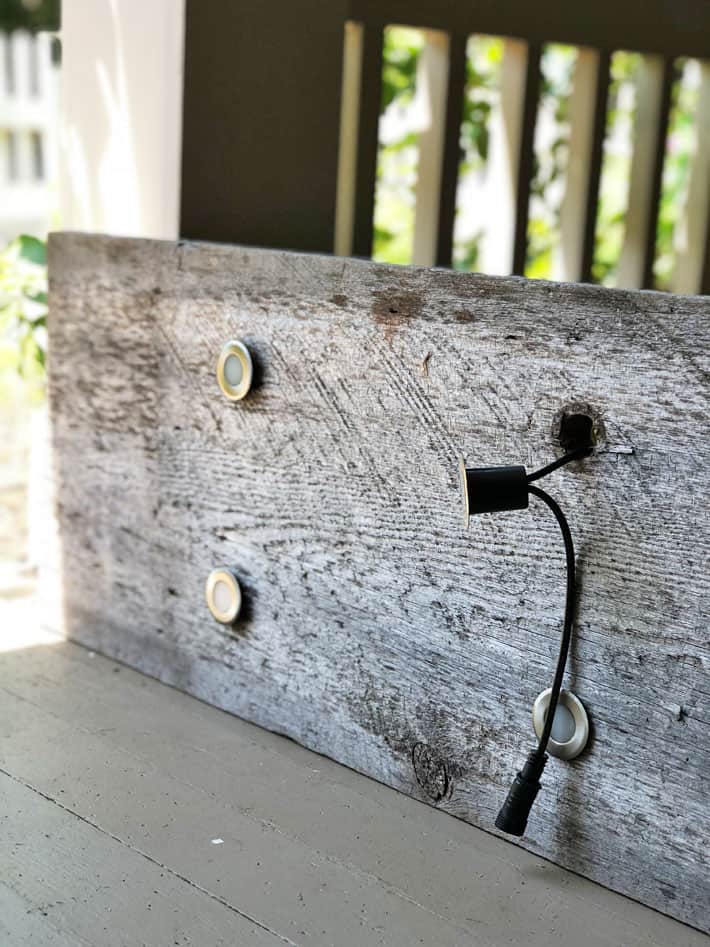
6. Shove all the wires from each light through the holes, leaving just the light on the front side of the board.
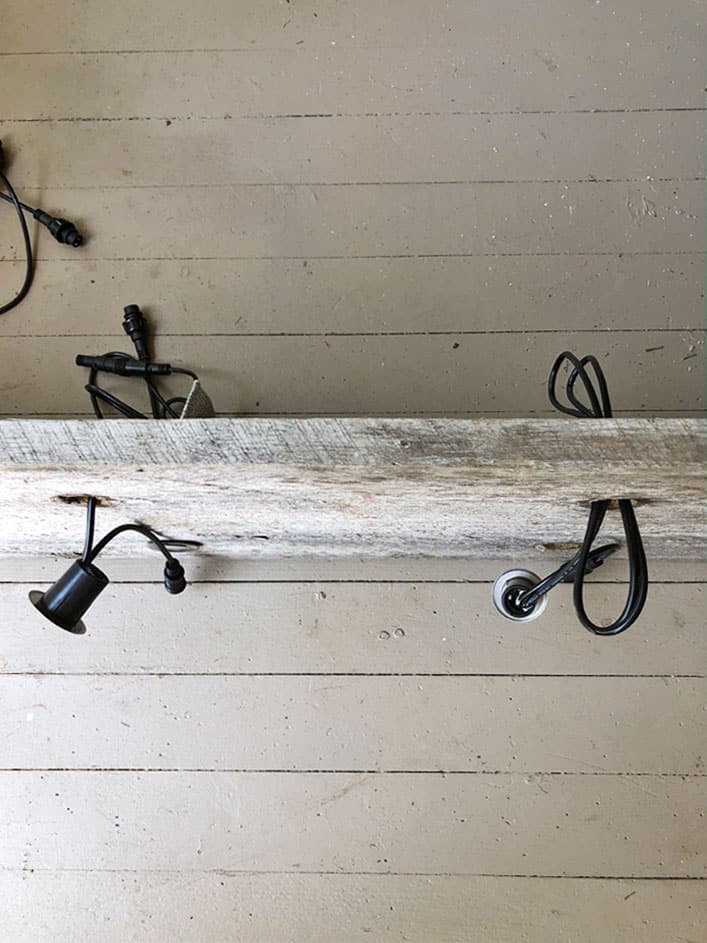
You'll end up with a mess of wires on the back. Tidy them up with twist ties.
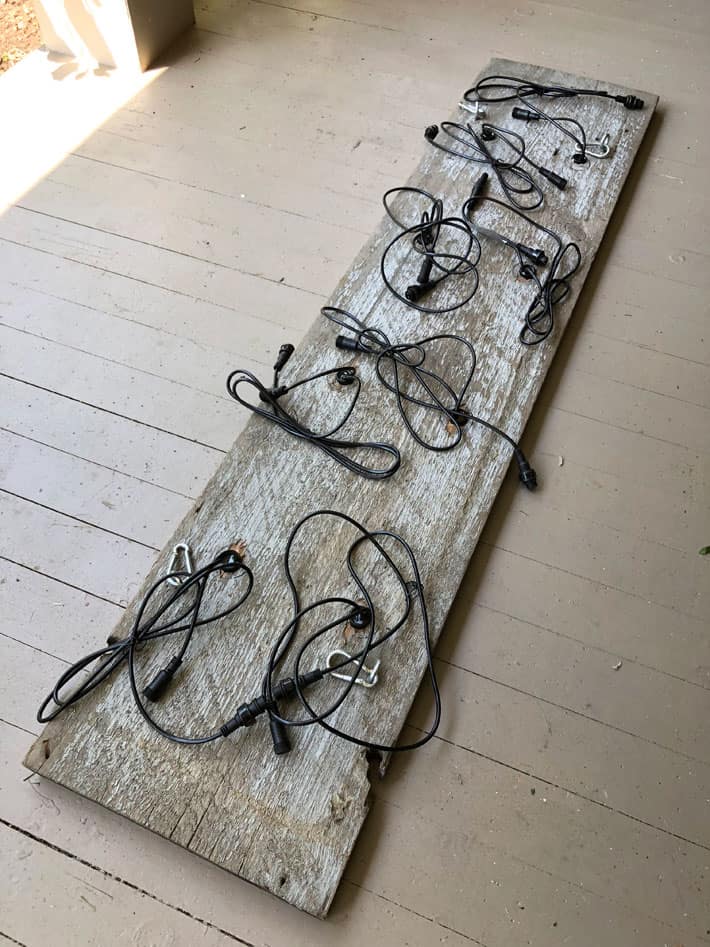
7. Attach all the lights together by screwing their leads into each other.
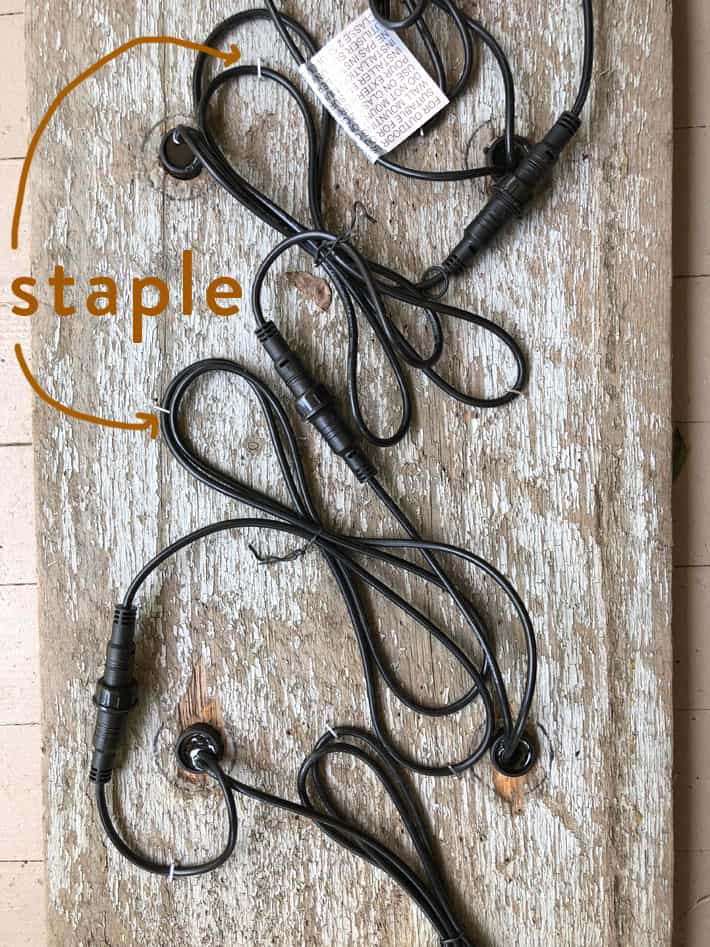
8. CAREFULLY staple over a few of the wires to prevent them from moving. Most staplers have a position button that lets you position the staples up high, so they don't squish down tight. You can also carefully hammer in a few staples instead of using the staple gun.
Would you like to save this stuff?
9. Hang your light (and plug them in). I have L brackets slipped through the boards of my fence and then slip the clips over them. I just use the top two clips. The bottom 2 are in case I ever want to hang it flat over a table from rope or chain.
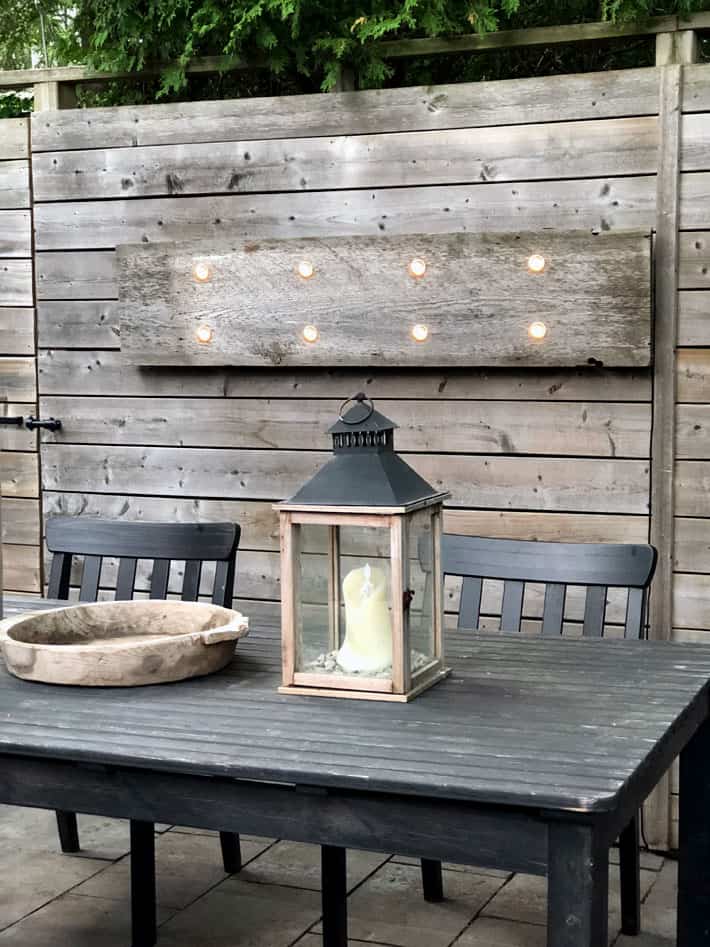
I've just tucked the wire into the cracks of my fence and it basically disappears.
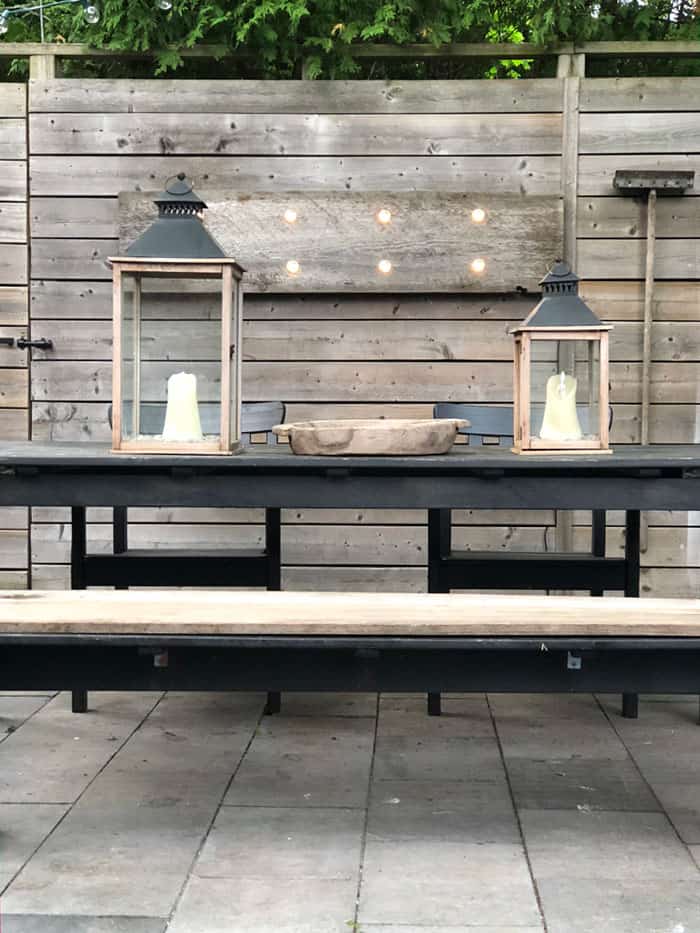
The set of deck lights I ordered from Costco came with a sensor that turns the lights on at dusk and off at dawn. These lights also have 3 brightness settings which I loveeee. Low, medium and high.
DIY Outdoor Barnboard Light
Materials
- 13″ x 57″ x 1″ piece of barn board (this is what I had, you can make yours bigger or smaller)
- 6 – 10 deck lights with transformer
- Eye screws
- Clips (optional)
Tools
- Staple gun and staples
- Drill and spade drill bit
Instructions
- Grab yourself a piece of barn board. I used genuine, old barn board, but most lumberyards also carry barn board. Leave it outside it’ll get that trademark silvery colour in no time. If you want something less rustic, use a new piece of lumber like a 1X12 piece of pine.
- Mark where you want the lights to go on your wood and drill holes with a spade bit. The size of the hole will depend on the size of the deck lights you have. Many sets will come with the right drill bit with them.
- Screw large eye screws onto the back of the board. These will be for hanging.
- You can also put Carabiner clips on the eye screw. I did this because of how I was going to hang my board on large L brackets on my fence.
- Gather and separate your lights.
- Shove all the wires from each light through the holes, leaving just the light on the front side of the board. You’ll end up with a mess of wires on the back. Tidy them up with twist ties.
- Attach all the lights together by screwing their leads into each other.
- CAREFULLY staple over a few of the wires to prevent them from moving. Most staplers have a position button that lets you position the staples up high, so they don’t squish down tight. You can also carefully hammer in a few staples instead of using the staple gun.
- Hang your light (and plug them in). I have L brackets slipped through the boards of my fence and then slip the clips over them. I just use the top two clips. The bottom 2 are in case I ever want to hang it flat over a table from rope or chain.
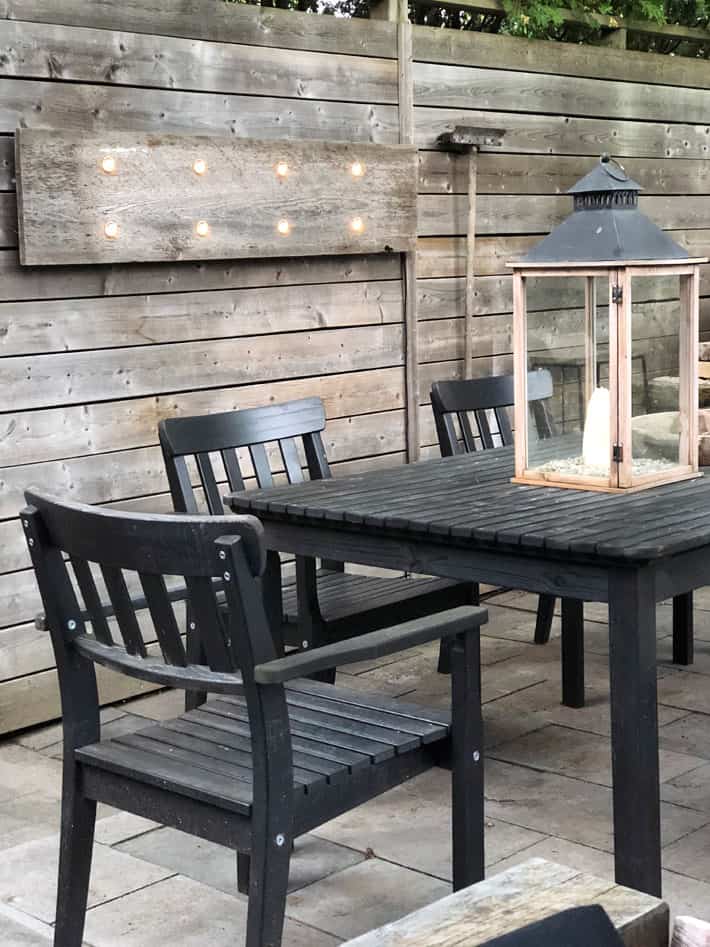
Of all the things I've made for my backyard, including the pizza oven, the chicken coop, and the Restoration Hardware furniture hack, this light has given me the most amount of gain for the least amount of pain. Easy, fast, and everyone who sees it asks where I bought it.
Well, I mean, people who have never met or heard of me before ask this.
Everyone else just looks at it, rolls their eyes and tells me to get the gloating and showing off portion of the evening over with quickly.


Jessie
Just curious about the fence situation. Do you have a backyard neighbor that is looking at your cord and L brackets on the other side of the fence?
Karen
This was what went through my mind as well. I don’t really like my neighbors all that much, but.....
Karen
I am another Karen, not the blog owner, btw.
Sue Hace
It looks to me that just the piece of barn board is where the holes are drilled; not directly into the fence. Once she got the lights inserted, etc. she hung the board on the fence so there is no way the neighbor could see it
Karen
The fence is two sided. So it's finished on both sides. There is a cedar hedge on the other side of the fence, but even if that wasn't there no cords or brackets show because they're on the "inside" of the two sided fence. :) ~ karen!
Gary
Karen, great idea and I enjoyed your humor.