How to quickly DIY a wood cover for your recycle bins to hide them. Because the only boxes that should be blue come from Tiffany.
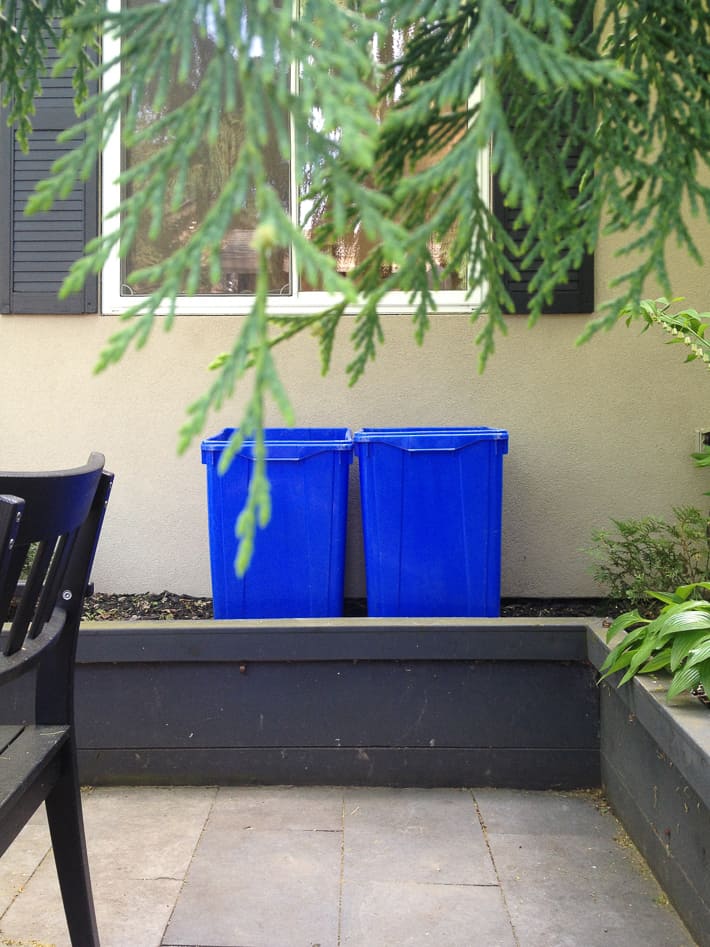
About a decade ago I started to put my recycle bins right outside my kitchen window. I did this because a) I am smart and b) I am lazy.
All winter long I can just open up my kitchen window and throw my recyclables into their appropriate bin without having to trudge through the backyard in the middle of an ice storm. This was fine in the winter because I was never hanging out in the backyard to see the ugly blue bins.
Come summertime I'd have to drag the recycle bins away from the window to a less visible, less convenient part of the yard because I didn't want big ugly blue recycle bins right out there in the open looking like their ugly selves.
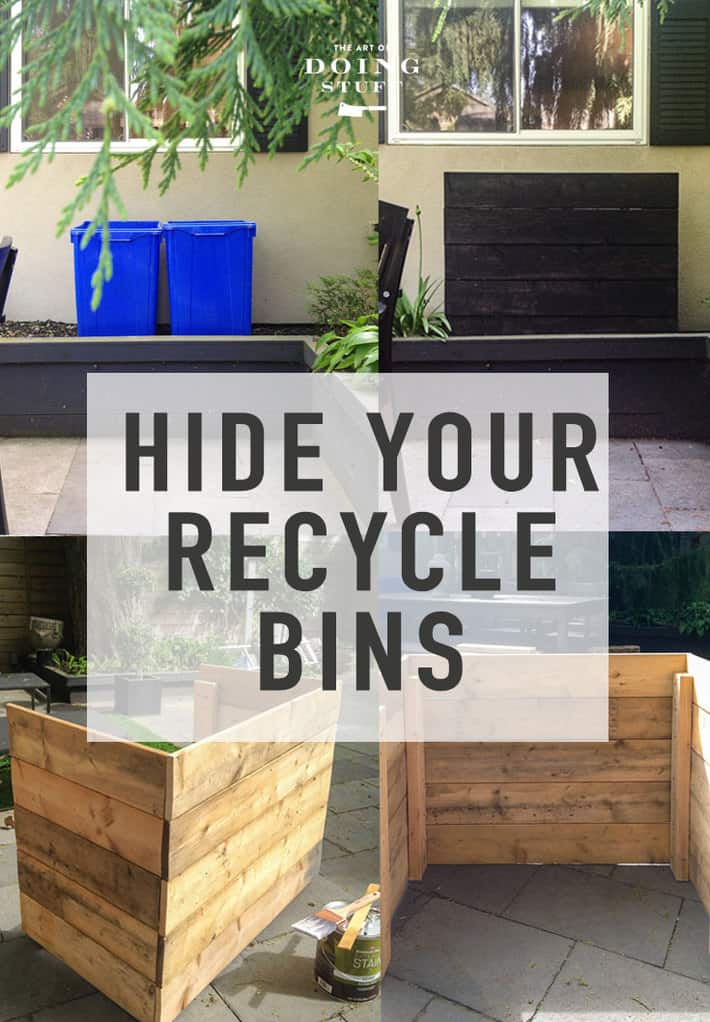
So I created a bin cozy. An easy wood cover that just slips around my blue bins.
DIY Recycle Bin Cover
I'm not giving you measurements or anything for this project because chances are your recycle bins are a different size. For instance I have the super-tall, generally massive recycle bins. Standard ones are smaller.
I built this bin cover one morning while I was waiting for a friend to come over. I didn't even plan on building it. I was walking around the backyard and realized I probably had everything I needed to build the bin cover using the leftover materials from my chicken coop.
Again, you don't need to use the same materials I've used. Use whatever you have or whatever you can steal. From a neighbour. That you don't like. Under cover of darkness and drink.
Materials
4 lengths of 2x4s
several lengths of 1x6's or any other flat, fencing type wood.
Wood screws
Drill
Instructions
- Measure the width and height of your recycle bin. If you have 2, measure them side by side.
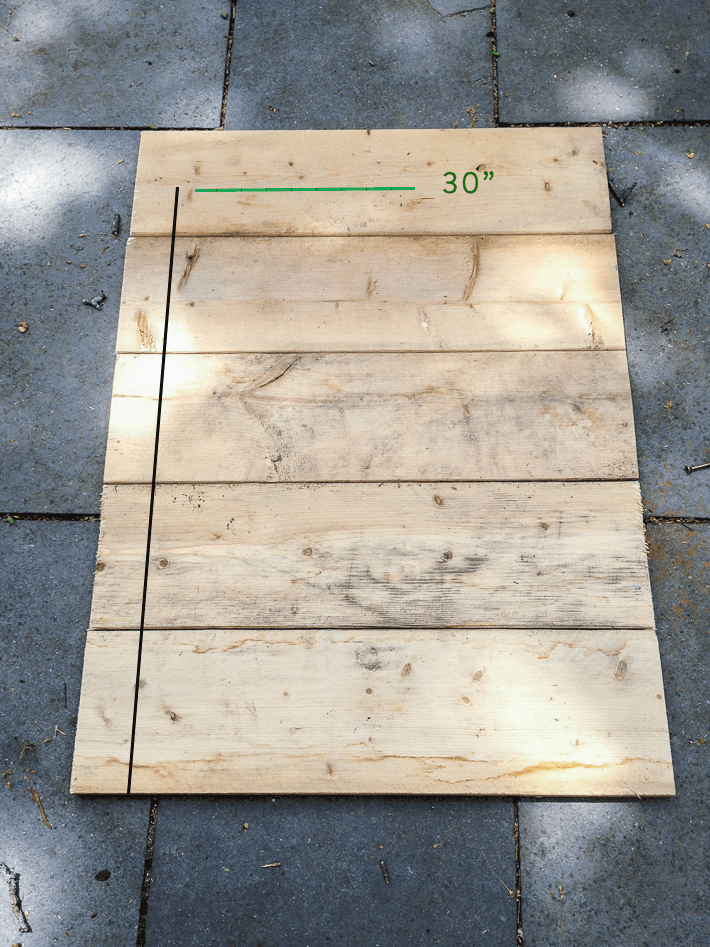
- FOR THE FRONT OF THE COVER: Cut the length of your fence boards so they are at least 6" wider than the width of your bins. (If your recycle bin(s) measure 30" wide, cut your fence boards to 36" wide. FOR THE SIDES OF THE COVER: Cut the length of your fence boards so they are at least 4" longer than the depth of your bins. (If your recycle bin measures 15" deep, cut your boards to 18" long. ) ** always measure the widest part of the bin (the top) **
3. Lay the fencing for the sides of the cover on the ground. Measure from the bottom board to the middle of the top board. Cut 4, 2x4's to this length.
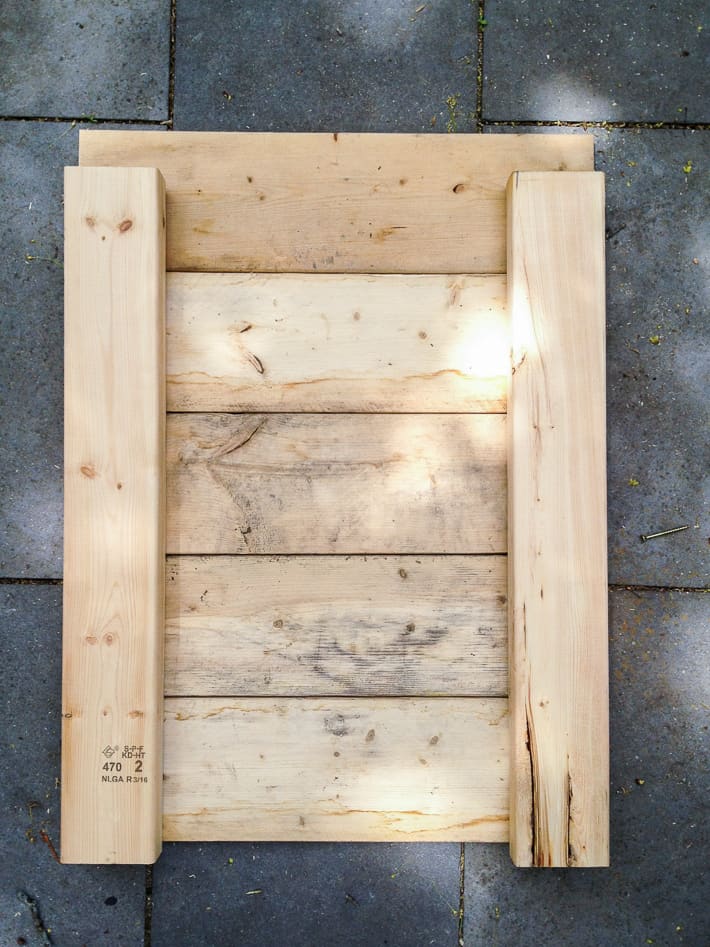
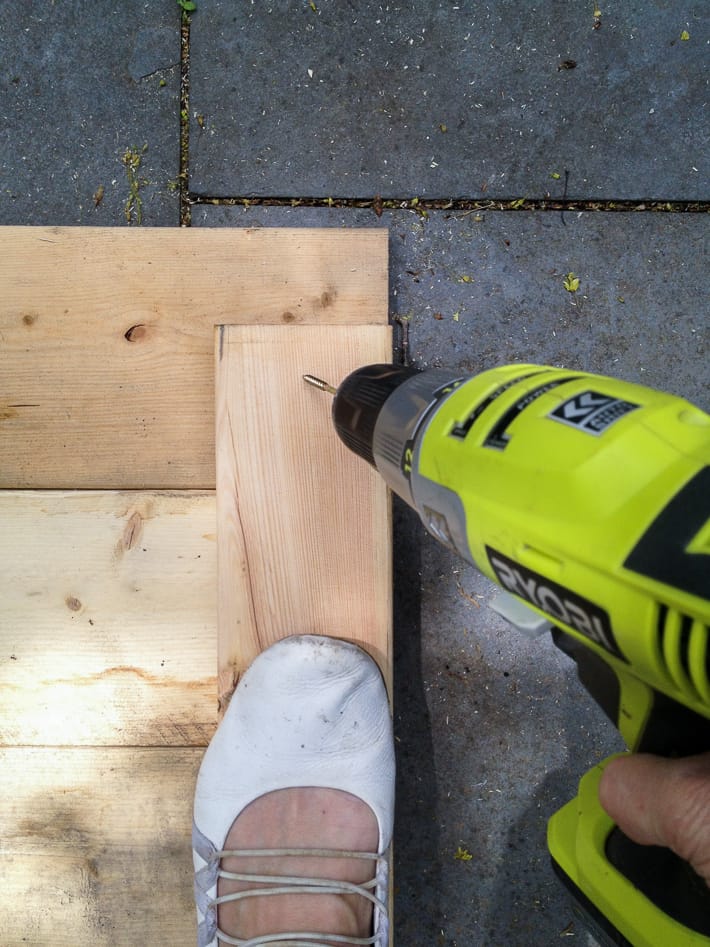
4. Lay your cut 2x4s on top of your fencing and screw into place. Always pre-drill your screw holes.
Drill into every board.
5. Repeat these steps for the other side of the cover. Once you have assembled and screwed together your two side pieces you need to attach them to the front fencing pieces.
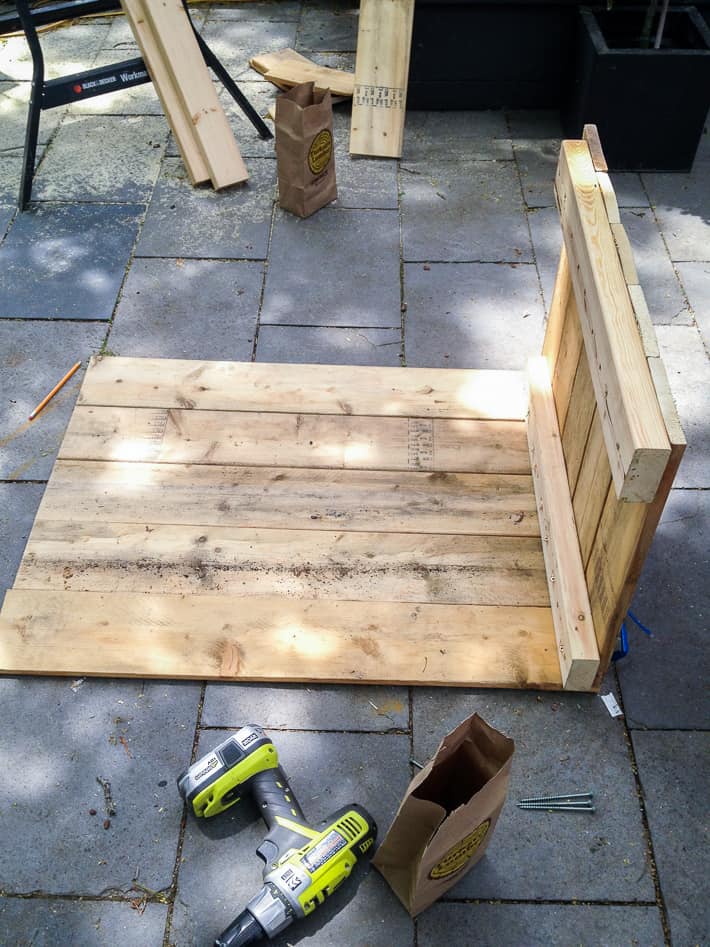
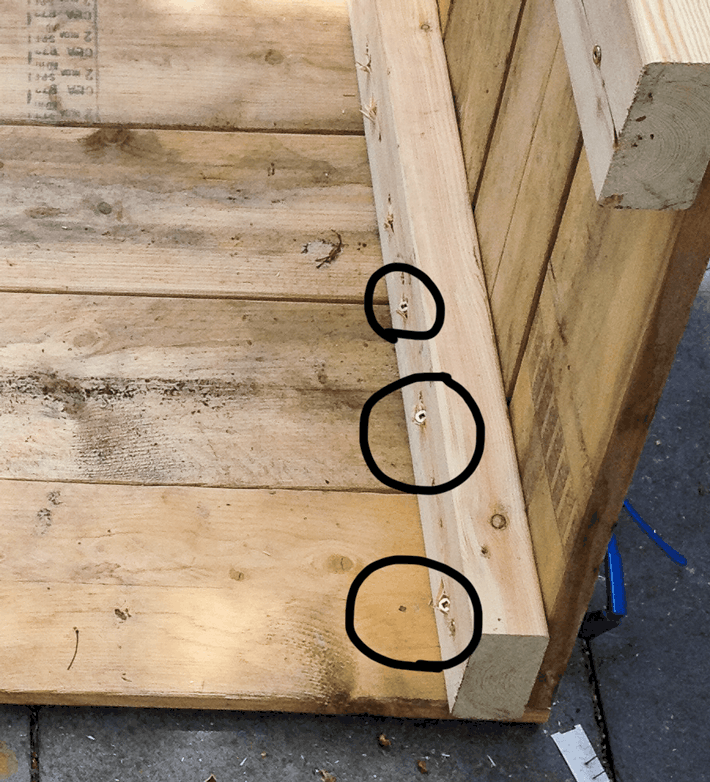
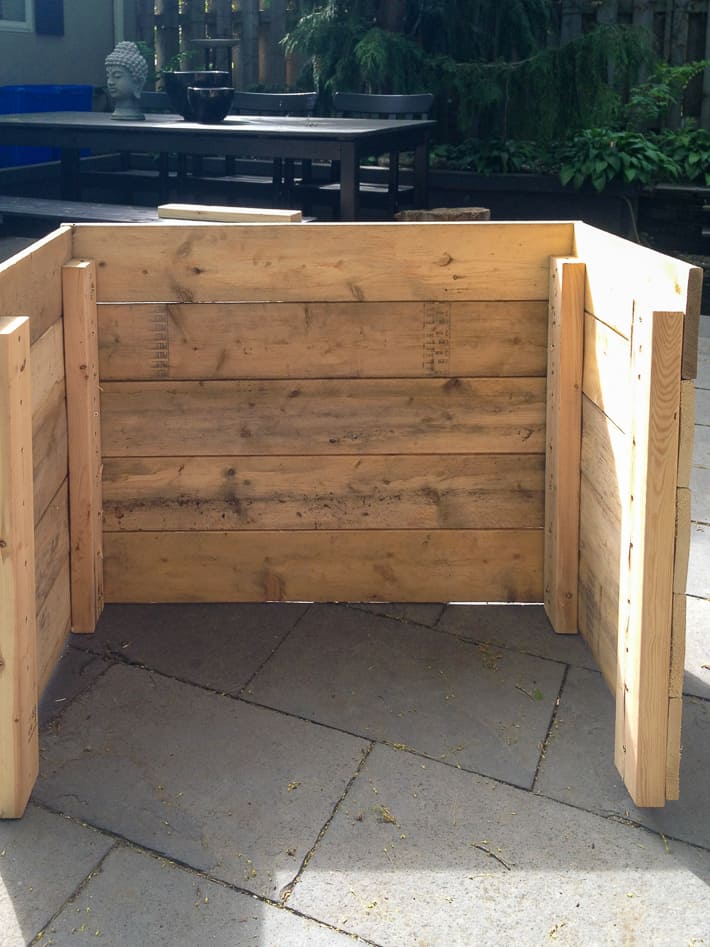
6. Like with the side pieces, just lay your front fencing pieces on the ground. Place one of your completed sides on the front fencing pieces and screw them together by drilling through the 2x4 on the side, into each of the front boards. Do the same on the other side. Pre-drill through the 2x4s at an angle into the front boards like you see in the photo below.
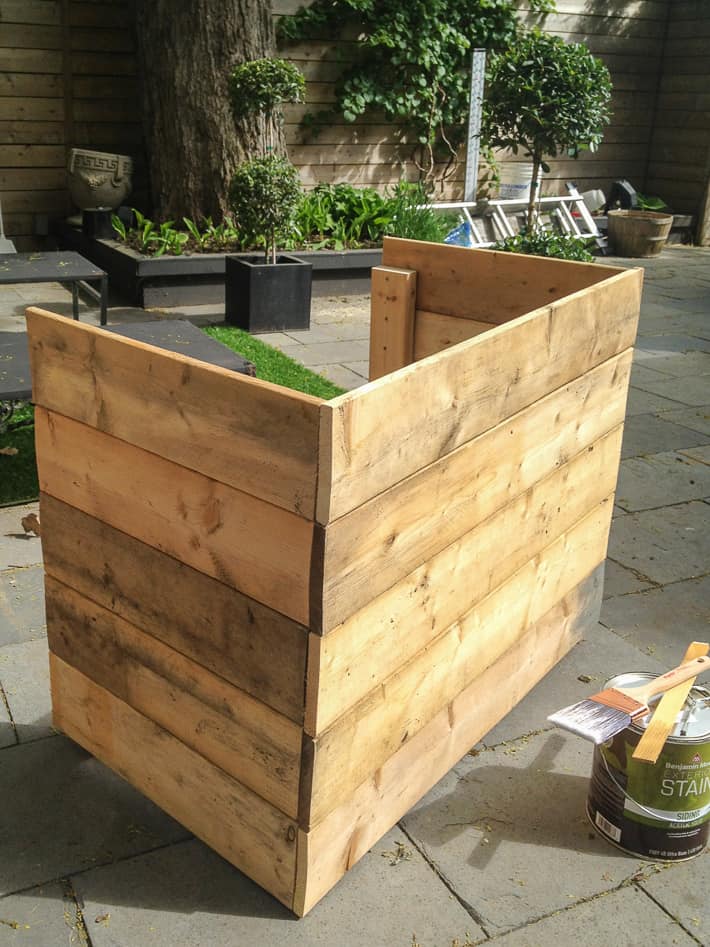
7. Stand everything up because you're done. You now have a slightly wobbly box. If you really want to you can brace the corners and run a 2x4 along the bottom and top of the open end. I didn't want to, so I didn't.
I knew that once the bin cover was in place I wouldn't be moving it so I didn't need to worry about it wiggling apart over the years. If the unstained wood suits your backyard then by all means, leave it as is. If not, then now's the time to stain.
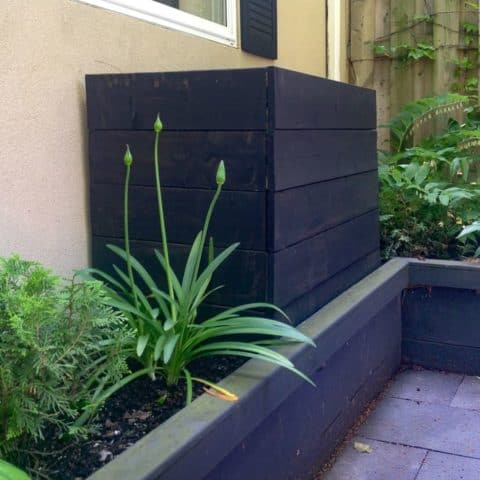
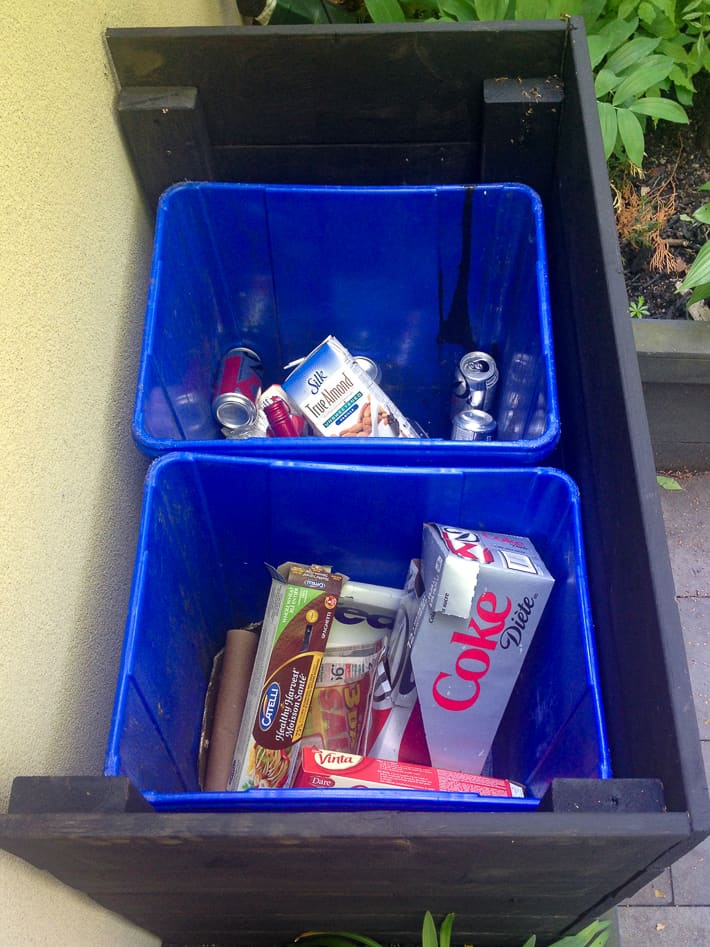
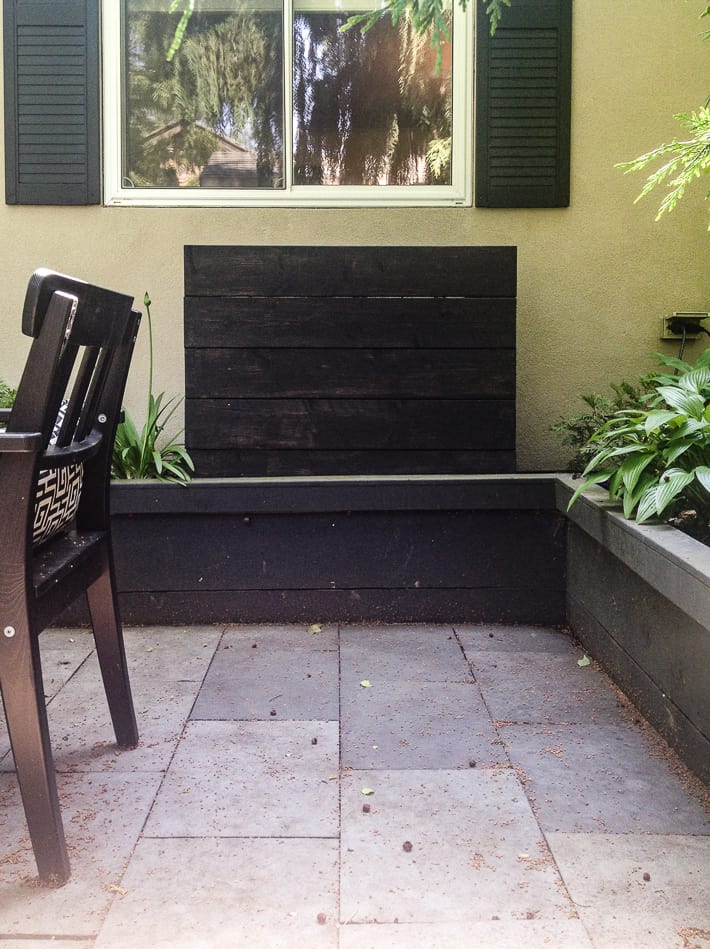
Now that your bin cover is stained you just need to slip it into place. (I realize it looks like I splashed paint all over my recycle bin, but I didn't. Well, I did, but that was during a long ago project, not this one)
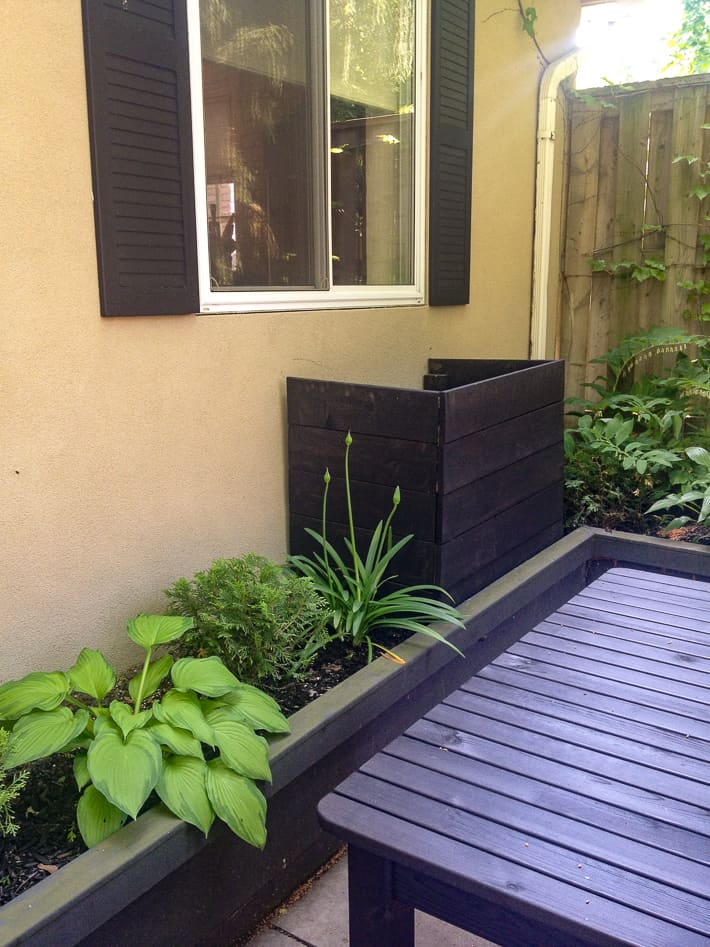
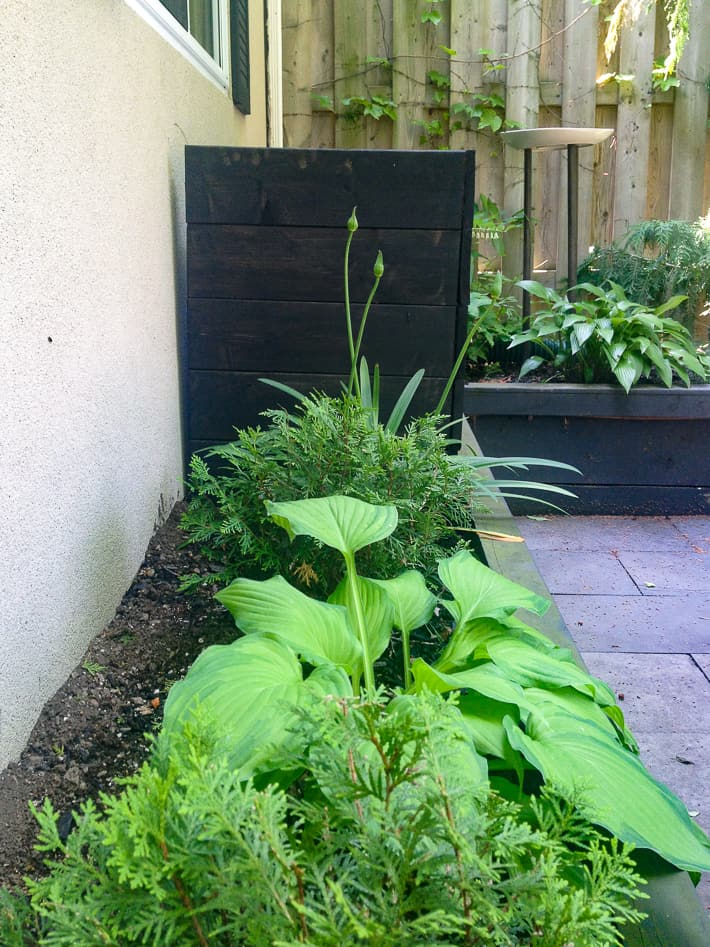
The bin cover blends in well with the planter boxes I built and is the exact same look as the chicken coop.
The dark colour is also a really good backdrop for the greenery all around it.
I am on year 8 with these DIY bin covers and so far there's been a bit of rot on the bottom (because mine are laying on dirt). If I had been even SMARTER I would have thought to put some stone or wood underneath the cover to help slow down the chance of rot.
Still. It's a pretty smart solution.
DIY Recycle Bin Covers
Because recyle bins are ugly.
Materials
- 4 lengths of 2x4s
- several lengths of 1×6’s or any other flat, fencing type wood.
- Wood screws
- Wood stain and paint brush (optional)
Tools
- Drill
Instructions
- Measure the width and height of your recycle bin. If you have 2, measure them side by side.
- FOR THE FRONT OF THE COVER: Cut the length of your fence boards so they are at least 6″ wider than the width of your bins. (If your recycle bin(s) measure 30″ wide, cut your fence boards to 36″ wide. FOR THE SIDES OF THE COVER: Cut the length of your fence boards so they are at least 4″ longer than the depth of your bins. (If your recycle bin measures 15″ deep, cut your boards to 18″ long. ) ** always measure the widest part of the bin (the top) **
- Lay the fencing for the sides of the cover on the ground. Measure from the bottom board to the middle of the top board. Cut 4, 2×4’s to this length.
- Lay your cut 2x4s on top of your fencing and screw into place. Always pre-drill your screw holes. Drill into every board.
- Repeat these steps for the other side of the cover. Once you have assembled and screwed together your two side pieces you need to attach them to the front fencing pieces.
- Like with the side pieces, just lay your front fencing pieces on the ground. Place one of your completed sides on the front fencing pieces and screw them together by drilling through the 2×4 on the side, into each of the front boards. Do the same on the other side. Pre-drill through the 2x4s at an angle into the front boards like you see in the photo below.
- Stand everything up because you’re done. You now have a slightly wobbly box. If you really want to you can brace the corners and run a 2×4 along the bottom and top of the open end. I didn’t want to, so I didn’t.
- If the unstained wood suits your backyard then by all means, leave it as is. If not, then now’s the time to stain.
- Set the cover in place. If it's going onto soil, lay wood or stones beneath the cover to help prevent rot.
Notes
* always pre-drill your holes first
I can now chuck things out the kitchen window to my heart's content all spring, summer, fall and winter long. My name's Karen and I am smart and lazy. Otherwise known as slazy.
Here's to all of you who are the same.
→Follow me on Instagram where I often make a fool of myself←



Put a flower box on it . Or flower boxes on your chicken coop like did. 😜
Ah, Karen, you must live in a blissfully rain and snow free place where screens can be slid away.Here, in New Brunswick, those suckers would be full of water, regular or frozen, and critters. Yes, I wash and clean all my recyclables but, no matter how fastidious I am, racoons, bears, squirrels, etc., can sense minute traces of anything edible and might just tear the whole thing apart for entertainment. Plus, I have windows with screens that would need to be removed to do this. Our blackfly/mosquito population would LOVE that. You are the most entertaining person I read and I have learned loads from reading your Blog but this is the first one that, for me, is totally useless. Plus...put on your hard toed shoes if you won't wear boots! We care.
Talking about stealing under cover of darkness and drink from a neighbour you don’t like, I don't steal, drink, or dislike my neighbours. But eons ago when the house next door was rented out to a bunch of young guys, I went out to the backyard c 2 a.m. one morning with a handsaw and sawed down a sapling that was planted right on the property line. I hated killing a tree, but it had to be done. I did such a good job that the next morning, one of the guys came out and couldn't figure out what was different, he just knew something looked different. 🙂
Without tops on the bins, rain and critters would get in, no?
My guess would be that there is an overhang for the eaves trough and it probably is in the east wall. Regarding critters, I always rinse all cans, etc. So nothing to attract them.
OK. I've just realized from all the comments in different posts you've done that we are all of the same mind: we would all love to be your friend. The only thing is, that would be a huge hassle. I can barely manage one good friend. However, this also means we would probably also all get along together. Have you considered having a summer get together for your following? Just an idea. Nothing you prepare except a venue, we bring our pic-a-nic baskets and refreshments, like the martinis (yes, plural) that I'm drinking right now. It would be a hoot. Maybe even a hoot-and-a-half. Add music and we've got a hootenanny. Consider it.
O.K. I'll consider it. I'll get back to you on that. First I'm going to determine whether taking part in a hootenanny is something one could get jail time for. ~ karen!
Funny you say that in January before the end of the world. Because now any hootenanny gathering will get you in BIG trouble. sigh.....
I am on the Board of my HOA, We have 140 condos and a recycle bin problem. They are red and are restricted to being kept on the balcony. They stick-out and are offensive. Our Trash hauler has no other color. Your device would work for us but with different dimensions, as we each have 1 bin and it is not as tall and probably a little longer than the 2 you show.
I have been looking and looking and looking for a way to camouflage our bins with no results. Do you have any suggestions?
Thanks, Thomas Watson
I'd first see if you're allowed to paint the bin (in which case I would paint it the cement colour of your stucco/wall with a spray on (for plastic) spray paint. If you can't then I'd do a mini version of the bin cover I made. ~ karen!
Not sure if anyone else picked up on the bottle of listetine in the recycling bin with the other empties! I take my empty pop bottles, milk cartons, etc. to the bottle depot and I'm pretty sure that I would get some funny looks when they saw the listerine bottle! Too funny!
What a great idea.
In today’s age, you probably have with you at least
two gadgets right now: a mobile phone, laptop, music player,
a whatever-you-could-think-of gadget concocted in planet XYZ.
There are some components of the electronic items which make it a threat, such as mercury and lead.
An annual compliance report must be submitted
with the concerned authorities within the specified due date.
Great idea! Thanks for sharing!
"how have you set a list..."
:-) i should never try to text and walk, LOL. what i meant to say was that in our area - the recyle collection is done every 3 weeks. that's a lot to build up! there is two containers - 1 for glass/plastics, and the other for newspaper/cardboard. so they're pretty hefty to left come collection time. i'm thinking maybe hinges on the two front sides, so it swings out with wheels? it would throw off the design, though...
karen,
how have you set a list when you need to pull the containers out? I wonder if you can put a packet with hinges on the back with a handle in front to lift it up like a cupboard door?
Hi Kim. THere's no need for hinges or doors. That would just make the making of the box much more difficult and time consuming. The bins just lift out from the top. They don't weigh anything because they're filled with cardboard and aluminum. ~ karen!