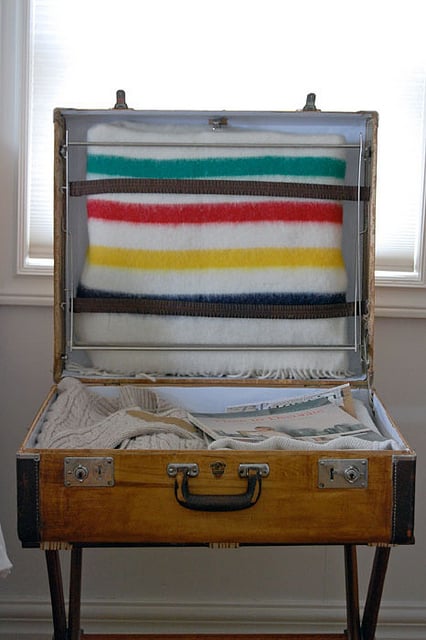
Last spring I got an email from an Art of Doing Stuff reader who lives in my general area. She said she had spotted a vintage suitcase out for garbage pickup while she was out for her morning walk. She lugged it home, emailed me and asked if I'd like it.
Um ... YES. Garbage finds are my favourite finds and I didn't even have to go root through garbage for it. I didn't know what I was going to do with the suitcase but I knew I could think of something.
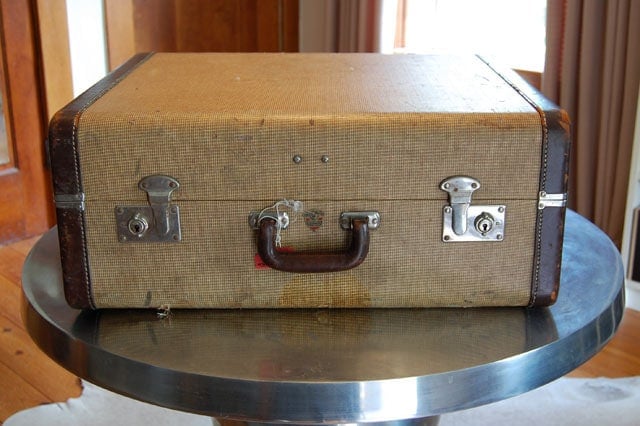
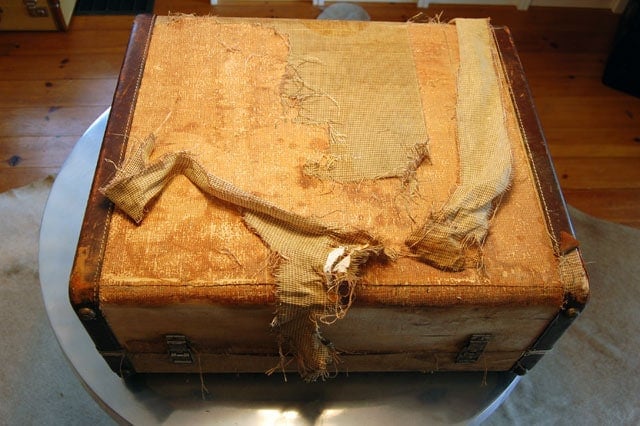
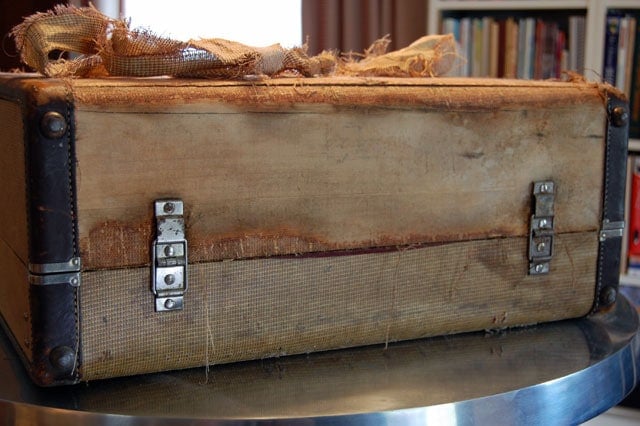
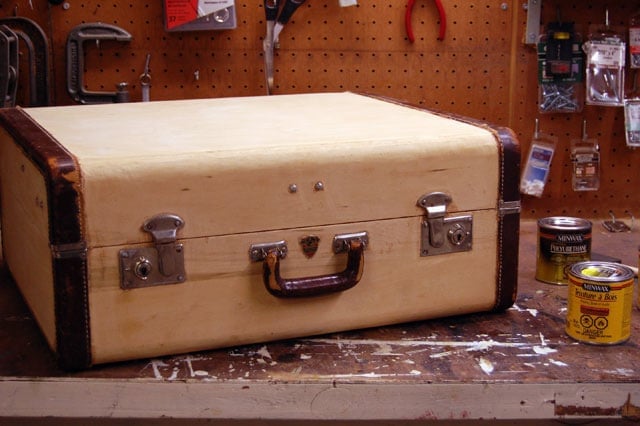
The suitcase was in relatively good condition, but definitely couldn't be used "as is". I'd have to fix it up, clean it up, paint it up ... something.
One year ago the title of this post was going to be "How to Paint a Suitcase!". By spring it was going to be, "How to Turn a Suitcase into a Gardening Shed!". Around July I decided the title would definitely be "Put Wheels on a Suitcase for Easy Underbed Storage!. Then fall arrived and the title became "Shove that old suitcase in your basement. It's ugly and a pain in the ass!"
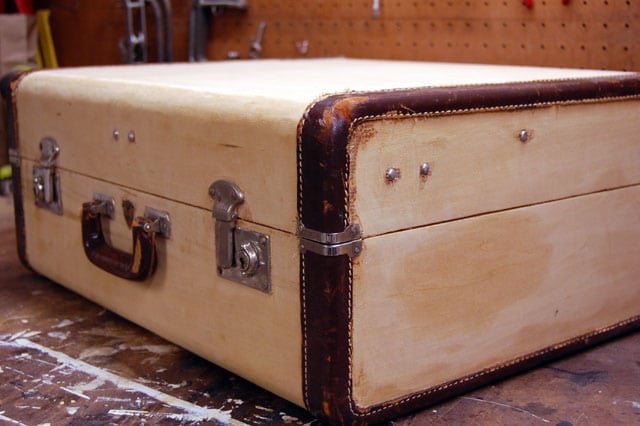
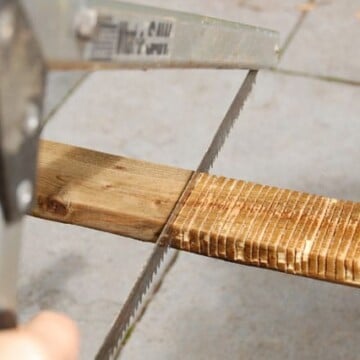
But then I made a discovery. I decided to peel off the travel stickers that were on the suitcase.
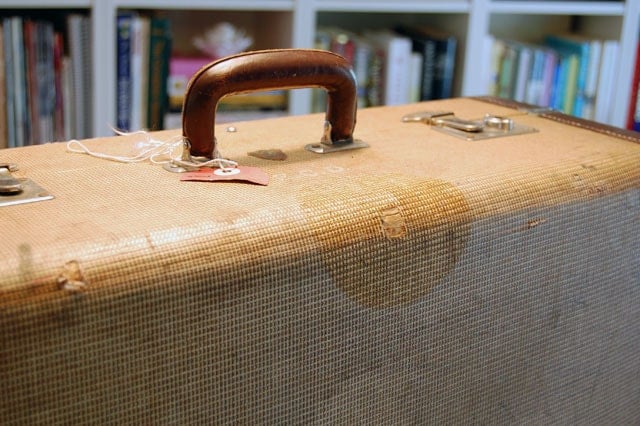
One of the stickers was covering up a hole in the outside fabric of the suitcase. It looked like wood underneath.
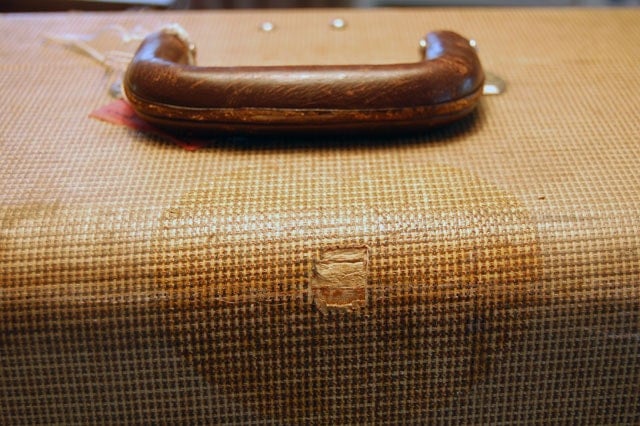
I figured if I just peeled a little more of the fabric back I'd be able to see if the whole suitcase was wood. Just a little. Just enough so I could see if it was wood. If I was careful about it, I could always just glue the fabric back down.

Hmm. Not sure. Might need to peel a tiny bit more back.
Yup. That's wood alright.
Would you like to save this stuff?
Down to the basement to set up for suitcase surgery. I'd get everything ready and then come down in the morning to start working on it.
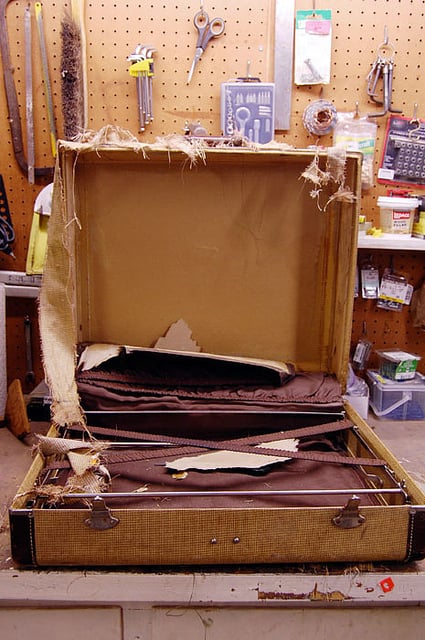
And I stuck to my plan. As long as you call 2:00 a.m. morning.
It was like an addiction this suitcase. I couldn't stop until I knew exactly what was underneath. Then once I knew what was underneath, I was satisfied and promptly walked away leaving it sitting on my workbench for the next 4 months. It runs in my family this sort of behavior. Rip something apart until you know what it's made of or what's going on and then walk away because your curiosity has been quenched.
Last month I got back to work on it.
To strip the suitcase I:
Table of Contents
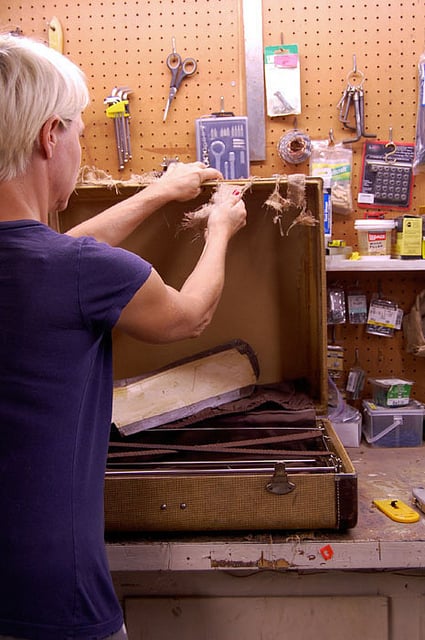
1. Ripped the fabric off with my hands.
2. Scraped off some of the glue residue.
3. Sanded the rest of the glue off with a palm sander.
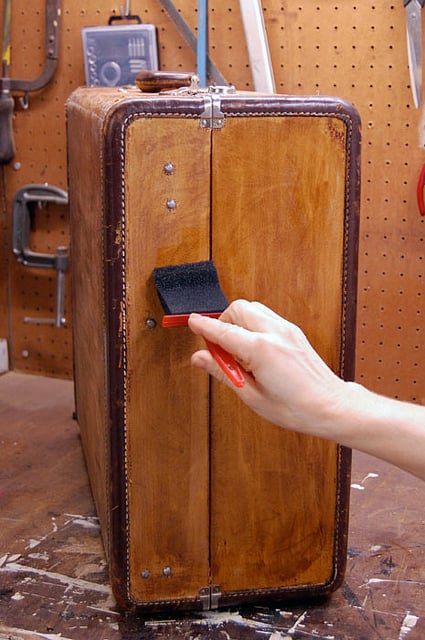
Now that the suitcase is stripped you have 3 options:
1. Leave it as is with no finish or sealant.
2. Seal it with a coat of Varathane.
3. Stain it and then Varathane it.
Even though I loved the clean look of the pale wood, I wanted it to have a bit more age and character so after MUCH debating I went with stain then Varathane to seal and protect the suitcase.
Are you wondering what this suitcase ultimately became? Is it underbed storage? A mini gardening shed? Nope, nope.

And yes. That is Rough Linen bedding. Smooth linen sheets and an Orkney duvet cover.
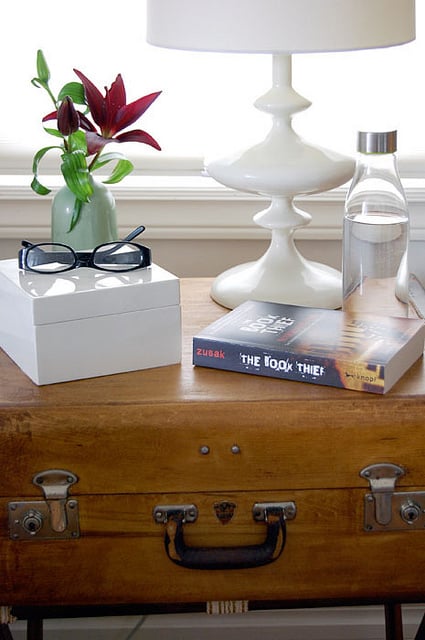

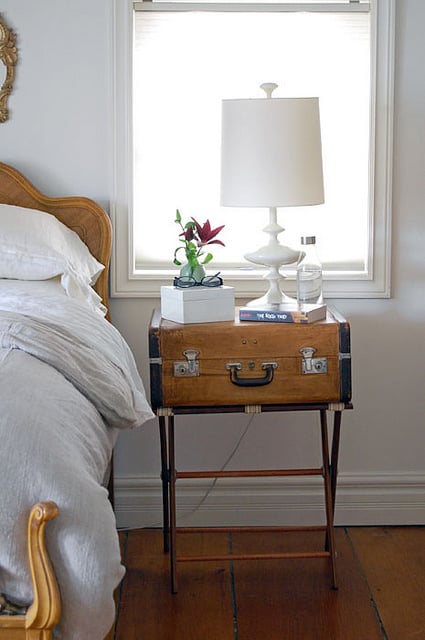
By putting the suitcase on an actual suitcase stand it instantly becomes the perfect height for a bedside table. Although it would look good on antique casters. Or on the porch with gardening tools. The one place it won't be going is the basement.


Zara Dozier
Thank you for sharing this project with the public. I’m working on one myself. I decided to decoupage the front and back and paint the sides. Now I need to figure out what to do with the stained inside material.
Kate
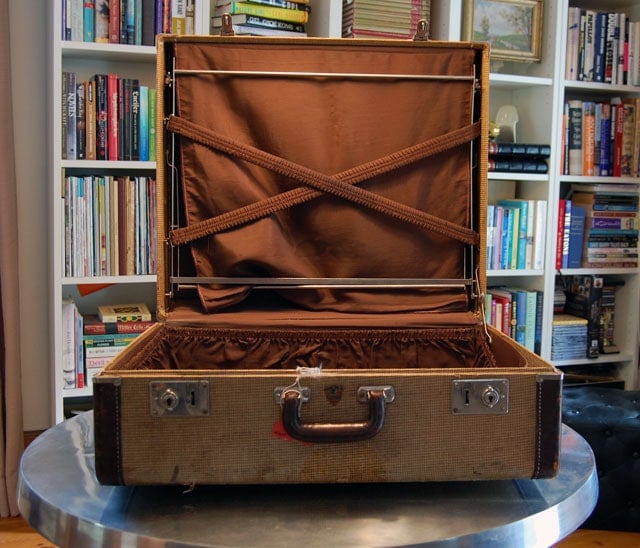
I know this is a old post and u my never see it again but just in case how did u get the metal bars out? I want to line mine with fabric or wallpaper but I don't know how to get rid those metal bars. They are in the way to get a flat smooth, neat surface inside. Of all the diy vintage suitcases I've seen on line this is the only one I've seen that they are still in. I can't find any post showing how to remove them! Thanks!
Angela
I see this was originally posted in April 2013. So glad I found this post though as I have a very similar suitcase. I actually tore out the inside, which was just paper, and relined it with a fabric (a bit of a pain as I hemmed all the edges. Only then did I decide to rip the exterior material off to expose the wood, it came off pretty easily. (So I had to unglue the top edges of the lining I had just glued in)! Just bought a sander to remove the glue residue. What stain did you use on yours? Getting excited for how mine will turn out.
Lori
How did you finish the inside?
Karen
I just wiped it clean and left it. To finish it otherwise I would just use the beeswax butter. https://www.theartofdoingstuff.com/board-butterto-nourish-your-wood-goods/ :) ~ karen
Data-Samtak Susan
Place any musty/dirty luggage in the sunlight for a few days. That is a tried and true method of airing out and sterilizing old things. I also spray Lysol on the surfaces while the fresh air is working it's magic.
Sani
Vintage Luggage Make over.
Sani
Do you need my full name? and what do you mean for Website?
Karen
Hi Sani! I don't need your full name. :) And the portion for "website" in the comment is for people who have their own blogs or websites they'd like to be linked to in their comment. So you don't need to worry about that. :) ~ karen!
Sani
Went to your site to see how to finish a red cedar tree trunk, didn't think about putting legs on it, but I could. Want to put it in my cowboy guest room. The wood is beautiful, will not stain it. Then I saw how you restored an old suitcase. I have one that was my mother's, from 1953,still looks good, but I don't care for he blue color. I use it in the guest bed room on a stand and guests put their suit case on top. the guest room theme is the beach, and the suitcase is stuffed with shells. Any idea about what color to paint the case?
Karen
Well, it depends on what you like and the other colours in the room Sani. But really I would go one of two says. If you like things to be monochromatic and blend, I'd do the suitcase white so it blends with the shells. Or you could go the complete opposite and have contrast with a dark colour. Not black, but maybe a dark, slate grey. Like I said, it's hard to say when I haven't seen the room but with a beach theme, either of those natural colours found on a beach would go. ~ karen!
Kelly
omg...this is my life. I found a suitcase, same make as yours, same stuff on the outside and I've been using it as a prop at my craft markets. I've wanted to put product in it, but it smelled. So it sat with kitty litter in it for like 4 months (waaaaaay longer than they say to...i may have totally forgot about it) It smelled a bit better, but still wasn't confident in putting product in it. Still used it as a prop though...closed. A few weeks ago I stripped the fabric out of it and started peeling paper/cardboard/some kind of paper stuff. And the glue!!!! I left it outside. Brought it back in, used it as a prop again. This week I opened it back up, the smell still there, I went to work on the glue. Wet it, scrape it, use some Goo Gone. *WTF why isn't this coming off!!!!* I've made it down to the bare wood...on the inside. I may have sanded it, put it outside and left it in the rain for an hour...(I didn't know it was raining!) Poor suitcase.
I really liked my outer finish...until I saw yours!!!!!! plus, it still smells so I'm wondering if it's in the outer lining...I'm at the point of "do I or don't I?" strip the entire thing.
This has me curious and hopeful. Yours looks amazing!!!!
Patty R.
My first one I picked was wood on the edges only with heavy cardboard sides...It looked SO MUCH like yours to begin with. I will give it a few months on the back burner before choosing the next to autopsy. Will let you know if I get as lucky as you did! Thanks again!!
Patty R.
I know I am way behind on this post but I am doing a happy dance at 5:38 a.m. because I bought 7 (THATS RIGHT... S E V E N) of these suitcases from our local antique store for a buck a piece, plus a couple more at thrift stores for not much more. I store fabric in them but KNEW they had more potential, just hadn't peeled back a crack yet, I so am bad about that too. I didn't want to just paint or cover them. Oh you have SO made my MONTH in "case" you didn't realize it. Thank you so much for braving that territory & sharing your exploits!
Karen
Hi Patty R. You're welcome, lol! I'm not sure how old the luggage has to be to have the wood interior but here's hoping you have at least some that are. And with upwards of 10 suitcases or so I'm sure you have a pretty good shot. Mine is currently in my foyer looking really good indeed. I still love it! ~ karen
Lindsey
About a year ago my mom gave me an old fabric sided train case. I have been searching for months for how to redo it, but all I get are sites that tell me how to cover it in fabric. When I came across your post showing the wood, HOLY LIGHTBULB!!!!!!!! I took it outside today and ripped off the nasty fabric. The bottom wood piece came off, but I can replace that! And the top will get replaced, but the body is in great shape when I get it sanded down. I will go buy a razor squeegee tomorrow to get the rest of the paper lining out, and then drive my hubby crazy by calling it that. Thank you so much for showing us this great project. And I will definitely be staining mine and not covering it up.
Karen
Excellent! I was so thrilled when I discovered the wood underneath mine too! Who knew! ~ karen
rusty
I have a sax case looks just like that. The leather strips on the side need to be re-sewn. Is that possible?