There are 3 ways to make the home you live in look derelict. Broken windows, saggy gates and standing on your front lawn in a bathrobe throwing jelly beans at everyone walking past. Extra derelict points if you're wearing banana peels as slippers.
I have no broken windows and gave up on throwing jelly beans at my neighbours years ago when I realized (judging by the fist shaking) not a single passerby seemed to like jelly beans.
I do however have a saggy gate.
I've been meaning to brace these gates since the day I built them. But I've had other very important things to do that didn't involve bracing a gate. Mainly this is because I had no idea how to brace a gate. I had a general idea I guess, but it wasn't the sort of thing I knew exactly how to do or what to buy. I'd go to the hardware store the odd time and kind of look at the wires and twisty things and know that these were indeed the sorts of things I'd probably need, but there were so many sizes and little parts involved that I inevitably turned on my heels, grabbed a bag of jelly beans and left the store.
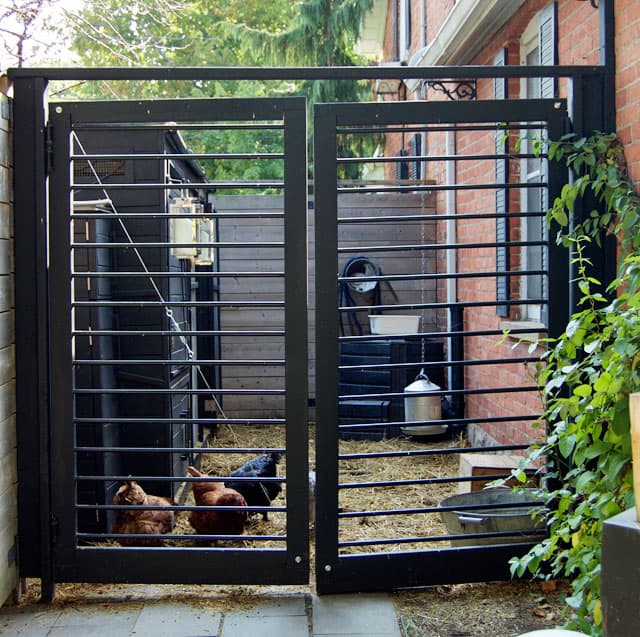
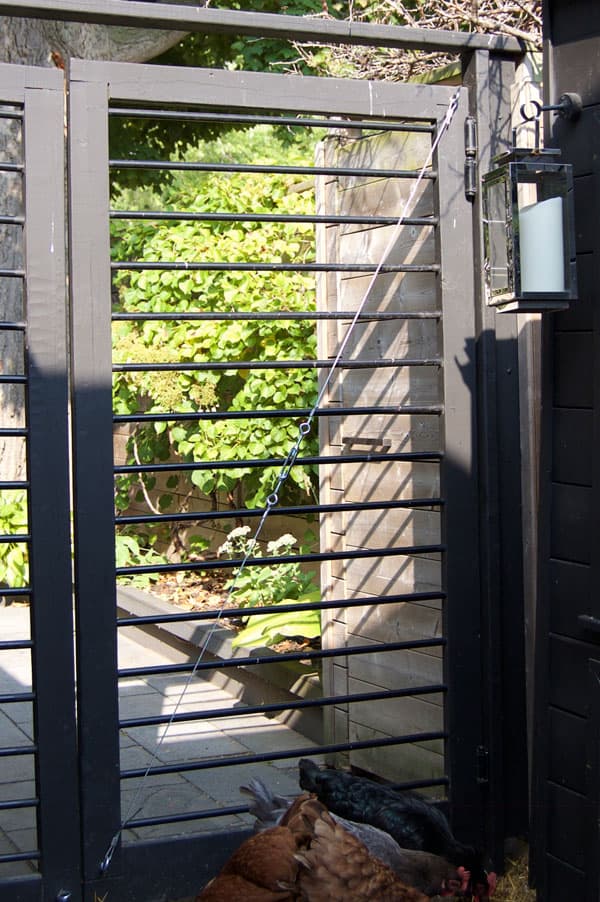
The difference. Left side after bracing. Right side not braced.
Every few months or so my neighbour Grant would take a look in my backyard and say "So. Haven't braced those gates yet, eh?". I'd tell him, NO! Which he couldn't hear on account of his ears being filled with jelly beans by the time I responded.
Finally, after a few years of being pelted with jelly beans, Grant offered to take me to the local hardware store to show me exactly what I needed to buy.
I agreed because Grant has a super-cool car.
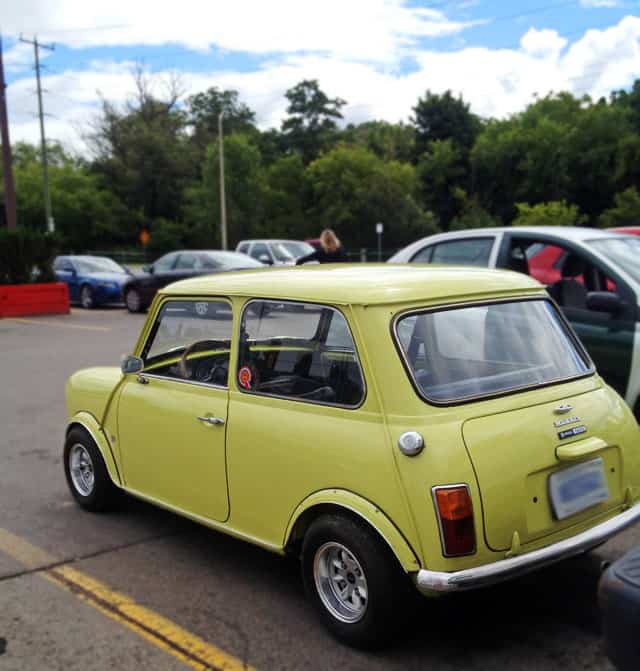
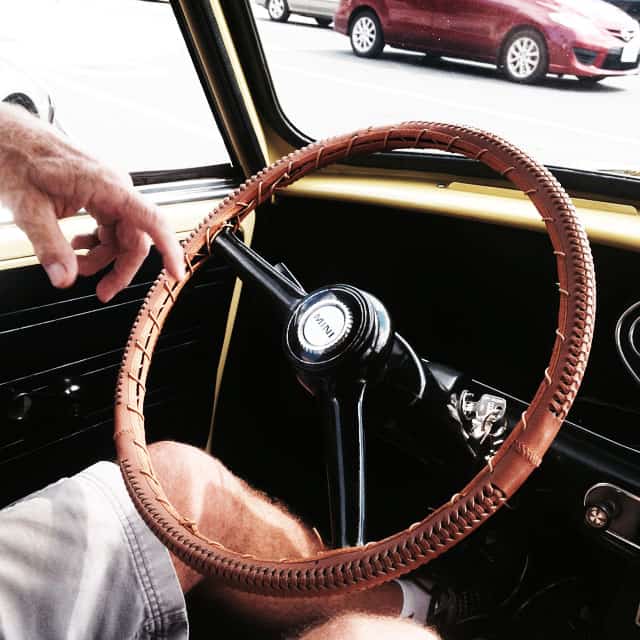
If Grant drove a Corolla you'd be reading about how to make soup today.
How to Brace a GATE.
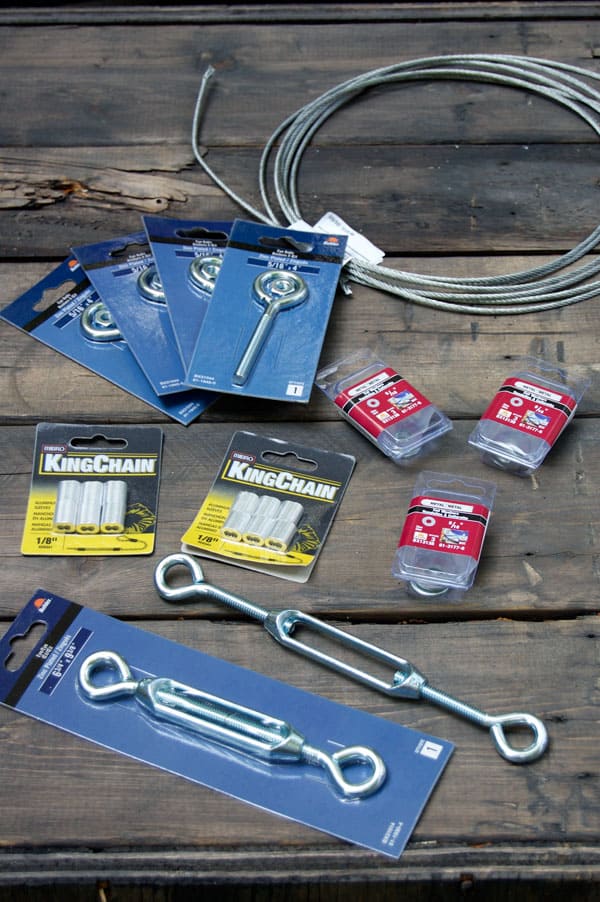
Materials (per gate)
(2 x ) 4/16ths eye bolts
(4 x ) ⅛th" crimps (aluminum sleeves)
⅛th wire (length of the diagonal measurement of your gate plus a couple of feet)
(1 x) 6 ¾ x 9 ⅜ths eye
Tin Snips or cutters
Electrical tape
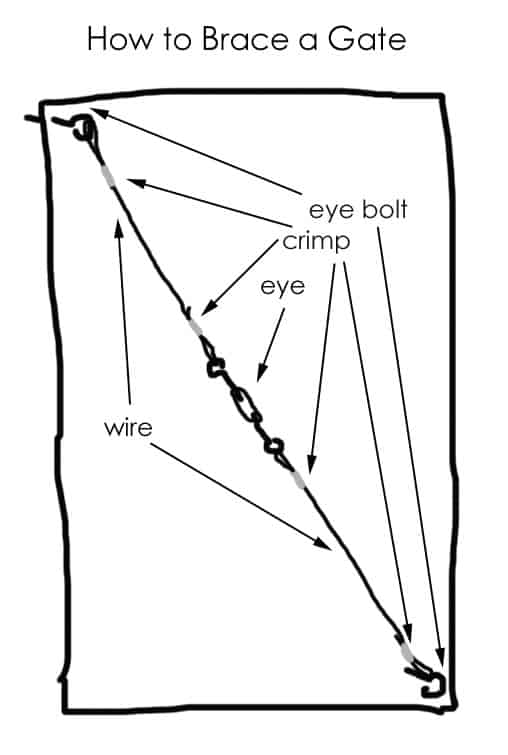
I was going to end the post there with that diagram I drew because I suddenly wanted to try to make biscuits. But you people have a tendency to be super-needy always asking for clarification and instructions and actual photos and such. Since I find it very difficult to throw jelly beans through my computer I will comply.
The first thing you need to do is cut your length of wire in half. You'll be using half on one side of your gate brace and half on the other. If you measured correctly across the diagonal of your gate plus added another 2 feet you should have the right measurement for each side of your gate simply by cutting your length of wire in half.
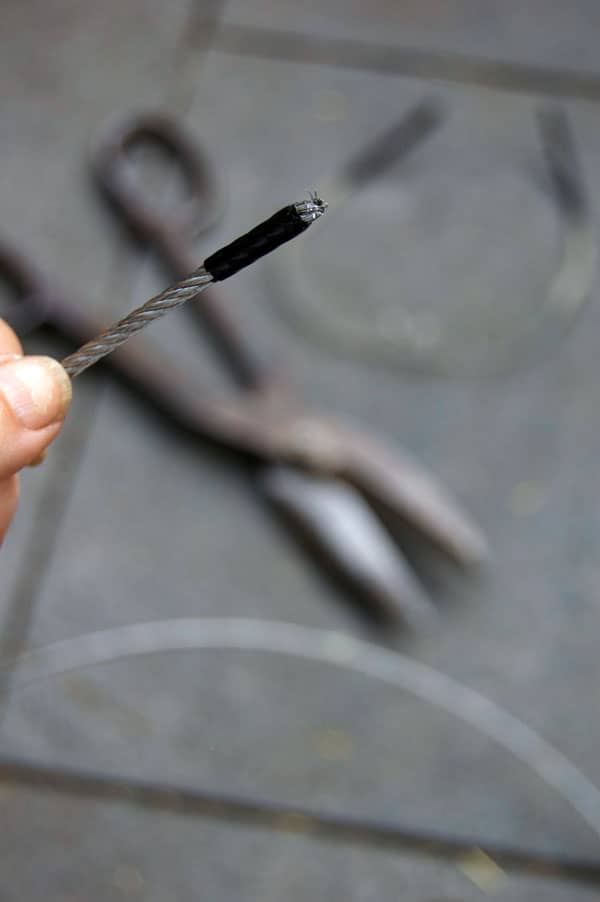
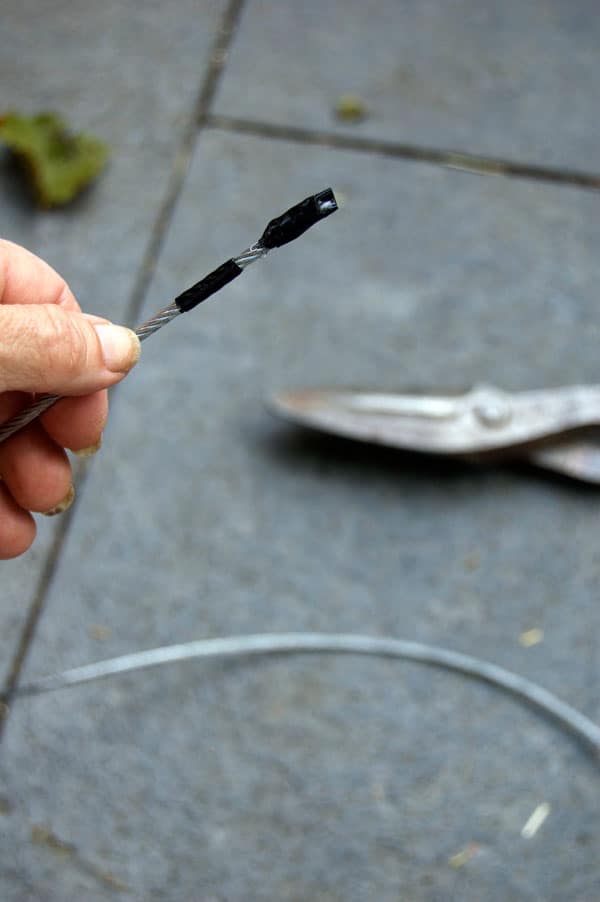
This wire is insanely pointy and sharp once you cut it so to make things a tiny bit easier on yourself use a GOOD pair of tin snips or cutters. You can also tape on either side of the wire that you want to cut with electrical tape. This will keep the wire from unravelling (which seems to be when it's at its sharpest and angriest) after you cut it. Just cut between the tape.
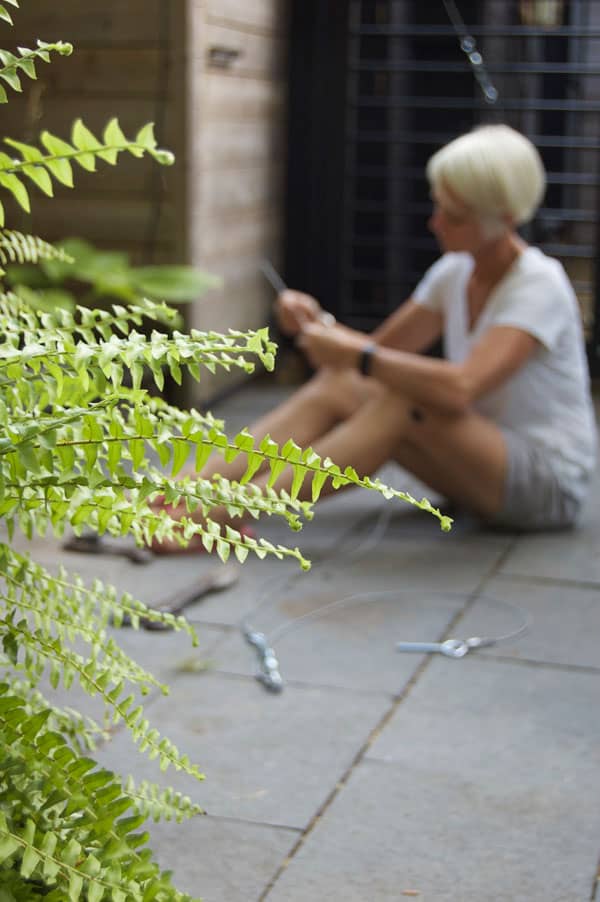
Maybe do so while sitting on the ground looking pensive and thoughtful. With a blotch of black paint on your leg.
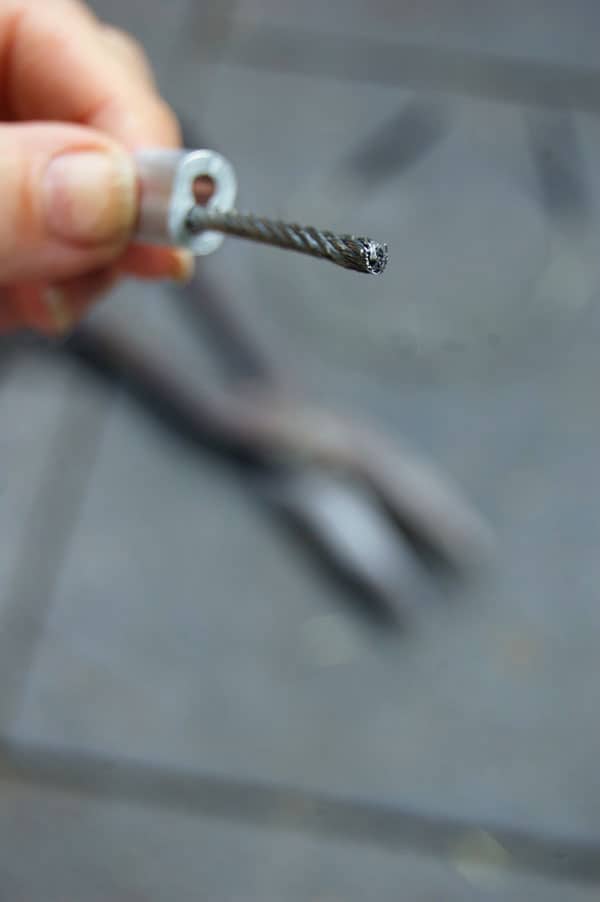
The other thing using the tape does is keeps the wire as tight as possible when you're cutting it. It has a tendancy to splay out when you cut it which makes it almost impossible to thread through your crimps. Which are actually called aluminum sleeves.
Once your wire is cut in half, apply a sleeve to each end of the wire.
Run the wire through once, hang the eye bolt off of it, then continue the wire through the sleeve.
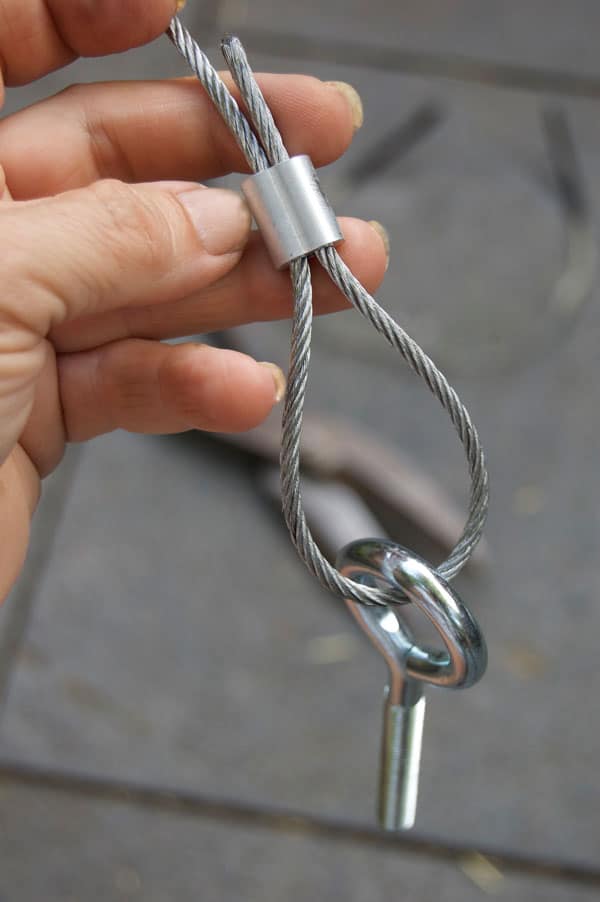
Keep your loop as small as possible. This will allow you to have as long a wire as possible which will ensure your wire is long enough to run the full diameter of your gate. Crimp the aluminum sleeves closed with either a crimping tool or a mallet.
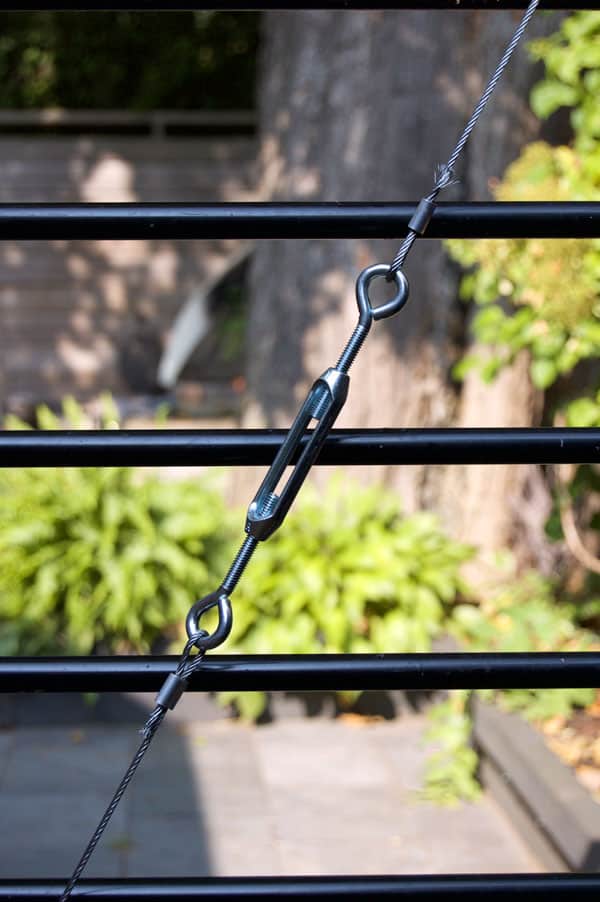
Once you have eye bolts and sleeves on the ends of your two separate wires, you can then attach the sleeves and adjustable eye, making one continuous connection, like you can see in the photo below. Crimp your sleeve the same way as before.
Lay the wire on the ground while you drill a hole on opposite corners of your gate.
You want a hole on the edge of the gate that's dipping (which will be at the bottom of the gate) and a hole on the gate diagonally across from that hole. Just go look at the picture I drew and it'll all make sense.
Notice below how I don't have huge loops.
Once your holes are drilled all you need to do is push the eye bolts through the holes and secure with a nut (and washer if you're the type to do things right). Tighten.
You can now "brace" your gate by tightening the adjustable eye in the middle by twisting it. The more you twist it the tighter the wire will get, lifting the bottom of your gate up as it goes.
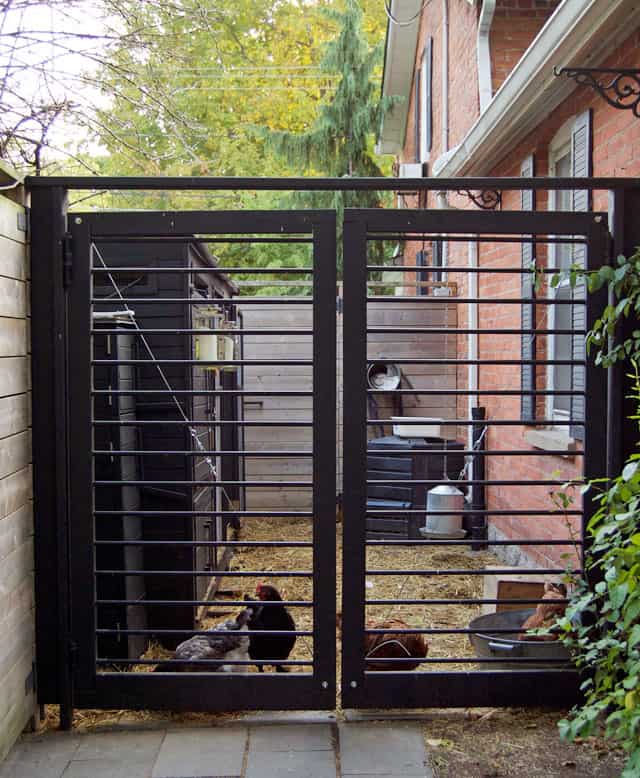
If you go back up to the top of the post and compare the sagging gate to the lifted one you'll see what a big difference it makes.
I'd have done this years ago if only someone had mentioned it to me.


Seven references to jellybeans. I know that mentioning that is weird as shit, but I am a counter and can't help it. That being said, great tutorial! I would have thought it would have been a much more difficult DIY, and it may be, but you made it look very simple.
With love from an OCD follower.
The real question: what on earth are you doing to look that good in short shorts? I mean, I guess all the "doing stuff" keeps you trim, and I think you might be a runner . . . but is there anything else? Just curious.
Oh, I just look good because I'm sitting down and my knees are up Wendy. I don't do much of anything other than a lot of stuff, lol. Thug gardening helps. I try to run but I suck at it and I hate it so ... The one thing that helps is a Fitbit. I really do pay attention to whether I have 10,000 steps in and if I'm looking low, I'll walk to the store instead of drive or park far from the door or whatever. ~ karen!
kinda wish I too had a saggy gate but do not.... I've found that when I need help and instructions like this, I got to our local hardware store and look for the oldest guy there and ask him how to do whatever it is I need to do..... these retired dudes are full of helpful and useful advice! Plus he reminds me of my grandpa :)
Also, Centsational Girl did a post yesterday about black-painted garden fencing and other outdoor accents. I just knew that your backyard would be included in her photos. But no. Harrumph!!!
I'm thinking there's a typo in your list for the eyebolts. Should be (2x) 4" x 5/16" eyebolts, no?
I've also always called that twirly thing in the middle a turnbuckle ( yes, does sound pirate-y). We used a big one when we put a zipline in our back yard for my son. Also, my hubby restored a '79 Mini about 20 years ago. It came from Canada. . I love how your posts are always relevant to my life. How do you DO that?
I really needed this information and did not know it. I recently had my front porch screened in. I had a single door put on the carport side with a screen door that pushes in so I can bring in groceries easier. I had double doors put at the front sidewalk so I could have enough room to bring a new couch in without having to twist and turn and squeeze it thru, but within a few months, those doors were sagging and looked just awful. I called the carpenter who did the work to come back and fix them and his answer was an "L" bracket at each corner. So far that has held up, but I think they really need this brace system. I can't decide right now if I want to fix it correctly myself or just get the materials, give him this blog to read and let him learn for the future. I really hate droopy doors.
wonderful post – – I'll get right on that! Thank you! Speaking of needy the thing that I've really been needing to know is how to keep the gate from slamming any ideas on that? Thank you so much for your ever-supportive posts.
Well, I mean, other than closing it gently myself.
Arrrr, an adjustable eye - sounds very pirate like. Down here in Oz we call them there thingies 'turnbuckles'
Also very pirate like.
Off to chomp on some jelly beans...
Darn it, Carol! You beat me to it! As soon as I saw it, I said, all smarty-like, "That's a turnbuckle!". I actually have some in my basement, just in case of...something. At least I can chip in that they are also called turnbuckles in the U.S. . (You're right-it is strangely pirate-ish.)
OMG my first car! but in British Racing Green. It had sliding windows on the front side windows and the back sides were lift and tilt mechanism and to go full beam you had to step on a button to the side of the accelerator. It was of a build age that at the time of seatbelts becoming law in UK it wasn't technically necessary to have them installed. Nice trip down memory lane. Wow WKRP and old minis after each other. Rats I must be of a certain age and will have to pretend to be an adult.
So back to the post - excellent instructions and pictures as always Karen. Wish I had a saggy gate now...... dont have the other use problem - two fried eggs on a plank!
You did a great job on your gate...you have just the talent I need.
The property I'm going to acquire is in Northern Arizona and over
an acre just on the edge of the Navajo Reservation very close to
Hopi Land. I have a few tons of tools and lots of work.
The south west gate needs your professional care as does most of
the rest. There is an old 3 bedroom house on the property that
needs the best of Canadian assistance. The Little Colorado River
is one mile to the east and this land is part of the Orion Nebula...
by use of the Golden Ratio...transposed from the Pyramids of Egypt.
Michael
I'm glad you mentioned about the pain blotch on your leg because I was going to advise you to get that mole looked at. I've had one or two dicey ones myself taken off so I am sensitive to this sort of thing. It's not meant to be a snarky comment.
Hey... I drive a Corolla! ;D
Hi Karen, your gate is stunning. Well, actually, your whole everything is stunning: home, garden, front porch, your community garden, your blogs, your family, like I said, everything. I just wondered, is one gate already braced (the one on our left). Was that on purpose to teach us?
Hi Dagmar! Yes, I made a quick mention late in the post that the one side of the gate was fixed in the first photo and the other side not. I've now made a quick note under the first photo to make it more clear. :) ~ karen!
I need these for my boobs. Also, this is the same method I used to string wire across my yard from which to hang twinkle lights.
Laura, I'm so glad I wasn't drinking or eating anything when I got to your comment. Now that you mention it, these gadgets might do wonders on a number of my now misaligned bits and bobs. Cheers, Ardith
Maybe Botox would work for that Laura. I mean it would be an off label use but still ... I think if you just pulled your boobs up and straight out then injected some Botox all around them it would probably do the trick. The only problem is no one would be able to tell when your boobs were angry or surprised. ~ karen!
Good idea. Careful symmetrical injections would be needed. Nobody wants Marty Feldman boobs. Both looking in a different direction.
I knew a woman who had her boobs hitched up. She was not allowed to lift her arms for a year.
Apparently now you can get some surgeons who put reinforcing mesh in and they never ever sag. not even 1000 mls ones.
Mind you, they don't move either.
Just sharin.
Ha! Mine are obviously sad. Very, very sad.
I just spit a little coffee on my tablet screen! Both great ideas. ;-)
Hi Karen,
We installed a sixteen foot long gate that my husband made by welding two steel fence sections together. We used your neighbor's method to prevent gate-sag, and so far it has held up beautifully, been three years now.
Such an easy (and cheap!) solution.
Val - from Canada eh?
Have a great day Karen!
I'm sure I will be judging saggy gates now, lol.
I don't have a gate to brace, but nevertheless enjoyed your post (as always)
ditto
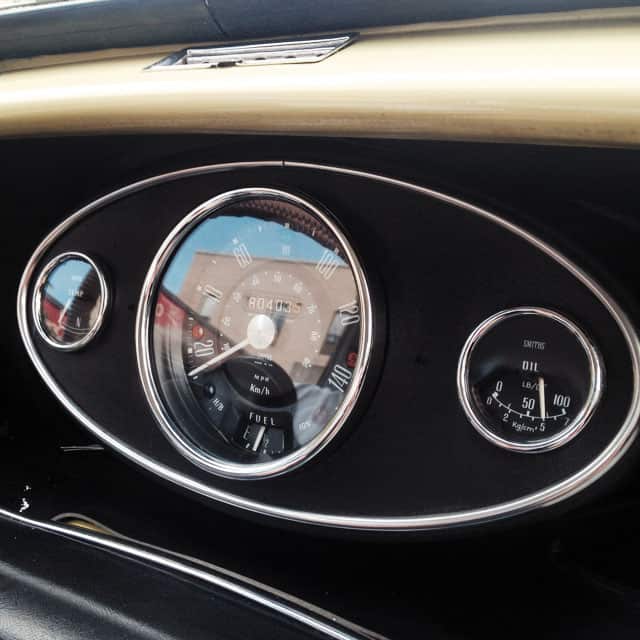
I like Grant's steering wheel cover. Cool. That wire is used to make clothesliines in Australia. They are called Hills Hoists.
http://guides.naa.gov.au/records-about-south-australia/gallery/image022.aspx
It always amazes me how clean you stay.
Ha! My mother had one of those in the backyard when I was a kid. ~ karen!
OMG! the car!! gorgeous! the gates are great too!
Ba-gok!
Look great - good job! I really like your chicken pen, too.
Btw - how do you make biscuits? (just cause I am needy like that).