Yeah, yeah, it's beautiful I know. But that's not what I want to talk about right now. I, at this very moment am so tired I could fall over. You know that kind of tired where everything looks comfortable? The couch, a chair, the floor, a wet toilet paper covered bathroom floor at a rest stop? I could easily sleep there.
Yes. I'm toilet paper tired.
And it's all because of a big glass of milk I drank last night. I poured it, I lifted it, I downed it. Gulp, gulp, gasp. That tasted weird. And why did I have to chew it? I never have to chew my milk.
My name's Karen and I drank a glass of chunky milk last night.
I drank it so fast it was gone before I realized anything was wrong, but yes dear readers, there was something horribly wrong with my milk with globs in it.
Of course I covered my mouth and started dry gagging/running back and forth in the kitchen all by myself. I didn't think I was actually going to be sick that moment but I wanted to be prepared the second my stomach realized I just drank curdled milk. I gag-ran myself into the bathroom and immediately took an anti-nausea pill, ate a couple of Pepto Bismols and prayed to the vomit Gods I'd fall asleep before my stomach started churning.
I was fine. The Gravol (anti-nauseant) knocked me out for a good 9 hours and it was the kind of sleep where you wake up in the exact same position you laid down in, the only difference being a crust of drool covering the lower half of your face.
I got up feeling perfectly fine other than the fact that my limbs suddenly weighed 100 lbs each. That's a side effect of the anti-nauseants. Drowsiness and 100 pound limbs. So that is why I'm so tired today.
Why are we here again?
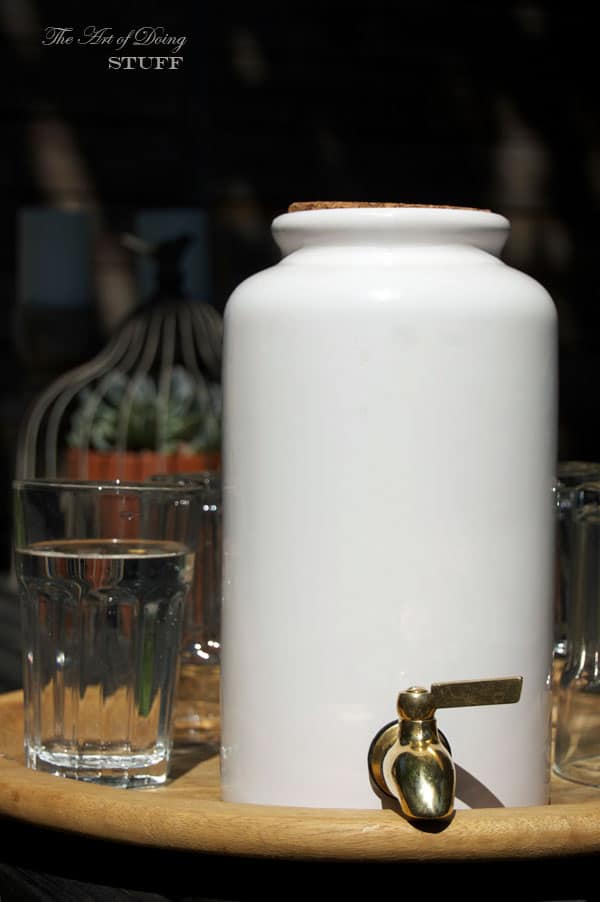
Right. The beautiful DIY water dispenser.
So I wrote a post the other day about replacing the tap in your water dispenser from the ugly plastic one to a nicer brass one. You just pull the old one out and shove the new one in. Easy.
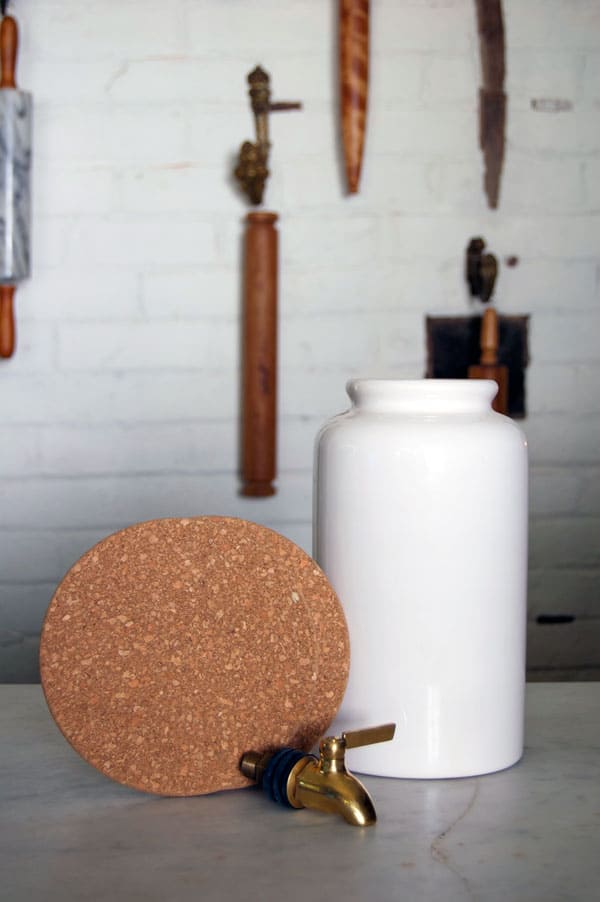
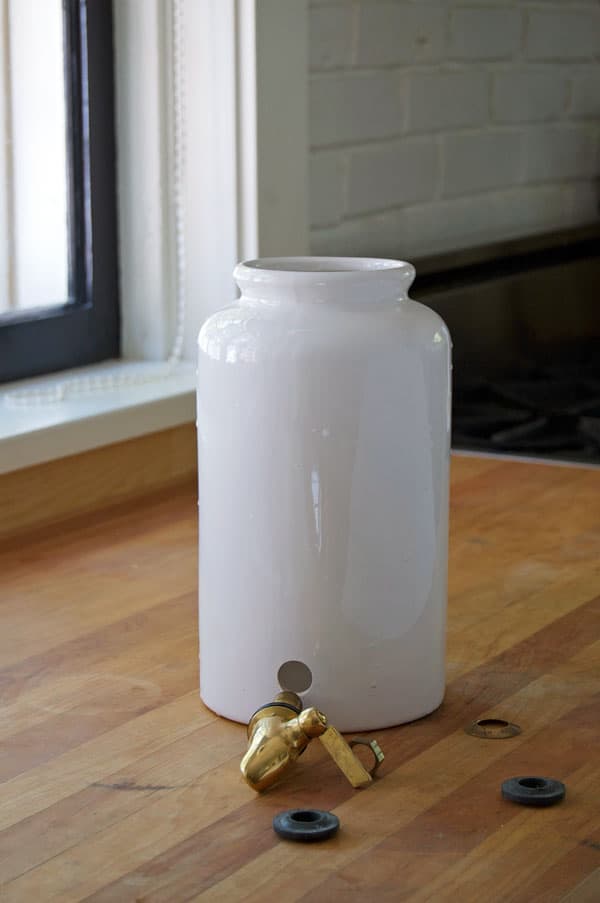
But it's still an ugly plastic water dispenser. So I took it one step further and drilled a hole in a ceramic (food safe Dolomite) vase, cut a cork lid to fit and threw on a brass tap.
Here's a quick (like 28 seconds) video of the whole process from beginning to end.
Now that you can see it only takes 28 seconds, I've got you hooked and we'll continue.
Supercool tap in my kitchen by Brizo.
Dolomite is food safe. I checked and I checked and I checked. Then I checked some more. Food. Safe. Glass is food safe so if you want to be extra sure you aren't getting any leaching from glazes, use a glass container. A glass cylinder vase would be perfect.
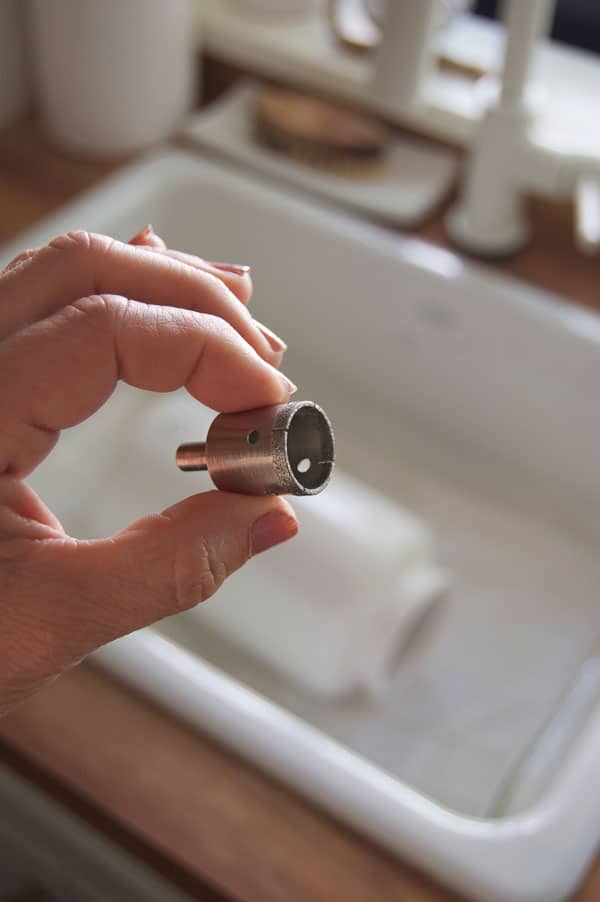
To drill into glass or ceramic you need a ¾" diamond drill bit.
Diamond drill bits are literally drill bits that are coated with diamond dust. To use them they have to be kept WET while the bit is spinning. Trying to use a diamond bit to drill a hole into anything while it's dry will only ruin the drill bit and cause you to swear because the stupid thing doesn't work.

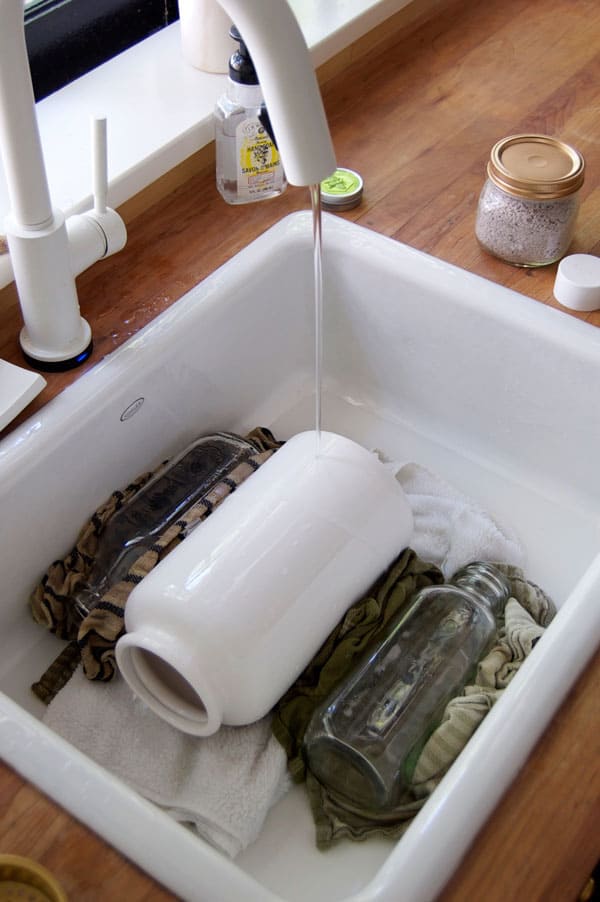
Most people/sites suggest using a spray bottle to spray down your surface while you're drilling but that's kindda inconvenient. I've found the easiest way to use a diamond drill bit is to put whatever you're drilling into the sink with the tap running.
For this dolomite vase I nestled it in some towels then rammed a few other glass bottles in there to add support. I wanted the vase to stay exactly where I put it until I was finished drilling. The wet towels kept it exactly in place.
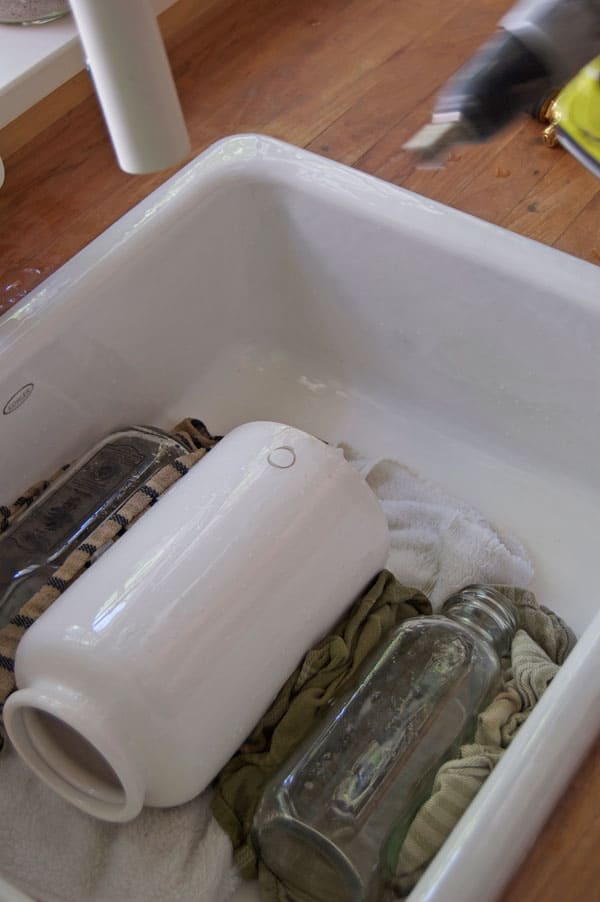
To drill your hole start your drill BEFORE putting it on your vase. If you try to put your drill bit on the vase and THEN start the drilling you'll be all kinds of upset when your vase goes flying and your drill bit skids along the whole surface of the vase.
Start your drill going, then gently but firmly place it on the vase. You need to be firm to stop the bit from skipping around on the surface and scratching it up. I find putting just the edge of the drill bit where I want it works well. Once you get a good bit of the surface drilled out at the edge, your bit will have something to grip into. That's when you can drill straight up and down like normal.
Do NOT add pressure to the drill. Just let the drill do the work and don't push down at all. It will take a couple of minutes to get through your vase. Just be patient and keep washing out and checking your hole. You need to know where you are so you're somewhat prepared for when the drill goes whoomp all the way through. If you aren't paying attention you'll let your drill drop down and you might smash right through the other side.
Would you like to save this stuff?
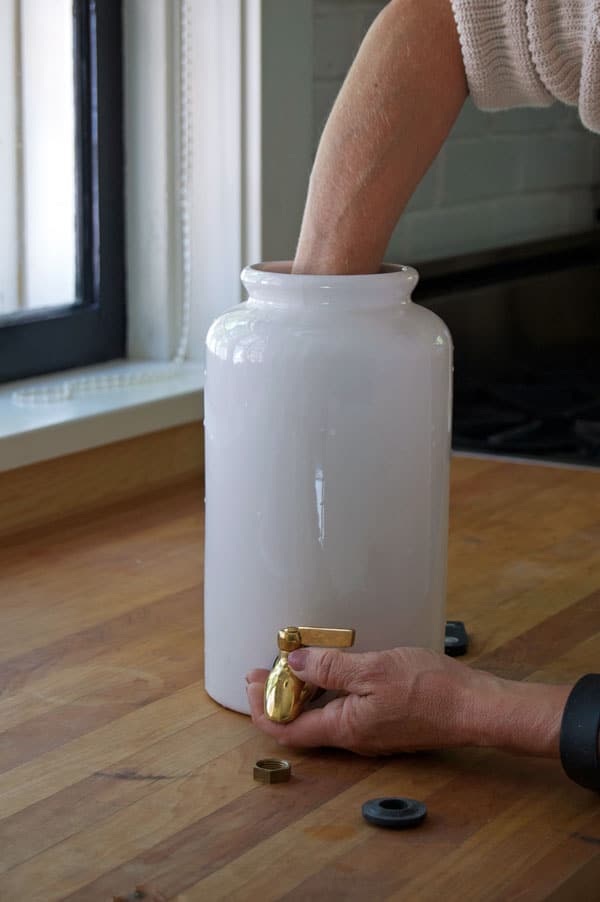
Wash your vase and then insert your tap fitting. Only finger tighten it. If you have to, use a rubber pad to get a grip on the washer inside to finger tighten it.
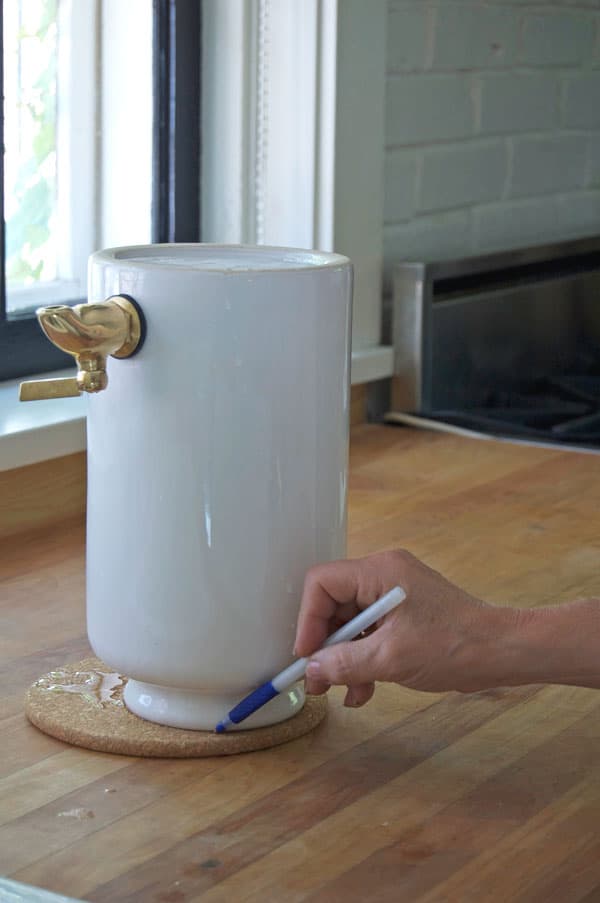
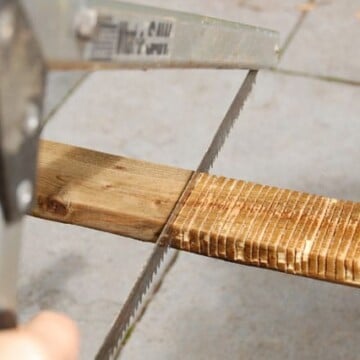
For a lid you can either cut a piece of wood, but I've found wood lids really impart a wood taste into the water. Or buy a cork hot pad and cut it to size.
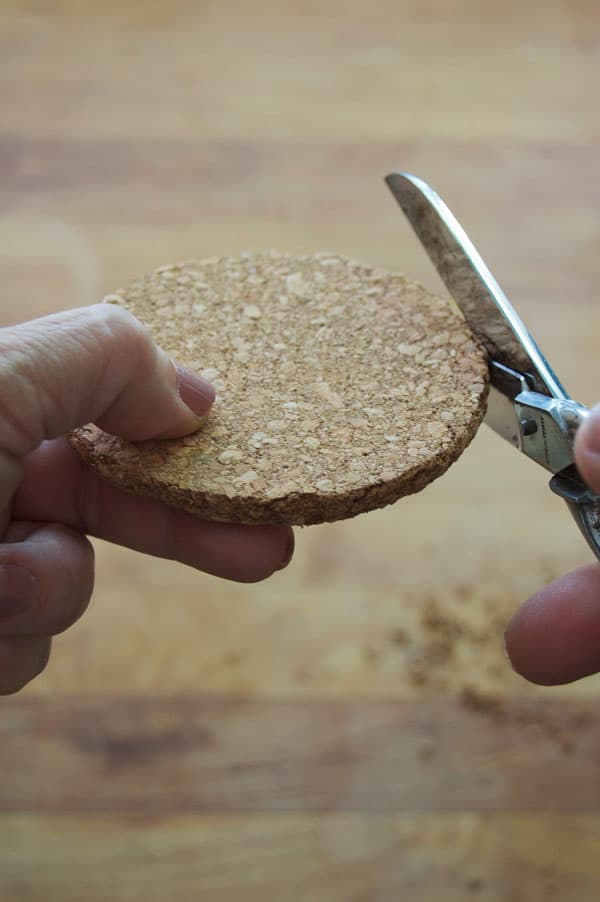
Cork is crumbly. To stop it from crumbling a bit steam the cork over hot water then cut it with scissors. It won't look perfect, trust me. Don't worry about it. Just do the best you can, taking small cuts and once it fits, sand the sides to smooth the cork out.
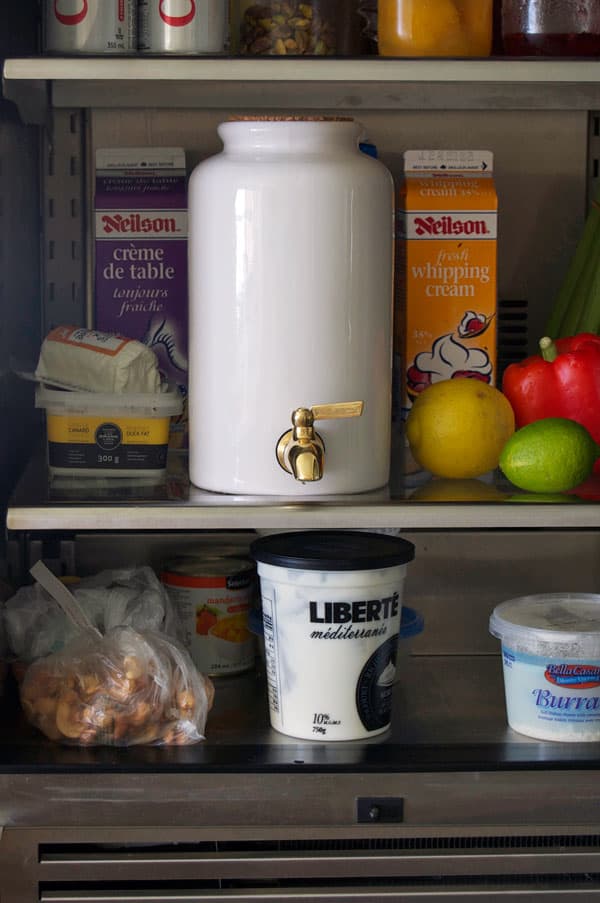
Stick it in your fridge beside your "I watch cooking shows" food and you're done. Or are you?
This, by the way is my "suspicious" face. I know dolomite is safe. I know it is. I've checked and checked. And what do I care? I heat up things in plastic in the microwave. I eat Cheesies off the carpet. Basically I'm one teardrop tattoo shy of getting my colours. I. Am. An. Outlaw.
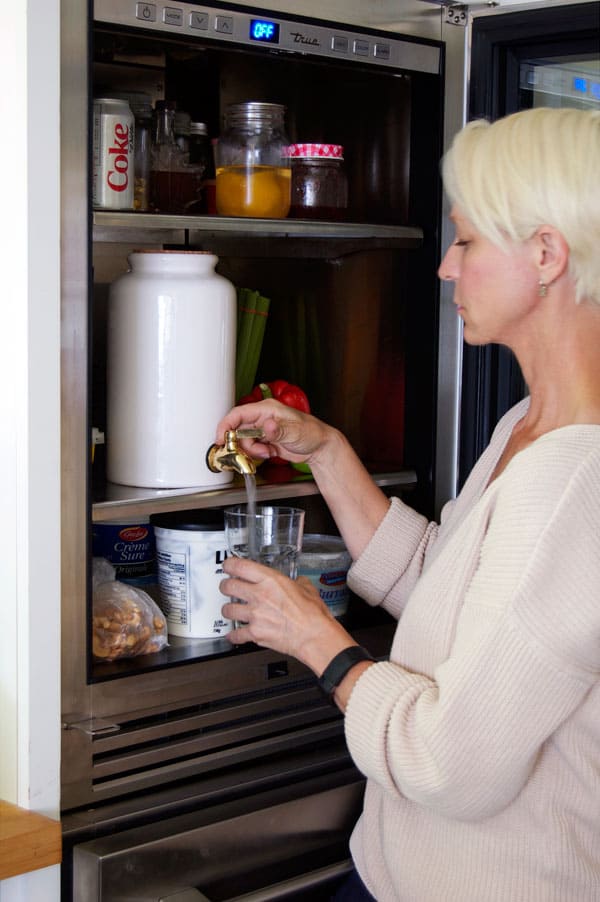
But no matter how many times I drank out of the container this past week I had that worry. That ... mystery milk worry. That it was going to make me sick. That the dolomite is leaching some kind of rare deadly mineral that would make me walk backwards and constantly pretend to be twirling a baton.

Then I started to think the water out of it tasted funny.
This whole DIY was going straight to hell in a well. Then I remembered a tip I got from a potter once. She said if you fill the container in question with hot water and leave it for a few hours if you can see any crazing in the glaze that means it might leach out the clay material inside. If there is no crazing or lines in the glaze, then you're good to go.
I checked.
I was good to go.
Funny how your brain can play tricks on you.
Materials
Large glass vase
¾" diamond drill bit (Your drill bit should be one size larger than your spigot.The spigot I'm featuring here is ⅝ths" wide, so I used a ¾" bit) Just as long as your hole is a bit bigger than the spigot pipe)
Instructions
1. Nestle your vase in towels in the sink. Make sure it's stable. Add more towels or bottles if you need to.
2. Turn the water on. More than a trickle, less than a torrent.
3. Start your drill then, start drilling your hole by using just one edge of the drill bit. Once the edge has drilled enough to give you some grip, straighten your drill out and continue drilling your hole.
4. Once you've drilled through remove the piece of glass from the base and wash the vase.
5. Insert your spigot.
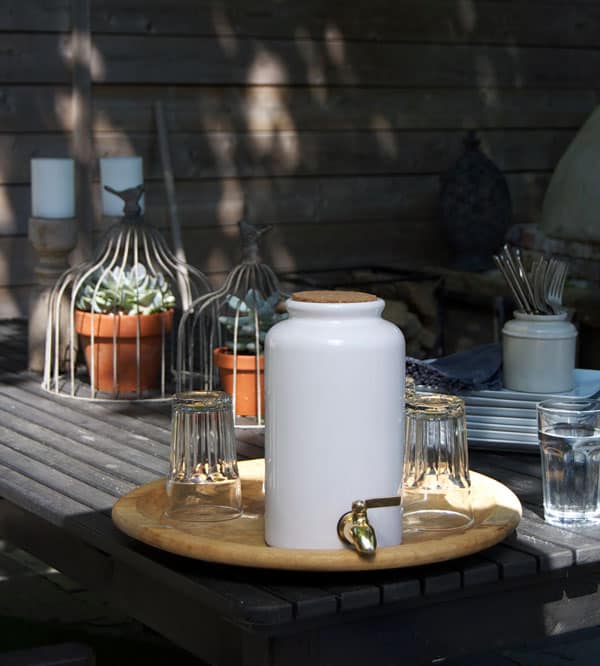
6. Chill dispenser in the refrigerator. Show your vase off to anyone who you can grab off the street.
Celebrate with a glass of milk and cookies. Or maybe just cookies.
p.s. I totally expect you to suggest other uses for this dispenser too.
[shareaholic app="share_buttons" id="5342563"]


Ev Benjamin
It’s been 9 years and this post is still providing incredibly value in a world of short, choppy, “viral” bits that may or may not work.
You’re hilarious, creative and heck, brilliant! I hope you’re doing well, wherever you are! And thank you!
Lorrie L Thomas
I loved this!
And I am pretty sure you are my soul mate!
I. Am. An. Outlaw. 2,
lol
Thank you!
Lorrie
jaymo
You can also build a circular dam around the drill site using modeling clay, fill that dam with water to create a pool, and then drill per your instructions. Just an alternative to setting up in the sink, or as an option for glass or ceramics that are too large for the sink. Very clever idea, thanks for sharing.
Kari
Lol glad you're ok! This IS beautiful! I want to do this. It's true, almost every cute water dispenser has an ugly plastic tap.
Karen
I completely love my water dispenser. I use it every day! (but if I don't use it for several days straight I drain the tap a bit because it can taste like metal! ~ karen
Donna Holm
Karen, I enjoy your writing! I think you might be a bit obsessed on the milk, however. Curdled milk is just, well, curdled. What do you think yogurt is? I have known some people on the edge of poverty who seemed to end up with bad milk as a matter of course, and they survived okay... and Ethiopians have a national food that relies on curdled milk, as do the Masai people... I wonder if you suffered more from your preventative measures than if you had just said "Eww, gross!" And brushed your teeth and went to bed...
April
You all are funny! The dispenser turned out beautifully too. Glad I found this blog!
Karen
Yes the readers are usually funnier than I am April. I'm thinking of retiring and handing the reins over to them. ~ karen!
Natural Stone Restoration
lol, very funny blog. I hope the sickness has passed by now. This looks extremely practical and useful. My wife and I are both hands on, so this sort of craft is right up our alley. Great vid to go along with the post.
Georgia @ Silver Spiral Studio
So awesome! Thanks for sharing :)
Michiel
Wine. Lots of wine.
Who drinks water anyway?