Yes, as a matter of fact, I do think that making a bow is worthy of an exclamation mark. And if you're going to make your own fringed ribbon, you also need to learn how to make a bow. Let's do this.

If you're having a present wrapping emergency you can jump right to the
How to Make a Bow video right here.
So here's how this happened: a few years ago I bought the most beautiful ribbon in the world. If you could date ribbon, you would have brought this one home to meet your parents and pick out an overpriced set of china.
Gold and blue plaid with fluffy gold fringe along the edges. It was very hunt club meets Michaels craft store.
That was the ribbon that inspired this one.
I don't know if you know how expensive ribbon is, but it's somewhere between the price of a book and a human ear.
If you wanted fringed velvet ribbon you're definitely into cartilage territory.
So if you want fringed velvet ribbon so that you appear to be a lower level royal member, just make it yourself.
Making fringed ribbon from a bolt of fabric.
When I made these ribbons a couple of years ago, I happened to have a bolt of red velvet fabric, because my home is the house equivalent of a magicians hat. You can pull all manner of surprising things out of it. Including sometimes dead things.
You can just buy a couple of meters of velvet from a fabric store and you'll have oodles for ribbons.
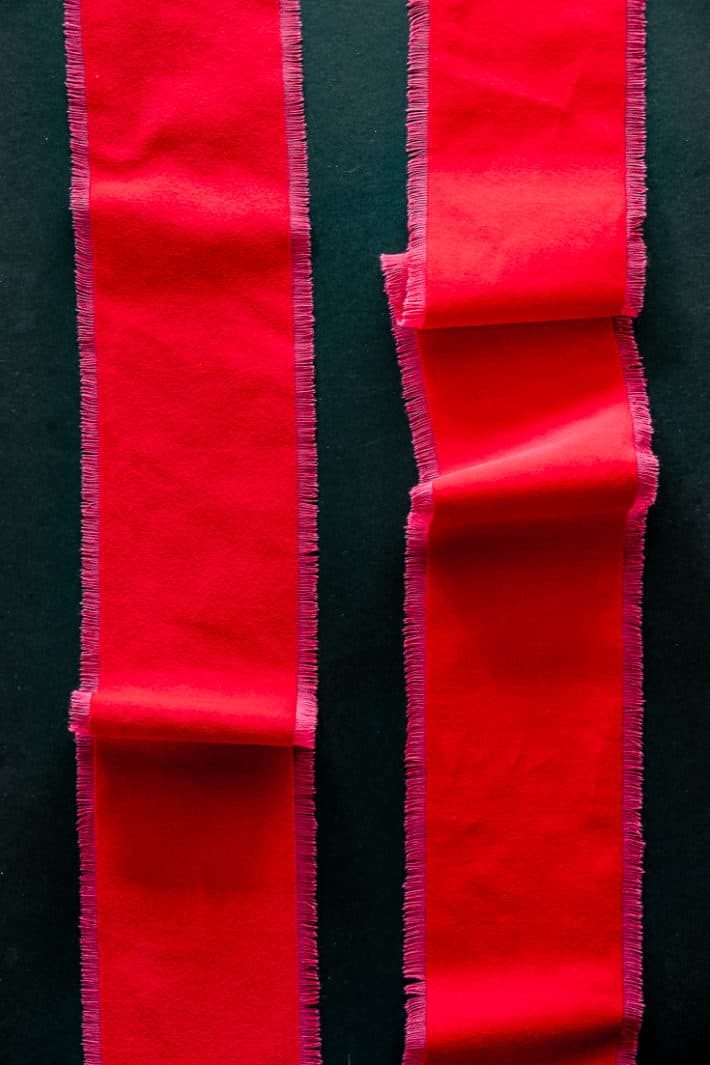
Making fringed ribbon.
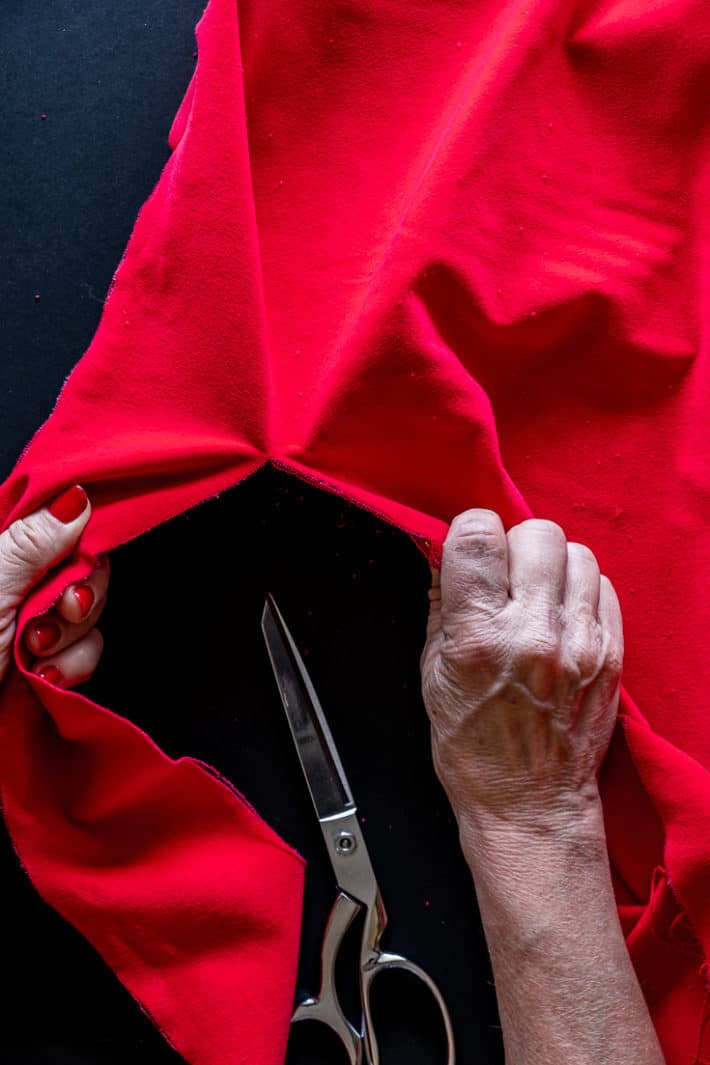
- "Cut" your fabric widthwise to the width you want your ribbon. To do this, just snip a small bit with your scissors ...

2. Then hold the fabric in both hands and pull. The fabric will tear in a perfectly straight line.
3. Cut or tear the salvage edges off. Those are the edges on either side of the fabric that are finished.
4. Pick away some loose threads from the top of the strip of ribbon and pull them away.

This is what creates the fringe. You're pulling away part of the woven fabric.
Continue to do this until you have the size of fringe you want.
You did it. You made fringed ribbon.
Now you need to know what to do with it.
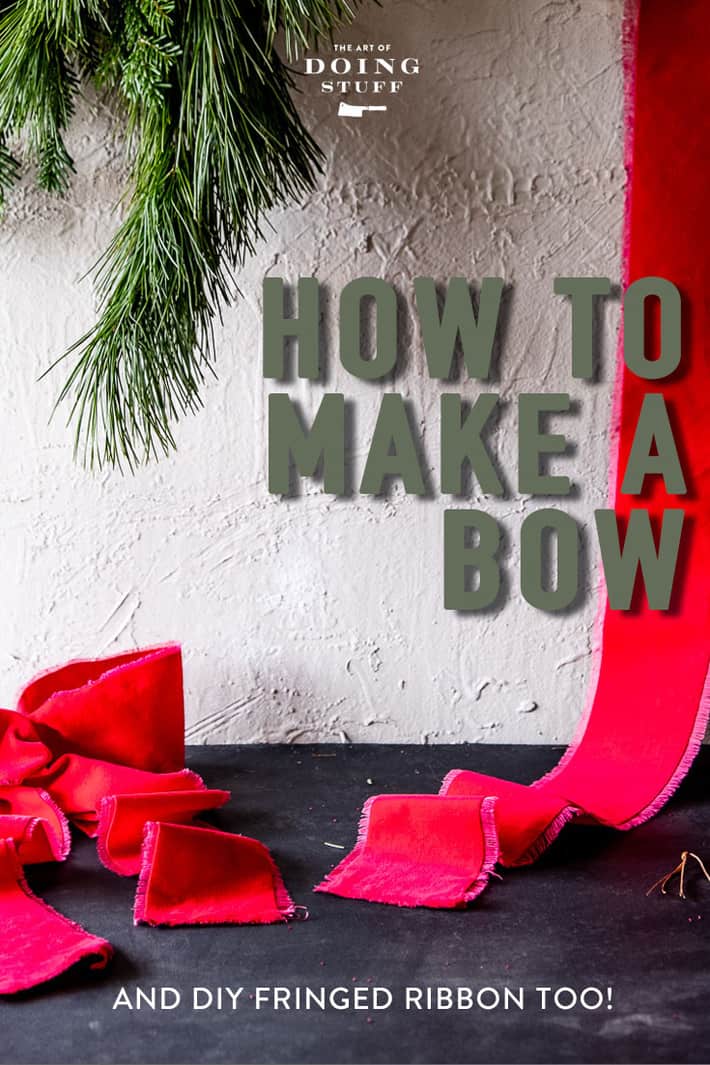
How to make a bow out of Ribbon
INSTRUCTIONS
Don't worry. There's a video coming too.
- Take 2 strips of ribbon each approximately 24" long. Mine were 30". Thinner strips of ribbon will need less length.
The wider your ribbon, the bigger the bow, the more length of fabric you need.
2. Pinch one ribbon so folded approximately in half. This will be the tails of your ribbon.
3. With the other length of ribbon, fold over enough ribbon to make one bow loop. Eyeball it, but for a 3.5-4" wide ribbon like mine the loop will be folded over by about 5".


4. With right side of fabric facing you pinch the ribbon with your fingers to establish your first loop. Make sure you're grabbing just above the bottom edge of the loop on the backside.
5. With the right side of the fabric still facing you, using your other hand pinch the fabric again, and twist it 180 degrees. Beneath your first loop, the wrong side of the fabric will be facing you now.
6. Fold the fabric over to create another 6" loop. Once you fold it up the right side of the fabric will be facing up once again.


7. Pinch and hold that loop along with the first one. Now you're left with several inches of fabric for the middle bow loop.
8. Twist the remaining fabric 180 degrees like before and tuck the remaining fabric into the centre to make a small loop.


It's almost time - you've now formed the bow!
All you have to do is add the tails.
9. Still pinching the bow together with your fingers (you'll know if you're doing it right if your fingers are threatening to cramp up), stick your thumb through the centre loop and grab the tails by the centre fold.


10. Run a pipe cleaner through the centre loop, pull the ends to the back of the bow, pinch it hard and twist to tighten around the entire centre of the bow.
11. Fluff, adjust, push and pull until your bow is how you like it.

I like straight cut ends on my bows, but you can cut the ends into a V, or on an angle.
Wanna see how that's done in video format? I thought you might.
You can see how I've used these bows in the past on on everything from my fireplace mantel, to my door, to picture frames.
But really what I made them for was wrapping presents and attracting lords.


Ooh I love you an your nimble fingers. We spent 3 hours last Sunday wrapping. Time I was finished my hands looked like they were in a horror show … 😆😆😆 all bent in different directions . The joy of the season watching little ones having more fun with wrap an ribbon an bows , than what they wrapped 🤣 .
All worth it.
Perfect timing! I've been futzing with ribbon to make a bow for my front door wreath, with awful results. So incredibly easy for such fancy. :) Love how you write out directions and then act it out - MOST helpful.
Darn, I wanted to comment on the nails first. Lovely!
Selvedge https://www.thefreedictionary.com/selvedge
Thank you Kelley, I was about to make the same point.
I’ve had to stop making these bows, because there have been too many lords attracted! I can attest - this does attract the royalty!
I’ll try it with another more peasant-like fabric next! 😂
Karen, thank you for always writing concise directions, and then videotaping that exact instruction set. I like to read it, and then envision it, and then watch the video to make sure I understood.
This coincides with my book reading habit when movies are made from the book. I always want to read the book first, so I don’t have someone else’s imagination messing with mine!
Well, fancy wrapping and bows aren't really my cup of fudge, but I can appreciate the artistry and craft it requires. It does produce a noteworthy result. Kudos to you oh Mistress of Craft.
I’m on my way to Walmart. My Christmas wrapping is not done yet.
Just found 2 yards of red velvet on the remnant pile at Wal-Mart, woot woot! Thanks for this fabulous idea!
YES! I've found velvet at Walmart before too. :) ~ karen!
What a savage salvager you are to salvage that fabric and rip it to selvedged threads! Did I spell that correctly?
I remember a bow tying demo a bazillion years ago at a local nursery that included the tails in the whole twisting tying thingy. My thumb cramps by the end were enough to bring tears to my eyes. Good times. 😉
I never thought I'd see the day when I have to correct Karen B, but that time has come.
The tightly bound edge on the fabric is called 'selvage', not 'salvage'. Salvage is something you get from an old shipwreck at the bottom of the ocean.
I hope you receive this info the loving, respectful manner it is meant.
Thank you for your witty and irreverent prose!
Aaand, of course, my post has a typo. Maybe more than one.
With respect, selvage is US English. Selvedge is British English. Karen is in Canada. Wikipedia says "Canadian English is generally taught in schools using British ways of spelling, such as colour, flavour, and so on".
Yes - agree. Word should be selvedge
Did I miss the link to the video instructions?
Hi Brooke. The video should be right there in the post. There are two of them. If you have an ad blocker on your computer you won't be able to see any of my videos. Sometimes using a different browser will also help if you can't see them.
karen!
For years I've had some wide, red, plastic ribbon waiting to be tied into a bow and hung on either side of the garage on the outside lights. WAITING for this post. Thank you, finally, what took so long? LOL All I got to last year was getting the tree out of the attic then putting it back in the attic after walking around the box for weeks. I found I didn't miss the tree but did miss the twinkle lights. Garage lights, check. Twinkle lights around bed, check. Done decorating.
Thanks magic hands,Now..... where to get gorgeous velvet fabric like that?
I ALWAYS watch for fabric at places like thrift stores. They usually have a rack with fabrics for reallyyyyy cheap. 100%, velvet etc. ~ karen!
My sister is a bow making wizard. She gets calls from friends to make bows for them, especially for wreaths. I'll have to let he know about this technique especially because some ribbons can be costly and who could EVER turn down a velvet bow? Thanks.
Woo hoo, summer is SO over. Look at Ol' Fancy Hands. GREAT nails, Karen.
Hahaha!!! I was wondering who'd be the first to comment on my clean hands and done nails, lol. 😂 ~ karen!
Your hands looked beautiful - the nails perfect. I hate LONG nails and always wonder how that person actually wipes themselves. Instantly my mind goes there so obviously, I need professional help. Your nails look clean and I would eat anything you made. Unless you picked your nose - but your royalty wouldn't allow that would it?
Royalty certainly would not allow for that. I love the look of long pointed nails that are done, but no ... I can't imagine doing - many things - with them. ~ karen!
Absolutely beautiful. You forgot to warn readers that velvet creates a huge amount of fluff as you fringe it. We just finished a project with velvet and lint roller was my daughters favourite tool.
Haha! I’ve sewn lots of velvet and thought the exact thing!! Worse than cat or dog hair! Lol!!
It really wasn't bad for fluff. There was some but it wasn't too much. I'd take velvet ribbon over the mess of a flocked Christmas tree any day, lol. ~ karen!
You are a mind reader! I was just looking for this exact thing. Thank you so much!!
Excellent! It is my job to read your mind. Well it's not, but we lucked out didn't we. ~ karen!
I'm thinking, "pizza." 😉