After introducing you to The Coop last week, I realized I made it look too easy. I mean, first there was no coop, then there was a perfectly completed coop. Like magic.
It was not magic. It was work. There was sweating and swearing and snacking. Often all at the same time. Sometimes in emergency situations I even snacked on my sweat.
So I thought it would be nice to take you through the building of the coop from beginning to end so you get an idea of what's involved in case you're thinking of building your own coop. Which I don't advise you do if you have children, pets, a spouse, laundry that needs to get done, a job, a need for more than 5 hours sleep a night, an aversion to possibly maiming yourself, or any semblance of sanity.
O.K.! Here we go! How to build a chicken coop.
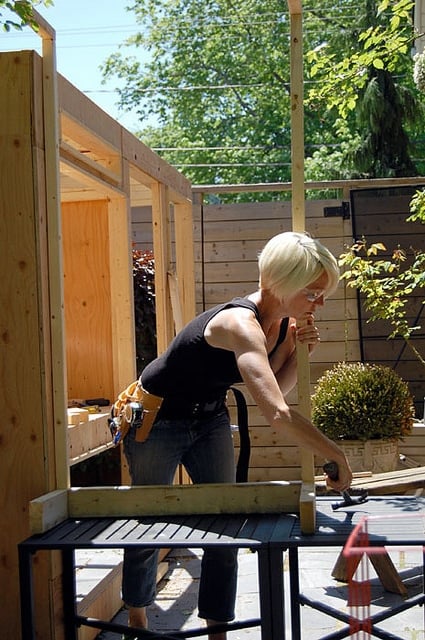
Get a hammer. You'll definitely need a hammer.

Call your sister. The one with the pink, suede toolbelt and the Chanel safety glasses. You know, the one who matches her work gloves to her tee shirt.
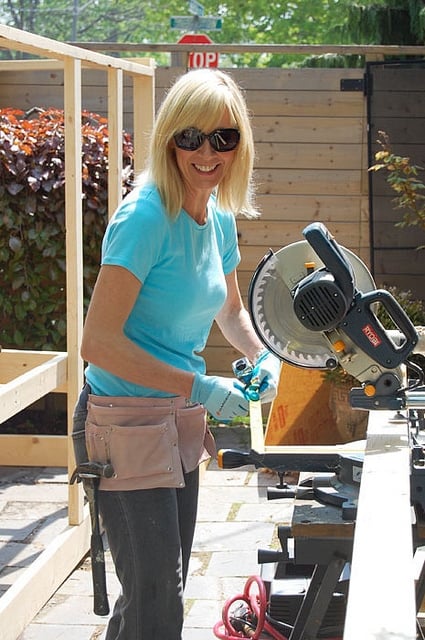
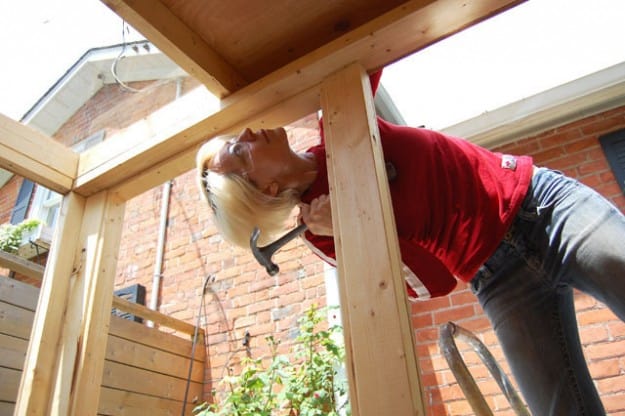
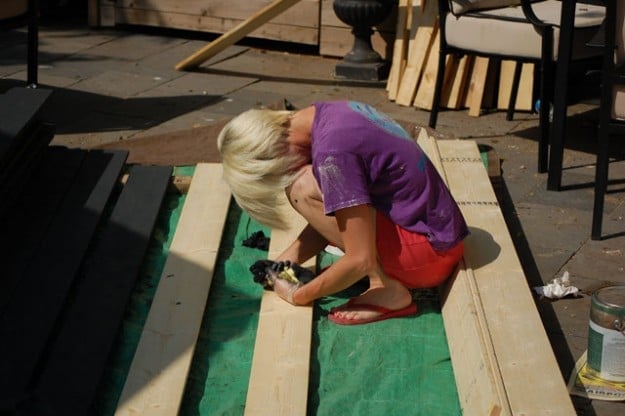
Start building the frame.
Once the frame is completed, you might want to look into bringing in extra help.
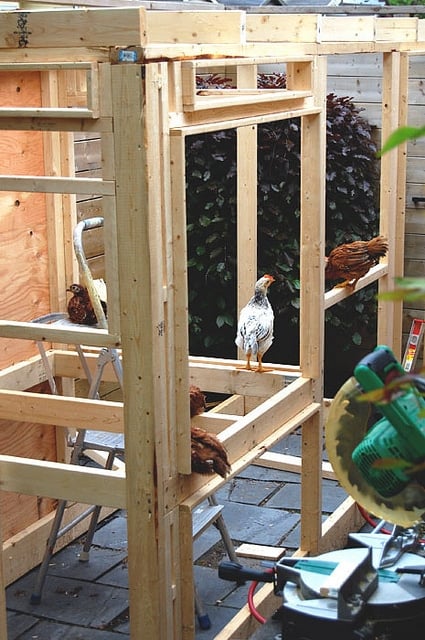
Probably check their credentials first. These guys started out strong ...
But naptime seriously slowed progress.
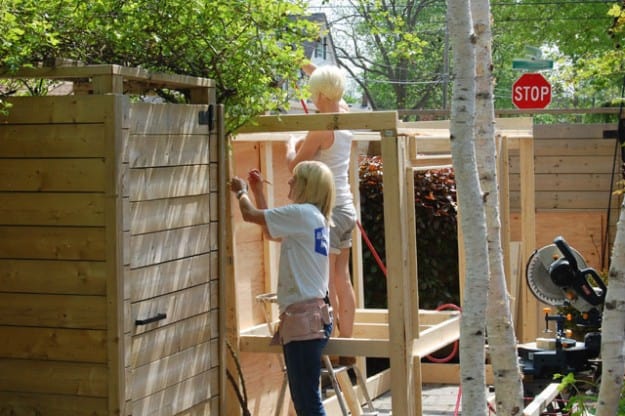
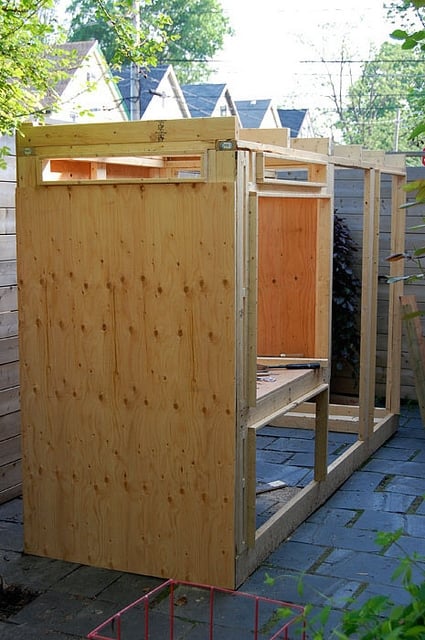
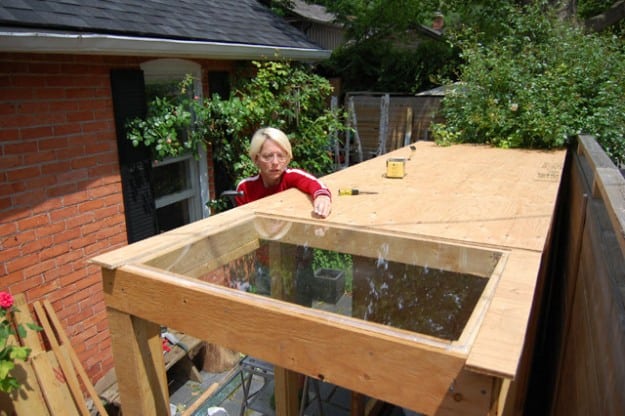
Once the framing is done you can start on putting up the plywood.
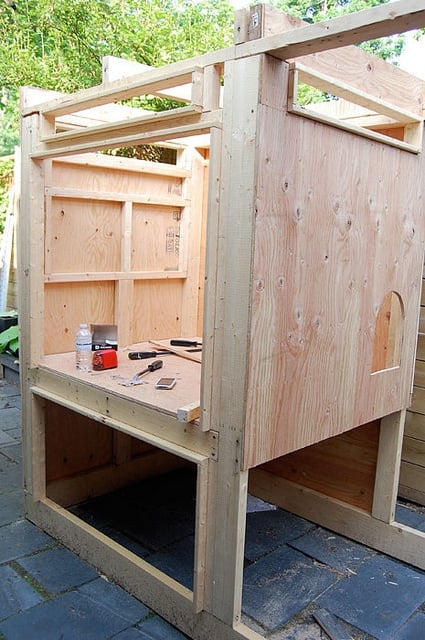
This is the point where things get exciting and you run around the neighbourhood high fiving random people because your structure finally looks a little bit like an actual building. Since coops may or may not be legal where you live, you tell everyone you're building a cabana, or a shed, or a landing pad for possible alien lifeforms. Anything but a chicken coop.
Once all the plywood walls are up, you can tackle the roof. The roof is an asshead.
The roof is plywood, a drip edge, a layer of roll roofing nailed down, another layer of roll roofing glued down with roll roofing tar. Then stomp around on it a bit to make sure it sticks. At least that's how I did it.
At this point people will start congratulating you on your completed coop. They will say things like "Almost done now!" and "Not much more to do!". They're liars these people. Or stupid. Or both. I'm referring to my sister in the pink tool belt by the way, who from this point on in the building process kept saying "Wow. It's almost done". She would continue to say that for the next month and a half. Less convincingly as each week passed. Finally by the time the coop really was almost built she was afraid to say anything and mainly just blinked at me.
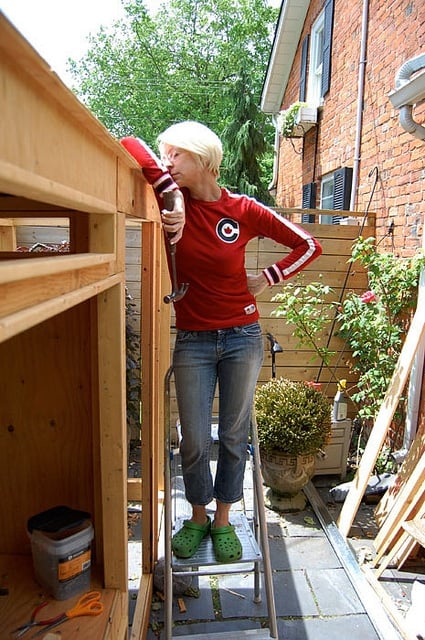
Taking a cue from the foreman (who if you didn't notice is actually a chicken) ... take a little nap. While standing on a ladder. Fondly remember a time when you didn't wear ugly jeans paired with an Olympics tee shirt and lime green crocs.
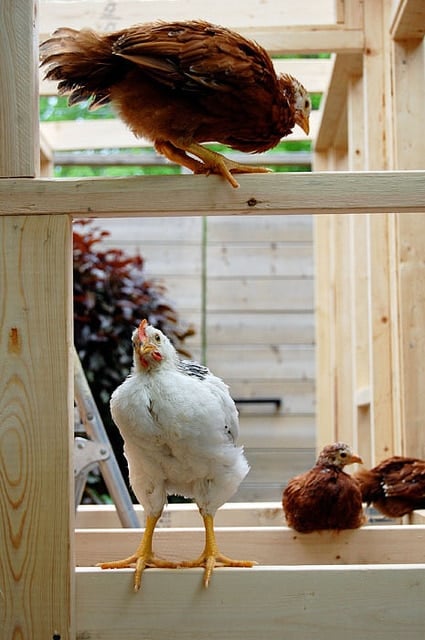
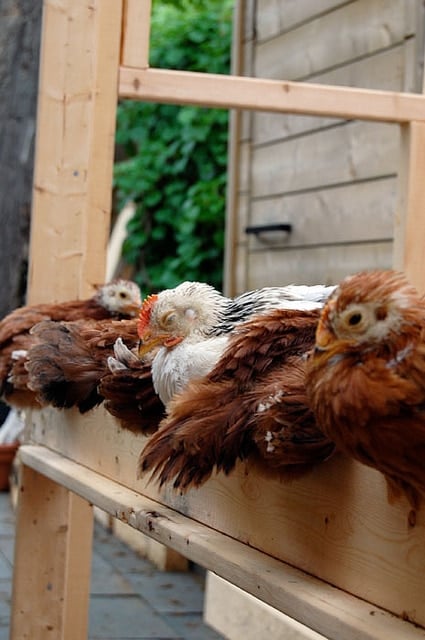
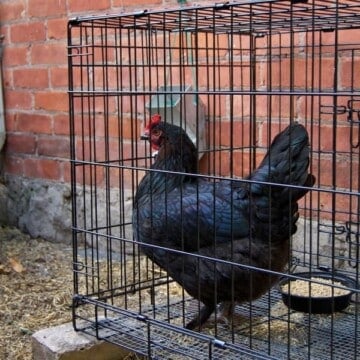
Then one day - everything will get kicked into overdrive - as you realize the chickens CANNOT live in your potting shed any longer. Since they're almost full sized chickens who happen to be able to wreak havoc everywhere they go.
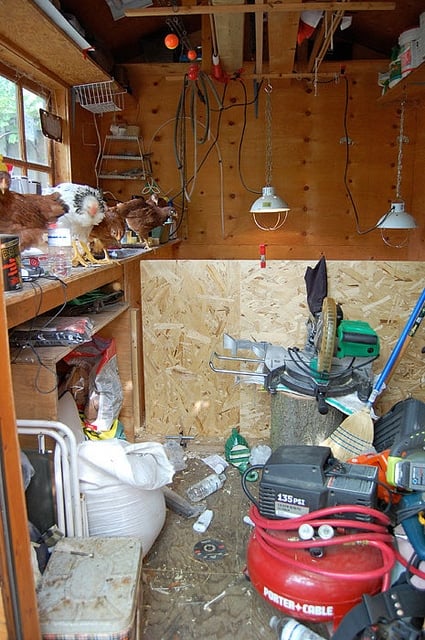
See? Too big to live in a potting shed. Big enough to peck your eyes out.
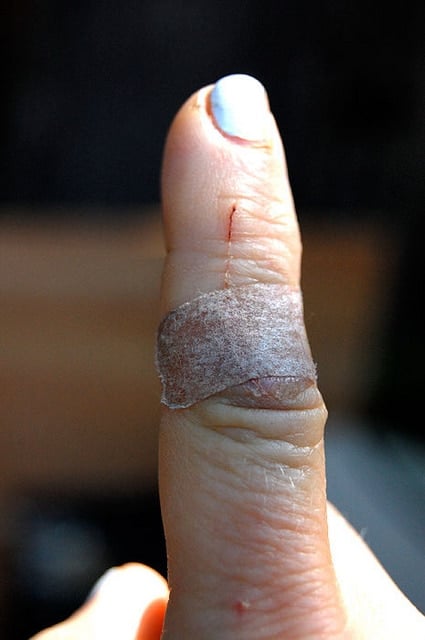
Work, work, work. We're a month and a half into this and not even close to being done. Work, work, work regardless of gross injury acquired while cutting the metal drip edge. Work, work, work regardless of the fact that you're so sick of this you could cry and you feel like you're running around like ... well you know.
Build a screen door. Because you need a door. So you have to build it. I know. Weird. Building a door. Almost done now! Uch.
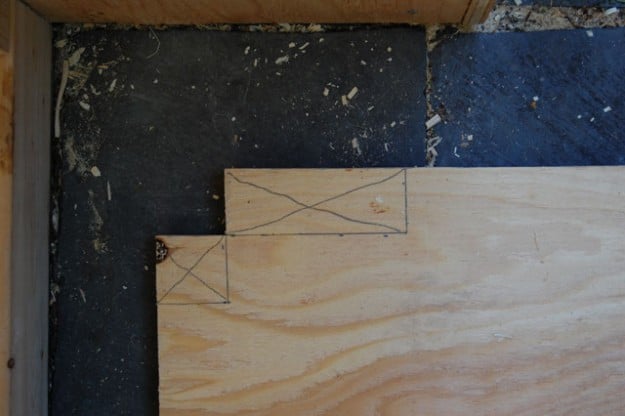
Handy little tip! If you're cutting anything, put a big cross through the piece you want to get rid of. This helps for when you bring the wood over to the saw and can't for the life of you remember what part of the wood you're supposed to cut away.
Handy little tip! If you have to cut a straight line but don't have a table saw, use a circular saw with a long straight edge clamped to it. Run the skill saw along the straight edge and you'll get a perfectly straight cut.

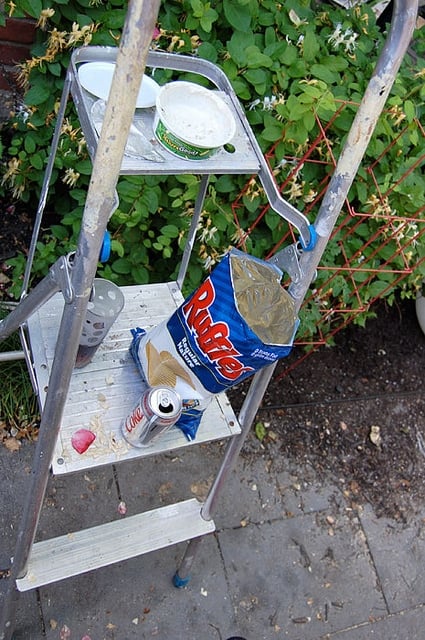
Handy little tip! Take time to snack. It's important to snack. Especially on Ruffles and dip. Twice during the course of this build people randomly dropped off Ruffles and dip. Actually they didn't drop them off so much as throw them over the fence and drive away fast. You might find at this point in the build, people begin to perceive you as "cranky". Shitheads.
Once you get to the point that you're hand staining and rubbing all the spruce you're using as siding, you might develop narcolepsy. Go with it.
Once your siding is up you'll think, It's done! It's really done! It isn't. It really isn't. Sure your hardware cloth is installed and it looks like a chicken coop basically, but you still have to paint the inside, install a few perches, pick out, shop for and install a bunch of hardware and add the trim. Work, work, work.

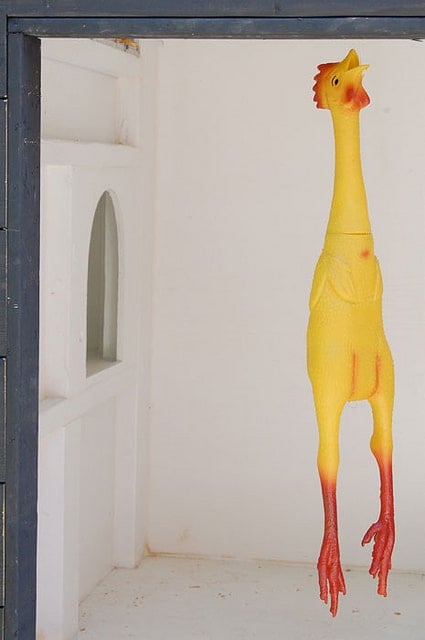
Precious minutes will be stolen from you as you investigate who is responsible for this random act of comedy. A hanging rubber chicken in your coop. An extensive investigation (one phone call) reveals the culprit to be your mother.
Work stoppage. Injury #2. Fat lip. Kindda cute. Almost done!

Trim the coop. Paint the trim.
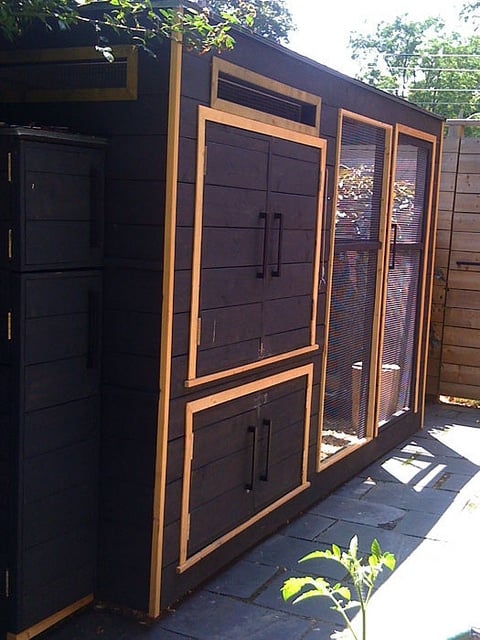
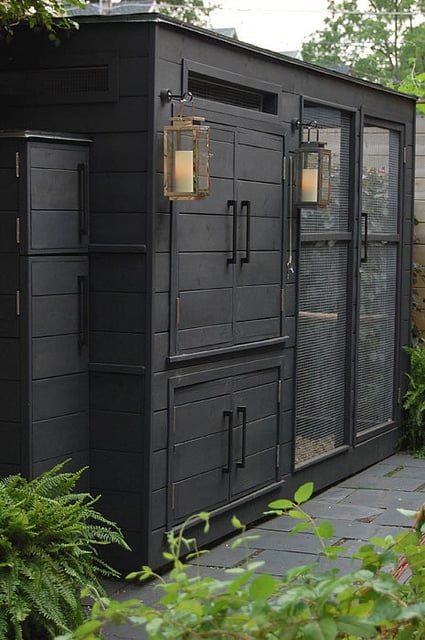
Actually done.
And THAT is how you build a chicken coop. In a nutshell. The things that end up taking a lot of time I don't have pictures of. Like figuring out how to build doors that'll work, drilling out holes for the door latches to fit properly, chiselling away at stuff so it fits better, deciding on the best way to install the hardware cloth, nailing in the siding so that all the edge line up perfectly around the entire circumference. Stupid stuff. It's the stuff you don't see, the stuff you don't think of that takes time. Well ... that and the fact that I've never build anything even close to resembling a building before.
I could NOT have done it without these people who helped along the way.
My fella. Who randomly woke up one morning, bought all the materials and starting framing the coop. He quit ... but he got the job going.
My sister with the pink tool belt.
Interior designer Carol Reed who held my hand and confirmed my colour picks when my sister wasn't around to ask.
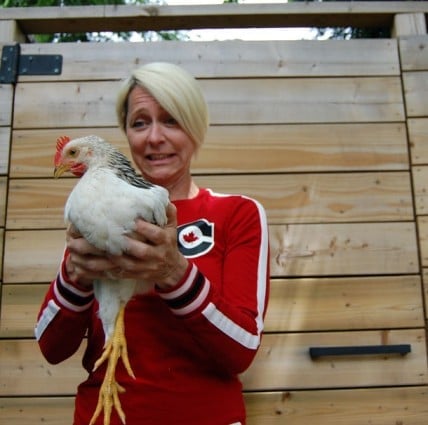
My chickens. You never saw a chicken who could wield a hammer like Tuco.
And all of you who sent me coop pictures and encouragement all the way through.
Thank you to all.
Loved your chicken coup. Do you have one for the potting shed or plans?
This is the most beautiful coop ever, nice work! I am not sure that I could persuade my husband to go to this extent, but we'll see what we come up with...Cheers!
Thanks Lara! But here's the thing ... you don't need to persuade your husband to do anything. YOU could do it! Yes. Yes, you really could! :) ~ karen
oh! Just the kick in the butt I needed to get outside and finish my coop. I am stuck on the 'winterizing' part. It gets cold here in Fairbanks, Alaska! I, too, am just winging it, which makes figuring out my doors a bit tricky....for me anyways ;)
I loved your article - it just cracked me up. Great work, you are amazing!
(and so honest!)
Thanks Pammy. I'm glad you liked it. (providing you TOO are honest, LOL) ~ karen
LOVE your coop!! Sweetie and I started chickens with a simple cattle panel parabolic arch house, a tree branch for the perch. It has worked well for 2 years and many feet of snow. Have never added insulation nor light/heat. The RI Reds do just fine. We cover it up with a strong plastic for the winter, letting the ladies out every day to roam their yard.
Have been looking and dreaming for 2 years of a "nice" coop. This is the year!
We both have skills, and materials - old and new - around the place.
Bought: hardware, siding, roofing, pressure treated boards for touching the ground. Used scrap & reclaimed lumber for framing, & floors. Even used a used stair handrail for perch's!
After reading yours I told sweetie that ours is not going to be a "month" project!! Started this past Saturday, snow storm halted progress for few days (spring, hmmph) more work done today. the building WILL be finished this weekend. The run by next week (no sunroof).
The 11 new chicks & 2 ducks are enjoying their babyhood under the heat lamp. Hope they enjoy the coop as much.
THanks Cher. Yup. "The Coop" wasn't a small project, that's for sure, LOL. Especially with one person doing it. Although one of my sisters did help when she could. It's done now and if I ever move out of this house, that coop is coming with me! I have no idea how, all I know is it is, LOL. ~ karen!
Ooops ... "Anna's" comment on diydiva.net ...
This project may be all just a long ago dream for you, but your comment on diydiva brought me over for a hearty laugh! The coop is beautiful and the build story FABULOUS! Thanks for a bit of hilarity to end my day. I'll be back ...
Ooops ... "Anna's" comment on diydiva.net ...
You're drunk aren't you Amanda. You can tell me. ~ karen!
Hi! We love your coop! Have looked for something to buy, but given space constraints and dogs, nothing else seems to fit the bill. So we are ignoring your very wise advice not to tackle something like this if we have children, jobs, laundry, etc. and going ahead and attempting to copy your coop. Hope you don't mind. Thankfully, we currently only have 2 chickens busting out of their small cage in our utility room and will wait on the other 4 until these guys can move out! Hope you don't mind if we lob a few questions your way as we go through this process! Many thanks, in advance!
Copy away Alexis! ~ karen!
You made me laugh so hard! Your coop is absolutely beautiful, kudos to you! I'm almost done with the 2 month adventure that has been the building of our coop. I have 7 chickens bursting out of their crappy, pieced together enclosure in my garage. I've read this several times because it's helped me keep my sense of humor about all this. Great job and thanks for the inspiration!
Your coop is beautiful! We recently finished our coop also. It was a lot of work. Unfortunately, it isn't as cute as yours. We made it out of pallets and scraps left on the side of the road. We did end up buying the material for the roof. We are still predator-proofing it, though. We've lost 3 out of 12. Sad part of having chickens, but so enjoy them while they are here.
Down here in the deep south of Alabama, we have the opposite problem of keeping it cool enough and allowing the air to move, instead of winterizing it. Thought I will be putting some insulation of some sort inside for the girls. I do also need to beautify their house. I want to paint and hang curtains. You know silly girlie stuff. ;)
Nicole - I had heat problems here in the summer too. Canada has very cold snowy winters followed by very hot, humid summers. Many days were 105. Insulating the coop (especially the roof area) helps a LOT to keep the heat out. I also sprayed the ground around the coop, whereever they run. Cooling the ground down a couple of times a day with water helps a lot too. ~ karen!
Wow! I never would have guessed that! That is actually hotter than it was here all summer. That's just crazy.
I found your blog through pinterest. Glad I did.
LOL. I know. Everyone thinks Canada's only cold, but it gets blindingly hot too. And humid like a steam bath. Glad you found my blog too! (I see butterflies in your blog name .. if you search my site I have a 5 part tutorial on how to find monarch butterfly eggs and then raise them indoors to become butterflies ... it's very fun) ~ karen!
very nice...your carpenter skills are impressive and very helpful. I'm planning on building a coop in the spring of 2013...been wanting a coop in my yard for a few years now. You inspired me! Wish me luck. Augie
Good luck Augie! There's plans for sale on my right hand sidebar (Chez Poulet) $39 I think. Beautiful coop that I kind of based mine off of. I wish she had the plans for sale at the time I built mine. Probably would have taken half the time to do it. ~ karen!
Karen, how did you install the magnets so they stay where you put them? Drill out the wall, push them in, secure with...glue?
Kari - I bought the rare earth magnets at Lee Valley. They come with a cup that has a hole in the centre. So you drill out the wood you're putting it on with a Forstner bit (to make a flat bottomed hole) then you put your cup in the hole, screw it in place, and set the magnet in the cup. It's magnetized there for life. ~ karen!
Genius! Thanks.
Thanks for providing the supplier. LOVE this little coop and how you made it an additional design feature in your yard.
Thanks Linda. :) I still love it. ~ karen!
Hello Karen I liked the way you made the cage, I was wondering if you have a video of how to make it
3 roosting bars and 4 laying boxes. Oh well....they'll the hang of it eventually.
Thanks D
To some chickens it comes naturally, to others, not so much. My dippy birds NEVER figured out the upper loft area! I have learned training chickens is impossible, and gracefully bow out before hitting my head for the umpteenth time while sitting inside the actual coop trying to show said dippy birds that their little legs are perfect for going up ramps.
I built the same design. My 10 chickens seem to love it. They've only been in it for 2 nights. They have not discovered the advantages of sleeping in the upper (condo) area. I'm trying to coax them up there with more food and water.
Did you have any problems?
I envisioned a parade of hens proceeding merrily to the "loft" every night when the temp dropped below 50 and/or when the coyotes started howling...which they do.
Santa Barbara Chickeneer
Donn - Weird! No, my chickens started using the roost up in their upper coop condo right away. Do they have a roost in the upper coop? Technically it should come naturally to them. :/ ~ karen
Hi again,
Our coop is moving right along!! Thank you again for this inspiration! So I'm buying the siding today, did you actually stain it, or paint it? And did you use a "chicken friendly" product? Lol
Thanks, Karen! Hope your front yard is looking good!
Christie
Hi Christie - I used a water based stain. I had a custom colour made up at Benjamin Moore. ~ karen!
Is there a name to the color that you had made up? I love it! Also, I wondered why you want with the black trim as well instead of white? I love it but I am just curious.
Hi Melissa. I painted the entire coop black. It's called Bertelsen Black but I doubt it's in the Benjamin Moore system. :) You can see the entire completed coop, inside and out here - https://www.theartofdoingstuff.com/the-coop ~ karen!
Hi Karen,
One last quick question. What gauge of wire did you use? I've seen people use 1/2" and 1/4". Not sure if 1/2" will keep mice out!
Thanks again so much!
Christie
Christie - I used 1/4 inch hardware cloth. ~ karen
Hi Karen,
Yes, and yes :) I've read and re-read and studied all of your coop postings and have purchased her coop plans. Her plans are definitely nice, but do not contain a "how to" section. :) This is my first time building anything, so i am basically teaching myself by watching u-tube video's. My hubby is begrudgingly giving me some advice and letting me use his tools :) Your nesting box works better for our backyard. Thanks for all of your input! Here goes nothing!
Christie
Christie - Switching up the plans should be simple. Where Heather has a door, don't make a door. Make a regular side panel attached to the framing. Then using her drawings, just make the door on the front of the nesting box where mine is. You'll be able to figure it out. ~ karen
Hi there!
Do you have any pics of how you did your nesting and storage box? Also did you put a bottom on your coop? Starting our coop this week!! I'm scared but excited!!!
Thanks!
Christie
Hi Christie - Have you seen my entire Coop post? https://www.theartofdoingstuff.com/the-coop It shows the entire coop. I don't have any plans for it or measurements because I just bought the wood and started building for the area I knew I had. If you don't have plans, the ones for sale on my site by Heather Bullard (Chez Poulet on my right sidebar) are beautiful! I based much of my coop off of hers. Good luck and have fun with it! ~ karen
Looks great! How much did materials cost?
Hi Allison! I'd say the materials cost around $1,000. But that's a total and complete guess! ~ karen
Looks awesome! Love it!