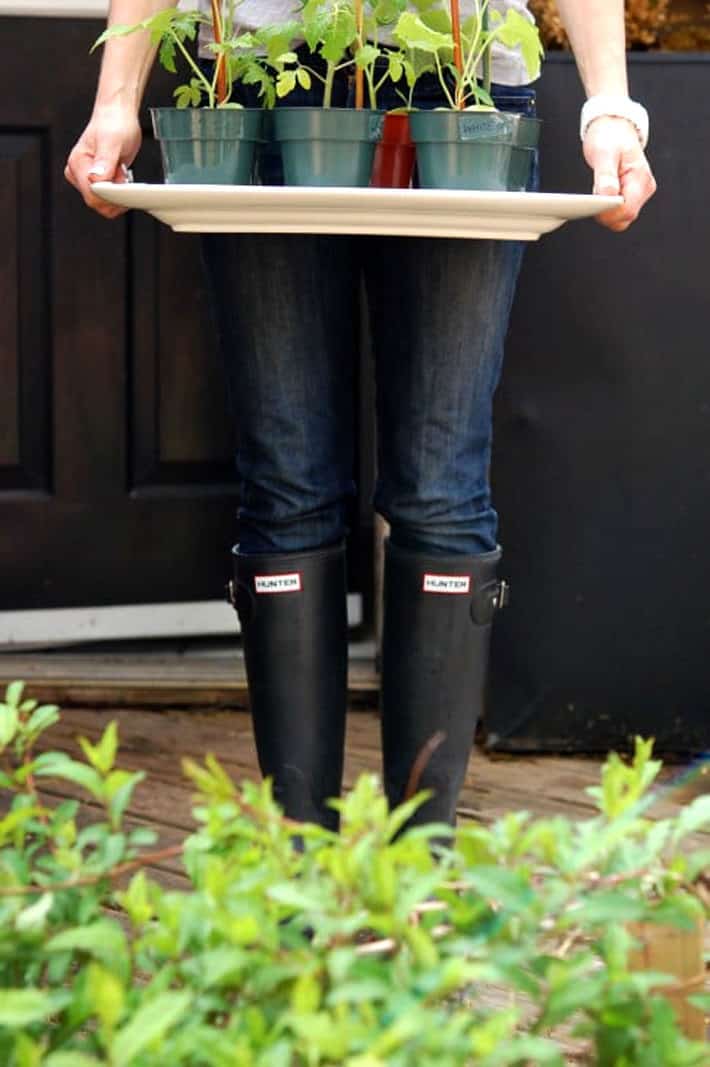
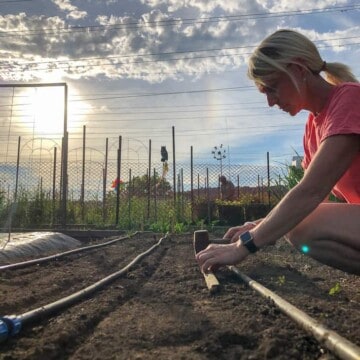
With only a seed, a pot and some soil you can start seeds. With a few more tips you can start them successfully.
EVERY year. Every, single, year I am stunned that this works. Take a seed, stick it in some dirt then watch it sprout into a plant within days.
That seed may have been sitting around your house for 3 years minding its own business, not doing anything other than being a seed. But the moment you add some dirt and water to it, it instantly stops being a seed and starts to becoming a plant. Seriously. That's some weird shit.
If you don't think so, it's just because you're used to the idea.
If I told you that you could stick an egg roll into some dirt and within 3 days it would turn into a Chinese restaurant you would definitely think that was some weird shit.
You would also think that you were very lucky.
And you are very lucky. If you stick a little black thing the size of a your pinkie nail into some dirt you can come back in a few months and find a massive, sweet watermelon has taken its place.
That's pretty magical don't you think?
It really is that easy. Most of the time.
But over the many years I've grown seedlings I've also found what happens so naturally in nature can occasionally go sideways on you at home. Seeds don't germinate, they germinate but keel over and die, your plants are spindly and scrawny or they look just great until you plant them outside, at which point they ... keel over and die.
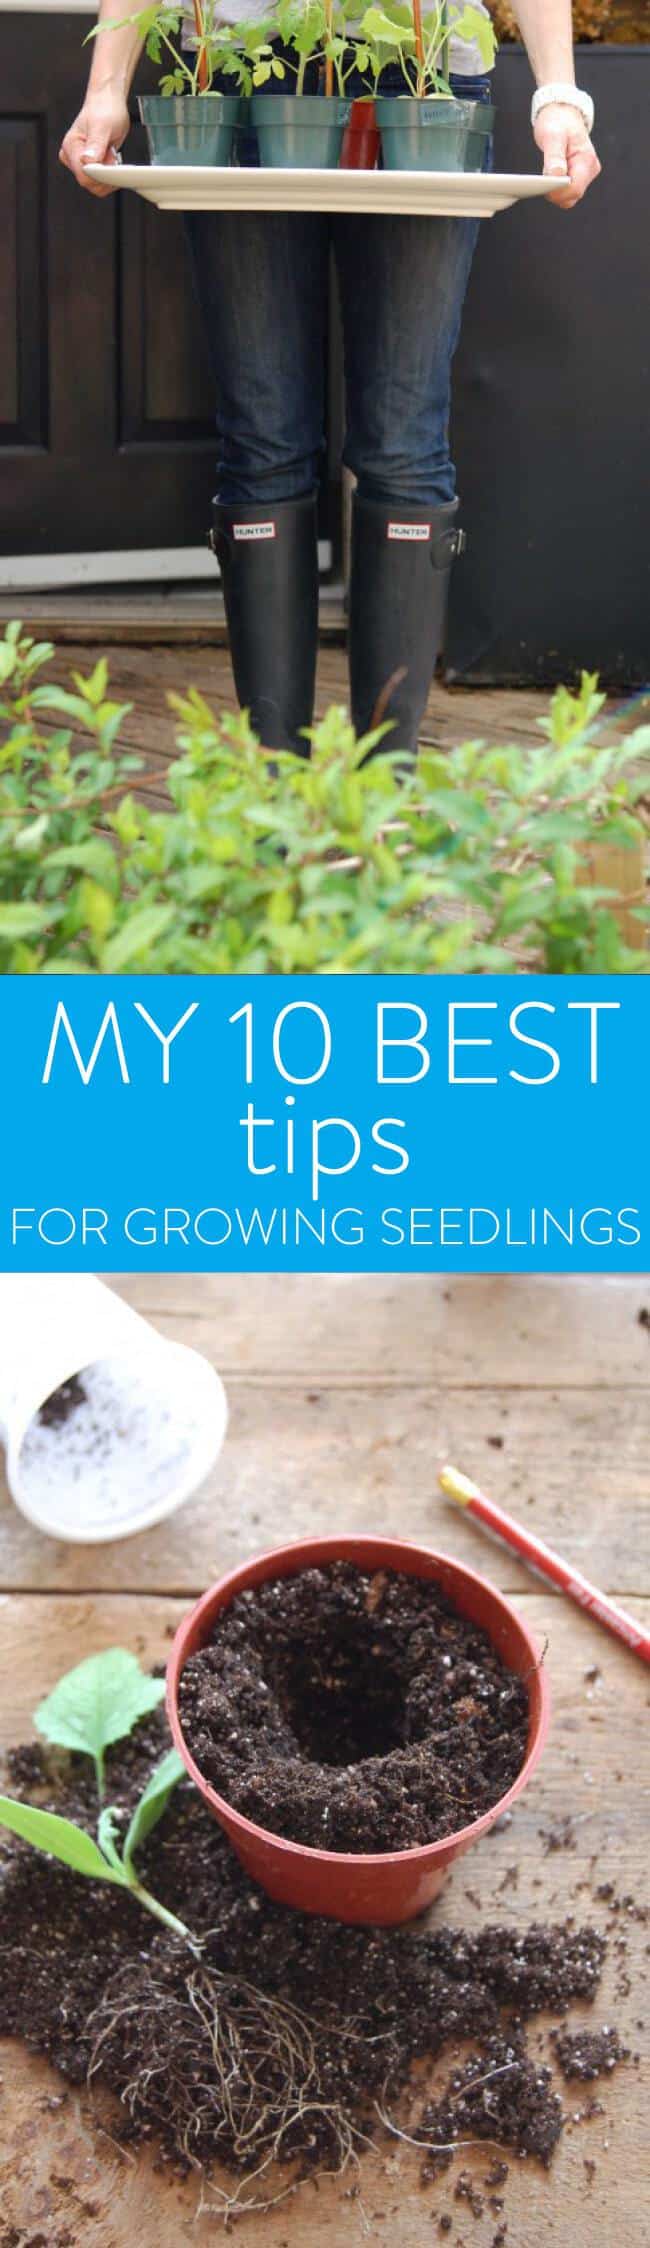
So I have for you a list of my most useful tips for starting seedlings.
If I told you that you could stick an egg roll into some dirt and within 3 days it would turn into a Chinese restaurant you would definitely think that was some weird shit.
karen bertelsen
What follows are tips that will help you successfully start seeds, but if you want to know everything about starting seeds from beginning to end then this is the post about starting seeds that you should read because it covers EVERYTHING.
SEED STARTING TIPS
1. SEEDS DON'T USUALLY NEED LIGHT TO GERMINATE. THEY NEED HEAT. REMEMBER THAT.
If your seed starting room isn't very warm put your seed starting pots or tray on a heating blanket. The seeds will sprout in less time that way but the soil will dry out faster so keep an eye on it.
2. SEEDS ALSO NEED MOISTURE TO GERMINATE.
So cover your seed trays or pots with plastic until they germinate. AS soon as they do take the plastic off and get them in a South facing windowsill or under your grow lights. I have a trick for automatic watering indoors by using felt.
3. WATER FROM UNDERNEATH
Watering from above will a) disturb the seeds you just planted and b) seedlings that are in soil that's too wet on top are more prone to damping off, a condition where your newly formed seedling falls over dead for no apparent reason and without any warning.
Would you like to save this stuff?
Again, the easiest way to water from underneath is by using felt pads also known as capillary mats.
4. KEEP A FAN GOING
Keeping the air moving around the plants helps to prevent the top of the soil from staying too wet. So a fan also helps with preventing damping off, and strengthens the plants, giving them sturdy stems.
5. USE WHITE TO REFLECT LIGHT
Whether you're growing your plants in a windowsill or under grow lights, surround the area with white foam core or bristol boards. It'll reflect as much light as possible back on the plants. And more light is always better for well developed plants.
6. USE A TIMER
Seedlings need 16 hours of light a day. That's a lot of light. Since most people have their grow lights in the basement or an out of the way room, turning the lights on and off will first be a pain and second be forgotten. Just get a timer or even better, a smart plug. and set it to come on at 7 a.m. and go off at 11:00 p.m. Done.
7. PET YOUR PLANTS
Touch em', move em', shake 'em. Just running your hand over the top of your plants gets them ready for the terrifying world of wind and rain they're soon going to be up against.
8. DON'T START TOO EARLY
You're ready. You're itching to get started and grow some plants. I know. I get that. But don't jump the fun. In fact, I'm starting most of my plants MUCH later this year for two reasons.
- Keeping seedlings alive in the house is way harder than keeping them alive outside. So the less time I need to keep them alive indoors the better.
- By starting and planting things a bit later than normal you can sometimes avoid the life cycle of certain pests that go after them.
9. IF YOU CAN SEED OUTSIDE, THEN DO THAT.
There really aren't that many plants you absolutely need to start indoors if you're in around zone 6. Things that are hot weather crops like tomatoes, zucchini and peppers do benefit from a bit of a head start because they take quite a long time to grow and mature.
You need as much time as possible to create a healthy plant that's full of fruit. But other things like beets, lettuce, peas, beans and even squash seeds can be planted right in the ground and have plenty of time to grow.
Doing this gives you more room under your lights for the plants that really need the lights.
10. GET GROW LIGHTS
Everything you need to know about grow lights and why you need them is in my Beginner's Guide to Grow Lights.
BONUS TIP - HARDENING OFF
You can't just take your tray of new, baby seedlings and plant them outside. They need to get used to being outdoors. You have to "harden them off".
If you're feeling like you still need more information you can read my post on Starting Seedlings.
If you have NO idea when to start seeds you can use my Seed Starting Calculator.
If this seems a bit above your level of enthusiasm or space just buy some plants. Or better yet. Forget growing your own vegetables.
Just get some Chinese takeout from that place you planted your egg roll.
→Follow me on Instagram where I often make a fool of myself←

Steve
Nice article! For #10, I would correct it a bit- quite a few seeds do need light to germinate. A lot of flowers I'm starting this year explicitly instruct you to surface sow because light is one of the triggers needed for germination.
Melody
Thought I would just update everyone on the peas that I started last week in the live Art of Fun Stuff. I would post a picture, but that doesn’t seem to be allowed. They are growing like crazy!
Honestly I am not sure why peas aren’t the dominant vegetation on earth at this growth rate!
Karen
LOL!! Excellent. Have you broken off a bit of the shoot to eat yet? They're reallyyyyy good. In fact, you should start a whack of them just for salads. I used to accept photos but my readers had so many that it was using up all my photo space and slowing my site down.😂 If you're on Instagram you can post it there with the hashtag #theartoffunstuff That way I can find it and repost it. ~ karen!
Karen Purpero
At what point do you repot to larger pots? And when you do, what “soil” do you use? And at that point do you still use the grow lights?
Rob
Hey Karen,
Every spring I stop growing cannabis so I can start the garden inside, using all the same nutrients and non-soil. The veggies go crazy. It's really nice to have peppers, toms, cali and broccoli in good growth. The fans help to get stalks strong for eventual outside life.
2 years ago I screwed up big time and got excited about a nice warm spring, deciding to plant out early. I created a buffet for our garden pests, they loved it!
PS it always amazing what a little seed can become. We planted one 25 years ago and still haven't been able to train it not to drink all my beer.
Karen
Ha!! It sounds like maybe you watered your seed with beer. It developed a taste for it. ;)
Joanne
A few years ago I started planting seeds in milk jug "greenhouses" that are placed outdoors in a somewhat protected area. Great for perennials and cold tolerant veggies. A couple of weeks ago I seeded kale, broccoli, Swiss chard, leeks, Brussels sprouts, and several perennials. Here in Alberta it's been off and on warm, cold, snowy which helps crack the seeds. When ready to be planted out they are already hardened off. Will start some annuals later in April. If it gets too cold I throw an old blanket over them. Or easily move them into the garage, though I never have had to do that. They grow stronger and better in our unpredictable climate that way.
I saw the Instant blurb early this morning. Don't have or want one but might experiment with my yoghurt maker with some heat tolerant plant seeds.
Jaclyn
I just read about someone who used their instant pot to jump-start seeds! This is my first year with an actual garden, so I'm sticking with things I can just grow outside without starting them, but the idea of cutting a week or two off inside timelines sounds attractive! https://www.cbc.ca/news/canada/ottawa/ottawa-gardener-alternate-use-instant-pot-germinate-seeds-1.5966064
Karen
Yes, I woke up to that story being sent to me by my sister, lol. I just planted tomato seedlings last night and put them on a heat mat, so I'll start a few in the Instant pot this morning as well to do a comparison. The Instant pot is already in the basement soooo, lol. ~ karen!
Cherie Oke
Hmmm! Instant pot, eh? (True blue Canadian, eh?) I might try some seeds just for the heck of it. Curiosity and all that. Loved the tip about the bristol board or foam core. We always have lots of the latter. Worth a try. Might try to find some of the lights, too. My growlights are just plain old florescent.
Susan Stowell
Looking forward to planting an egg. It will grow up to be an eggplant, eh?
One small tip that worked for me here in North Carolina: I placed a string of Christmas
lights (old ones, not LED) under the trays. The seedlings can benefit from the light of
a south-facing window and also a gentle warmth from the lights.
Jane
You might want to upgrade #1 from T5 to LED. This winter I changed all my grow lights to LED shop lights. They use a lot less energy so I can put up more lights & have them on much longer. The plants are having a ball basking in so much light! Granted, the upfront cost is high, but it's all worth it in the long run.
Stephanie
Vancouver has enough stuff, The Butchart Gardens are ours! All the best from Victoria.
Karen
LOL fair enough (my sister had gone to Vancouver to visit her son who lives there and they went to the gardens on that trip) ~ karen!
Cindy McMahan
Good to know Karen! I declared my 2016 New Year Resolution a couple of weeks ago....I resolved to plant everything I buy. The next day I went out and bought bulbs (cuz it's not like they're gonna die anytime soon...I found a loop hole in my NYR), and I bought two packets of flower seeds...sunflowers and some kind of hardy multicolor something or another whose name escapes me at the moment. Hopefully, I can get them started and out the door using your tips. Thanks!
Karen
Good luck! I've already started wayyyyyyy more seeds than my entire town could plant. ~ karen!
Karen Beal
Wish I'd read this before I killed off all my many varieties of heirloom tomato seedlings. Seems I lovingly drenched them to death. At least now I know why my seedlings always fail as soon as they start to get going. I saved back a few heirloom seeds, I guess I'll start over and hopefully not murder them this time.
Karen
It happens. Now you know. :) ~ karen!
HeatherMTL
Yay, I got it working - thank you! Now, does the course arrive via email?
Clearly, I'm having a blonde day. That's OK, the week's almost over.
Karen
Yup. I got it. It should be in your inbox right now. :) ~ karen!