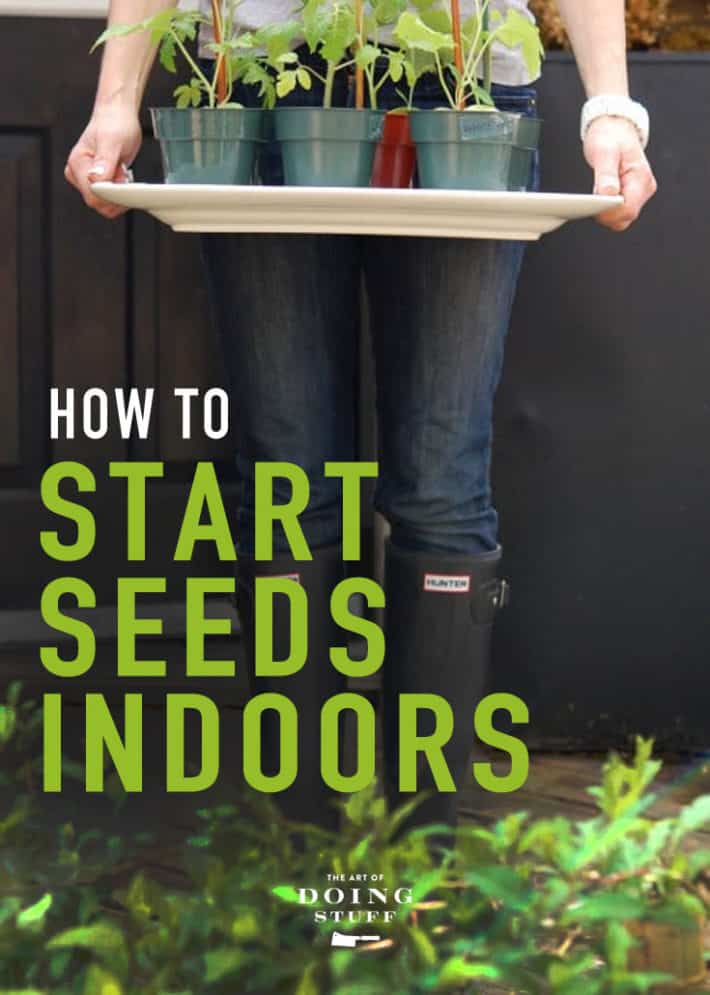
Congratulations! You're here, I'm so excited for you! That means you're ready to up your gardening game by starting your own seeds. It's easy, you've got this. I think. I don't really know you.
Here's how to do it.

Honestly? Starting your own seeds to grow into seedlings isn't very complicated. You stick a seed in dirt and wait.
Are there a few tricks? Sure. But for the most part you stick a seed in dirt.
It's actually the easiest part of gardening. Keeping the thing alive for the next 4-6 months is where the skill comes in.
Table of Contents
How to Plant Vegetable Seeds
(The Quick Version)
The super-fast rundown is this.
- Wet your soil first and fill seed starting trays or pots with it.
- Press a seed into the top of the soil.
- Cover the trays with something to keep the humidity in while the seed germinates.
- Once sprouted, remove the humidity dome and put the plant under grow lights.
- Water when necessary and raise grow light heights when necessary.
That's all there is to starting your own seeds at home. That and washing your hands a lot. Here's my DIY on how to make foaming hand soap because everything is more fun when it's FROTHY.
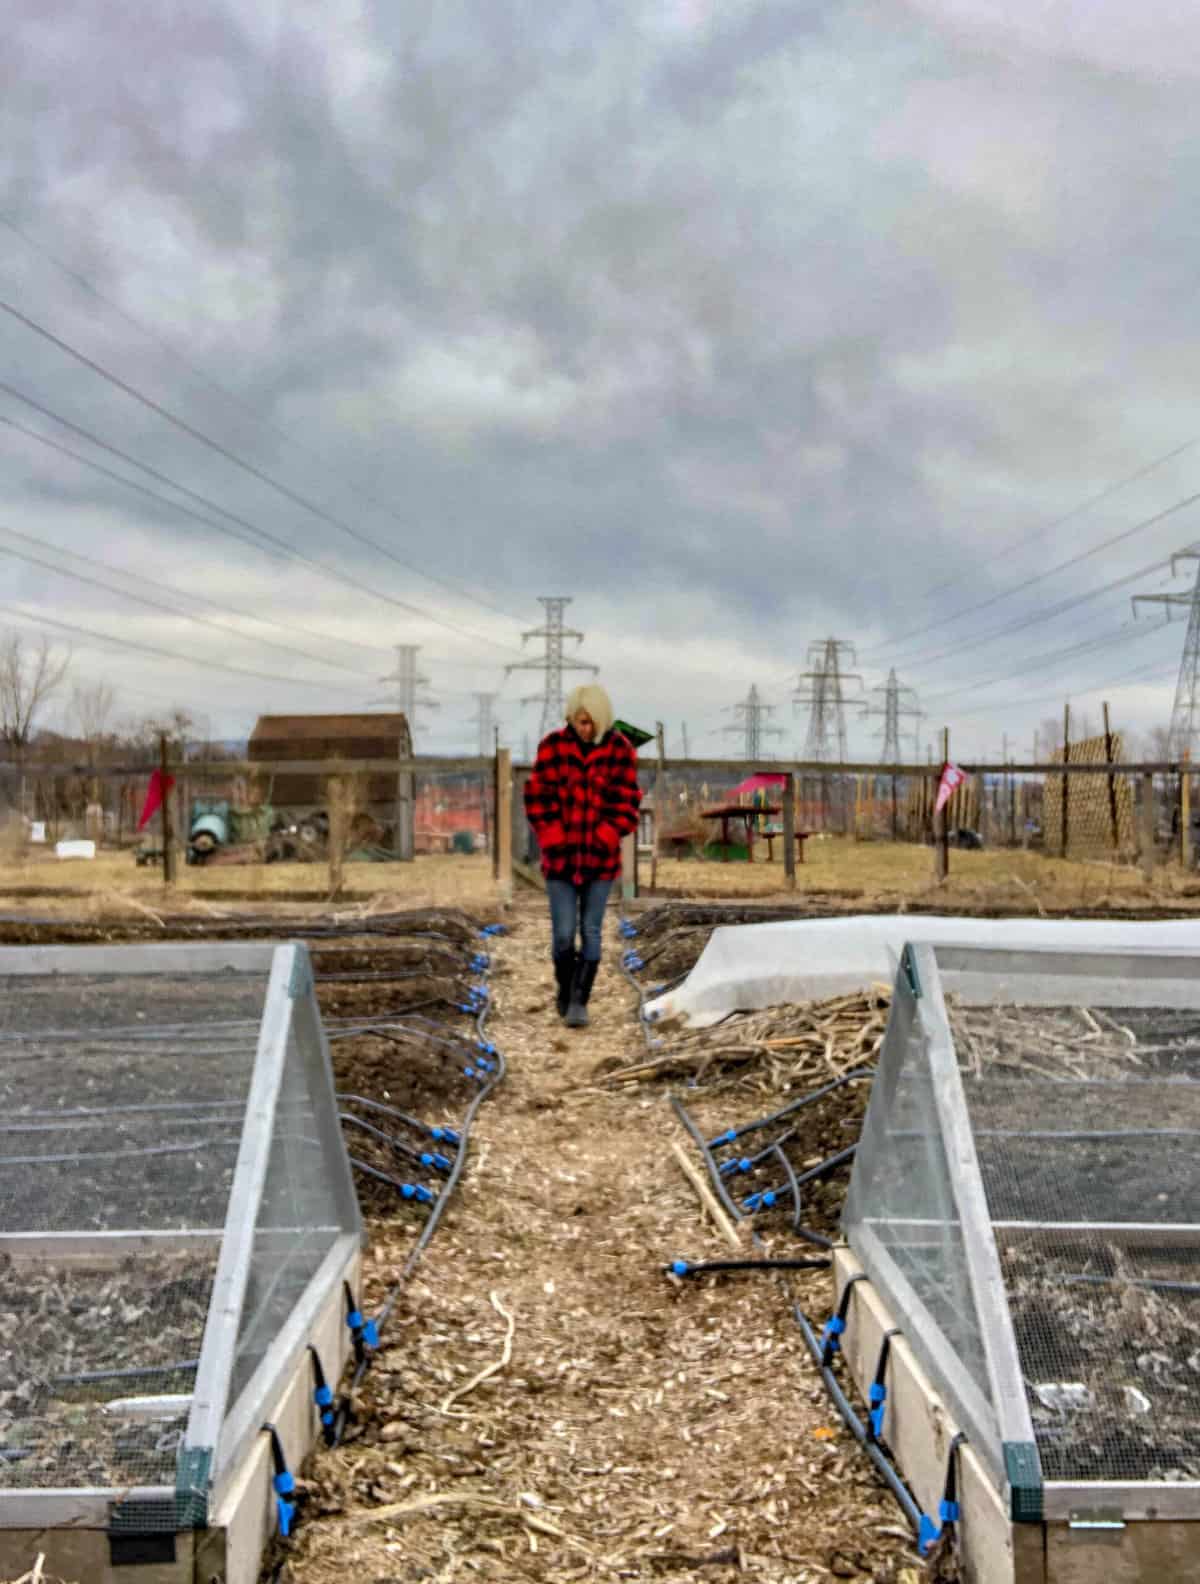
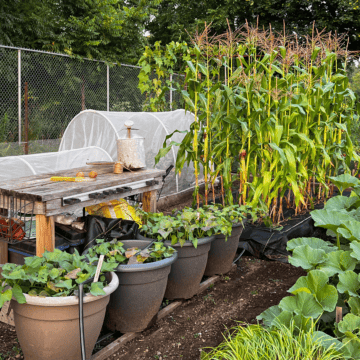
If you live in a colder climate like I do in Southern Ontario (Zone 6), where the growing season is a bit shorter than elsewhere, you have to get a head start on your plants.
The advantage to starting your own seedlings is you can grow varieties of vegetables you just can't get in a nursery.
Like red fife wheat!

Supply list
- Soilless mix
- Seed starting trays
- Humidity dome
- Seeds
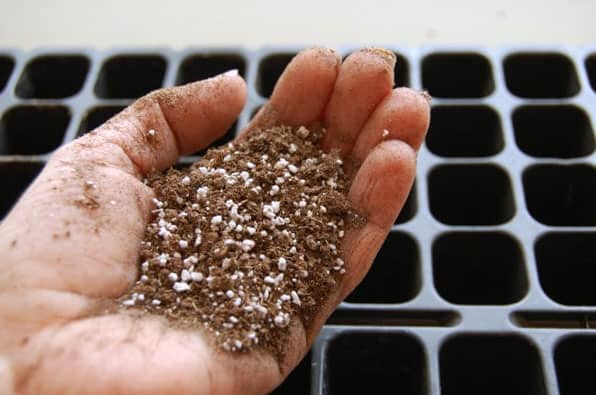
SOILLESS MIX looks like potting soil, but it isn't.
Made up of coco coir or peat moss mixed with perlite or vermiculite. Used specifically for starting seeds.
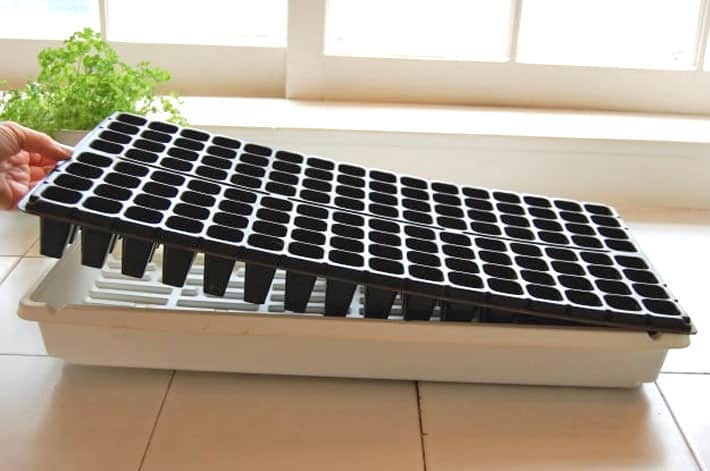
SEED STARTING TRAYS are flats of multi holed trays. Each hole in a tray holds a small amount of soil for starting seeds.
A DRIP TRAY is set under the seed starting tray and catches water and dirt.
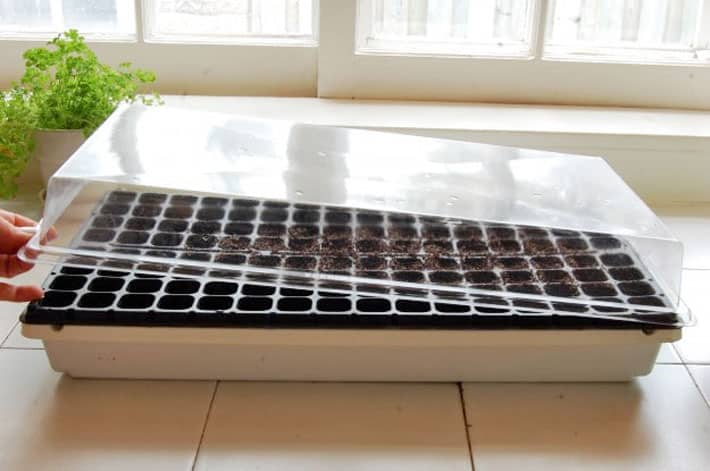
A HUMIDITY DOME is a clear cover that holds in much needed moisture for the germination phase of starting seeds. They are removed as soon as the seeds sprout.
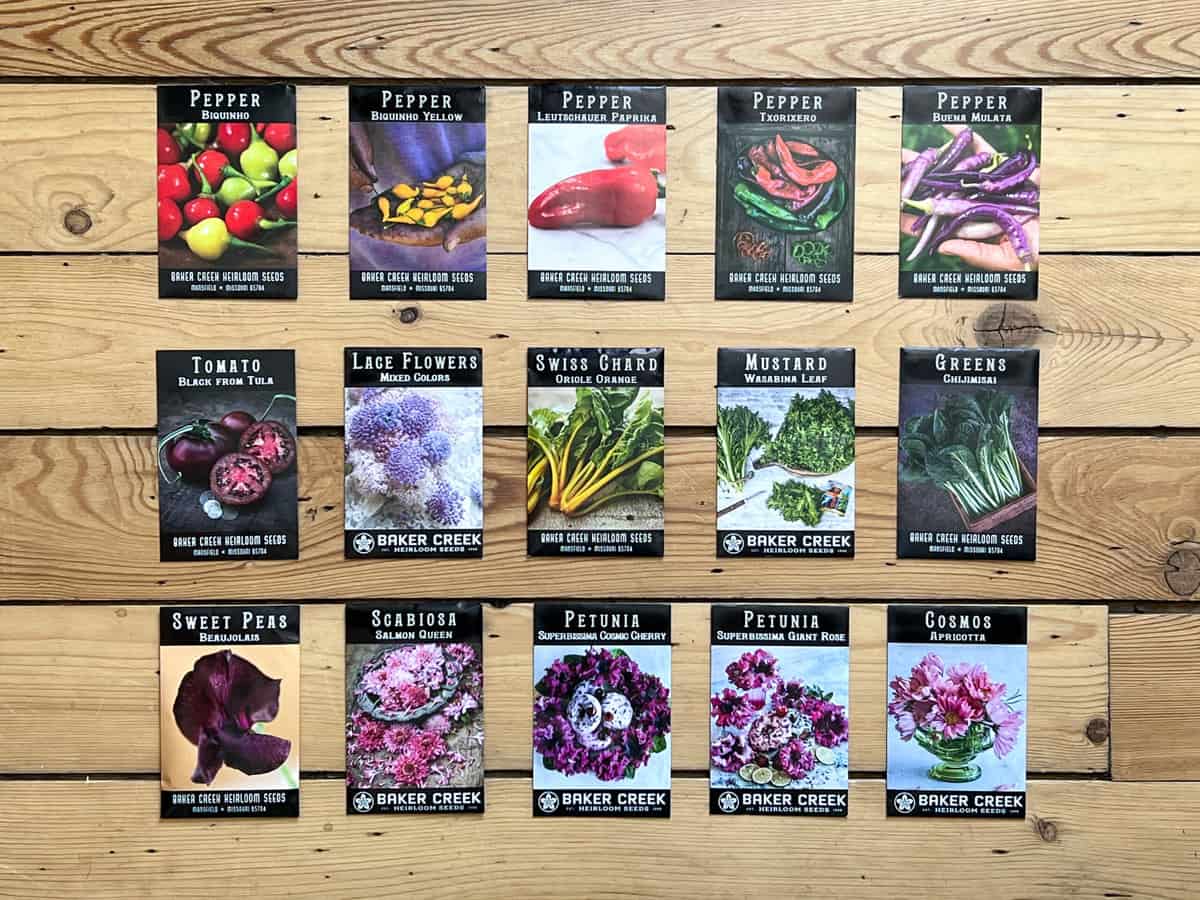
SEEDS These just happen to be some of the brand new seeds I'm starting this year - If you're always looking for something fun and new to grow you should have a look.
The least expensive trays and domes I could find (at this moment in time where a head of lettuce is $9) are listed below.
SEED STARTING kit for beginners from AMAZON Canada
SEED STARTING kit for beginners on AMAZON US
Try your local hardware store FIRST. There's a very good chance they have seed starting trays and humidity domes there. If not, search for them on Amazon.
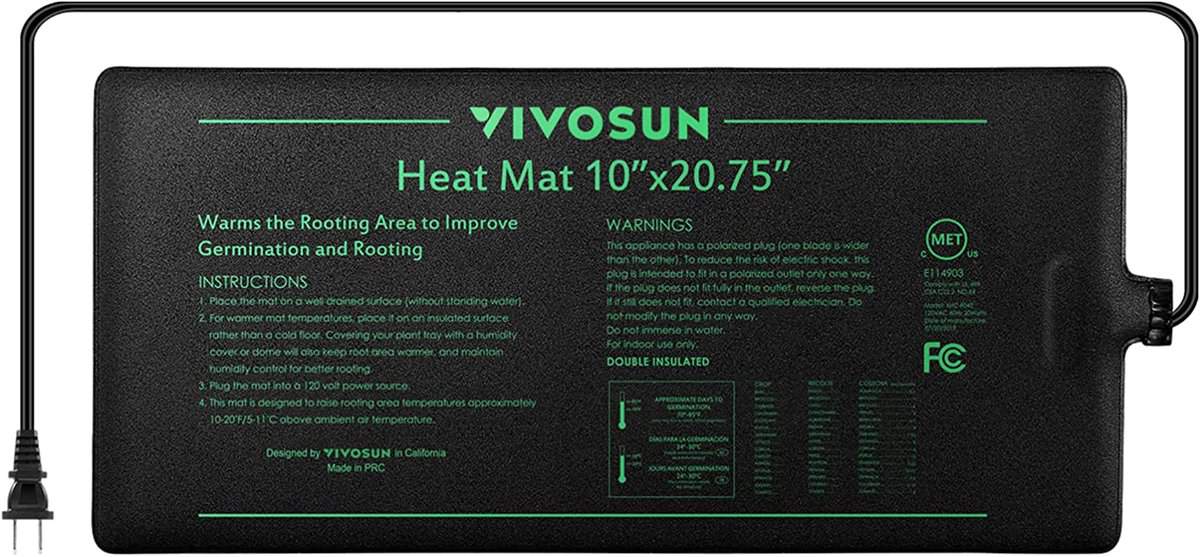
HEAT MATS aren't mandatory, but they're very helpful for germinating seeds & growing on other heat loving plants like luffa or tomatoes. If you're curious about growing loofah sponges this is how I do it.
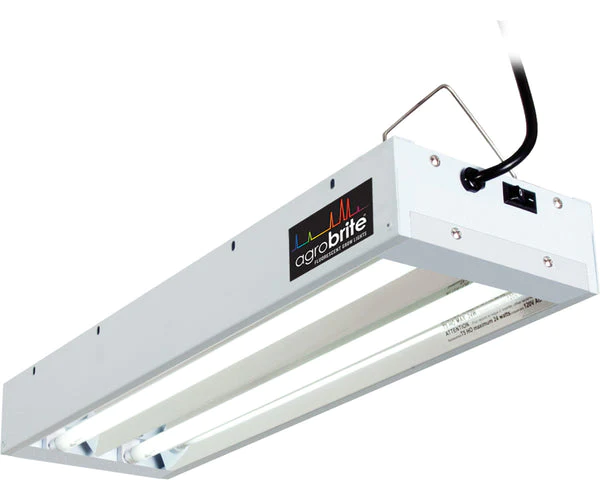
GROW LIGHTS are the most confusing element of starting plants indoors. You only need them to grow on the seedlings - not to start them.
(There are a few exceptions with seeds that DO require light to germinate. So check your seed packet.)

If you don't want to spend the money on or can't find the seed tray and drip tray, all you need are a few plastic pots or even plastic cups with holes punched into the bottom and some plastic wrap to start seeds.
COMPLETE STEP-BY-STEP TUTORIAL

- Grab your supplies: soilless mix, seed starting trays, water and seed.
DIY SOILLESS MIX RECIPE

1 part peat moss to
1 part perlite
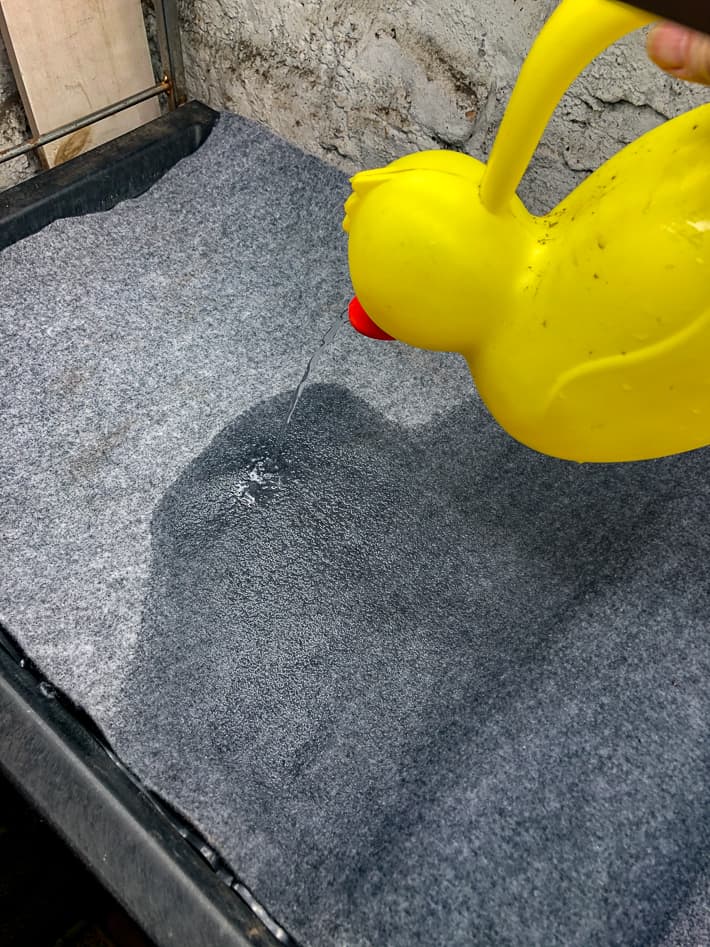
- Soak the soilless mix with water.
You've added the right amount of water when you squeeze your soil hard and a few drips of water come out of it.
If it streams out like above, your soil is too wet. If nothing comes out your soil is too dry.
Would you like to save this stuff?


- Fill your tray with the dampened seed starter mix.
- Press the soil down just slightly.
Plant roots like a slightly compact soil. It helps to give the plant stability. So, push the dirt into each divot with your finger so it isn't quite so "airy".


- Now it's time to plant your seeds!
I'm going with parsley here.
- Put two or three seeds in each cell.
This way you're guaranteed at least one plant will germinate. If they all grow, just weed out the runts by cutting the stem off at soil level. Don't pull it out, because this will disturb the soil of the other seedlings.

- Cover the seeds up with soil.
A good rule of thumb is to cover the seed with the same depth of soil as the seed. (A 1 mm seed will be covered with 1mm of dirt)
Some tiny seeds don't even need to be covered at all. Refer to the instructions on the seed packet.
Also, once you've covered them, press down on the soil with your finger to make sure the top soil is touching the seed. Seeds need to be in contact with all the soil around them to germinate well.
- Cover your seed tray with a plastic dome.
The dome helps create heat and the necessary humidity for the seeds to germinate. As soon as your seeds sprout, you can remove the lid.
If you don't have a dome or are planting into plastic cups or pots just cover the pot with plastic wrap and secure it with a rubber band.
*If you don't have grow lights put the plants in a south facing window*

- REMOVE THE HUMIDITY DOME
Once the seeds sprout and put them under grow lights or in a SUNNY windowsill.
(a sunny windowsill will create leggy, but still viable plants)
- WATER YOUR SEEDLINGS
ALWAYS WATER FROM BELOW. Pour water into the drip tray and allow the plants to soak up the water for 10 minutes. Any water left in the tray afterwards should be dumped out to prevent overwatering.
Above, I'm using capillary mats, a more advanced way of watering.
NOW ALL YOU HAVE TO DO IS KEEP GROWING THEM!
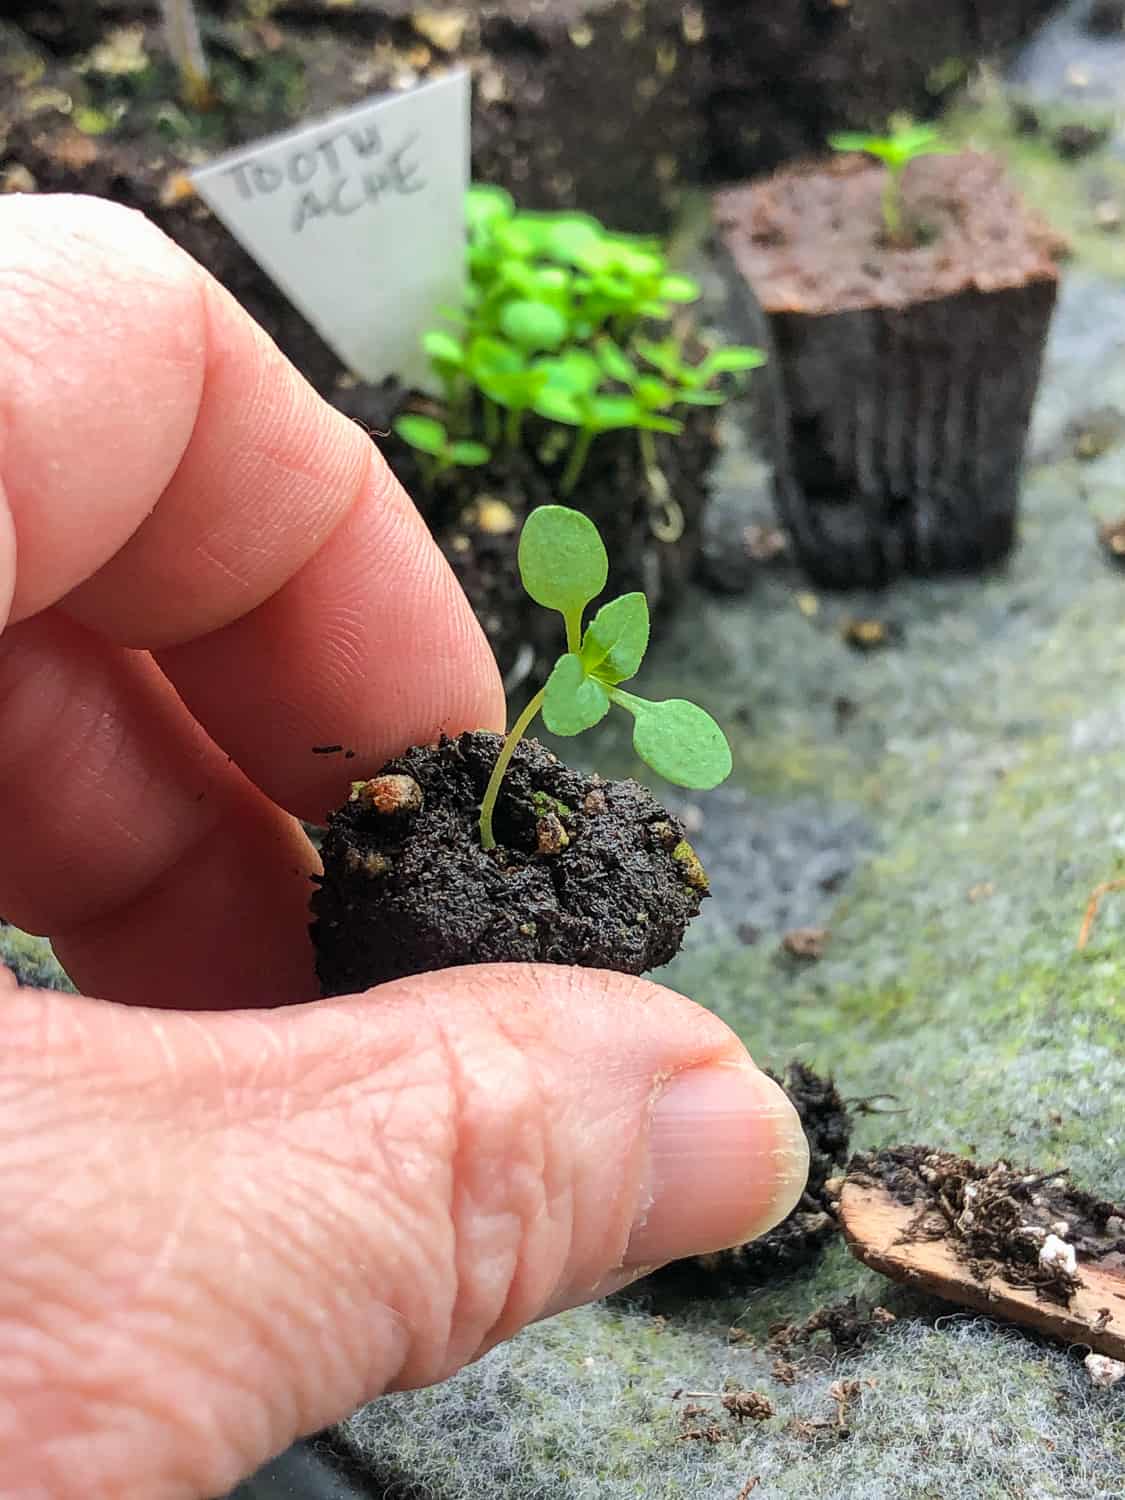
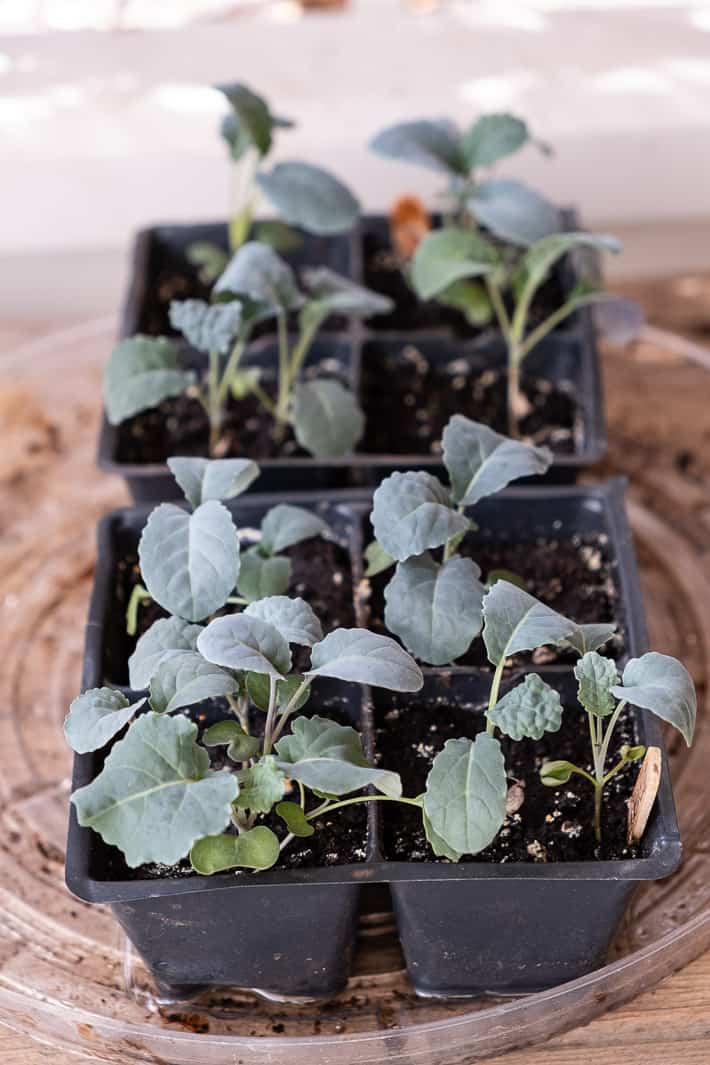
- POT THEM UP
Once your seedlings have grown 2 sets of leaves they're ready to go into a bigger pot and start receiving nutrients!
Plants always grow a set of starter leaves called cotyledons first. The next set they grow are the plant's "true" leaves.
Gently transplant your baby plant into a slightly larger pot that has actual soil in it. Regular potting soil is fine, using potting soil with the fungi Mycorrhiza is even better.
You can also make your own potting mix like I do.
When you're ready and if you feel you need it, this post has all the information you need for potting up your seedlings.
Propogation mats aka Heat mats
**If you have a heated seed mat (propagation mat) then place your seedling tray on the mat. The bottom heat on the soil will improve and speed up germination and growth on seedlings immensely. I HIGHLY recommend getting a seed starting mat if you're starting heat loving plants like peppers and tomatoes.**

If you started your seeds at the recommended date and weather conditions are good, you will only need to "pot up" your seedlings once.
If you see the roots are beginning to wind around inside the pot, they're getting close to needing to be potted up again.
THAT'S IT!
You should now feel confident that you can absolutely start seeds on your own.
QUICK TIPS
- Most seeds don't need light to germinate. They need heat.
- Seeds need moisture to germinate.
- Water from underneath.
- Keep a fan going to prevent "damping off".
- Use a timer on your lights - seedlings need 15 hours of light unless they're onions.
- Run your hand across the top of your seedlings. It helps give them a sturdy stem.
Easy to Grow
Beets - these seeds are actually a cluster of seeds so for every seed you plant you could get 2-3 plants.
Peas - they can be planted directly outside in April because they like the cold but starting them inside helps improve germination and stops squirrels and mice from eating the seeds before they get a chance to start.
Squash - both winter and summer squash grow well from seed.
Tomatoes - the star of every garden, tomatoes are one of the easiest plants to start from seed.
Herbs - basil, parsley, dill, oregano, ... all are great seeds to start.
Kale - I actually only like one variety of kale, Black Kale, and I grow it successfully from seed every year.
REMEMBER: Even when it isn't gardening season outside, it's gardening season inside.
Now grab a seed, get some dirt and start growing your own flowers and vegetables.
I'll give $5 to the first person who can grow a carrot big enough to replace a leg on a harvest table.
Have a question? Ask away.
→Follow me on Instagram where I often make a fool of myself←
Any comments made prior to February 9th 2023 are referencing an older, outdated version of this post.

Linda
My seeds sprout and rapidly get leggy, flop over, and die. Why?
Karen
Hi Linda. I'd have to see the actual seedlings to know what's going on. Leggy means they aren't getting enough light and are stretching for it though. If the seedling stems turn black at the soil line and keel over (when they're still quite small) it's probably damping off which happens when the top of the soil is too wet and there isn't any air movement. Hope that helps. ~ karen!
Joe
I loved reading all this which unfortunately I forget as soon as reach the end so I bookmark etc. But as it seems that you are in a cold region I guess this does not fit my timetable. I live in Malta which is a Mediterranean country and I would like some tricks to help grow tomatoes. Never succeeded ugh!
Tks and God bless.
Joe
Elizabeth Fischer
Seed calculator is back up - thanks
Karen
Thank you for your patience! I'll be improving the look of it soon too. :) ~ karen!
Elizabeth
Hi Karen thanks for the comprehensive seed starting article - luv it but where is the seed starting calendar - it has disappeared
Karen
Elizabeth, I'm so sorry! Another reader just alerted me. It's ... gone! I'm going to have to ask my website developer if he can find it. I'm going to try to get it back up and running this weekend so check back Sunday. :). ~ karen!
Elizabeth Fischer
Thanks so much you are the best!!!! Just love your blog and all your wonderful quirky information. Bought the Apricotta Cosmos - let see what happens.
Christine
Would you please repost the link for your seed starting calculation? I tried searching but the page has no link and nothing shows. Thank you, I am going to try again this year in a new planting zone.
Karen
Hi Christine! I'm so sorry. There's been some sort of glitch - which has never happened before. 😣 I hope to get it up again this weekend! ~ karen
Marion
The seed starter calculator is a terrific idea. Only I cannot get it to pull up from anywhere on your site. And I don't see it on your sidebar. Is it possible for you to post it again please?
Karen
It is a terrific idea isn't it, lol? It has been up and running perfectly for years and suddenly it's disappeared on me. I'm going to try to get it back up this weekend! ~ karen
Mary W
Your lumberjack coat and the gorgeous picture are the PERFECT puzzle material. I wish I wasn't so hung up on puzzles but it came with the desire to read your blog so it really is your fault - thanks.
Karen
There will be another puzzle tomorrow coming at you! ~ karen
Ron S
Hi, I recall reading one of your posts on soil blockers. Are you still a fan of the soil blocks? Are they suitable for all vegetable seeds?
I have been thinking of trying them here in Alberta.
Thanks
Ron
Karen
Hi Ron! Yes I still think soil blocks are fantastic. This year I'll be using soil blocks as well as root plugs for growing my seedlings. You van see my soil blocking post here. ~ karen!
Randy P
I gots nuttin' of merit to add to this topic beyond noting my admiration for those who possess the gift of gardening desire, so I'll just comment that you look super cute holding that there wheat stuff.
Colleen
Hi Karen, it looks like the grow light you suggested doesn't ship to Ontario, and when I search Amazon.ca, that model isn't coming up. Do you have another recommendation that can be bought in Canada? Thanks!
Lynda
Barrina Full Spectrum LED Grow Light, 144W( 6 x 24W, 800W Equivalent), 2FT T8, High Output, Linkable Design, Led Growing Lamps, Plant Lights for Indoor Plants Hydroponic, 6-Pack https://a.co/d/969Deec
But you will need a black out curtain around your table if you have to share the room.
Sabina
I have an out of town wedding right in the middle of April. Should I wait and start my seeds after we get back, which would mean, after April 22nd? I feel like that would put me very far behind. The lack of a real winter this year has me thinking an early warm up, especially since we had nearly zero ice on Lake Erie this year. Last year I started my seeds at the normal time, early April, and our weather was very late warming up so it felt like I started my seed too early. Same growing zone as you Karen, just the other side of the lake.
Gardening is not really my daughter's thing and I cringe at the thought of leaving her in charge of my seedlings.
Norma
If you use a capillary mat with the edge dipped in a bucket of water, you can leave your little plants for quite a while and they will water themselves
Sabina
Yes, my question was from three years ago and I’ve definitely started using them since then. Thanks Norma!
Scout
Could i start tomatoes in my aerogarden and move them outside or will that be too big of a shock for them? I only want a few plants.
Karen
Hi Scout. You could try just starting them in the Aerogarden. I just wouldn't try to transplant one that's become full size in the Aerogarden. ~ karen!
Ron
Don't know how I managed to miss this when last it appeared but wattage is no longer the correct unit to specifiy when calculating grow light requirements. The correct unit for specifying amount of light is the lumen. Watts are a measure of how much electrical power is required to produce a specific quantity of light (lumens). Lamp wattage required per lumen of light output varies by lamp type: incandescent, CFL, LED etc. with incandescent having the highest wattage/lumen and LED's the least.
Back in the day before CFL and LED lighting was an option and all lighting was incandescent using watts as a measure, although not correct, was ok because there was only one type of lamp in use. The figure of 30 watts/square foot you refer to probably corresponds to the amount of light produced by an incandescent bulb. A typical incandescent fixture produces about 15 lumens/watt so 30 watts incandescent would produce 450 lumen of light output. LED lighting labels now include lumen output and often include the required wattage of a typical incandescent bulb producing the same number of lumens.
However, having said all this one of the most important aspects of a good grow lamp is the total colour spectrum of the light produced by the lamp which is a whole other story.
Karen
Hi Ron. That's not how most of these lights are sold though. They're sold as "watts". Regular lightbulbs have lumens on them now, but I haven't (for whatever reason) noticed that to be the case with these grow lights. ~ karen!
carla
Karen,
Loofah seeds. Meant to follow your instructions but I've been distracted with wedding planning for my daughter. Got as far as soaking the seeds 'overnight'....which turned into several days. And when I looked at them again they had sprouted! The new seed sprouted, the old seed did not. I've put them in newspaper pots and we'll see if they survive the first transplant.
Rebekah
“Once your seeds have sprouted REMOVE THE HUMIDITY DOME and...”
What if only a few of my seeds have started? I’ve got some Asclepius incarnata growing from seed - very excited! - but some have sprouted and some haven’t. I’m worried about damping off - I killed all my heritage variety tomato plants one year because of that! So do I keep the humidity dome on until the sprouting of some? Or half of them? Or most of them? Or does it vary with the type of seed? My poor little plants!
I admit I started my seeds a wee bit early. But oh, they are such a joyous sight when it’s miserable outside!
Dan
I always take the humidity dome off when a few seeds have germinated so they don't stay too damp. Usually the other seeds will go ahead and germinate within a few days but may be behind the others in growth. If the seed flats get too crowded because the first to germinate are getting too large, transplant into individual pots (I use Solo cups with holes punched in the bottoms). Once the first true leaves start showing you can start feeding with a half-strength liquid fertilizer.
Rebekah
Hi Dan - sorry fo the delay in my response. Thanks for your advice! For 1/2 strength liquid fertilizer, does it matter if I use capillary mats for my watering? That is, I don’t water from above, but instead from a reservoir below so the mats draw up the water to the soil. Do you know if the fertilizer will still get to the plants that way?