First off, congratulations on realizing that you can grow your own loofah sponge. Most people think they grow in the ocean alongside other sponges, like Mr. SquarePants. Growing loofah is easy in warm climates, but with this guide I'll show you that you can grow your own luffa sponge almost anywhere.
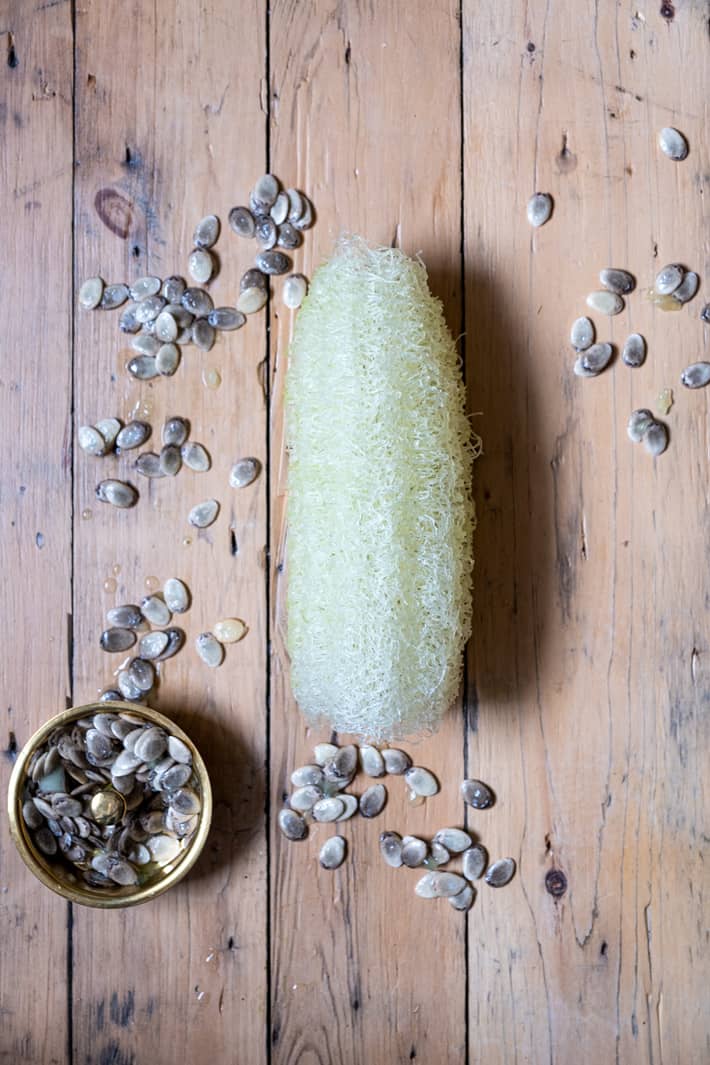
As a matter of fact, no they do not grow in the ocean. Or the sea. Or any other body of water.
The fact that loofah aka luffa is actually a vegetable is always the biggest shock to people when you tell them they can grow their own luffa sponges; the fact that they grow on land, not in the water.
Table of Contents
What IS a Loofah Plant
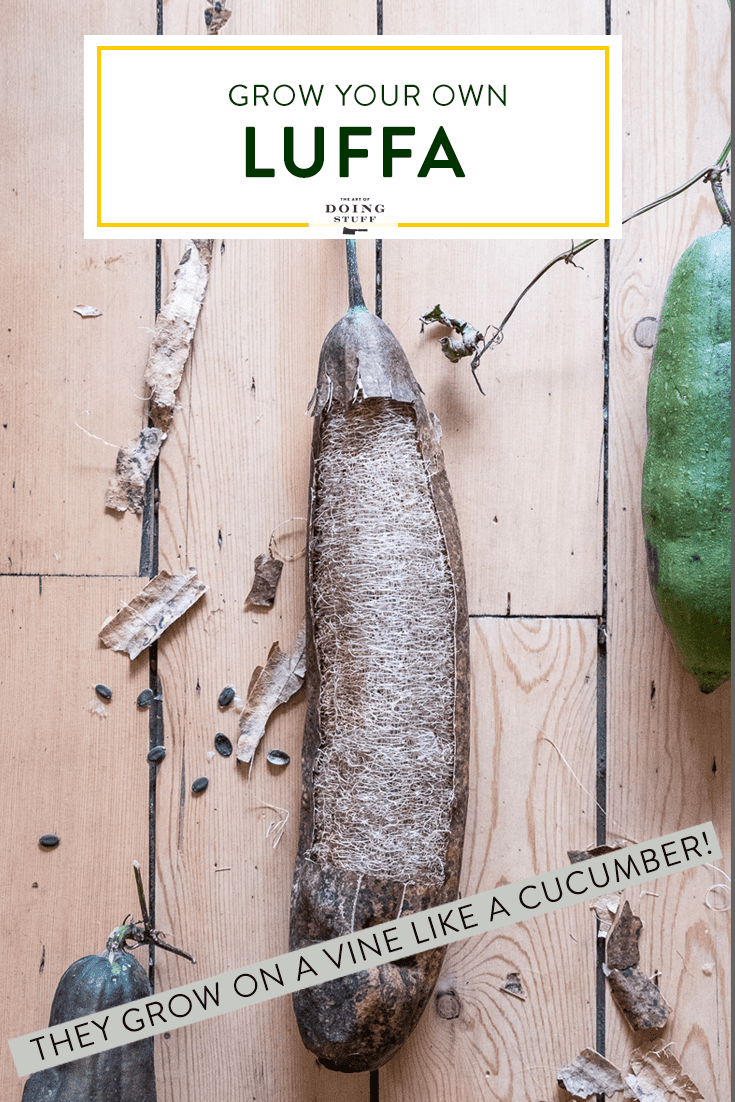
A loofah plant is a member of the Cucurbitaceae family like squash or cucumber. They have long growing vines that have fruit growing off of them. The plant produces edible fruit which become gourds when left on the vine to mature.
Those gourds dry as they get older, losing all their moisture. When cracked open all that is left inside are the fibres you recognize as a luffa sponge.
There are 2 species of this sponge producing plant.
- Luffa aegyptiaca (this is a smooth luffa, also known as Cylindra, Dishrag Gourd, Sponge Gourd, or Egyptian Cucumber)
- Luffa acutangula (this is a ridged luffa also known as Ridged Gourd, Angled Loofah or Chinese Okra)
They're all the same thing (edible vegetables that grow into fibrous sponges) with different names or a sightly different shape.
- Loofah plants are part of the gourd family and grow on vines that can get to be 30' long or more. Trust me on this.
- The part you're used to seeing is actually the inside fibres of the gourd, which lay beneath the green skin. That's the loofah sponge.
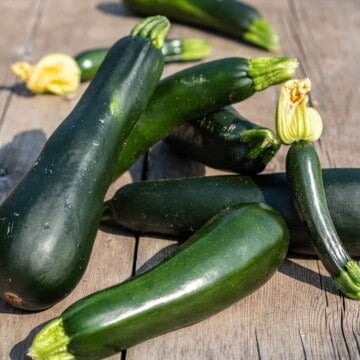
- Immature luffas look like a cucumber or zucchini and are edible when they're very young (4-8" long). They're traditionally eaten with eggs in Asian countries, like in this Serious Eats luffa recipe.
- They are annual vines and need to be replanted every year.
- Luffas are shitheads.
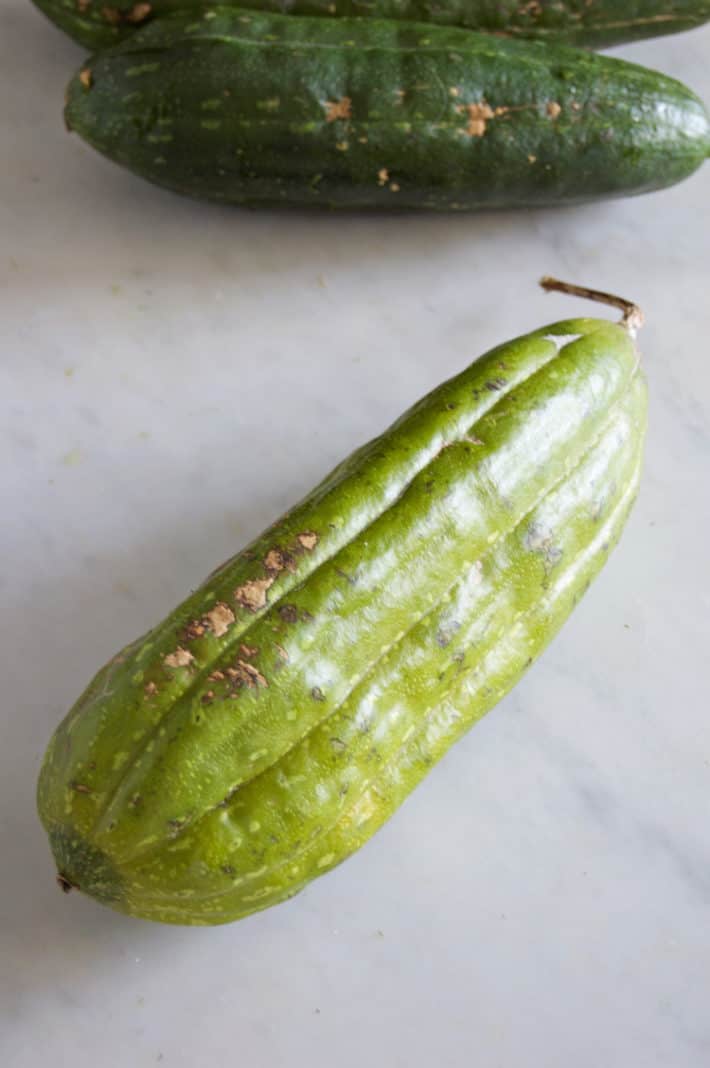
For the past decade I've been growing loofah in my Zone 6 climate. Each year more successfully than the previous year as I figure things out. They need a longggg growing season of 150-200 days. They are also easily frightened. Like you can frighten a Loofah to death.
More on that in a few moments.
To figure out how to successfully grow a loofah sponge, you have to know how to very, very unsuccessfully grow a loofah sponge.
Luckily for you, I have all kinds of experience in that particular area. In fact, I spent the better part of a decade being exceptionally unsuccessful at growing luffa.
Not to brag.
I now have it down to a science and you will now learn from my years of mistakes in this step-by-step guide.
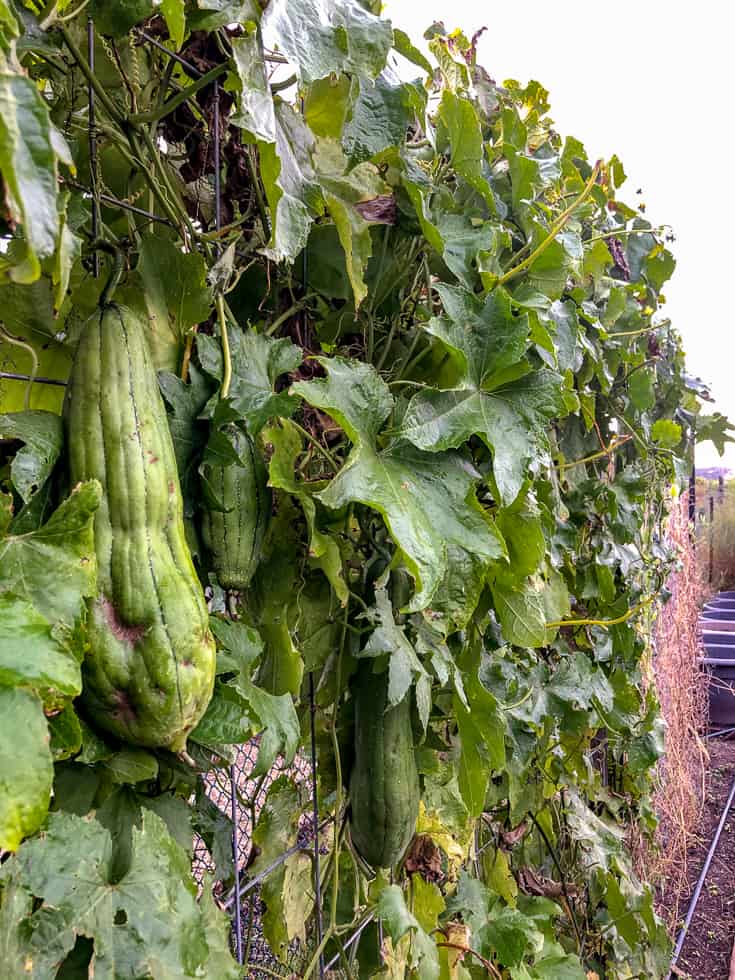
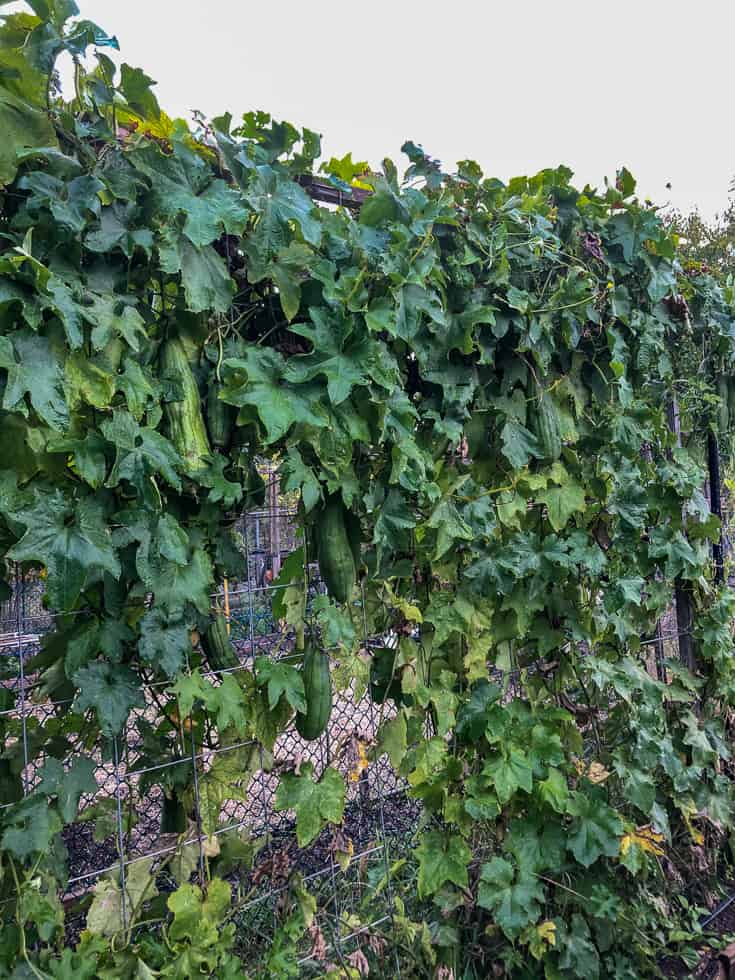
Growing loofah
In colder zones you need to start your plant from seed, grow it indoors until temperatures warm up and then plant it outside on a sturdy structure where the vines can do their thing and the heavy luffa fruit will have support.
Potential Problems
There are 3 main areas where things can go horribly wrong with growing the plant.
- Your seeds won't germinate. Because they're little asshead seeds that hate you.
- Your little luffa seedling goes into shock when you transplant it outside and it dies of fright or at least goes into a month long coma.
- Your vine grows but you never get to the point of seeing fruit before the frost kills it.
I'm going to show you how to overcome all of those issues so you can grow your own organic luffa sponge this summer.
Handy for showers, scrubbing pots and whacking people on the head with.
Planting luffa seeds
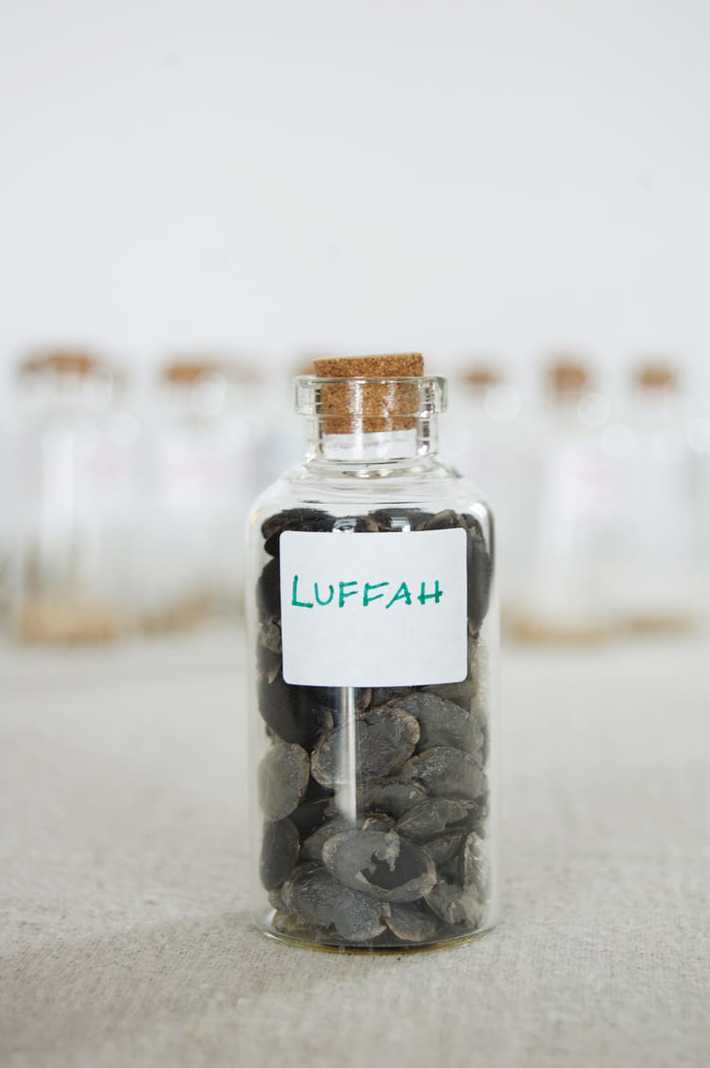
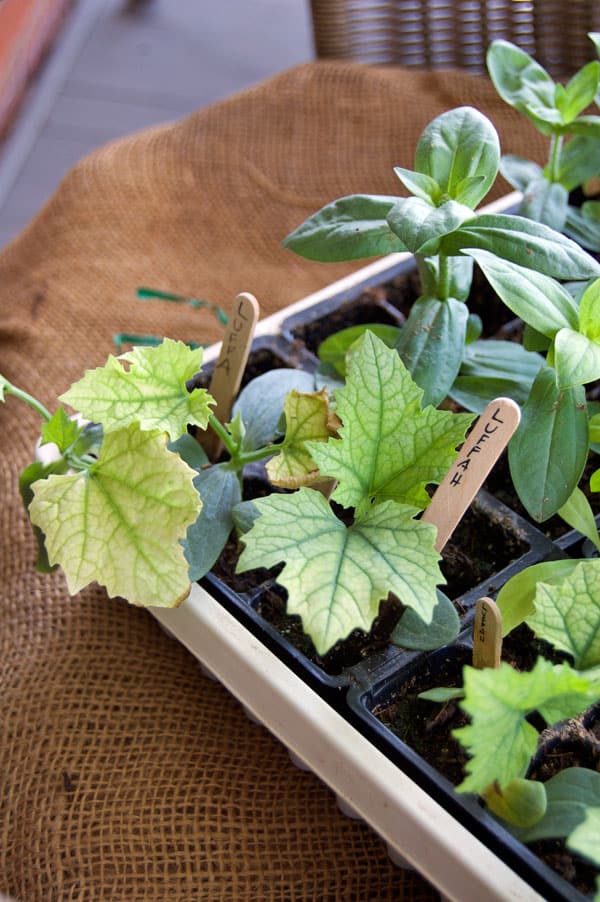
STEP 1 - If you're in a cooler zone, start your Luffa seeds early, indoors, 6 - 8 weeks before the last frost date.
STEP 2 - Use new Luffa seeds and soak them in water for 24 hours prior to planting. Seeds that have been hanging around for years won't germinate well.
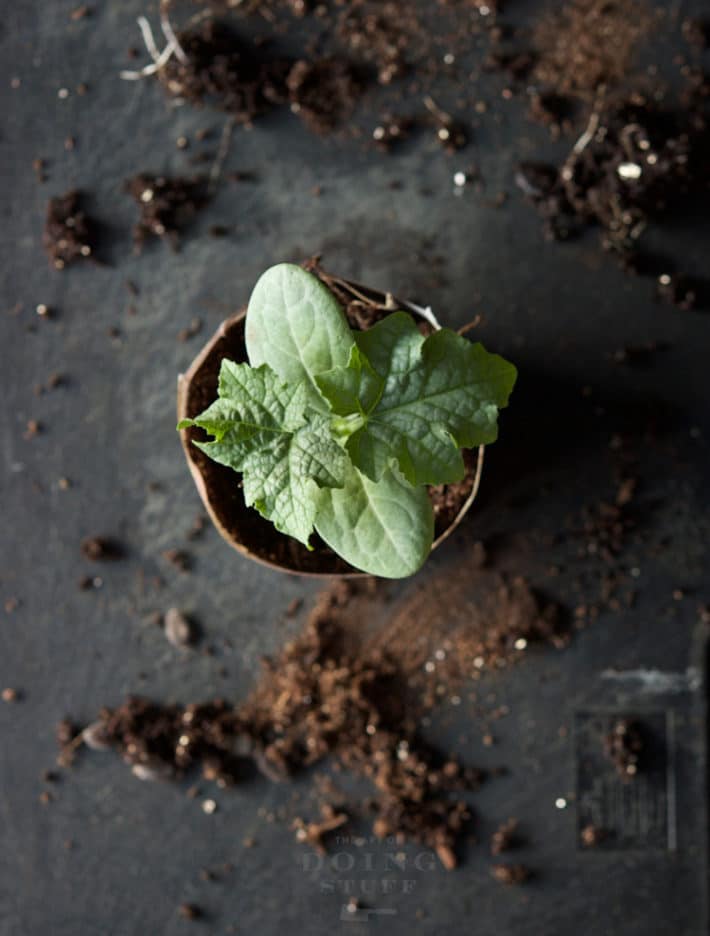
STEP 3 - Sow seeds in a 4" pot of moistened soil. Plant ½" deep. Cover with plastic wrap, or a humidity dome just until the seeds sprout. Once sprouted you can remove the dome.
STEP 4 - Germinating luffa seeds on a seed heat pad will increase your success. Sow seeds and then place their pots or tray on the warmth heat pad to germinate.
STEP 5 - For an even BETTER chance of reducing transplant shock, grow in soil blocks instead of pots.
FINAL THOUGHT - Using this method your seeds should germinate within 3-10 days from planting.
TIP - I'm a soil block convert and you can read all about how they work and how to make them in my post on making soil blocks with a soil blocker.
Seed Heat mats
I can't overstate how much a seed heating mat improves germination and growth of your loofah seeds.
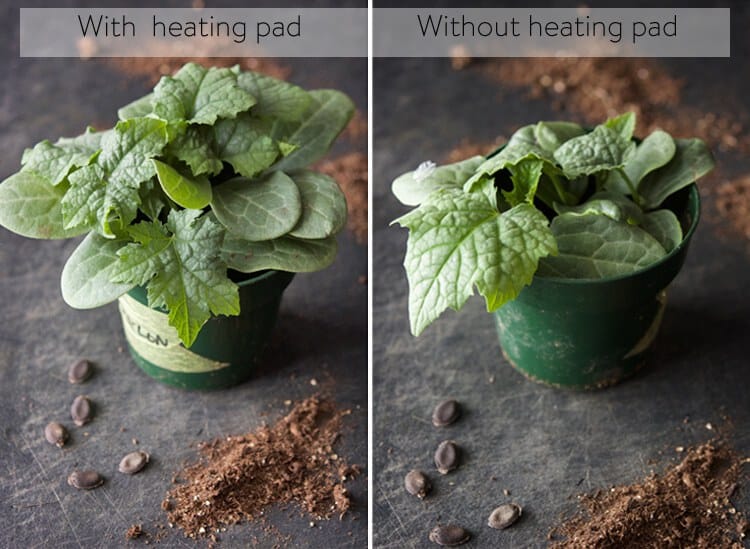
It's also working GREAT for my Sweet Potato slips using my updated sweet potato growing method, tomatoes and just about any other heat loving crop.
Planting out in the garden
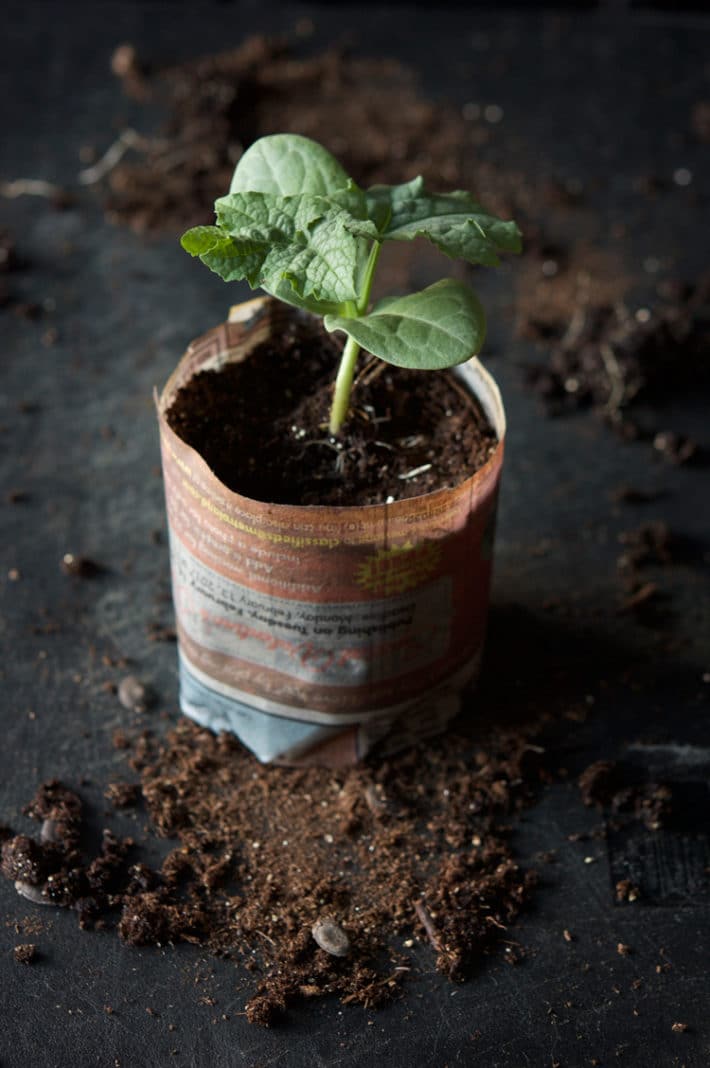
- When the weather is right ( air is consistently around 70 F or 21 C) start hardening off your seedlings. This is more important than with most other plants because Luffa are so prone to transplant shock.
- After a week or so of hardening off, plant your seedlings in an area that gets FULL sun. As much sun as possible. Anything less and you won't get any Luffas.
TIP - If you're unsure of what it is or how to do it, read these steps on how to harden off plants.
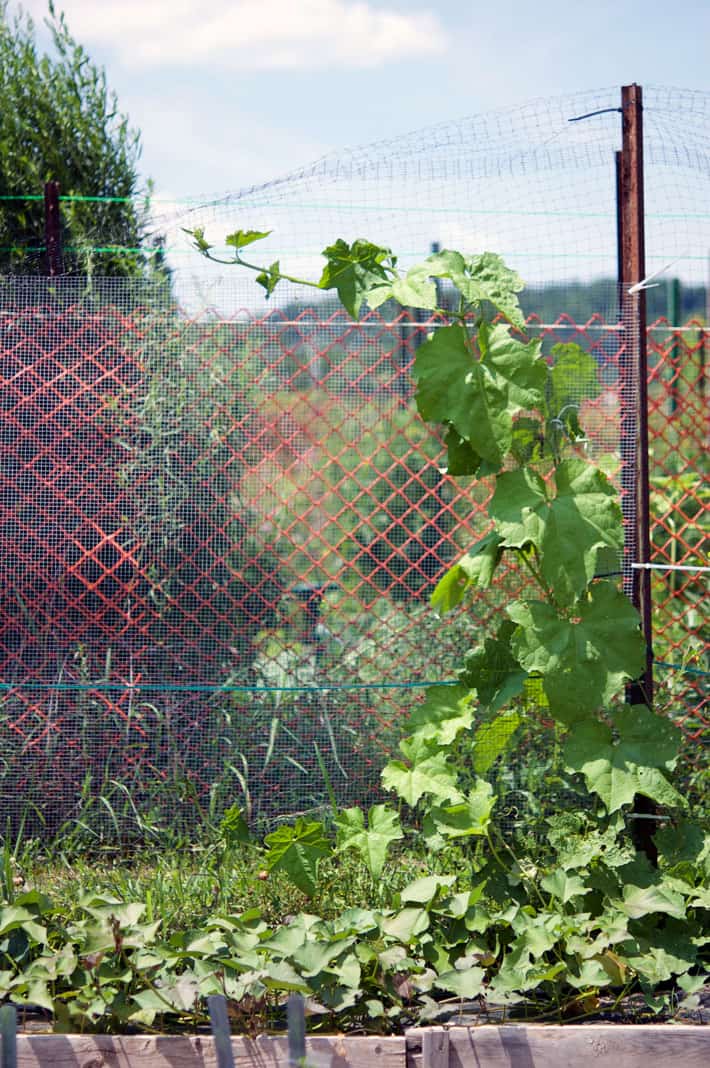
- Plant your loofah seedlings at the base of a strong structure that its vines can climb on and cling to. Chain link fence or something similar is perfect.
- If after planting out, a cold snap threatens, cover the seedlings with a vented cloche. Or you can cut the bottom off of a plastic pop bottle and place it over the plant (with the cap removed to allow venting). A few days of cold weather will STOP a luffa from growing and it could take a month before they get over the shock.
- Luffa will produce fruit 3 months after direct seeding, and 4 months after starting seeds inside. They are ready to harvest 6-7 months after seeding.
Alright then, you've started them from seed and planted them out. Now what do you do for the rest of the summer?
Growing Luffa in Containers
- You'll need a 25 - 30 gallon pot or grow bag. If you don't speak "gallons", just look for pots or grow bags that are about 20 - 24" across the top. This will ensure you don't have to water every 30 seconds, and it will hold enough soil to provide enough nutrients to the VERY large luffa.
- Grow one plant per bag. No more than that.
These are GREAT 30 gallon felt-like grow bags.
Growing on & summer care
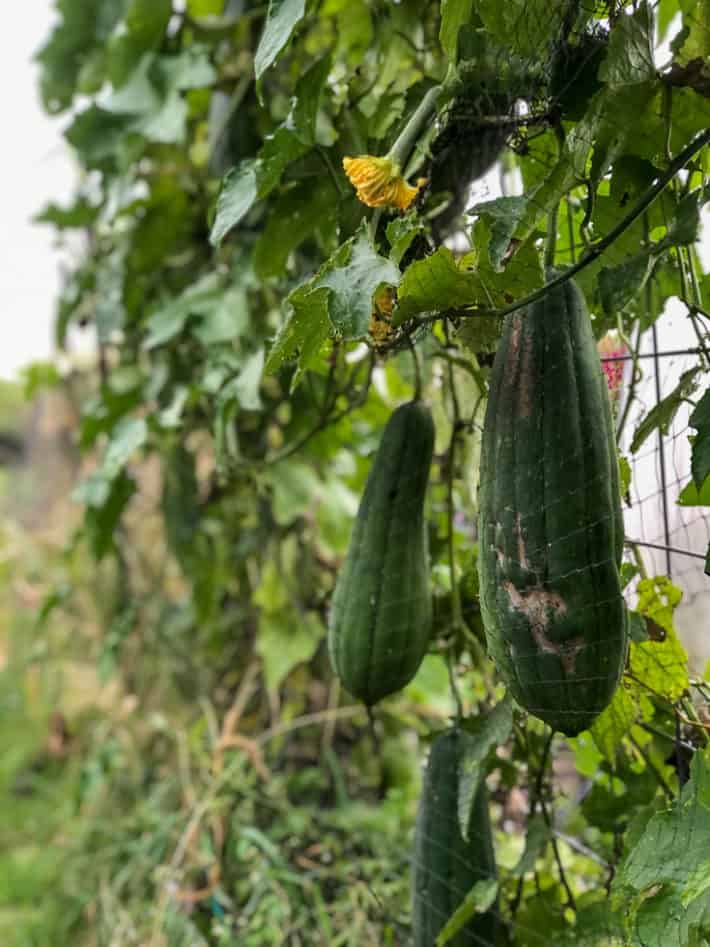
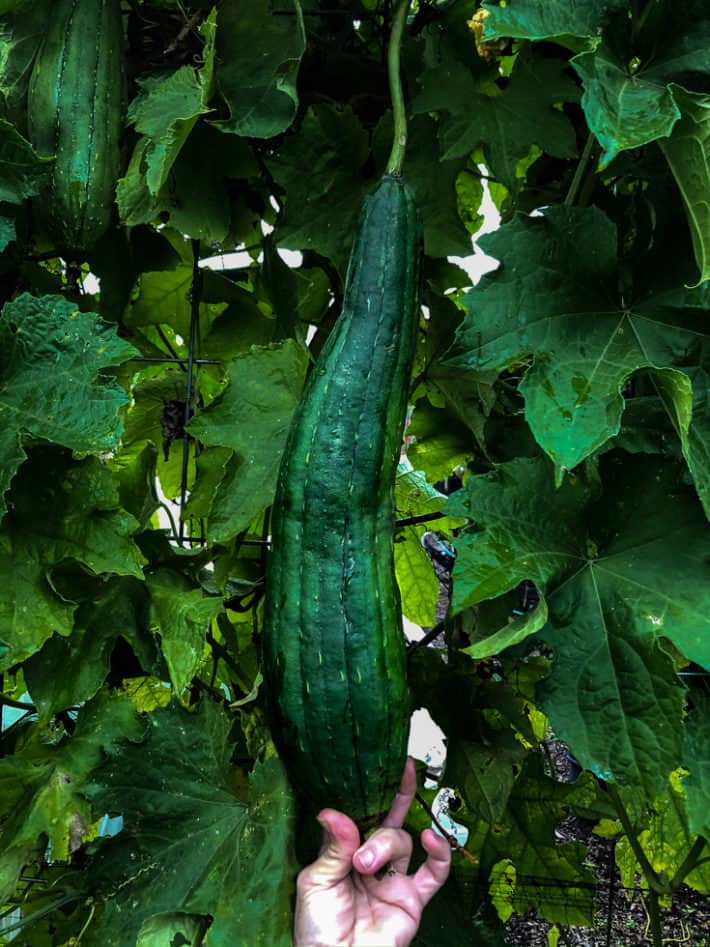
Luffa take 6 - 7 months before they're mature and ready to harvest. That's how long you have to pay attention and take care of them.
Luckily it's mainly just a matter of watering, fertilizoing and keeping an eye out for pests.
Watering
Keep the soil consistently moist. Don't let it dry out or get oversaturated. Luffa doesn't like surprises. It likes everything to stay the same.
Like I've mentioned before, luffa are shitheads that are plotting against you. If you let them dry out or overwater them, they will rebel against you.
Fertilizing
Before planting, apply 3" of compost over your bed or container.
You can also spring dress your beds with this organic 4-4-4 all purpose fertilizer from Gaia Green. (it's what I use)
Pollination
Like winter squash, luffa have male and female flowers. You can hand pollinate the female flowers using this hand pollination technique to increase your luffa harvest. This is especially helpful if you don't have a lot of pollinators in your garden.
Pinching
2 months before your first frost date (by the middle of August for me in zone 6) you need to pinch away all the flowers and any small luffa on the vine. Continue to do this for the rest of the season.
This is important because it will direct all the plant's remaining energy to growing the luffas that are on the vine now instead wasting it ones that have no chance of becoming harvest size. THIS IS CRUCIAL.
Pests & Diseases
Cucumber Beetle (which cause cucumber wilt)
Aphids
Squash Bug ← link to treatment
Vine Borers ← link to treatment
Powdery Mildew ← link to treatment
Blight
I have never lost a luffa plant to pests or disease, but these are the ones to watch out for. Where indicated I have a link to successful treatments I use.
Harvesting
- By October you should have big Luffas. If you live in or above zone 7 your luffas will probably dry on the vine and be brown and light as a feather by October. For zone 6 and below they'll probably still be green. That's O.K.
- Pick your Luffa gourds BEFORE they're hit by frost even if they're still green.
Dry gourds vs Green gourds
Over and over you'll hear that you have to wait until the gourd is dry to pick it. And yes, that's the best time to pick it but it's not the only time.
If you live in zone 6 or below chances are you'll be harvesting them green. The lighter they feel in your hand, the greater chance they'll have fibres inside.
Some green luffas you pick will not have matured enough and when you peel them they'll be fleshy and gooey inside.
But OTHERS will indeed have developed enough to have the coveted fibres.
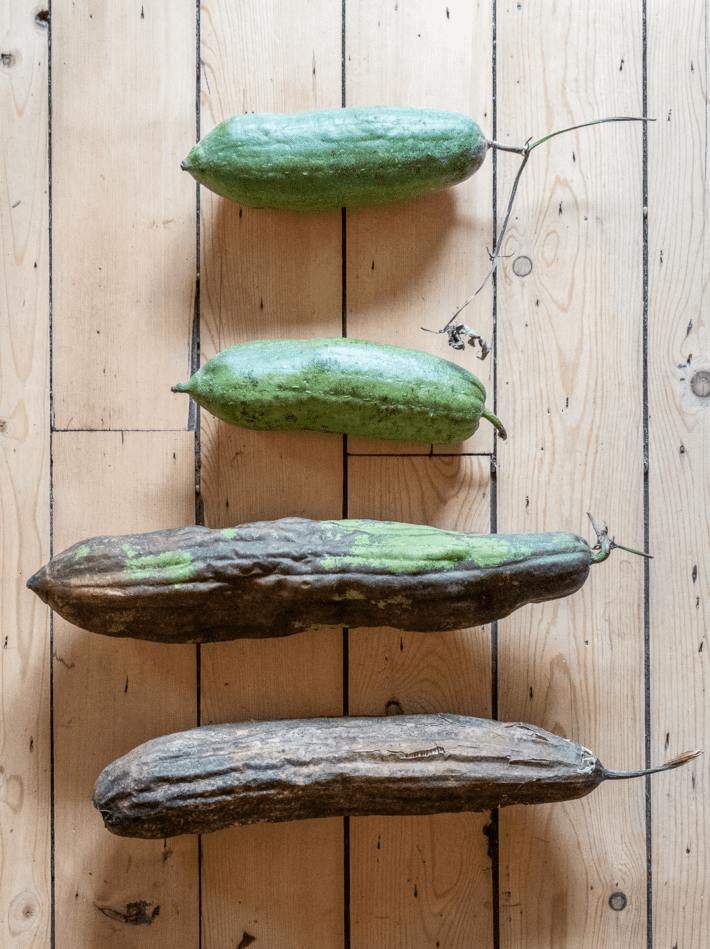
- 1st luffa is immature with spongey flesh inside.
- 2nd luffa is lighter in colour and weight which helps you know it may have developed fibres.
- 3rd luffa is well on its way to drying out and will definitely have a luffa sponge inside.
- 4th luffa is the ideal time to pick. When it's completely dry and you can hear seeds rattling inside.
Like I said, it isn't easy and definitely not for the half assed gardener in colder climates, but if you really want to grow loofahs you can.
Peeling, Processing & Preparing
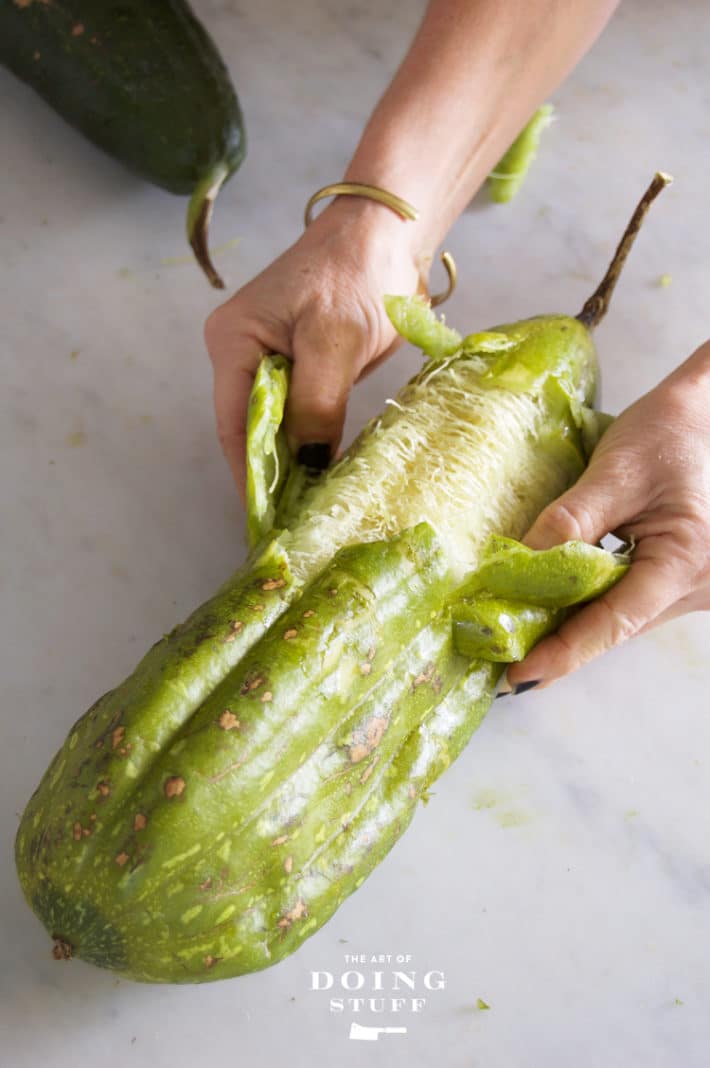
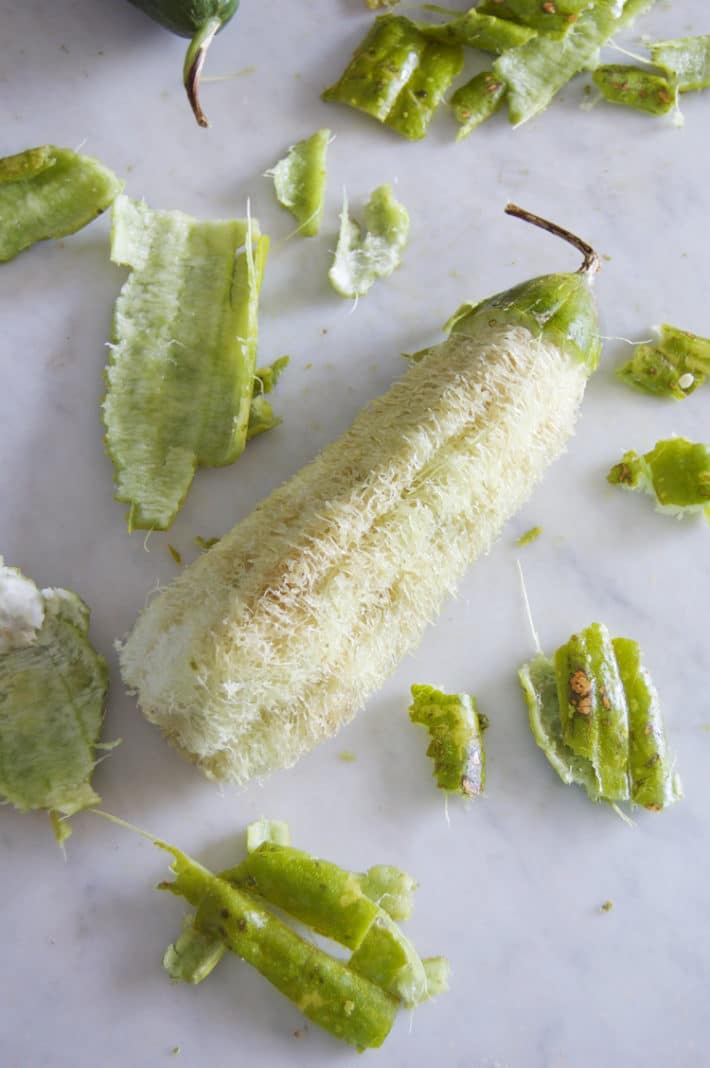
How to process immature (green) luffa
- Lay the gourd on a hard surface like a table. Press down hard on it with the palms of your hands to crack the skin. Do this many times until much of the skin is cracked.
- Press your thumb into the skin by a crack pushing down until you can worm your thumb under the skin. This will separate the skin from the sponge fibres. Kind of like how you would peel an orange that doesn't want to be peeled.
- Rinse the sponge under water once it's released. Squish any wet gooey parts out while you rinse. You want the sponge to be perfectly clean.
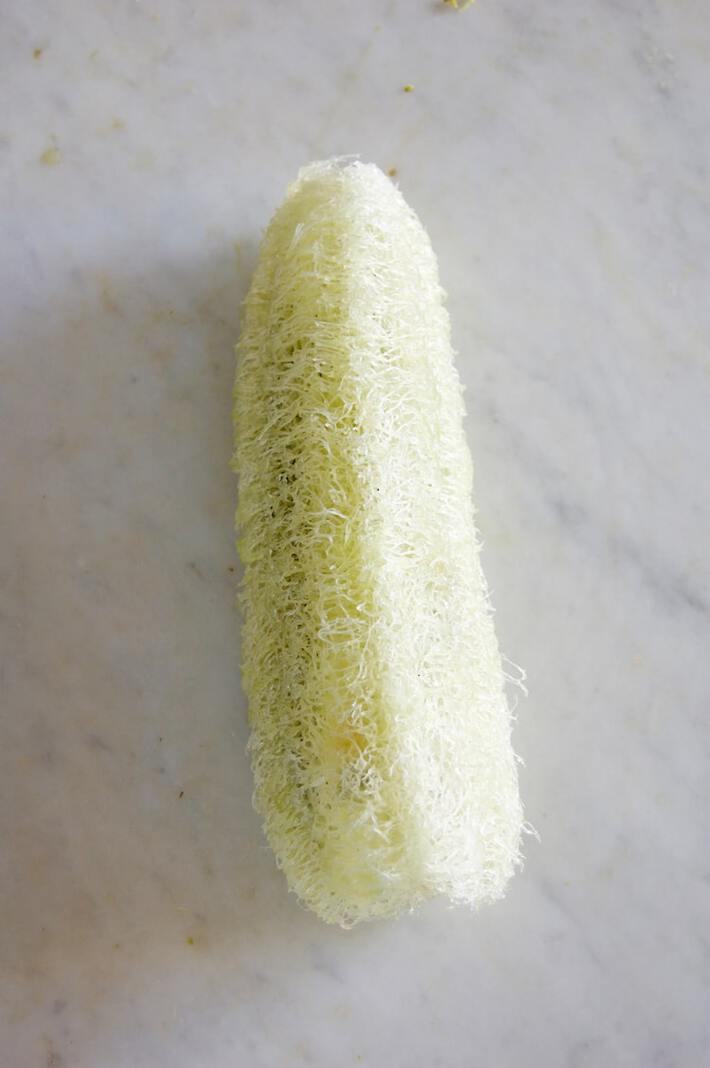
- While you rinse and squish, many of the seeds will come out. When it feels and looks clean, let it sit on the counter overnight to dry.
- Once dried you can shake and bat your luffa around to get the remaining seeds out. They'll come out much more easily once it's dried.
- If you'd like a brighter looking sponge you can soak it in a solution of 1 part bleach and 10 parts water. After bleaching, rinse it with clean water and let it dry again.
note: I have quite literally never measured my bleach solution. I just fill the sink with water and glug some bleach into it. But rules are rules and the rule is 1 part bleach to 10 parts water.
Peel green loofah as soon as you pick them. Don't wait for them to dry out - they could rot and discolour.
Saving Loofah Seeds
Each luffa will be FULL of seeds that you can use to grow more luffa next year.
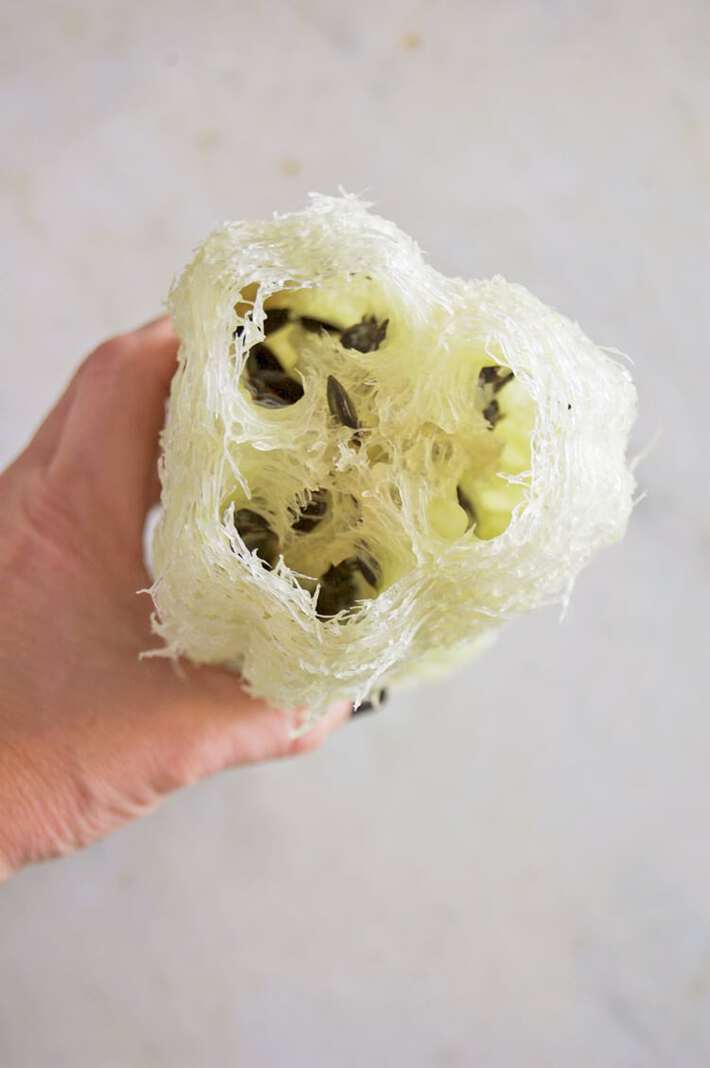
- ONLY the black seeds are viable. White or light coloured seeds will not germinate or grow.
- Once you've set your black seeds aside, feel them. Some will be fat and some will be flat. Fat seeds have been properly pollinated. Flat seeds have not been pollinated.
- Only the FAT luffa seeds will germinate, so those are the ones you need to save for planting.
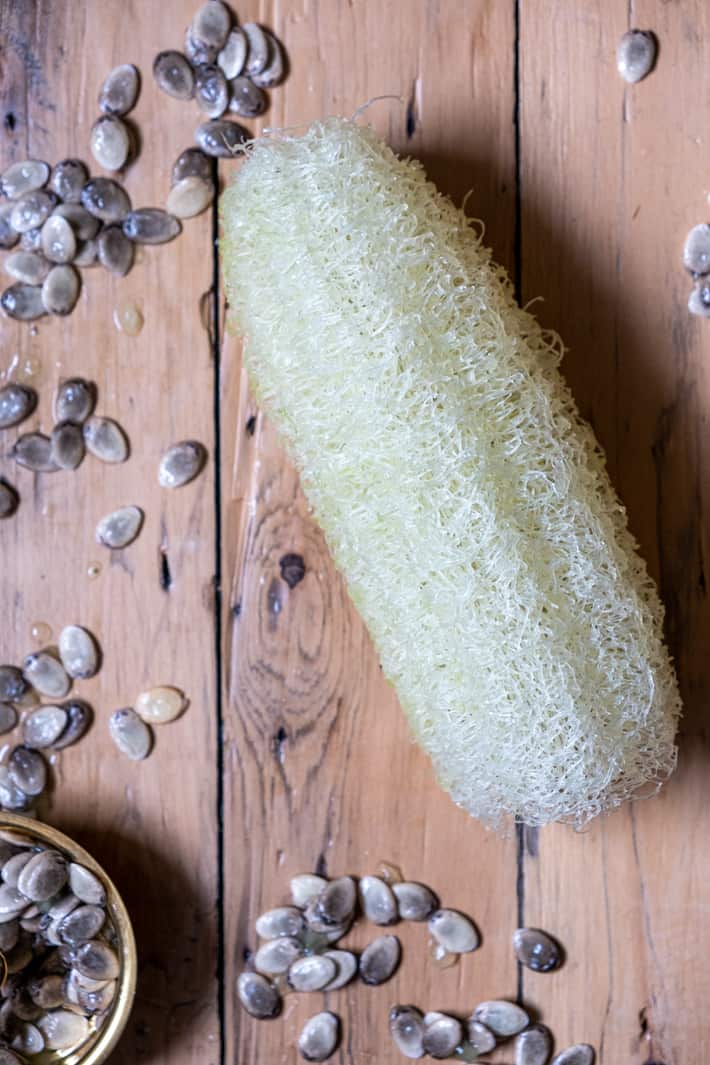
What is a Luffa Sponge Used For?
- In the shower. Either soap up yourself and slough away dirt and dead skin with the Luffa or cut a bar of soap so it fits into one of the luffa channels and it will lather as you scrub with it!
- Pot scrubber. I keep a bowl of these cut into 3 or 4" lengths and use them to scrub pots. When they get dirty they go into the dishwasher. If there's no hope of them getting clean because there are so many bits stuck in them, they go into the compost bin.
- Removing gummy glue from removing stickers off of plastic or glass. Just dab the sticker with oil then scrub with a luffa. Although truly, the best way to remove any sticker is with a hairdryer.
- Anything that needs cleaning by scrubbing.
- Vegetables! Luffas are the BEST vegetable scrubbers.
How to Clean Them
- With bleach in the sink.
- In the washing machine.
- In the dishwasher.
- To maintain the luffa make sure after using them you allow them to stand on end so they can dry properly. Otherwise they'll get musty and gross.
Luffa sponges NEED to be cleaned, especially if you're using them in the shower. Once a week throw your luffa into the wash or soak it in a bleach solution. 1 part bleach-10 parts water. Let it soak for a few minutes and then rinse it.
Where to buy seeds
I got my original seeds from William Dam Seeds in Canada. In the US Baker Creek would be a good place to get them.
Start to finish you're looking at around 6 months or 180 days. The length of time it takes depends on the variety of loofah, but generally it's about 6 months from the day you start your seed to the day you're picking the loofah.
In warm climates you can expect to get 6 sponges from 1 luffa plant. But in colder zones you may only get 3 or 4.
In climates with long growing seasons and in full sun. But they can be grown in cool climates if you use this guide.
If you're a soap maker, you can slice a sponge and put it in the mould before pouring your soap solution. Once it cures you'll have the absolute BEST shower buddy. If you don't count Idris Elba, who of course would be an even better shower buddy.
Yup. But not only are the luffa fruit edible, but the leaves are as well. Just make sure you pick them as a leafy green when they're young. As they get bigger and older they get tough.
If after all of this you've decided you'd rather grow something a little more reasonable, but still fun, I'd recommend growing Buzz Buttons™️ aka toothache plant.
So there. Now I've told you how to do it. Yes I know this post was long, but consider yourself lucky it wasn't a decade.
→Follow me on Instagram where I often make a fool of myself←

Thank you for sharing! I wanted to give courage to anyone who has old loofah seeds. I just sprouted seeds from 2005!!! Its 2021 as I write this! But I had a LOT of seeds and only 4 sprouted. Still it MAY give me one fresh loofah, now that I read your article on "how to" hopefully, that will furnish me with fresh seeds. I really was not very hopeful that I would get sprouts so I put almost no effort into it. I dropped them into a plastic container, added water, and forgot about them as they sat in a darkish spot in my kitchen. After about 2 weeks 4 of, I don't know, maybe 40 seeds, sprouted! I hope this will bless someone!
Good luck with getting new seed this year in a luffa! :) ~ karen
Zone 5
I microwave them to dry them.
Crockpot can boost seedlings.
Where is the BEAUTIFUL YELLOW FLOWER VINE PHOTOS
AS AWESOME AS THE SPONGES.
My India friends like the 4” product.
Questions
1. When you say pinch away the flowers, ? I am confused, isn’t the where the luffa is going to grow from.? Do you just take the whole flower off?
2 is the luffa plant deer resistant? I live Upstate NY we have ton of deer and they love to snack on my plants. I do have a small garden that is fenced.
If it is deer resistant then I can do another beds just for the luffa and not worried being eaten.
Thank you
Krisz
Hi Krisz. The luffa does grow from the flowers, but later in the season those flowers will never ever have the time to produce a luffa. So you pinch them off so the plant doesn't waste any of its energy on trying to produce blooms and luffa that are never going to grow. All that energy then goes into growing and ripening the luffas that are already on their way to being harvested. Make sense? ~ karen!
I have 5 gord plants started inside and transplanted to their own 4" pot they are starting to vine. I'm zone 4. Last frost may 15th, a month away.
I have a small greenhouse, not heated. I have 3- 24" pots can I put two in one pot? Can I plant them any earlier before last frost..
Our up pot them to gal pots except for the 3 bigger pots and put them in the greenhouse? They are in my bedroom but I think they really need to be in the bigger pots.
Hi Eva! The plants need to be disturbed the least amount possible during any of their growing stage. They're VERY prone to shock. They definitely can't go out before the last frost date, especially in zone 4 unless they're very protected and the soil has been heated up. Providing the greenhouse is warm enough I'd gradually harden them off into it. Then they can be potted up. But if you're eventually potting them into the ground I wouldn't put them in 24" pots. I'd pot them up one size. Just always remember that they're delicate and if you do something they don't like they'll let you know. They don't usually die, what they do is simply go into shock and stop growing for up to a month. ~ karen!
Thank you for all the tips! I'm in NE Ohio trying to grow luffas. I had two that made it to true leaves this year and now they are wilted and dead. It was just like over night they died. Start again today.
Hi Amanda! It sounds like you maybe had a case of "damping off". That's when the seedling does just as you say - pretty much dies overnight. The stem will be withered at the soil level and it just keels over. You can help minimize the chances of damping off by watering from underneath instead of on top and providing better air circulation. Water from beneath and if you can, set a fan to move air around where the seedlings are. :) ~ karen!
Hello! I'm from South Jersey. Your post really made me chuckle and kept a smile on face. I felt an immediate connection to you. The "little asshead seeds that hate you," and "they're frightened to death," really made me chuckle! I have never had success starting my own seed. I have recently moved to a home that has plenty of ground. I will be gardening again this year after an 11 year hiatus. You have given this girl the courage to try louffa :) Thank you
Good luck Joelle! ~ karen
What do you recommend for a trellis? I have limited space.
Really helpful article, thanks! Once the seeds have germinated, do you advise leaving them in the propagator?
Many thanks x
I am totally fascinated and wish to source some Loofah seeds. Where should I look for the best ones? I live in Peterborough, ONTARIO, Canada.
Thanks for posting your adventures, fails and successes! I am a do-it-yourselfer as well, make my own soaps and would like to grow loofah's to integrate into the soaps! :)
Hey! You give me seeds, I give you soaps?!
Cheers,
Pam
Thank you so much for this post. As a homesteader in growing zone 6, this is super helpful. Every other site is in warmer weather so this will help tremendously.
Good luck Alyssa! ~ karen!
I grew loofahs that look just like the loofahs in your video. I peeled one and the inside looks just like yours. The problem is that it's not a usable loofah sponge. Since it's not dry, you can't use it to scrub.
So what do you do to get it to become a dry usable loofah sponge if you peel it while it's still green?
Thanks
Please tell me more about opening the green ones. I have opened one green one where the skin was starting to brown and slightly wrinkled- worked out fine. I owned one that was green and not light weight yet and it was a pulpy mess (and a big one too damn it!). Can you elaborate on that process a little more since you're having better luck please?
Thank-you so much for sharing your experiences of how to grow Luffa Gourds, you saved me quite a bit of trial and error. I only grew it for one year thus far, but I suspect I can contribute a tiny bit of advice as well.
I used a 'cattle panel' tied up to some t-posts as a very sturdy trellis, which pertains to your #8 tip.
I planted extra Luffa Gourd plants on the grow-light in anticipation of losing some due to the transplant shock. So far 2 out of 4 plants survived the transplant shock from plastic pots, even with being hardened off beforehand.
If you ever try to rinse the inside of the sponge with a garden hose, be ready for the seeds to come floating out of the top. I lost a bunch of seeds this way into the lawn since I didn't have a bucket or strainer ready beforehand.
You're welcome Dorothy! I'm glad it worked out for you. :) ~karen!
OK.. I grew the luffahs. I'm in zone 5B. Had to pick them while green. I brought them in today and peeled right away, like you said. But what now? They are turning brown. Am I to put them in fridge, or wrap them up? Should I dehydrate them? Some skin is still attached too. They are very soft also. I'm at a loss for what to do next. How do I cure them? Thanks, love your posts!
Hi Lee. Did you watch the video in the post about how to peel the luffa? I show you exactly what to do. You need to wash all of the guck out of the luffa. If you don't they'll go brown like you say. They need to be washed very, very well with running water, the seeds removed and then set to dry on the counter. They'll be dry in several hours. ~ karen!
I had 6 great plants going all summer but only one set any luffas. The others just kept growning and having flowers etc etc and that was it. Luckily the one has given me 7 nice sponges. Can you explain why the other vines were barren? They all had the same kind of soil (lots of compost) and the same sun exposure and watering. I don't get it!
Hi! Thank you for the info! I’ve been growing louffa for a few years now and I’m in zone 6a. I have over 100 giant louffa, many over 2’ long but all are still rock hard. Is there any way to dry them out a little before peeling? A dehydrator or possibly the oven? Any thoughts on how to peel 100 of these suckers while keeping my fingers intact?
Hi Meika. If they're off of the vine then there's no point in trying to dry them at all. The easiest way to peel them is to stop on them! Or bash them against a wall. That'll crack all the harder outer skin so you can get your finger under it and peel it off. ~ karen!
Hiiii!!! I'm excited & nervous to have come across your article. This is my 2nd year trying to grow these. I am in WI zone 5 I believe... eek! I'm Nervous! It's the last day of September and the weather is getting colder every night. I have no idea when the first frost will be and I don't want to lose my first ever luffa gourd!! I will try to keep a close eye on the over night low temps. But you were able to keep yours growing up to Thanksgiving? I wonder if I will have that much time. Fingers crossed. Wish me luck!!!!
HI Jessica! Don't forget I'm in Canada so my Thanksgiving is a full month earlier than yours! I covered mine up last night because there was the possibility of frost. I cover them up if I think there's still some warm days to be had in the future. :) Just leave it until you hear there's a frost warning from the weather. Good luck! ~ karen
Thank you so much for this delightfully thorough how-to! I followed your instructions way back at the end of Winter/early Spring, and planted several Loofah plants. I have one gourd in particular that is about 18" long! Living in NY I was worried about our grow season being enough, but it seems like they will be just fine. My one downside is I definitely overcrowded them; I totally underestimated the vine growth, and that all my plants would actually take! Next year I will definitely make sure to plant 1/3 of what I did, or at least give them proper spacing and a better climb zone. Anyway, thanks again! Time to nervously pinch off the flowers and channel all that good juju into the gourds that are there.
Good job! I don't even have any gourds yet, lol! I'm not sure how. The vines are enormous and it's covered in flowers so I still have hope. :) ~ karen!
New to this this year, daughter tells me bet you can't grow luffa. Challenge accepted. OK so they are in 4 gallon buckets 8 feet plus tall, questions ? How big of a water pig are they? They get watered every day. How often to feed? Should I be cutting off other off shoot vines and just allowing the main vine to grow? Tons off bees, lots of sun,large trellis
Thanks...east of you by 50km
Hey Steve! They LOVE water. Especially when forming the fruit obviously. And since you aren't going for sweetness, there's no need to worry about overwatering when they're growing. Because I grow them in the ground I don't feed them other than when they're first planted in they get a new 2" layer of chicken manure compost on top. This year I also added the Gaia Green slow release fertilizer. Just let the vines go and do what they want to do. Once you get into August either cut the ends of the vines or take off all the flowers so all the energy goes into maturing the luffa on the vines. If yours are 8' tall already then I'm guessing you're going to have a TON of luffas by September. Good job! ~ karen
OMG, this was great! You had me rolling over here. (your neighbor, Michigan) Thank you for taking the time to write this up. I'm going to try this next year!